
Switch your usual purse for the Crochet Bag Free Pattern, a lovely option to carry your keys, phone, and wallet on busy days around town.
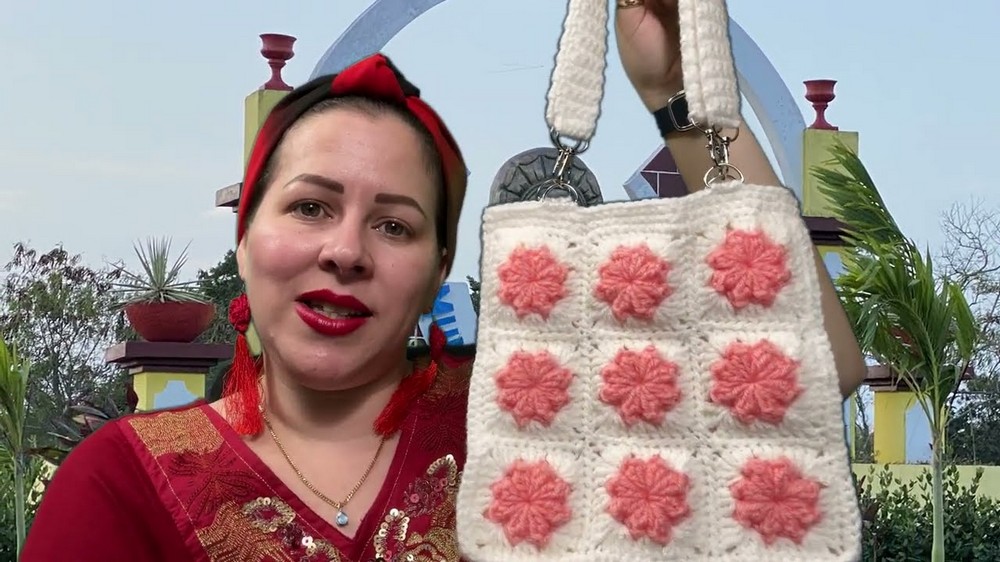
Granny squares are a fun way to turn small pieces of yarn into something you can carry and use every day. The Crochet Bag is a colorful accessory made by joining granny squares together. Each square has its own stitch design, giving the finished piece an interesting appearance. It is a nice choice for anyone who likes simple fashion with a little color. Yanet pupo crochet shares this bag idea with a lovely granny square style.
Free Crochet Bag Pattern That Matches Any Outfit
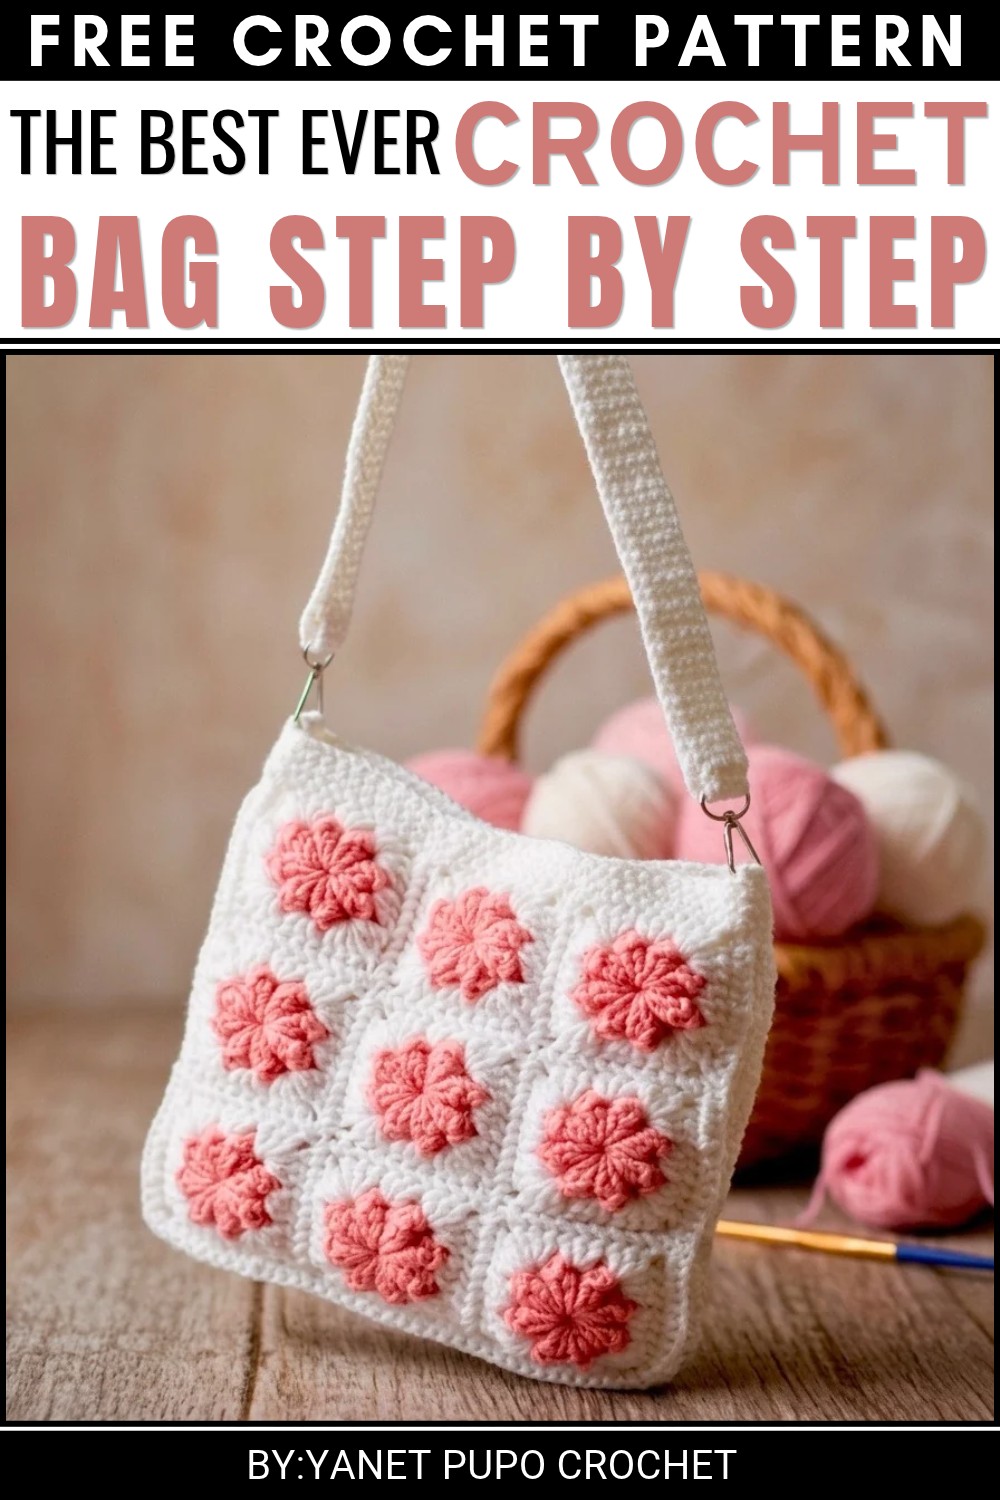 The main feature of this design is the arrangement of squares across the fabric. You can use different colors for each section or keep all the pieces in matching shades. The joining lines give the bag a clear shape, while the crochet texture adds a nice finish. The handles complete the design and allow you to carry it easily.
One useful thing about this project is that you can work on the squares one by one. After finishing enough pieces, they are joined to form the front, back, and other sections of the bag. A neat border around the opening can help complete the edges.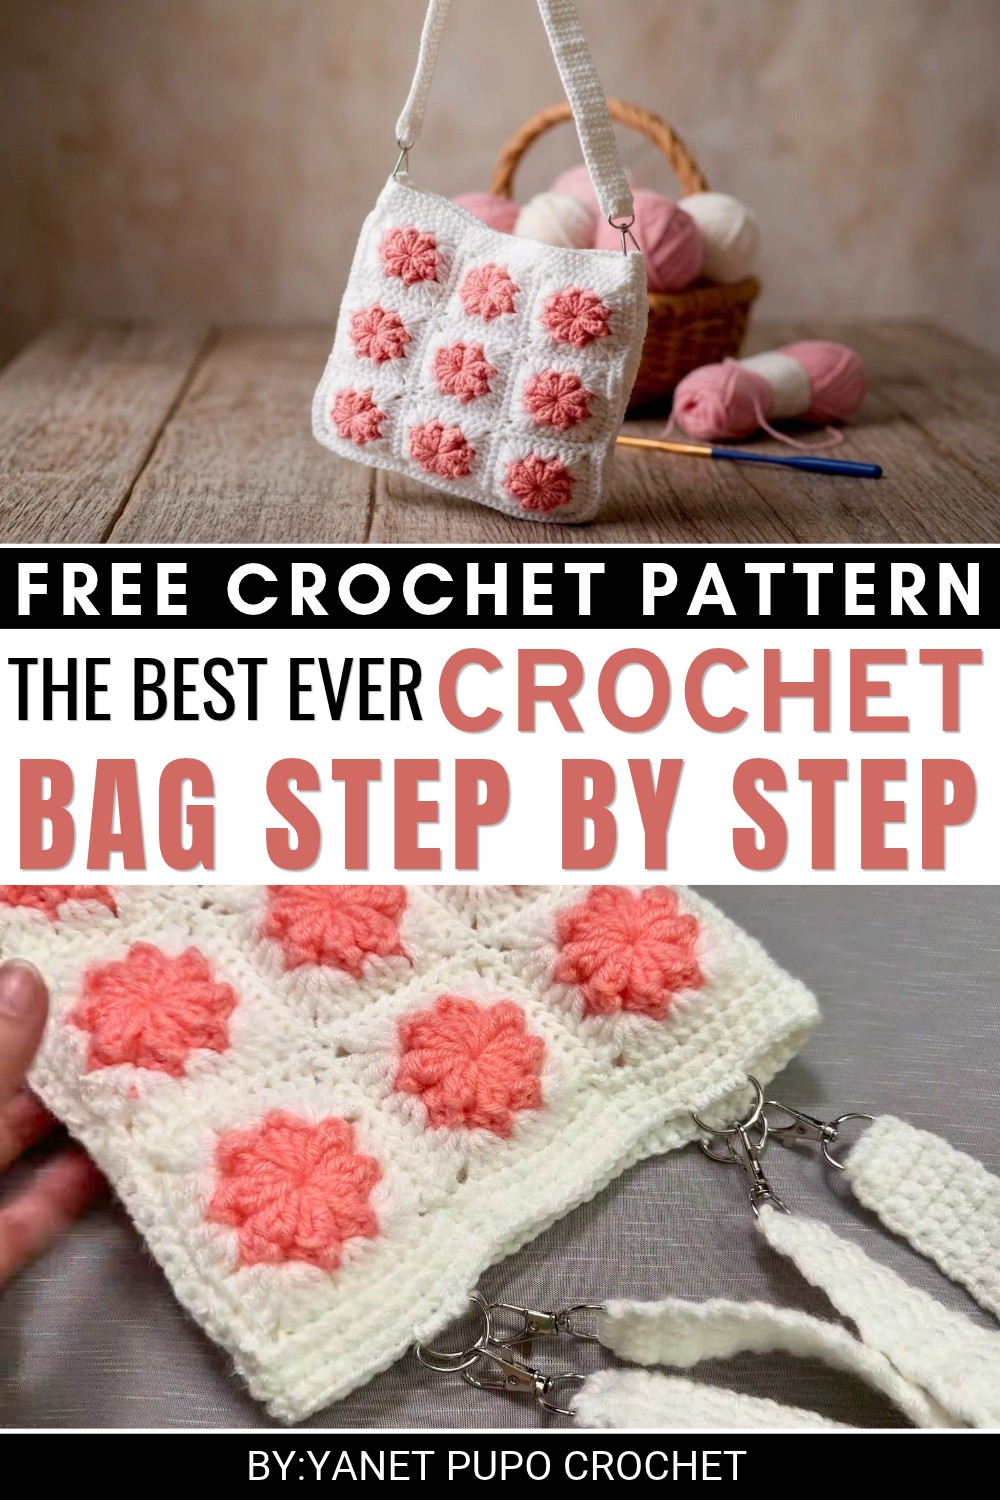 You can carry this bag to a weekend book fair, use it for a short visit to a friend’s house, or take it along while shopping for clothes. It can hold your wallet, phone, keys, and a few daily essentials.
The granny square design gives this accessory a relaxed, colorful style. It is also a nice way to use different yarn shades in one project while working on something practical for everyday life.
About the Pattern
This project showcases a classic crochet bag designed using the iconic granny square motif as its foundation. The bag’s appeal stems from the geometric repetition and vibrant possibilities inherent to granny squares, creating a practical yet artistic accessory. The assembly brings together several squares into a cohesive structure, utilizing traditional seaming for sturdy joins. After forming the bag body, the piece is completed with edges and handles, highlighting the timeless granny technique while delivering a finished bag suited for daily use or special occasions.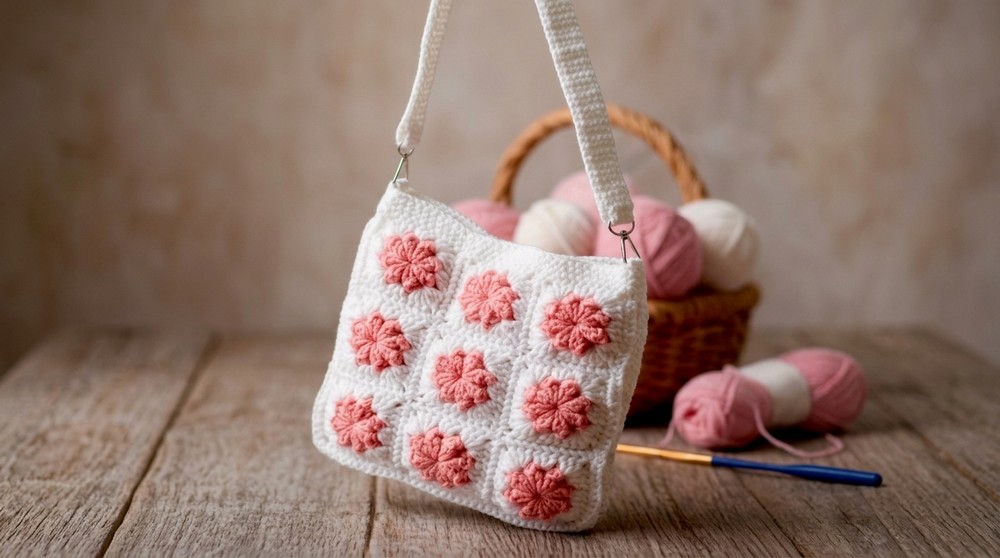
Pattern at a Glance
- Foundation: Multiple granny squares are crocheted and then joined into a rectangular or square configuration.
- Body Construction: Squares are connected edge-to-edge, forming the main bag.
- Finishing: The upper edge is reinforced with a border before secure handles are attached.
Important Notes
- Consistent stitch tension throughout all squares is essential for accurate assembly and a polished final look.
- Choose color changes and joining methods before starting; traditional whip stitch, slip stitch, or crochet join may be used according to preference.
- Ensure all squares are blocked to the same size prior to joining for symmetry.
- For a reinforced and lasting accessory, double-strand yarn can be used for handles or border.
- When attaching handles, distribute stress evenly for durability.
Difficulty Level
Confident Beginner to Intermediate. The basic granny square is accessible, but even joining and neat, reinforced finishing require careful attention.
Supplies Needed
- Yarn: Worsted weight or similar in coordinating or contrasting colors, as desired
- Hook: 4.0–4.5 mm (matching yarn)
- Yarn needle: For seaming and weaving in ends
- Scissors
- Bag handles (optional): Wooden, leather, or crocheted alternatives
Size & Measurements
- Bag size: Adjustable depending on the number and dimension of granny squares; a 3×3 layout of 12×12 cm squares yields a bag roughly 36×36 cm.
- Handles: Standard handles measure 35–40 cm end to end.
Gauge & Stitch Details
- Each finished square: 12 x 12 cm (adjust based on yarn and tension)
- Granny technique: Each group of stitches should be crisp and consistent, with space between clusters.
- Border: Single crochet or slip stitch for structure and finishing
Crochet Abbreviations
- ch: chain
- sl st: slip stitch
- sc: single crochet
- dc: double crochet
- sp: space
- st(s): stitch(es)
Special Stitch Guide
- Double Crochet (dc): Yarn over, insert hook into stitch or space, yarn over, pull up loop, yarn over, pull through two loops, yarn over, pull through two loops.
- Granny Cluster: Three double crochet stitches into the same space (3 dc).
- Chain-2 Corner: Two chains at each square’s corner to form a right angle.
- Single Crochet (sc): Insert hook into stitch, yarn over, pull through, yarn over, pull through both loops.
- Slip Stitch (sl st): Insert hook into stitch, yarn over, pull through both the stitch and the loop on hook.
Complete Crochet Pattern
Granny Square Foundation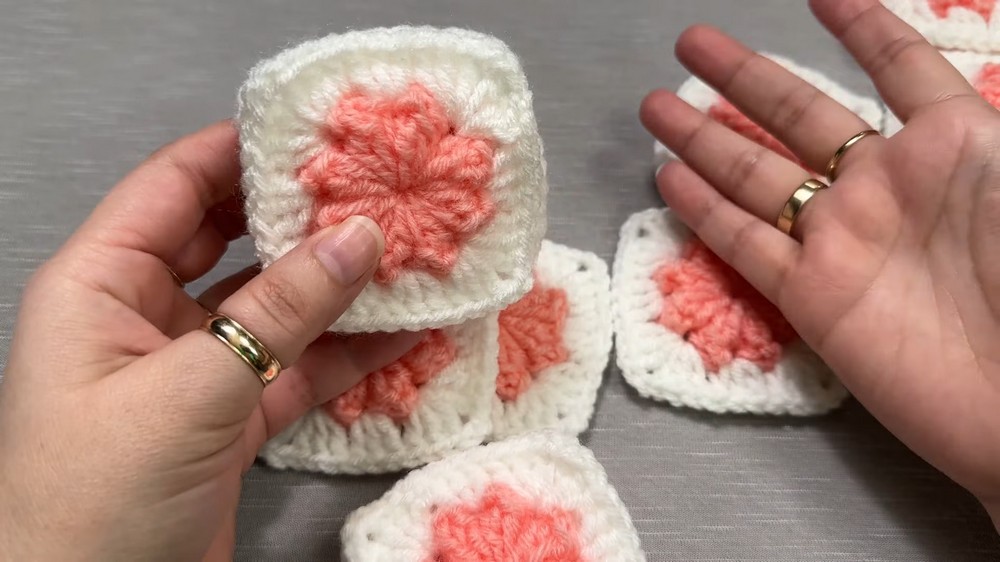
1: Center Start
- Make a slip knot and chain 4, join with a sl st to form a ring.
- Ch 3 (counts as first dc), work 2 dc into ring, ch 2.
- Work (3 dc, ch 2) three more times into the ring.
- Join with sl st to the top of starting chain-3. (You should have four 3-dc groups and four ch-2 corners.)
2: Adding Corners
- Sl st into the next two dc and into the corner space.
- In each corner sp: (ch 3, 2 dc, ch 2, 3 dc), ch 1 to next corner sp, repeat around.
- Join with sl st to starting ch-3.
3–4: Building Out
- Sl st to corner space, (3 dc, ch 2, 3 dc) in each corner sp.
- In each side space between corners, (3 dc, ch 1) in sp.
- Join with sl st, fasten off at desired square size (typically 4 rounds for a 12×12 cm square).
- Make as many squares as required for your bag size (typically 9–18 for a medium-sized bag).
Joining and Assembly
5: Arranging Squares
- Lay out squares in the desired configuration (e.g., 3 rows of 3 squares).
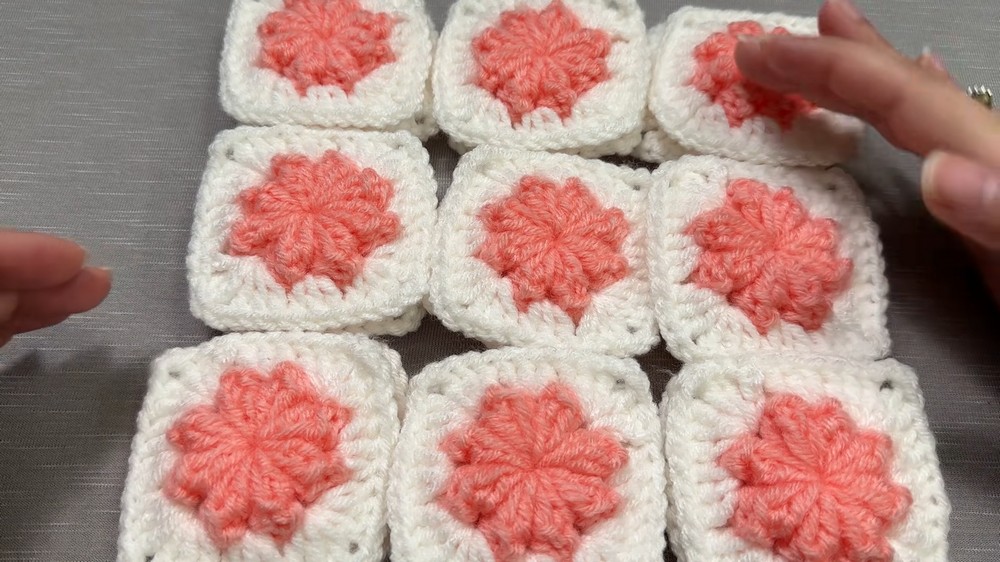
- Ensure edges align and adjust layout for preferred color placement.
6: Joining Squares
- With right sides facing, join squares using a slip stitch or whip stitch:
- Insert hook or needle through both loops of adjoining corners, work sl st across, or sew edges using yarn needle and whip stitch.
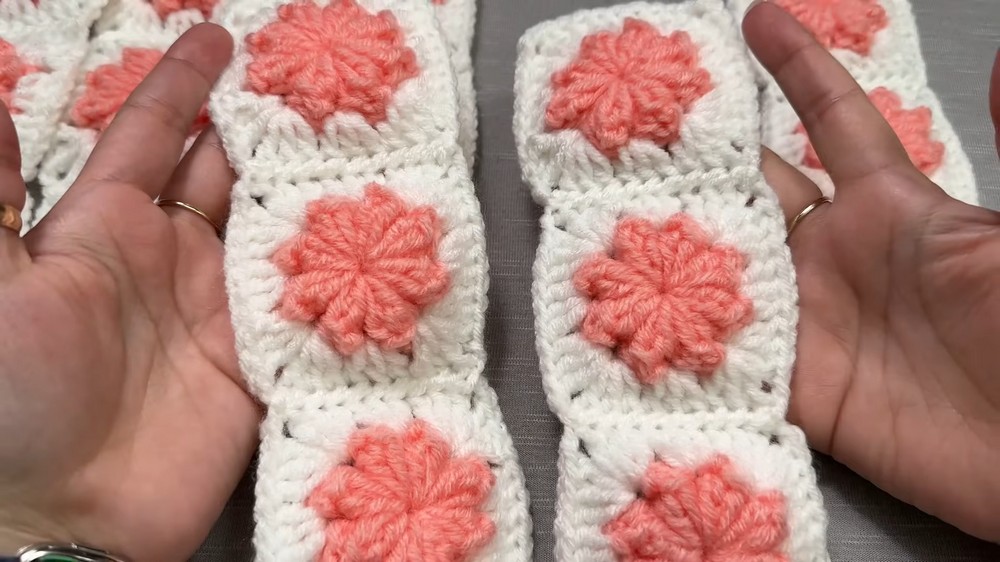 Join all horizontal, then all vertical seams for a grid layout.
- Weave in and secure all ends after assembly.
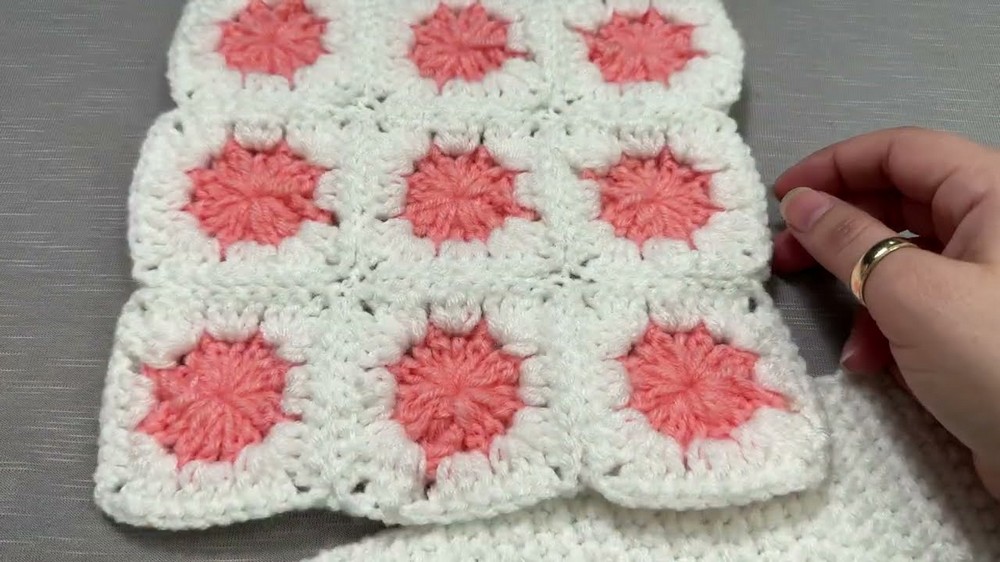
7: Seaming Sides
- Fold the assembled grid in half with right sides facing.
- Join the sides of the bag using sl st, sc, or whip stitch, leaving the top edge open.
- Turn bag right-side out after seaming for a clean outer finish.
Final Touches
8: Border
- Attach yarn at any side seam or corner.
- Work one or two rounds of single crochet (sc) evenly spaced along the entire bag opening for a firm structure.
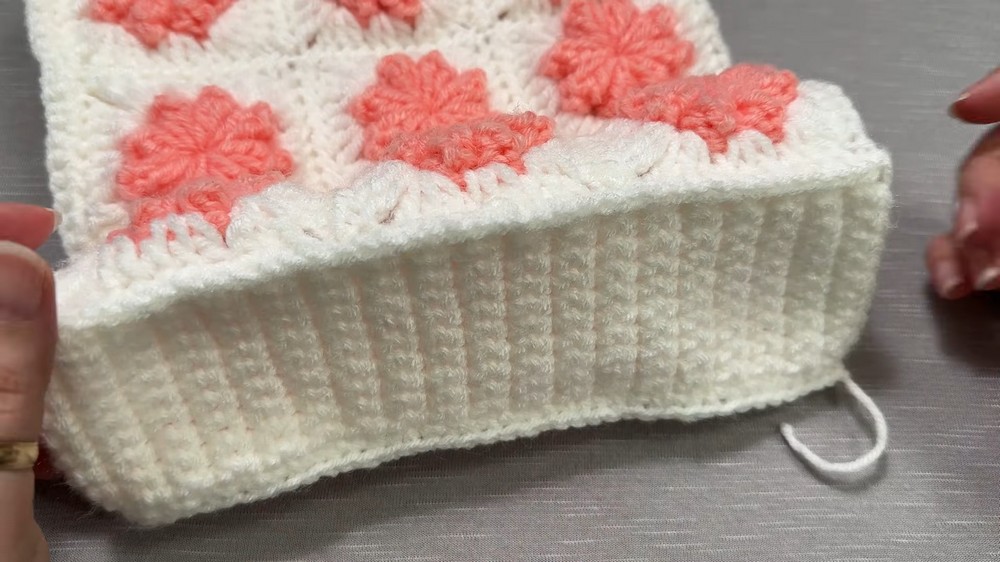
- Join with a sl st at the end of each round.
9: Handles
- From a top corner, count in appropriate number of stitches (usually about 8–10) to position each handle.
- Attach handle material with a yarn needle or crochet chain (ch), then sc across to form or anchor a sturdy handle.
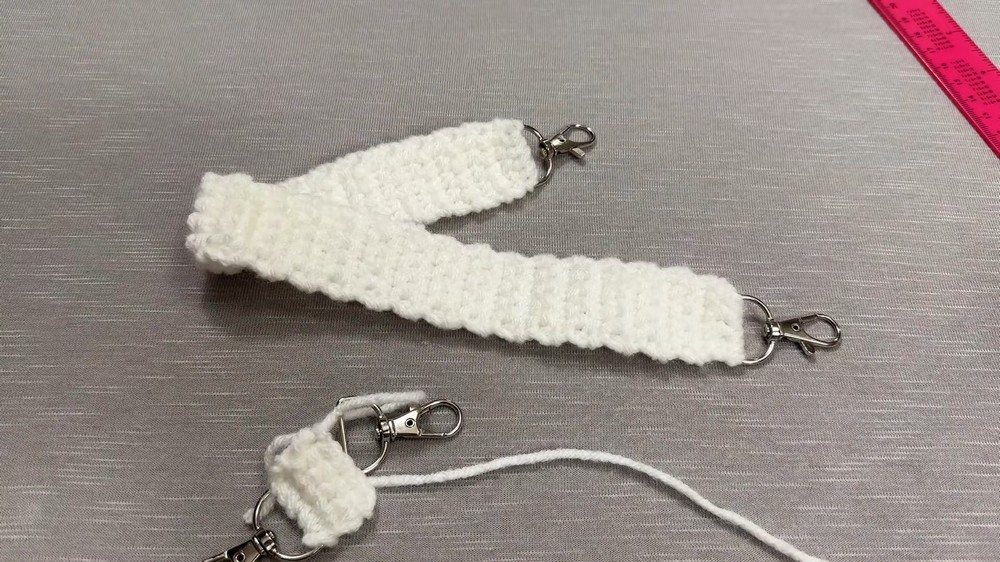
- Repeat for the opposite side.
- Reinforce handle joins with extra sc or sl st for security.
- Weave in any remaining yarn tails and block bag to final shape if desired.
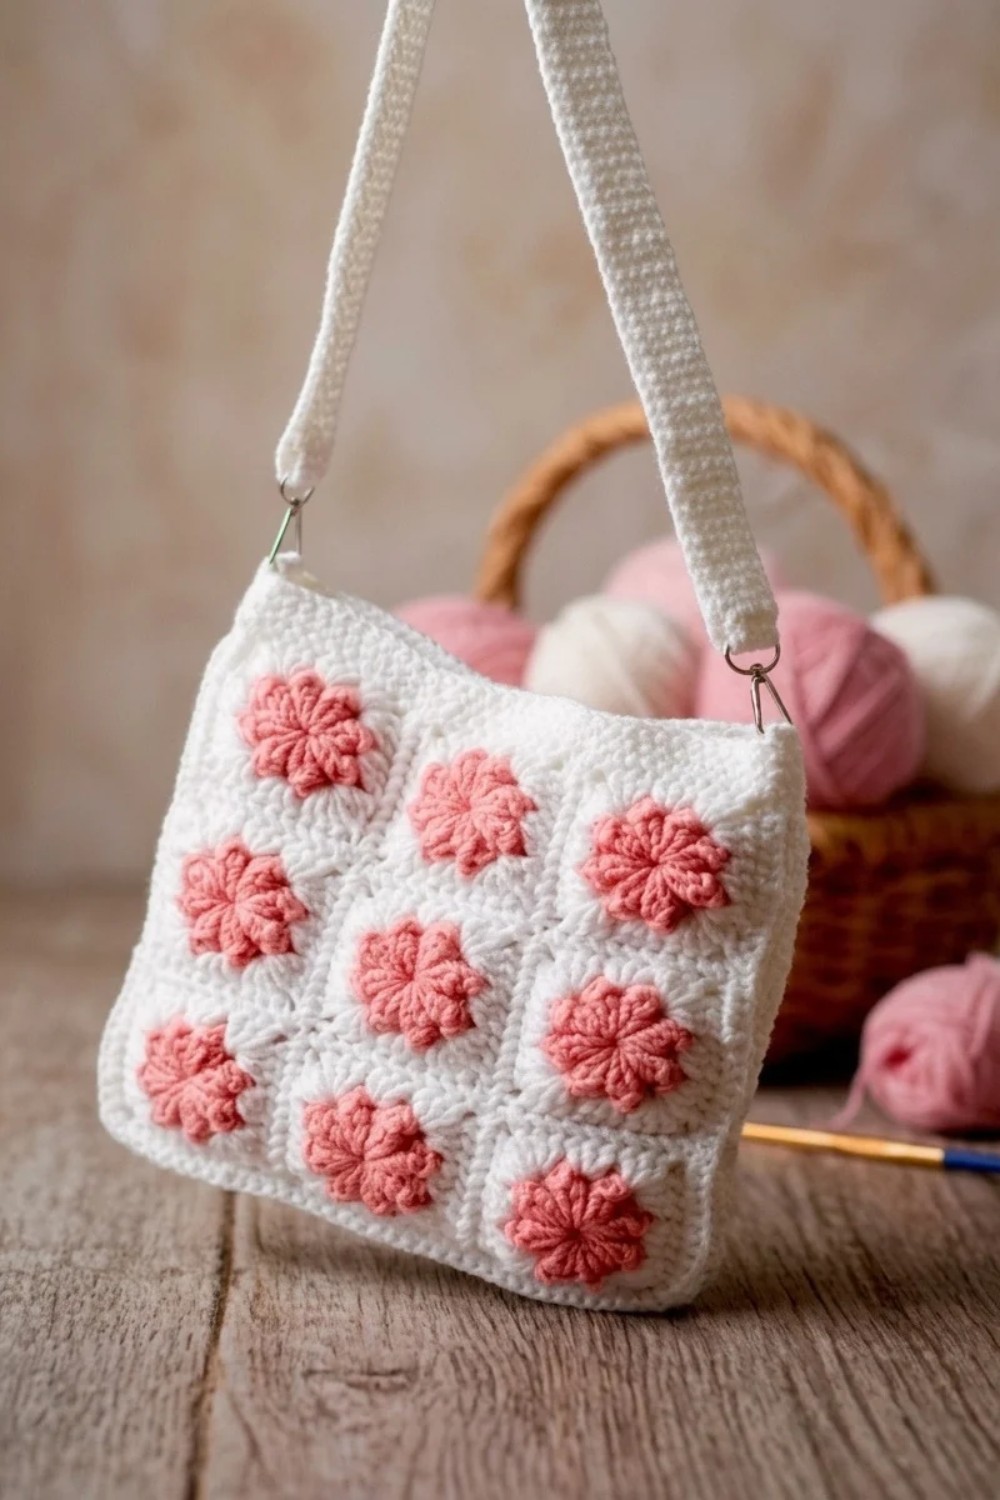
Assembly & Finished Size Conclusion
Bringing together classic granny squares for this crochet bag balances tradition and practicality within a pleasing geometric design. The flexible assembly allows for individualized size or color combinations, with structure provided by carefully seamed squares and reinforced edges. The finished bag delivers texture, durability, and timeless appeal, making it highly suitable for a range of uses—whether as an everyday carryall, a market tote, or a statement accessory. The distinctive granny square construction assures that each bag is both cohesive and visually engaging, a testament to the enduring versatility of this foundational motif.
