Build a unique Crochet Courage The Cowardly Dog pattern perfect for kids, featuring a fun and creative design inspired by the beloved character.
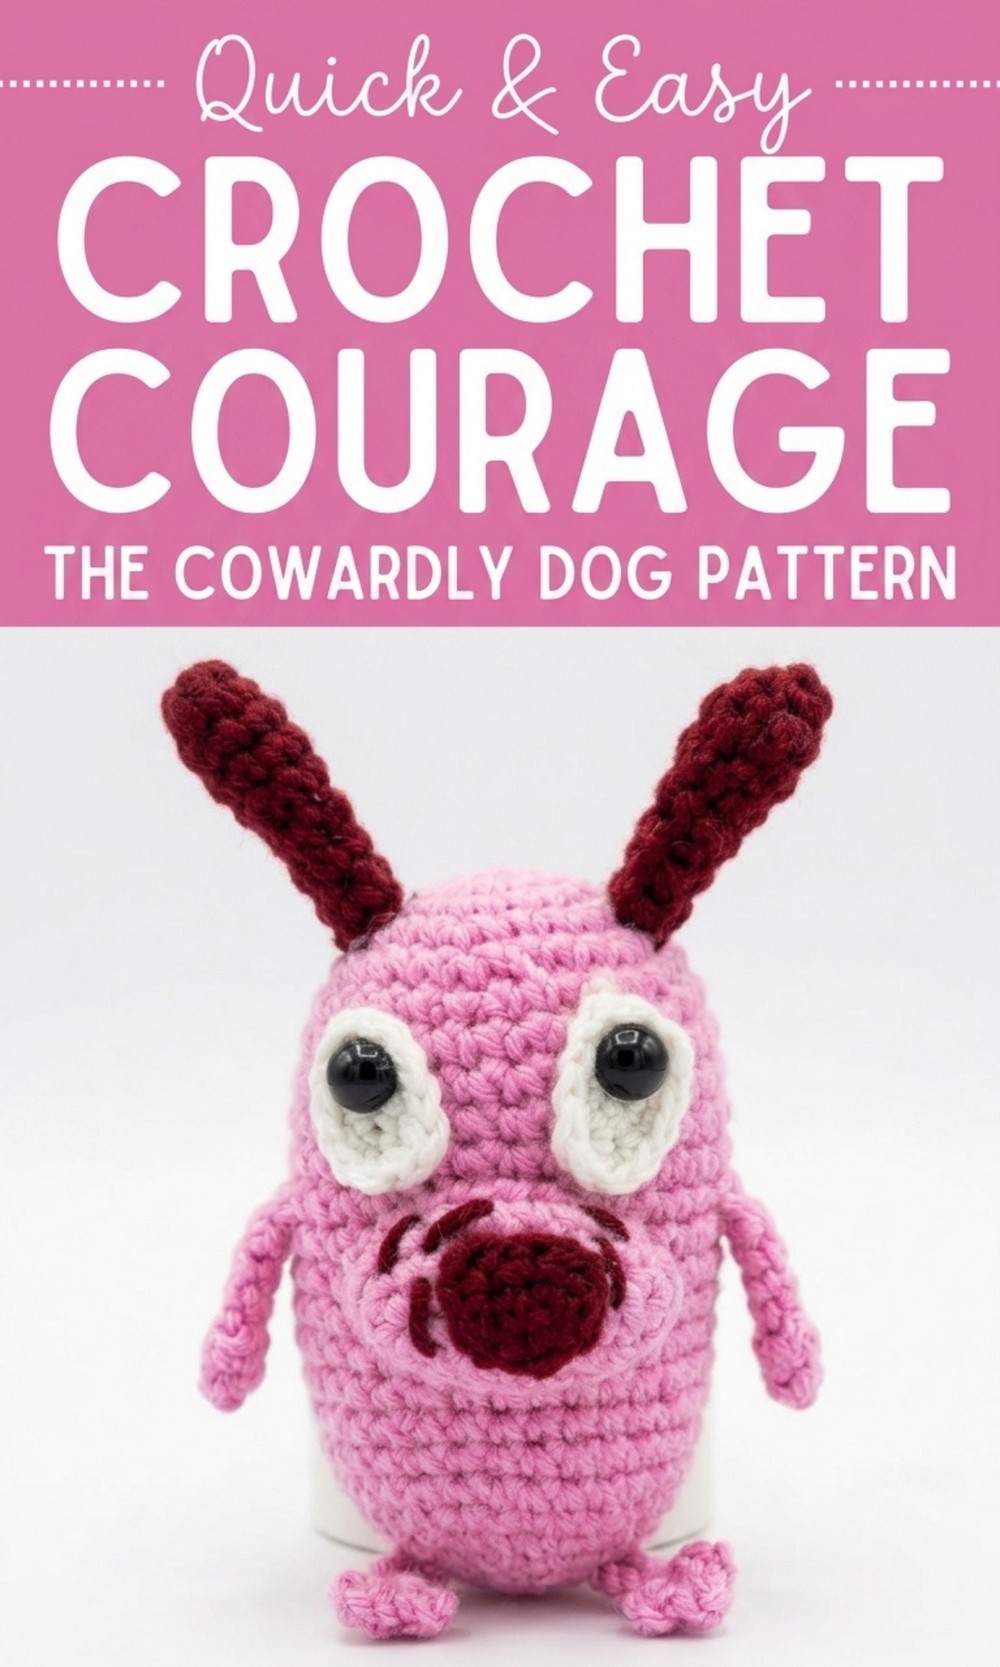
Crochet Courage the Cowardly Dog Pattern to use as room decor
Courage the Cowardly Dog is a cartoon loved by many for its charm and humor, and now you can bring him to life with yarn. This free crochet Courage the Cowardly Dog pattern shows you how to make an adorable plushie version of the lovable Courage. The pattern uses easy stitches like single crochet and includes fun sections to make his big eyes, floppy ears, and cute little nose that look just like the real character. Once finished, Courage can be used as a decoration for your room, a desk buddy, or even a thoughtful handmade gift for someone special. 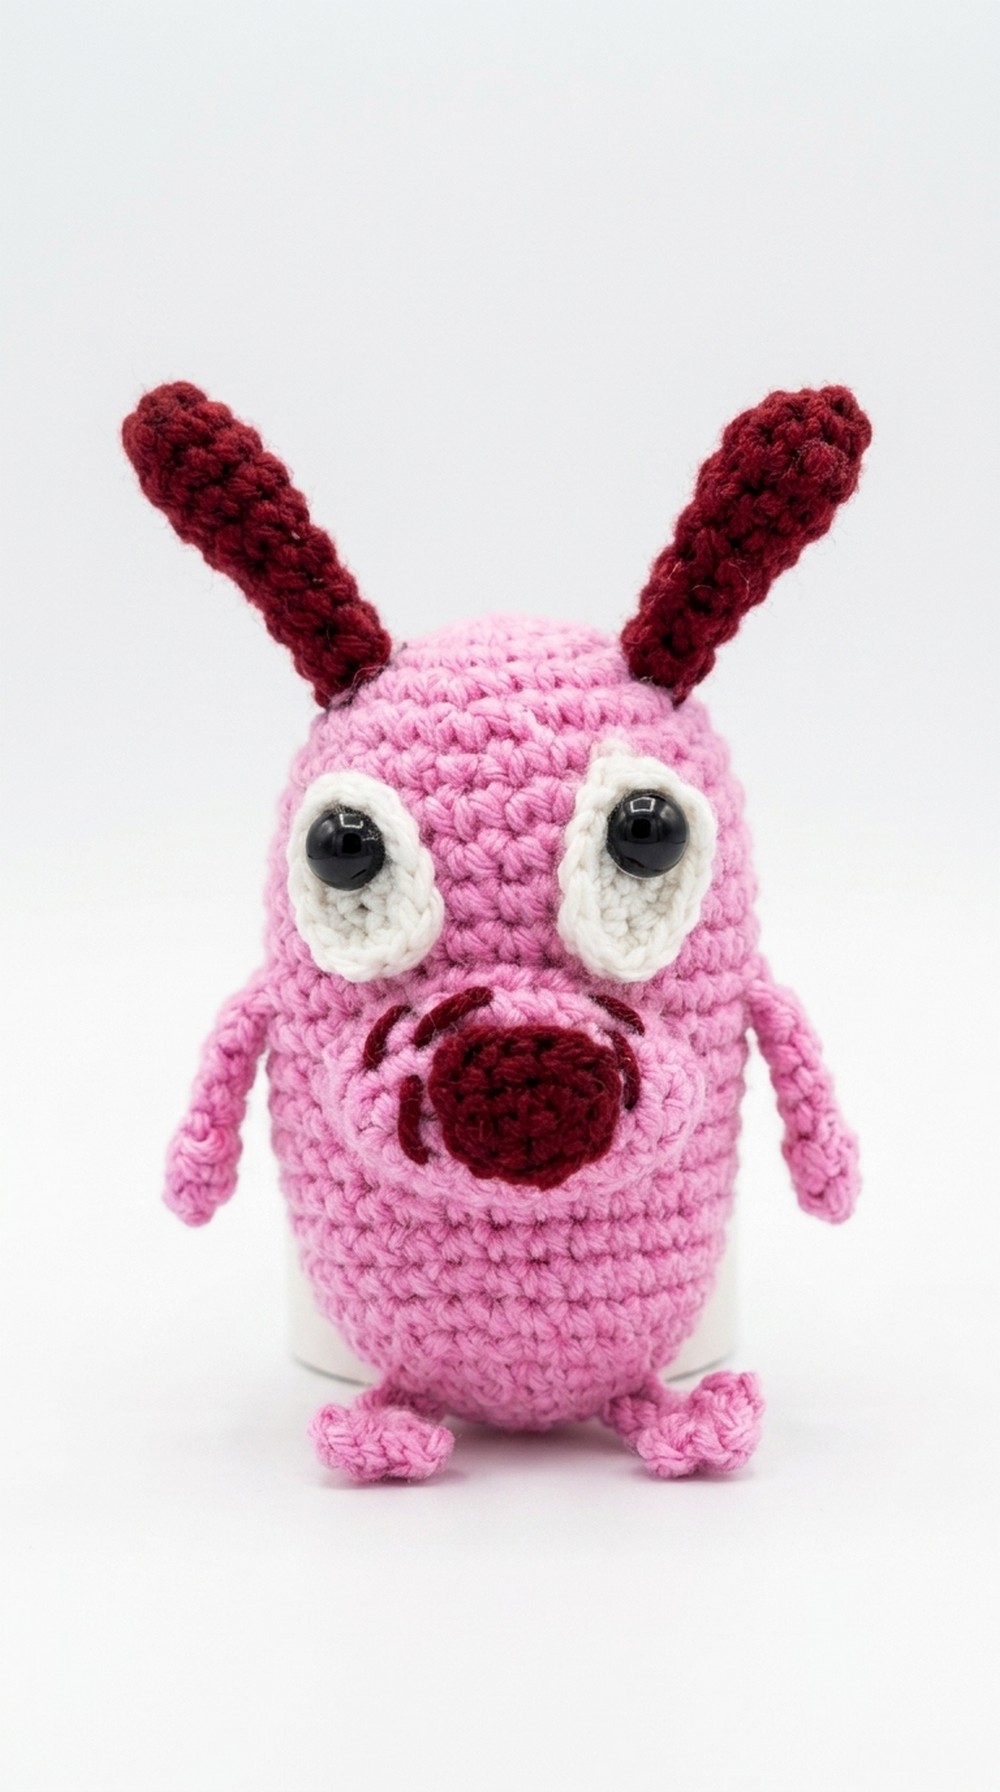
Materials Needed
- Yarn:
- Pink yarn (main color for Courage’s body).
- Black yarn (details such as ears, nose, etc.).
- White yarn (eyes).
- Additional small quantities of contrasting yarn for small details like facial expressions.
- Crochet Hook: 3.0 mm.
- Safety Eyes (optional): Black safety eyes for realistic detailing.
- Stuffing Fiber: To fill the body, making the plush toy fluffy.
- Needle: For stitching facial features and placement of parts.
- Scissors: For cutting excess yarn.
- Stitch Marker: To mark the beginning of rounds.
- Glue Gun (optional): For sticking small parts (if not stitching).
Special Techniques
- Magic Ring: A circular foundation used to start the crochet without leaving a hole at the center.
- Single Crochet (SC): Basic crochet stitch used throughout.
- Slip Stitch (SL ST): Used to join the ends of a round or finish parts.
- Increase: Two single crochet stitches into the same stitch.
- Decrease: Combine two stitches to form one.
- Chains: Foundation stitches for certain parts like arms, legs, and nose.
Pattern with Detailed Instructions
Step 1: Courage’s Body
- Round 1:
Create a magic ring, chain 1, then make 6 single crochets (SC) into the ring. Close the ring by pulling it tight and join with a slip stitch into the first SC.
(6 stitches) - Round 2:
Chain 1. Make an increase (2 SC in one stitch) in every stitch around.
(12 stitches) - Round 3:
Chain 1. SC in the first stitch, then make an increase in the second stitch. Repeat this pattern (1 SC, 1 increase) around.
(18 stitches)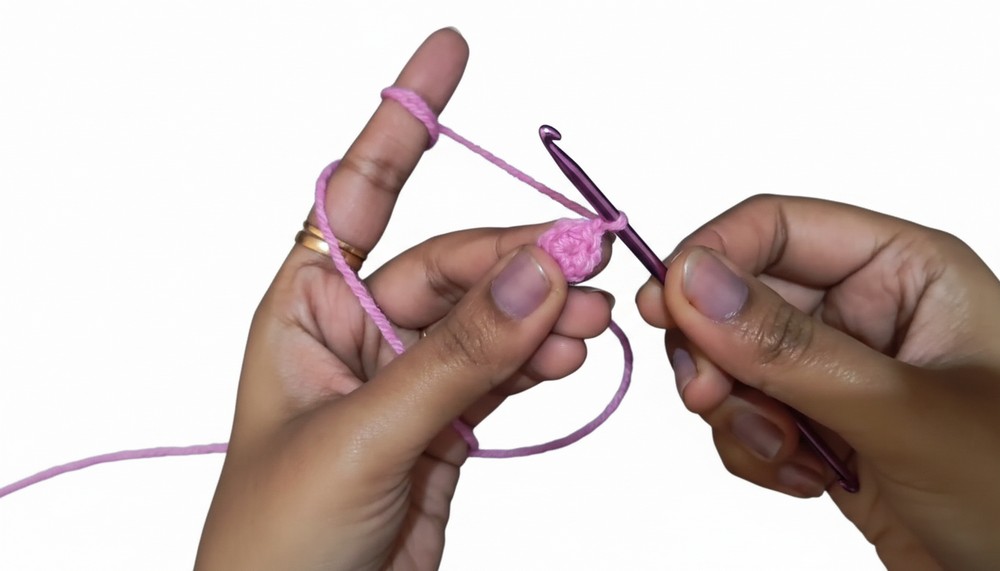
- Round 4:
Chain 1. SC in the first 2 stitches, then make an increase in the third stitch. Repeat this pattern (2 SC, 1 increase) around.
(24 stitches) - Round 5:
Chain 1. SC in the first 3 stitches, then make an increase in the fourth stitch. Repeat this pattern (3 SC, 1 increase) around.
(30 stitches) - Rounds 6-19:
Chain 1. SC in every stitch around.
(30 stitches, no increase) - Round 20 (Start Decreasing):
Chain 1. SC in the first 3 stitches, then make a decrease (combine two stitches into one). Repeat this pattern (3 SC, 1 decrease) around.
(24 stitches) - Round 21:
Chain 1. SC in the first 2 stitches, then make a decrease. Repeat pattern (2 SC, 1 decrease) around.
(18 stitches) - Round 22:
Chain 1. SC in the first stitch, then make a decrease. Repeat pattern (1 SC, 1 decrease) around.
(12 stitches) - Round 23 (Final Round):
Chain 1. Make a decrease in every set of two stitches.
(6 stitches) - Finishing the Body:
Close the hole by weaving yarn through the final 6 stitches and pulling tightly. Stuff the body firmly with fiber to give it shape before completely closing.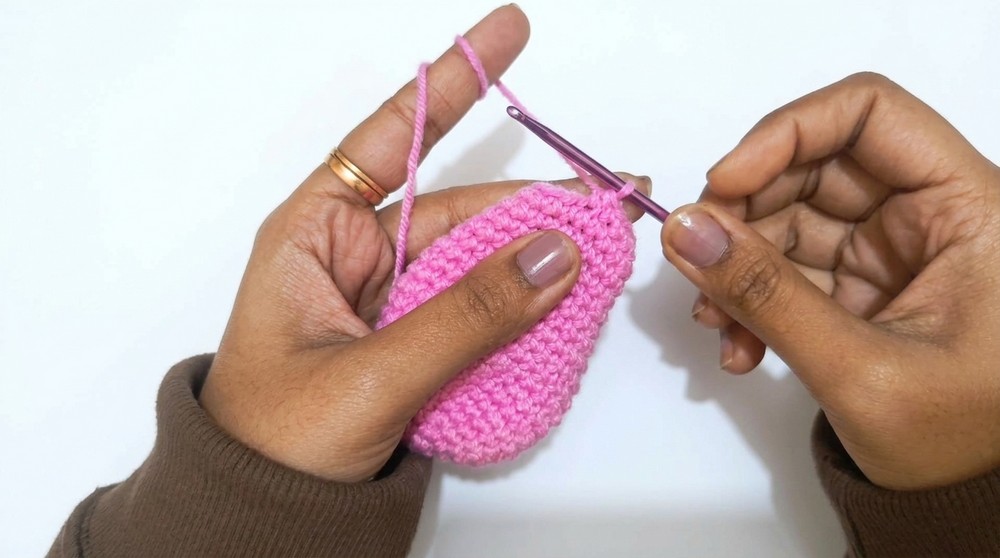
Step 2: Legs (Make 2)
- Chain 10.
- Starting from the 4th chain from the hook, make a slip stitch (SL ST) to create a loop.
- Create 3 chains, SL ST into the same loop (repeat three times for the toes).
- SC in each chain around the leg to provide thickness and firmness.
Step 3: Arms (Make 2)
- Create a magic ring.
- Chain 1, then make 6 SC into the ring and close with a slip stitch.
- Extend the arms by working 6 SC into each stitch for 4–5 rounds (depending on desired length).
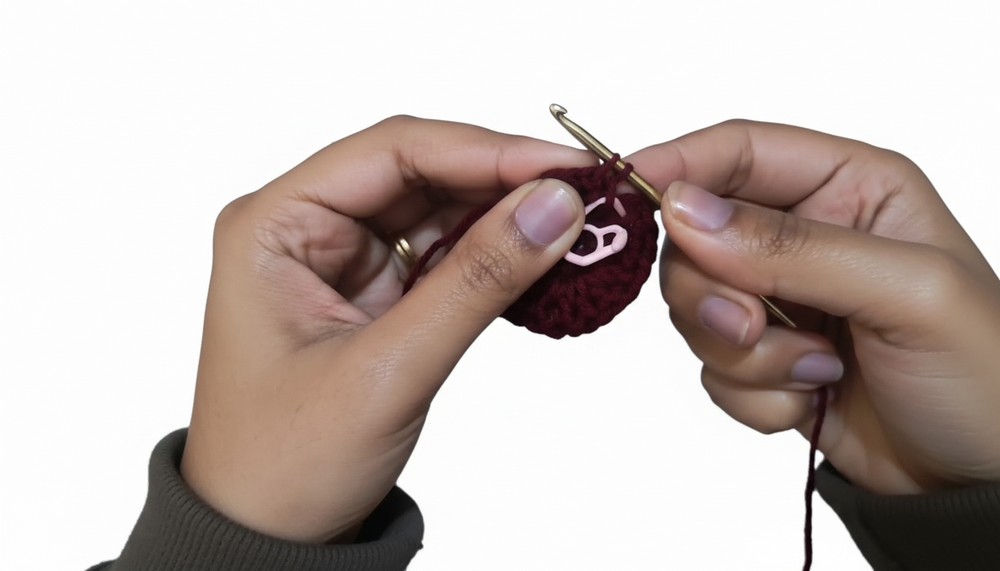
Step 4: Ears (Make 2)
- Use black yarn. Create a magic ring, chain 1.
- Round 1: Make 4 SC into the magic ring and close tightly.
- Round 2: Chain 1, make an increase in every stitch.
Final result: Small triangular ears.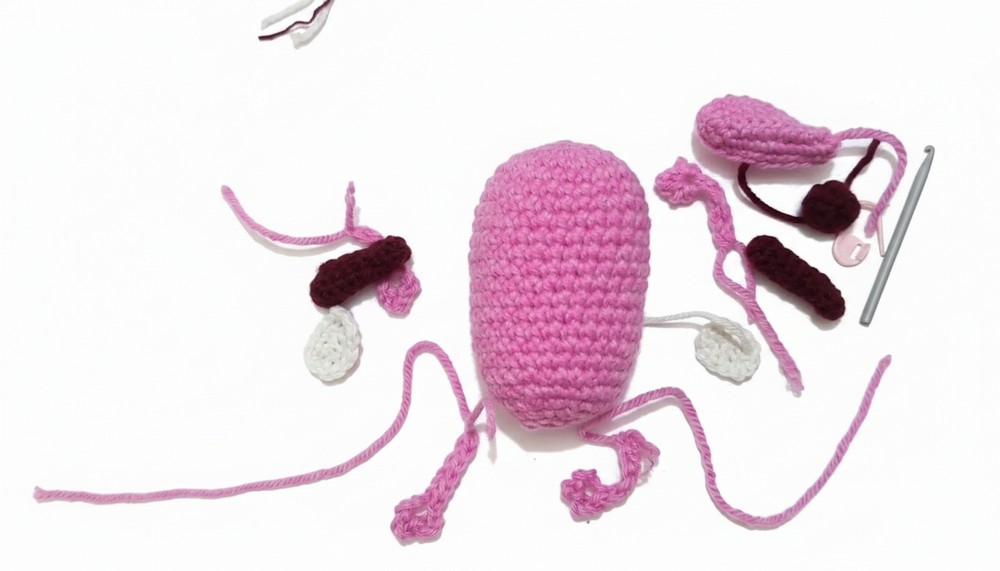
Step 5: Nose
- Chain 5. Starting from the second chain, make 4 SC across.
- Chain 1, turn, and decrease across next rows until the shape tapers to a point.
- Fasten off and leave a long tail for sewing.
Step 6: Eyes (Make 2)
- Use white yarn.
- Begin with a magic ring, chain 1, and make 6 SC into the ring.
- Round 2: Make an increase in every stitch around the circle.
- Round 3: SC in each stitch around to create depth.
- Add a black safety eye to the center or embroider a pupil with black yarn.
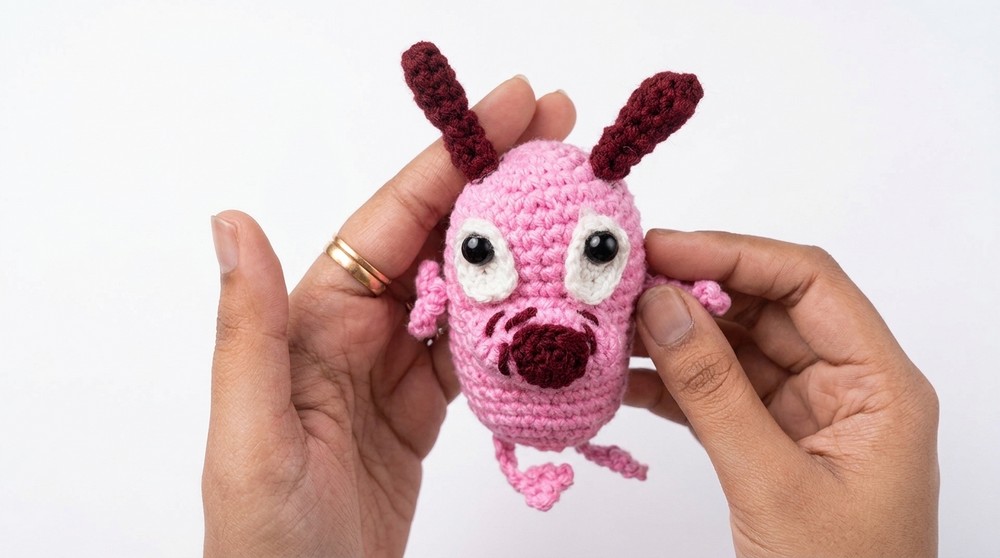
Assembly
- Attach Eyes: Place the white eyes on the face and secure using a glue gun or needle.
- Sew Nose: Attach the tapered nose just below the eyes.
- Fix Ears: Sew the black ears to the sides of the head.
- Attach Arms and Legs: Sew or glue arms to the sides of the body and legs at the bottom.
- Create Features: Add facial expressions and other details like Courage’s nervous eyebrows using black yarn.
Finishing Touches
- Ensure all parts are securely stitched or glued.
- Use the fiber filling to add last-minute fluff for a well-shaped, plush look.
- Neatly trim any excess yarn.
Final Words and Tips
- Use a smaller hook size for tighter stitches to avoid gaps when stuffing.
- Always use a stitch marker to avoid losing your place while crocheting in rounds.
- Be patient while working on small parts like the fingers or nose, as they can be delicate.
- To maintain your amigurumi, avoid washing in a machine. Clean gently with a damp cloth if needed.