
Decorate your home with elegance using this free crochet snowflake ornament pattern, inspiring beautiful designs for holiday trees or thoughtful gifts.
Christmas has arrived, and it’s the perfect time to add some handmade magic to your decorations. While browsing for festive ideas, I found an amazing video (Scroll Down for tutorial) by Katia Creates that guided me through the Free crochet Snowflake Ornament Pattern. This charming ornament is a delicate, handcrafted snowflake that easily brings a warm and cozy feel to any holiday setting. Whether you hang it on your tree, use it to decorate windows, or gift it to loved ones, this little crochet creation is sure to spread joy.
Beginner Free Crochet Snowflake Ornament Pattern For Holiday
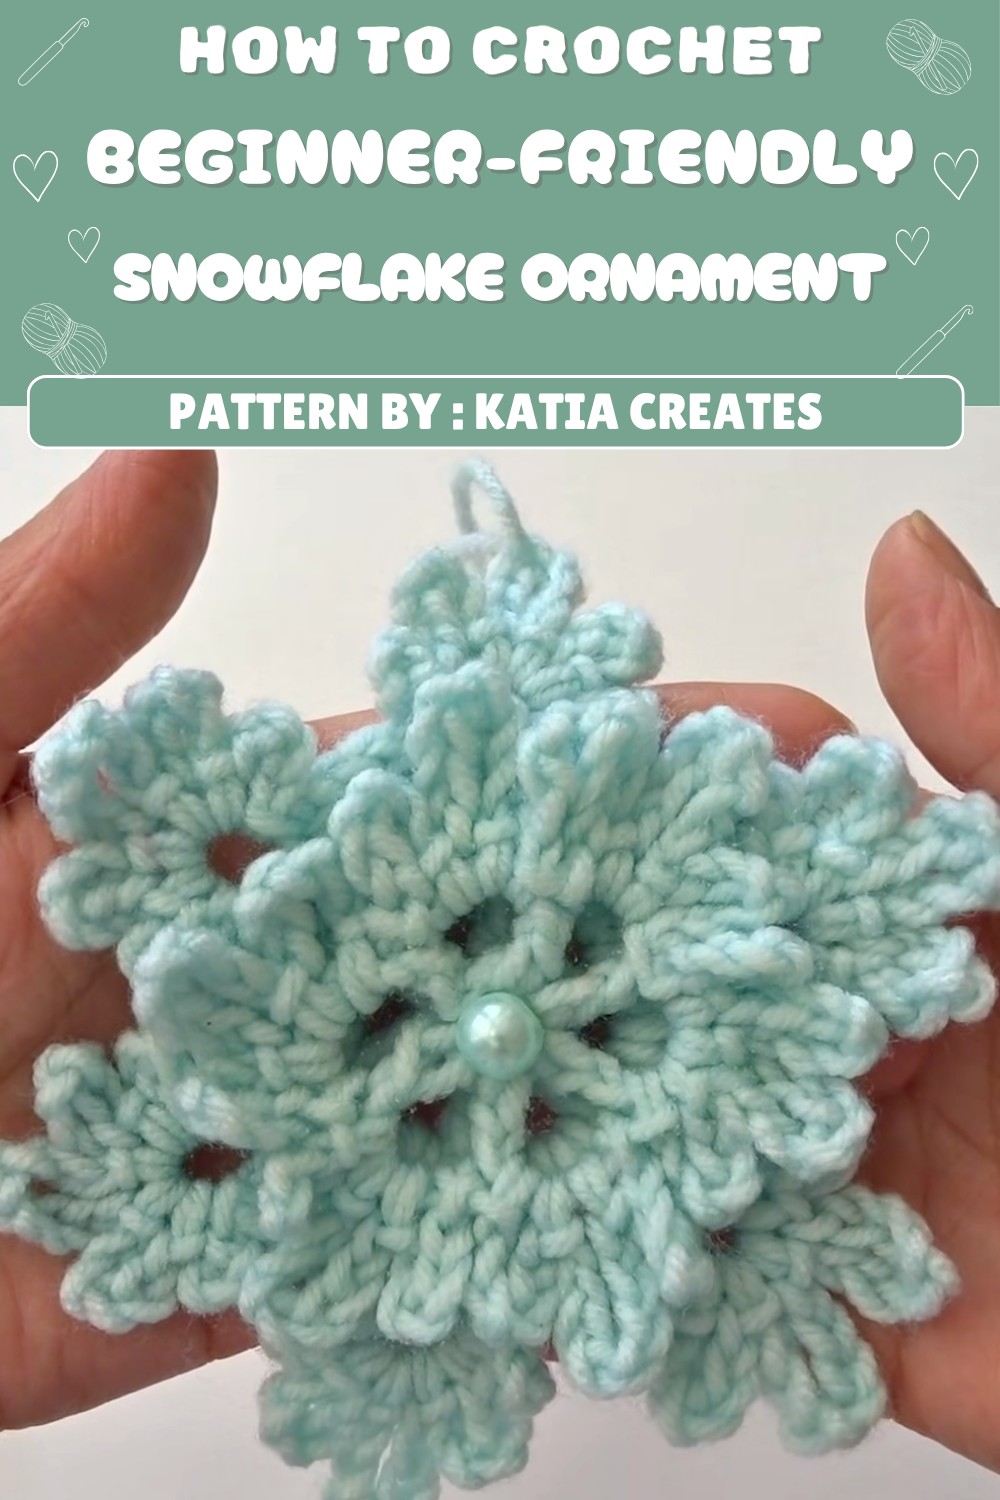
The snowflake features six beautifully shaped points crocheted with soft yarn and intricate stitches. Its lace-like texture feels light and elegant while maintaining a sturdy shape, especially after a bit of blocking. The design stands out with a mix of longer and shorter loops, giving it a lovely airy and dimensional look that catches the eye. A small pearl in the center adds just the right touch of sparkle, making each piece look both festive and refined.
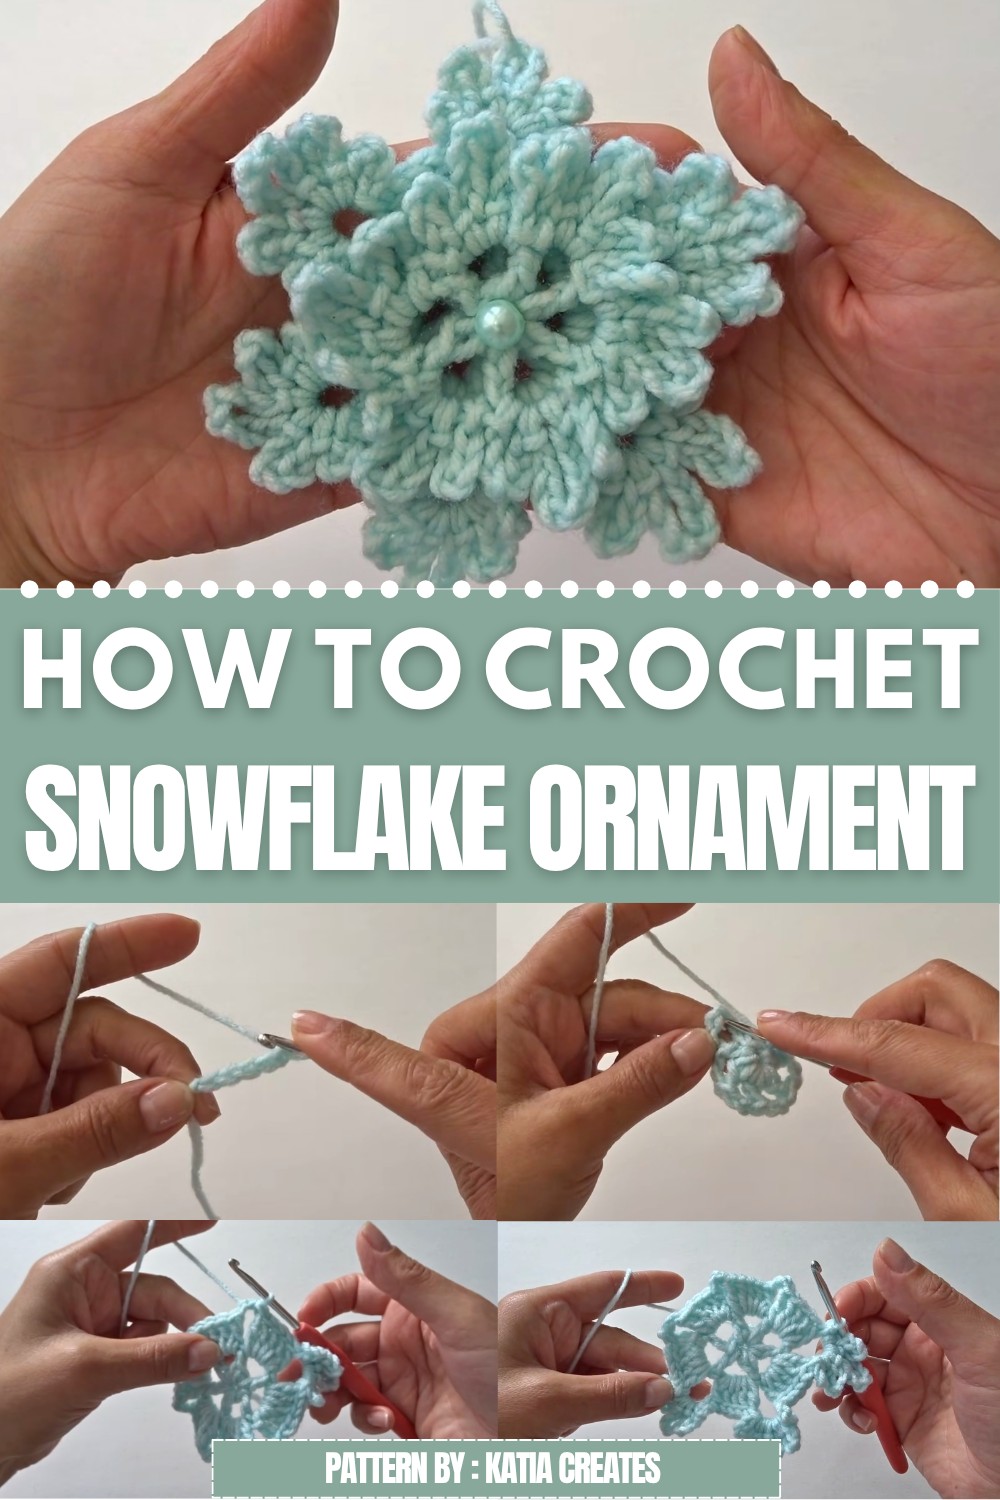
Beyond its beauty, this crochet snowflake is highly versatile. It can enhance your holiday décor, serve as a unique gift tag, or be gifted as a thoughtful handmade present. Thanks to the clear and easy-to-follow instructions from Katia Creates, even beginners can enjoy crocheting this stunning ornament without stress.
In summary, the Free crochet Snowflake Ornament Pattern is a wonderful way to celebrate the season with style and creativity. It’s a simple yet elegant project that adds a personal and festive charm to your holiday celebrations.
Crochet Snowflake Ornament Pattern
Hello everyone, I’ll show you how to crochet a charming snowflake ornament using Crocheter Square number four medium weight yarn. The snowflake is delicate yet bold, just 4 inches across, a perfect winter accent or holiday decoration. We’ll work step-by-step, making two snowflakes and assembling them with a pearl for the classic finishing touch.
Pattern Highlights
Foundation & Center
- Begins with a slip knot and a chain ring foundation.
First Snowflake
- Worked in the round with double crochet clusters, separated by chain spaces.
- Gradual increases and clusters give the iconic snowflake look.
Second Snowflake (Layer)
- Similar construction, built separately for a layered effect.
- Petals formed using chains and attached with slip stitches.
Assembly
- Both snowflakes are glued together for a durable, layered appearance.
- A pearl finishes the center, and a yarn hanger is added for display.
Notes
- Pattern uses US crochet terminology throughout.
- Work stitches into the chain ring in round one; subsequent rounds are worked into chain spaces.
- Weave ends neatly and block your snowflake for best results.
- Adjust yarn thickness and hook size for different effects.
- Ornament can be used alone or layered for extra texture.
Skill Level
Beginner – Confident Beginner
You should feel comfortable with:
- Chains and slip knots
- Double crochet
- Slip stitch
- Working in the round
- Basic assembly and blocking
Materials
- Crafter Square Number Four Medium Weight Yarn (just a small amount needed)
- 4 mm crochet hook
- One small pearl (for center)
- Hot glue (or strong craft glue)
- Scissors
- Optional: Yarn needle for weaving ends
Measurements / Sizing
- Finished snowflake ornament measures approximately 4 inches across.
Gauge
- Gauge is not crucial. Ensure your snowflake is stiff and lacy.
- If using thicker or thinner yarn, your ornament size may vary accordingly.
Stitch Abbreviations
| Abbreviation | Meaning |
|---|---|
| sl knot | Slip knot |
| ch | Chain |
| sl st | Slip stitch |
| dc | Double crochet |
Special Stitches
- Slip knot: Begin crocheting by making a slip knot.
- Chain ring: Form a loop with chains, then join using a slip stitch.
- Double crochet: Yarn over, insert hook, pull up a loop, yarn over, pull through two, yarn over, pull through remaining loops.
- Slip stitch: Insert hook into stitch, yarn over, pull through both stitch and loop.
Step-by-Step Pattern
FIRST SNOWFLAKE
Round 1 (Foundation)
- Start with a slip knot.
- Chain 5.
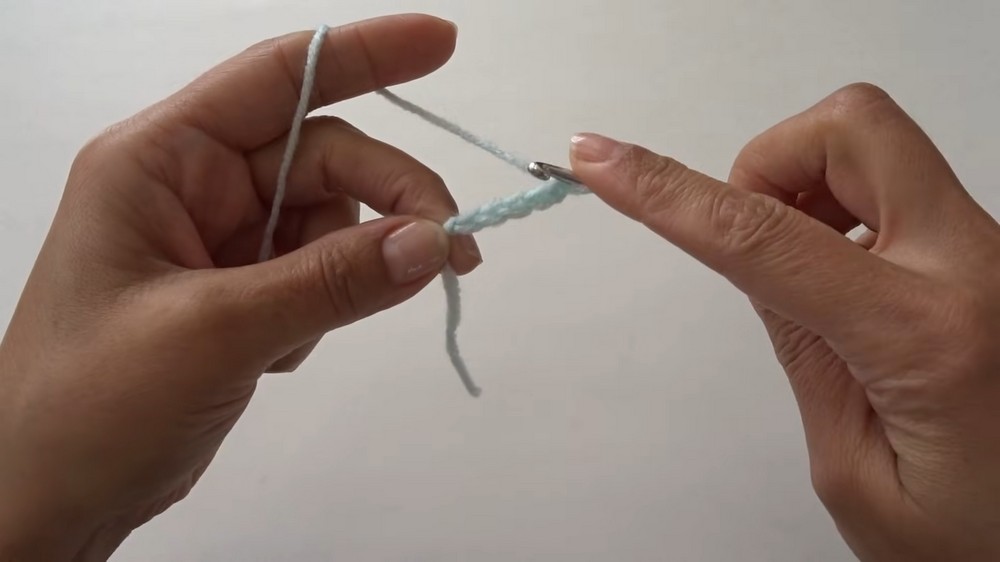
- Join to the first chain with a slip stitch to form a ring.
- Work into the ring: chain 5 (counts as dc + ch 2).
- Into the ring, work 1 dc, ch 2; repeat sequence until you have a total of 5 double crochets (with chain 2 spaces between them).
- Pull on your tail to tighten the center slightly.
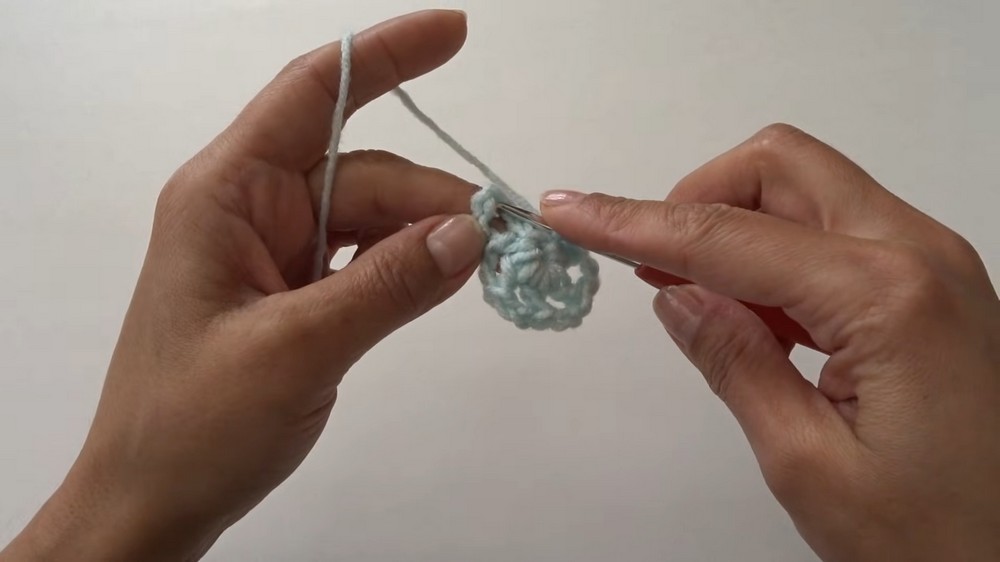
- Find the third chain from your starting chain 5, and slip stitch into it to close the round.
- Ensure you have 6 chain 2 spaces.
Round 2
- Slip stitch to move into the first chain 2 space.
- Chain 3 (counts as first dc).
- Work 4 more dc into the chain 2 space (total of 5 dc).
- Chain 3.
- Jump to the next chain 2 space and work 5 dc into it.
- Chain 3.
- Repeat this sequence (5 dc, ch 3) in each chain 2 space around.
- At round’s end, slip stitch to the top of the third chain from the first dc to join.
Round 3
- Slip stitch across the top of the 5 dc to reach the chain 3 space (total 4 slip stitches).
- In the chain 3 space:
- Chain 4, slip stitch back into chain 3 space.
- Chain 6, slip stitch back into chain 3 space.
- Chain 8, slip stitch back into chain 3 space.
- Chain 6, slip stitch back into chain 3 space.
- Chain 4, slip stitch back into chain 3 space.
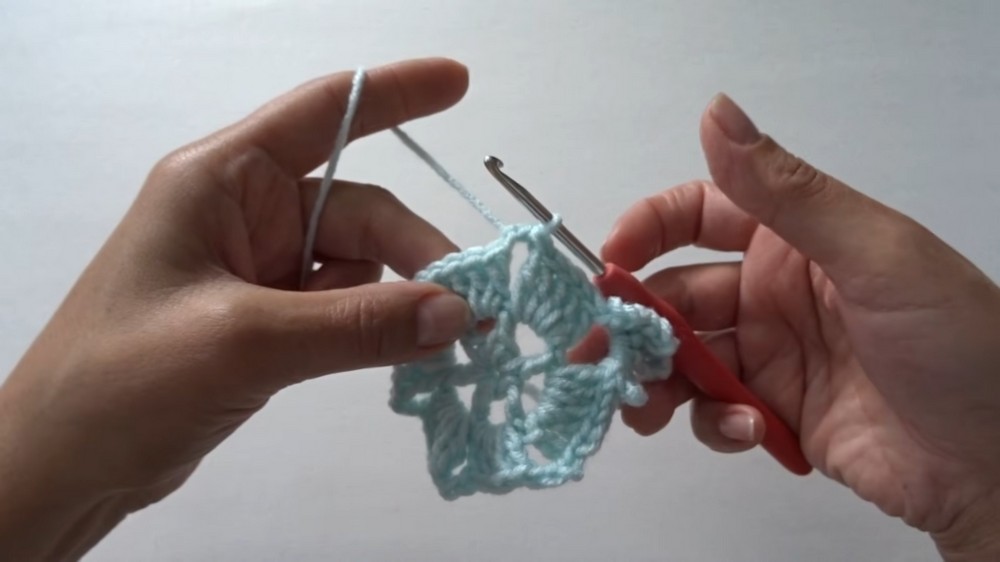
- Move to the next chain 3 space by slip stitching across the 5 dc (4 times), then slip stitch into the chain 3 space.
- Repeat the same sequence for the next chain 3 space:
- chain 4, sl st; chain 6, sl st; chain 8, sl st; chain 6, sl st; chain 4, sl st.
- Continue this pattern for all six chain 3 spaces, creating the snowflake petals.
- To finish, slip stitch into your first slip stitch from the start of round 3.
- Chain 1, cut your yarn, pull hook out, and tighten.
Weaving in the Yarn Tails
- Turn snowflake to back.
- Use your hook to weave the yarn tails into stitches, hiding as much as possible.
- Join tails together, knot gently, cut yarn, and pull center tight.
SECOND SNOWFLAKE (Layer)
Repeat above steps for first snowflake, but follow this layer-specific pattern:
Round 1
- Slip knot, chain 5, join to first ch with slip stitch to form ring.
- Chain 5, work 1 dc into ring, chain 2, 1 dc into ring; repeat to make 6 chain 2 spaces.
- Finish with chain 2, then slip stitch into third chain to join round.
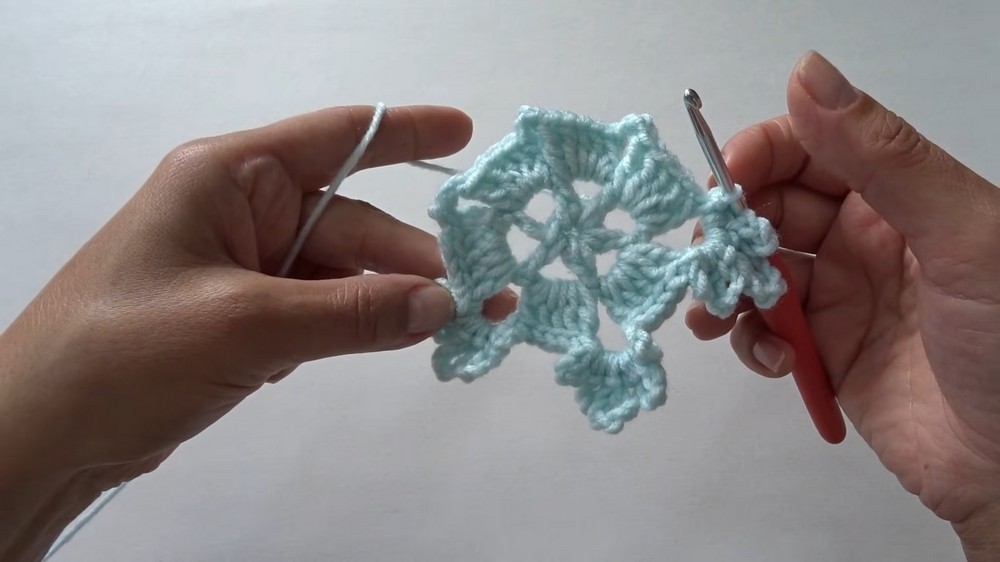
Round 2
- Slip stitch into chain 2 space.
- Begin petal sequence:
- Chain 6, slip stitch into chain 2 space.
- Chain 8, slip stitch into chain 2 space.
- Chain 6, slip stitch into chain 2 space.
- Repeat sequence into each chain 2 space around.
- Slip stitch into first slip stitch, chain 1, and fasten off.
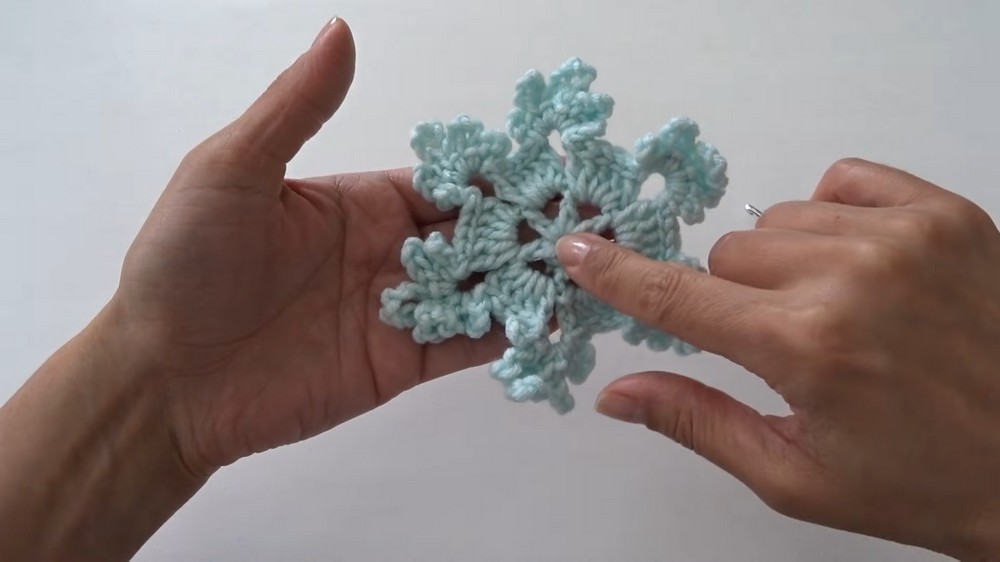
Weaving in the Yarn Tails
- As before, weave ends and knot gently near the center.
Blocking (Optional But Recommended)
- Use steam and hairspray, or your preferred method, to stiffen and shape the snowflake.
- Block carefully for best texture and appearance.
Assembly & Finished Size
- Place the first snowflake right side up.
- Add a dot of glue to the center.
- Layer the second snowflake on top, lining up points and petals. Press gently and hold.
- Glue a small pearl in the center for decoration.
- If desired, thread a 12-inch piece of yarn through any chain 8 space and knot it for hanging as an ornament.
- Finished size: approx. 4 inches across.
Conclusion
Congratulations, your crochet snowflake ornament is complete! With its layered structure and pearl accent, this snowflake brings elegance and festive sparkle to any setting. Whether you hang it as a winter ornament, display it on your holiday tree, or use it in crafts and gifts, your handiwork shines with warmth and craftsmanship.
