
Create a breezy summer look with a Free Crochet Halter Crop Top Pattern, perfect for sunny outings, beach days, and adding a cute handmade touch to your style.
A warm sunny day often calls for something light, simple, and comfortable to wear. That is where the Free Crochet Halter Crop Top Pattern becomes a lovely idea for anyone who enjoys handmade clothing. This top has a soft and airy look that feels perfect for warm weather. It gently ties around the neck and fits nicely around the body, giving a neat and stylish shape.
Stylish Free Crochet Halter Crop Top Pattern for a Trendy Summer Look

The crochet texture adds a beautiful handmade touch that makes the top look unique and eye-catching. It can be worn at the beach, during a summer walk, or even at a small gathering with friends. The simple stitches make the pattern easy to follow, so even a beginner can try it with confidence. You can choose any color of yarn to match your style and mood. In the end, this crochet halter crop top is not only useful but also a charming piece that shows the beauty of handmade fashion.
Overview
- Skill Level: Advanced Beginner
- Finished Size: Size M (customizable for other sizes).
Bust size: Approximately 31 inches, with 10 inches left open at the back for the strap enclosure. - Style: Open-back top with lacework and crisscross straps.
- Customizable Length: You can adjust the top to make it longer (waist-length or cropped as desired).
- The instructions are easily adaptable to personal preferences.
Materials
- Yarn:
- A lightweight or DK-weight yarn (approximately 113 g for size M). Any yarn with a good drape is recommended.
- Color of your choice for the top.
- Crochet Hook:
- 3.5mm – 4.00mm crochet hook, depending on your tension and yarn thickness.
- Tape Measure:
- For accurate body measurements.
- Stitch Markers:
- To mark specific points, especially for straps and sections.
- Tapestry Needle:
- For weaving in ends and assembling straps.
- Scissors
Gauge
- 10 stitches x 11 rows = 4 inches (10 cm) using half double crochet (hdc).
(Ensure you check your gauge to ensure the top fits properly.)
Finished Size
- Bust Circumference: Approx. 31 inches, leaving 10 inches open at the back for adjustable ties.
- Length: Approx. 8 inches from the top of the bust.
- Strap Length: About 40 inches per strap, to allow for a crisscross in the back.
- These measurements can be adjusted based on individual preference.
Stitch Key
- Ch: Chain
- Sl st: Slip Stitch
- Sc: Single Crochet
- Hdc: Half Double Crochet
- Dc: Double Crochet
- Sk: Skip
- Rep: Repeat
- FO: Fasten Off
Pattern Instructions
Step 1: Create the Base Band
- Taking Measurements:
- Measure your bust circumference below the bust line.
- Subtract 10 inches from the measurement (this is the open gap for the back tie).
- Example: For a 36-inch bust size, your chain foundation will cover 26 inches.
- Foundation Chain:
- Chain enough stitches to match your measurement. Ensure the chain is slightly taut for a snug fit.
- Example: For 26 inches, chain 80-100 chains (based on your gauge).
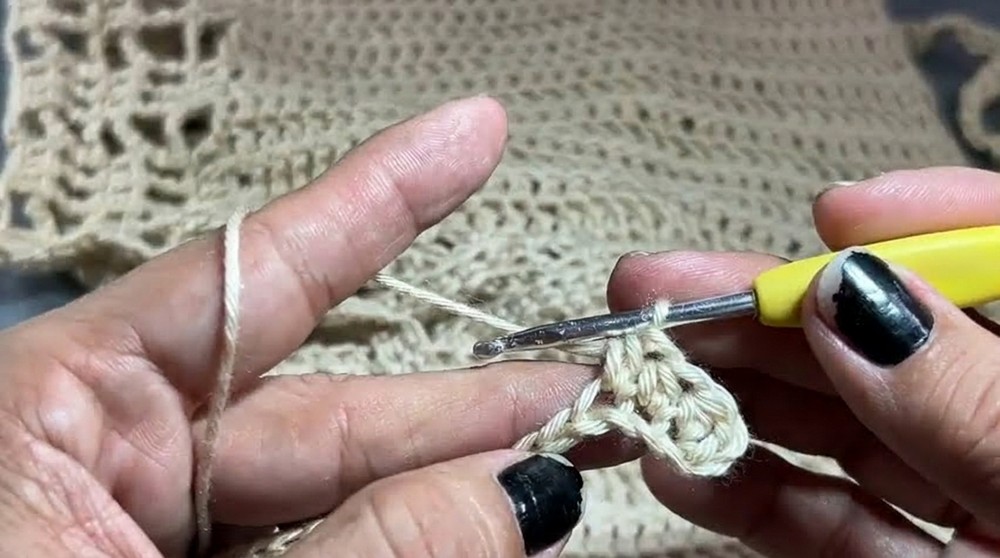
- Row 1:
- Work hdc into the second chain from the hook and across the entire row.
- Turn.
- Row 2:
- Work 2 ch (counts as hdc turning chain), then hdc one stitch per stitch across the row until the end.
- Turn.
- Repeat Row 2:
- Continue working rows of hdc until the band measures 8 inches in height.
- Ensure symmetry of stitches as this is the foundation of the top.
Step 2: Add Decorative Open Lace Rounds
- Start the Lace Pattern:
Row 1 (Eyelet row):- Ch 3 (counts as dc), sk 1 stitch, dc in the next stitch, ch 1.
- Repeat the pattern (dc, ch 1, sk 1) across.
- End with dc in the last stitch.
- Turn.
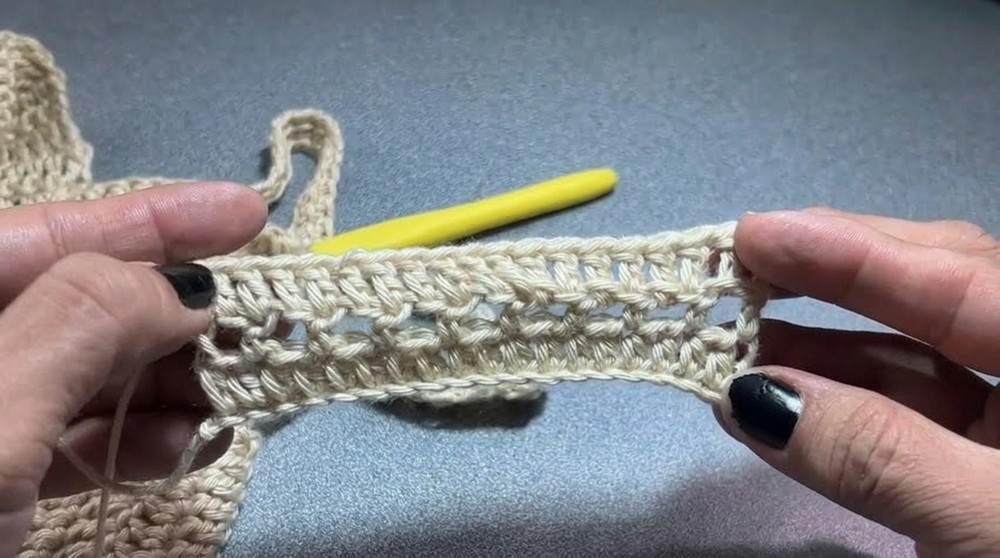
- Row 2:
- Ch 3, dc in each dc and ch-space across.
- Turn.
- Row 3:
- Work Hdc across every stitch.
- Repeat Rows 1-3:
- Continue alternating rows of lacework and solid hdc rows until the top section is complete.
Step 3: Finish the Open Tie Back
- Turn the Band into a Tube:
- Leave the 10 inches gap unsewn at the back.
- This section will remain open for lacing.
- Create the Braiding Slots:
- Work ch-1 spaces at the edges of the back gap:
- Ch 3, sk 1 stitch, sl st in the next, repeat along.
- This creates slots for the chain cord to weave through.
- Work ch-1 spaces at the edges of the back gap:
Step 4: Make the Decorative Bottom Lace (Optional)
- Foundation for Lace Edge:
- Attach the yarn at the bottom of the base band.
- (Optional) Use three hdc rounds to slightly extend the shirt.
- Start Lace Ruffles:
Round 1:- Ch 3, (dc 5 times in the same stitch, sk 2, sc once in the next stitch).
- Repeat the shell pattern across the row.
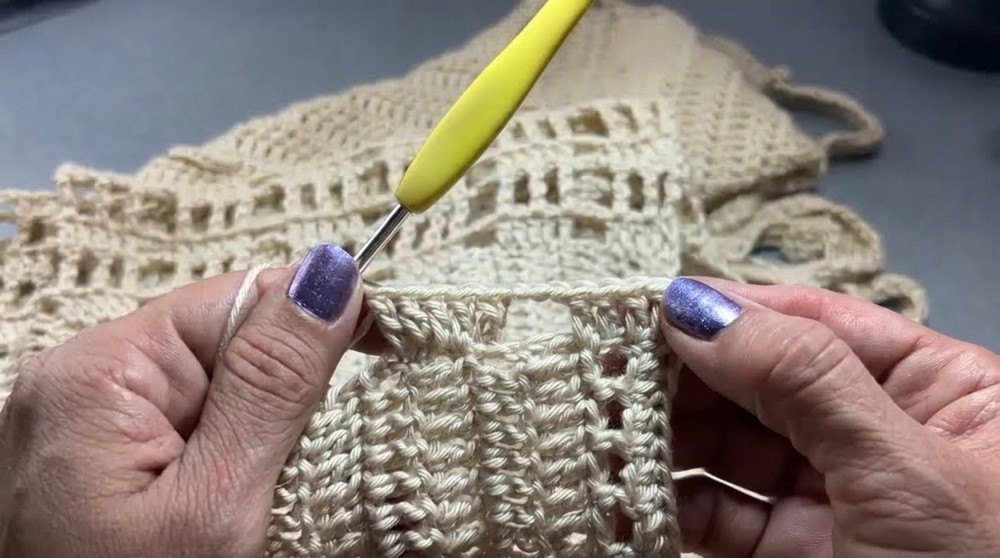
- Add Layers (Optional):
- Add more rows of shell lace extending toward the hem if desired.
Step 5: Make and Attach the Straps
- Strap Width:
- Chain a foundation of 3-5 stitches, depending on the desired strap width.
- Length:
- Work until the strap measures 40 inches (adjust if needed for personal fit).
- Assembly:
- Attach the first strap 10 inches in from the back left edge, and the second 10 inches in from the back right edge. This ensures centered straps.
- Cross the Straps:
- Insert each strap diagonally across the back openings into the lace slots.
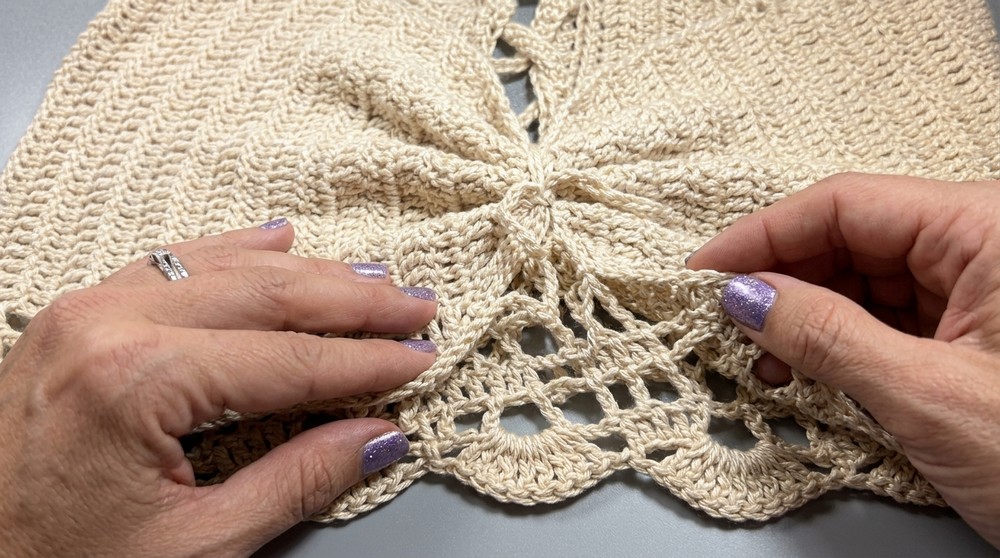
- Insert each strap diagonally across the back openings into the lace slots.
Step 6: Make the Cord Tie
- Chain the Cord:
- Chain a long cord of 100-120 stitches (or as long as desired).
- This will be threaded through the open-back slots, cinching the back fabric together.
- Thread the Cord:
- Alternate the cord through the braided slots starting from the bottom gap upwards.
- Cinch it together and tie it into a bow for a secure and decorative finish.
Customization Ideas
- Length Variations:
- Extend the body for a longer top or crop it further for a bralette style.
- Strap Styles:
- Opt for halter neck straps or thicker straps as desired.
- Colors:
- Work multi-color rows for a striped effect.
- Add Embellishments:
- Beads can be sewn into the edging for extra detail.
Final Touches & Remarks
- Blocking (Optional):
- Carefully block the finished top to straighten the lacework and base.
- Weaving in Ends:
- Use a tapestry needle to securely weave in all ends.
- Styling Options:
- This lightweight, breathable piece pairs perfectly with high-waisted jeans, shorts, or beachwear.
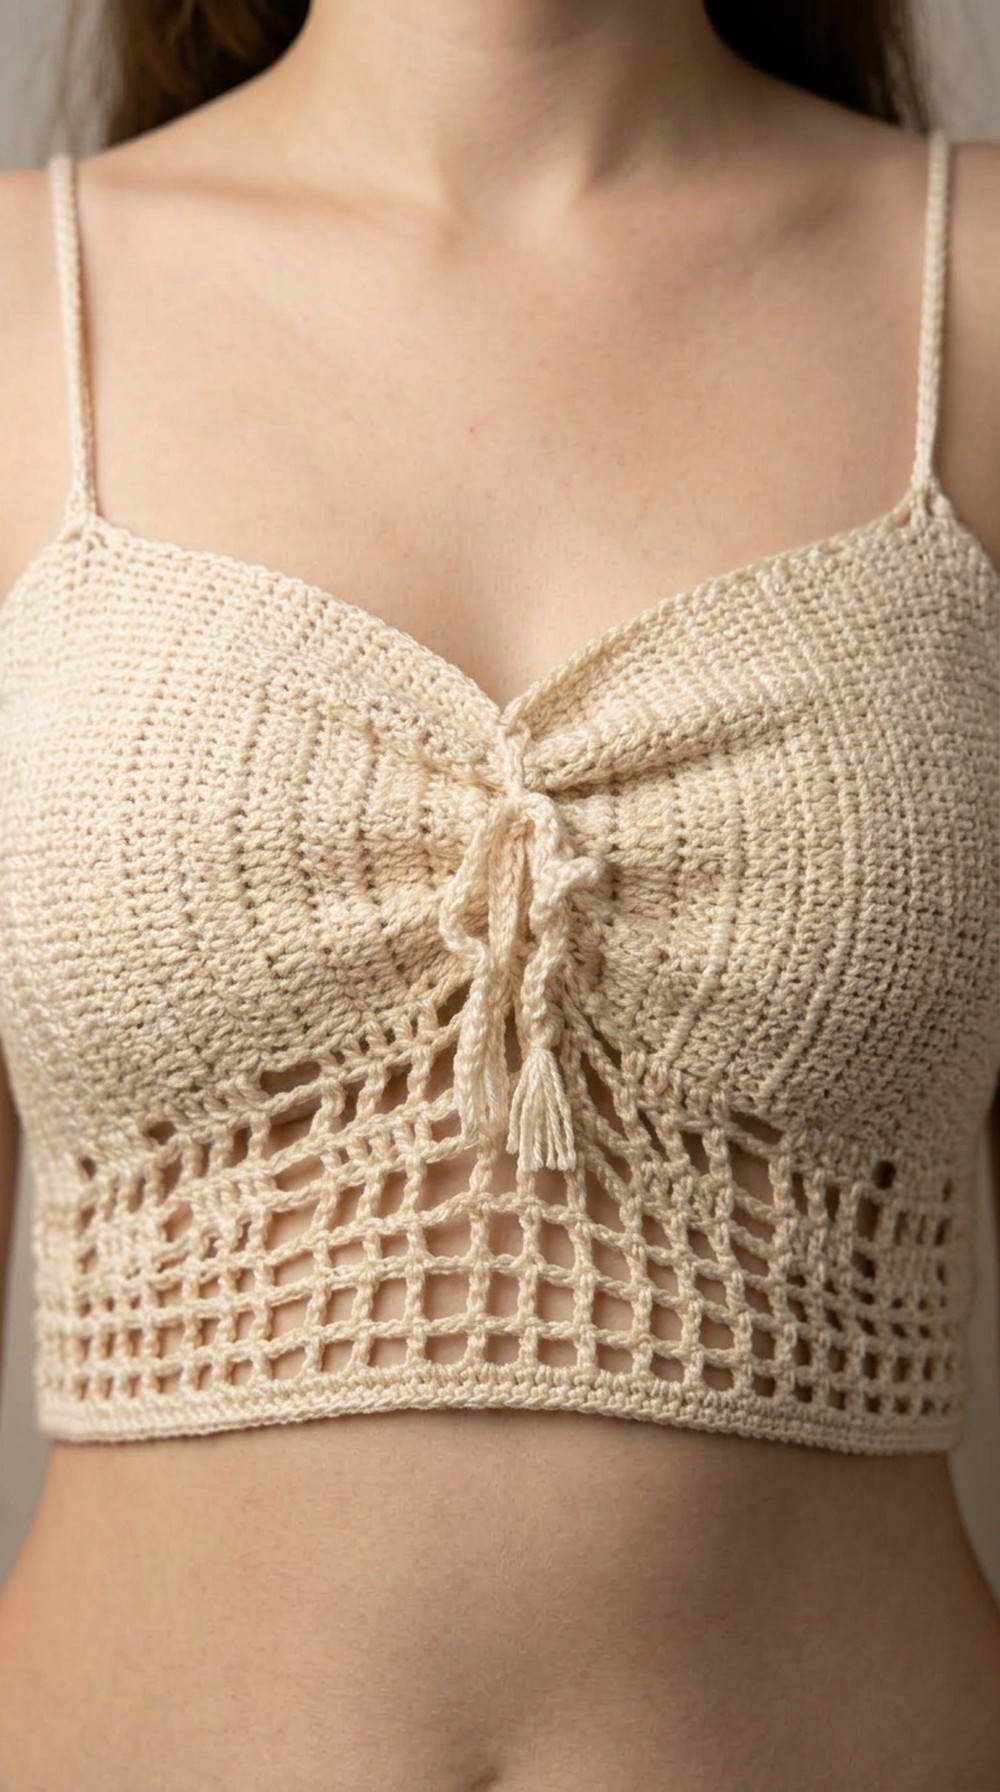
- This lightweight, breathable piece pairs perfectly with high-waisted jeans, shorts, or beachwear.
Conclusion
This open-back cross-strap lace top combines the elegance of lacework with practicality and fun customization options. Whether worn as a beach cover-up or a cute summer crop, you’ll love how versatile it is in both fit and style. Experiment with colors, strap arrangements, and lace finishing to make it personal.
