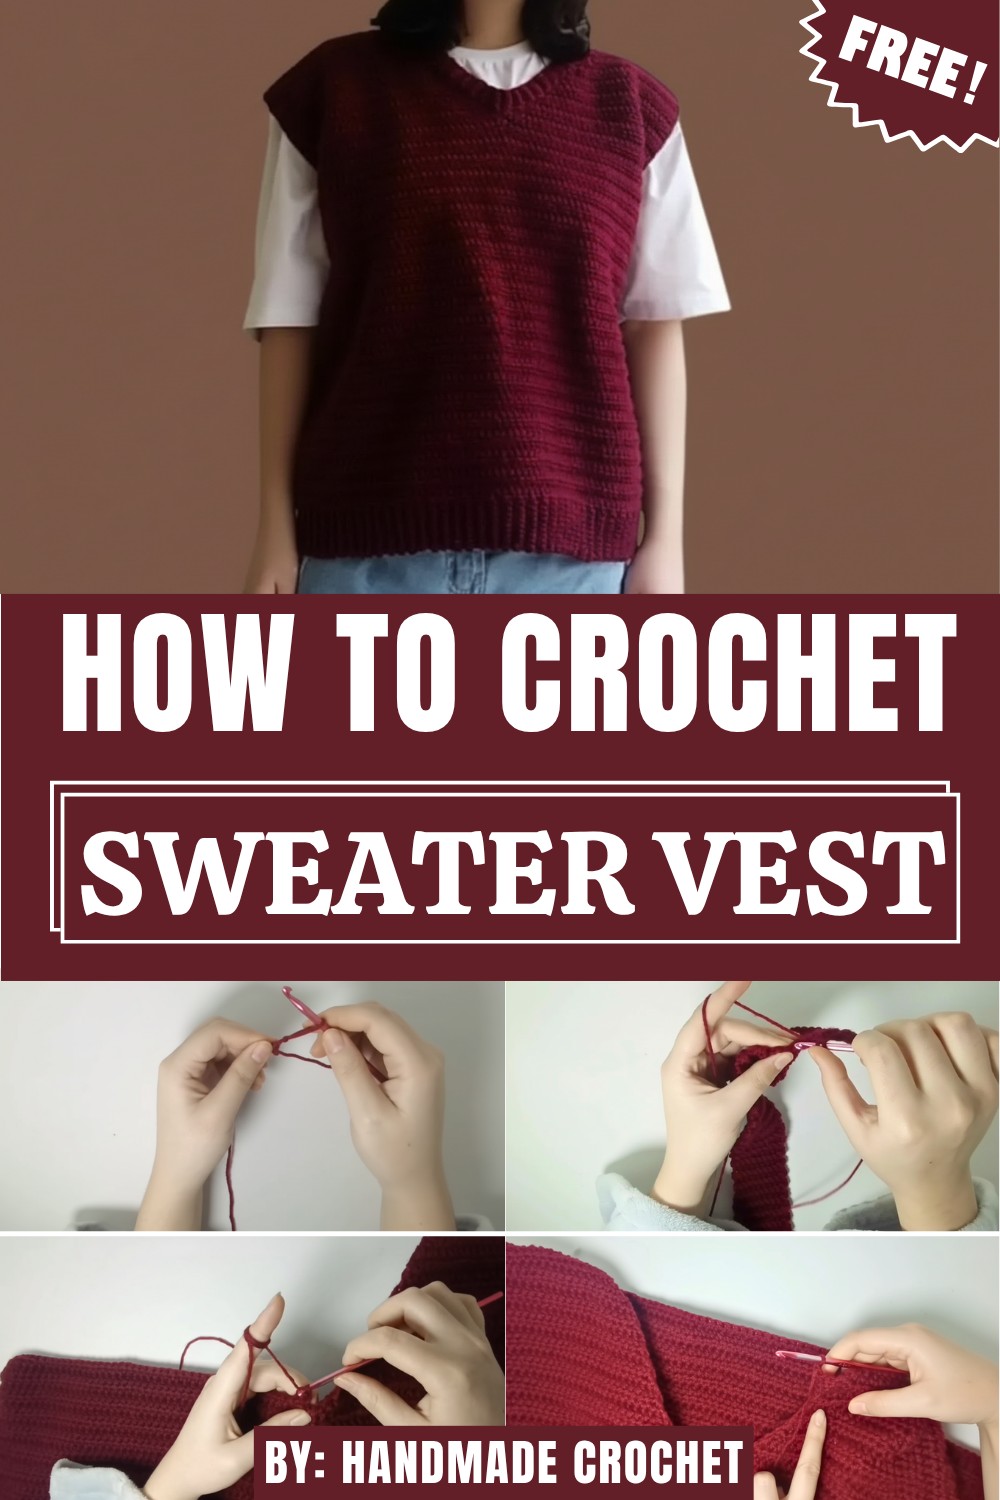
The Crochet sweater vest pattern provides an accessible way to crochet a unique and personalized fashion statement. Whether you are an experienced crocheter or a passionate beginner, this pattern guides you through creating a stylish vest with ease. The open stitchwork, textured detailing, and tailored fit enhance both its aesthetic appeal and functional wearability. Handmade with care, it also allows you to experiment with colors, yarn types, and embellishments to suit your individual style.
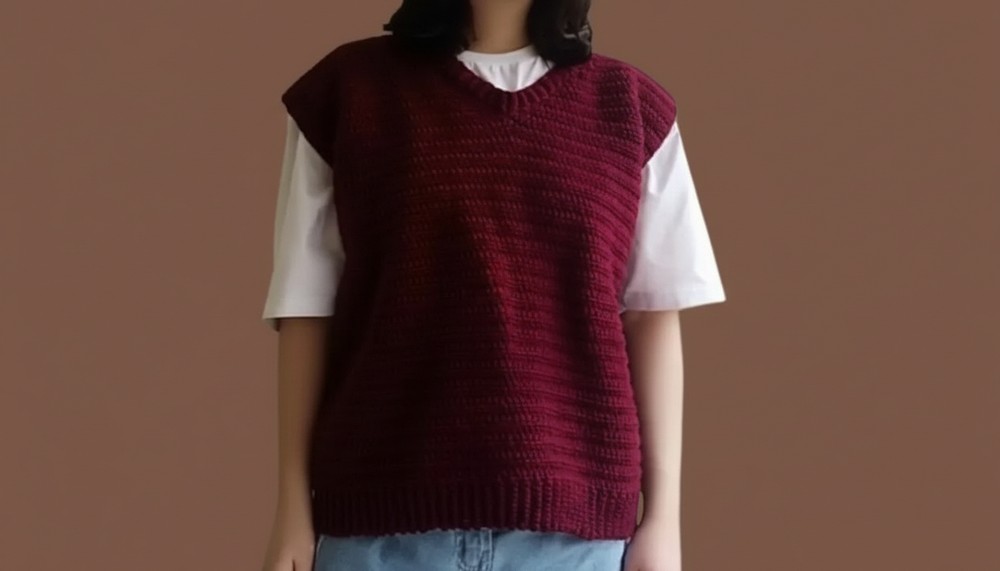
Beyond its fashionable appearance, this sweater vest serves as a practical addition to any wardrobe. Lightweight yet insulating, it offers comfort without bulk and allows effortless layering. Its timeless design ensures it can transition across seasons, making it a sustainable and long-lasting choice. Crocheting this piece not only results in a beautiful finished product but also brings the satisfaction of creating something unique with your own hands.
Step-by-Step Details
Step 1: Gather Your Materials
You will need:
- 350g of 8-ply yarn (or any yarn of your choice).
- A 4.5-mm crochet hook.
- A darning needle.
- Scissors.
Step 2: Create the Front Panel
The tutor provides a sketch of the sweater to clearly show where to begin. Here’s how to start:
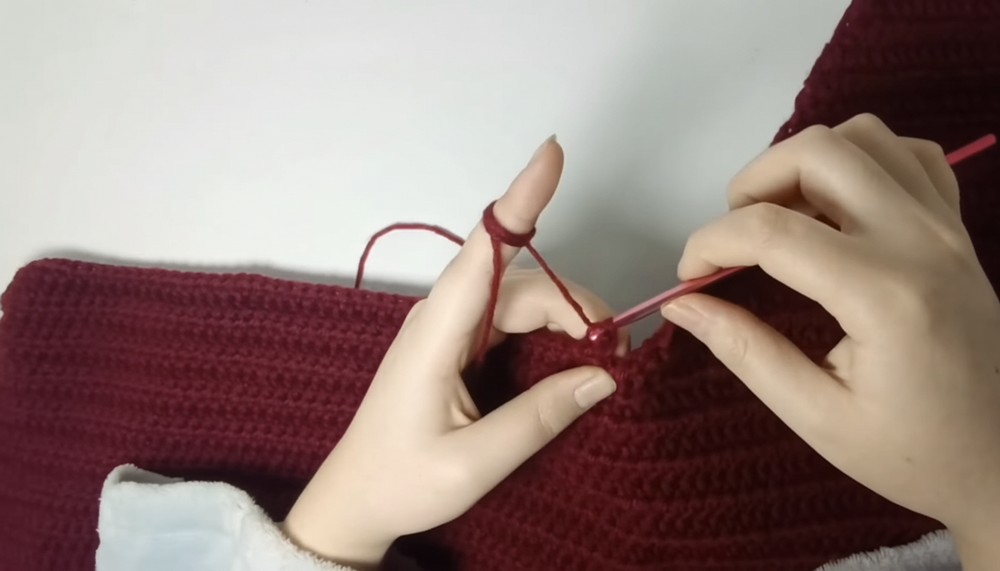
- Begin the Bottom Ribbing:
- Make a slip knot by looping the yarn around two fingers and twisting it into a water-drop shape. Insert your fingers through the loop and pull out the yarn connected to the yarn ball.

- Chain 10 stitches (or more if you want a longer ribbing). This determines the sweater’s ribbing length—10 chains create a ribbing about 5 cm long.
- Work single crochet stitches into the chains starting from the second chain (skip the first). This row creates 9 single crochets.
- Make a slip knot by looping the yarn around two fingers and twisting it into a water-drop shape. Insert your fingers through the loop and pull out the yarn connected to the yarn ball.
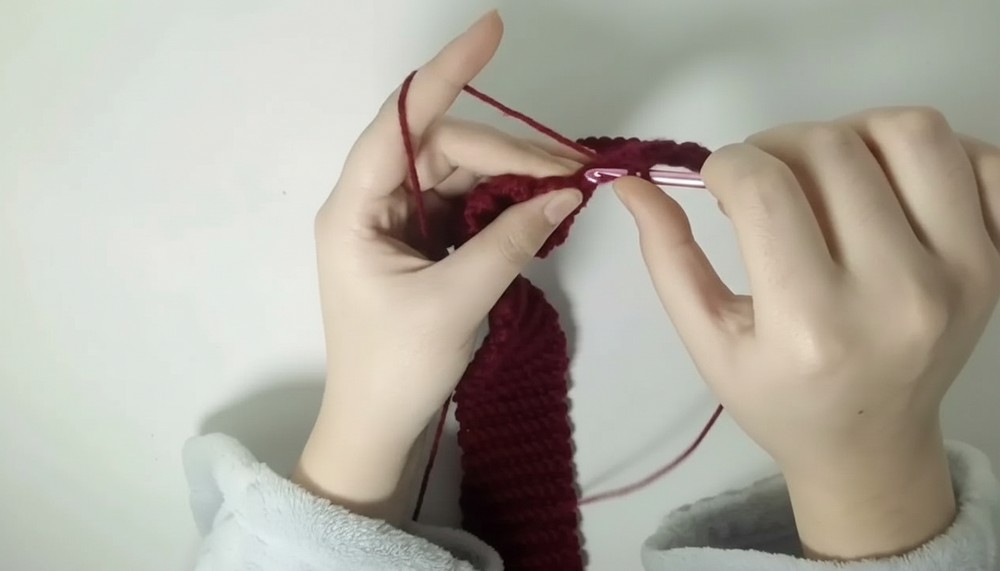
- Crochet the Ribbed Rows:
- Chain 1, turn your work, and single crochet into the back loops only. This ensures the ribbed texture.
- Repeat back loop single crochets for 86 rows to build the ribbing. The length can be adjusted to suit your preferred sweater size. A ribbing of 86 rows creates a 60 cm sweater.
- Create the Body:
- Work half-double crochet stitches across the top of the ribbing. For every ribbing row, make one half-double crochet stitch (e.g., 86 stitches for 86 rows).
- Complete 40 rows of basic half-double crochet.
- Starting at row 41, decrease one stitch at the beginning and end of the row to shape the armhole. Repeat for row 42.
- In row 43, start shaping the armhole and the V-neck simultaneously:
- Decrease at the start for the armhole and stop halfway for the V-neck decrease.
- Continue with decreases at the V-neck for rows 44–60, working normal half-double crochet stitches for the armhole.
- Complete the Front Panel:
- At row 60, fasten off the yarn with a long tail and repeat the same process on the other side of the V-neck to complete the front panel.
Step 3: Create the Back Panel
The back panel is similar to the front panel, but without the V-neck shaping. Follow the same process:
- Work the ribbing (10 chains, 86 ribbed rows).
- Complete the body with 40 rows of half-double crochet.
- Shape the armholes by decreasing in rows 41–45.
- Finish rows 46–60 without V-neck decreases.
4: Join the Panels
- Use the darning needle and the tail yarn from the front panel to join the shoulder seams. Sew together one stitch from the front panel and one stitch from the back panel.
- Join the side seams from the bottom ribbing to the armhole. Repeat for both sides.
5: Create the Neckline Ribbing
- Flip the sweater to the right side. Attach yarn anywhere along the neckline.
- Chain 5 (or more), depending on the desired ribbing length. Work single back-loop crochet (4 stitches per row) into the neckline edges.
- Slip stitch into the two subsequent neckline edges, chain one, and turn. Repeat the process until the neckline is fully ribbed.
- At the end, fasten off the yarn with a long tail. Use the needle and tail to join the first and last ribbing rows together.
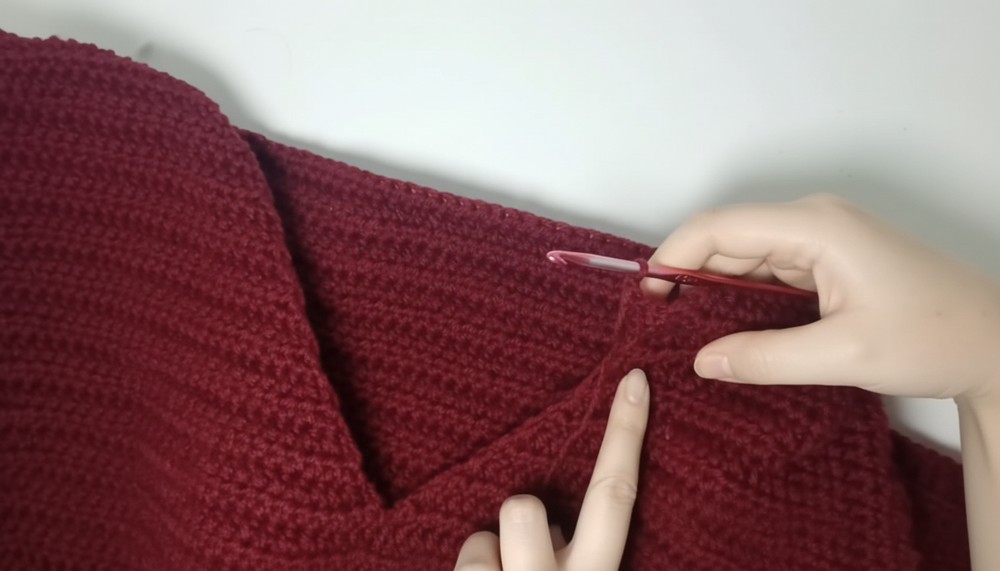
6: Finishing Touches
- Weave in all remaining tails with the darning needle.
- Trim any extra yarn ends.
Special Features
- The tutorial includes a detailed sketch, making it easier to visualize the process and designate areas like the ribbing, body, and V-neck.
- The back-loop single crochet techniques create a comfortable and professional ribbed texture.
- The V-neck shaping adds a trendy look to the sweater.
- It’s customizable—you can adjust the size by adding more rows or stitches, depending on your desired fit.
Level of Difficulty
This project is intermediate-level because it involves techniques like single back-loop crochet, half-double crochet, and decreasing stitches to shape the sweater (e.g., at the armholes and V-neck). Beginners may find it a bit challenging, but the clear step-by-step guidance provided by the tutor makes it manageable with some patience.
Tutor’s Suggestions
- Adjust the number of rows and stitches to fit your preferred sweater size.
- Use a sweater you already own as a reference for measurements.
- Always count your stitches after completing a row to ensure accuracy and consistency.
- Take breaks if necessary—crocheting a sweater can be time-intensive.
Uses and Materials
Materials Needed
- Yarn: 8-ply (double-knit yarn), approximately 350g.
- Crochet Hook: 4.5 mm.
- Darning Needle: For joining seams and weaving in threads.
- Scissors: To trim yarn ends.
Uses
This sweater is versatile and ideal for personal use, gifting, or seasonal wear. Its modern, handmade design makes it a thoughtful present for loved ones or a cozy addition to your wardrobe.
Tip
When shaping the V-neck, keep your stitch count even on both sides to ensure symmetry. It helps to use stitch markers to mark the center stitches or critical decrease points for accuracy.
Conclusion
This pattern offers a great way to crochet a stylish sweater at home with clear instructions and useful tips. Although it’s an intermediate-level project, it’s rewarding for those with the patience to follow through. By customizing the size and yarn, you can create a sweater that is uniquely yours.