Gracefully redefine tabletop charm using this Free Crochet RUNNER Pattern that offers softness, utility, and visual appeal all in one practical creation.
A neatly dressed table has long been a symbol of care and thoughtful living. Whether for daily meals or special gatherings, the surface beneath your dishes says more than you think. A soft, textured runner offers not just beauty but a gentle barrier between plates and wood, elevating both function and visual appeal. This project presents the Free Crochet Runner Pattern, which introduces timeless charm to any surface it graces.
How This Free Crochet Runner Pattern Can Change a Space

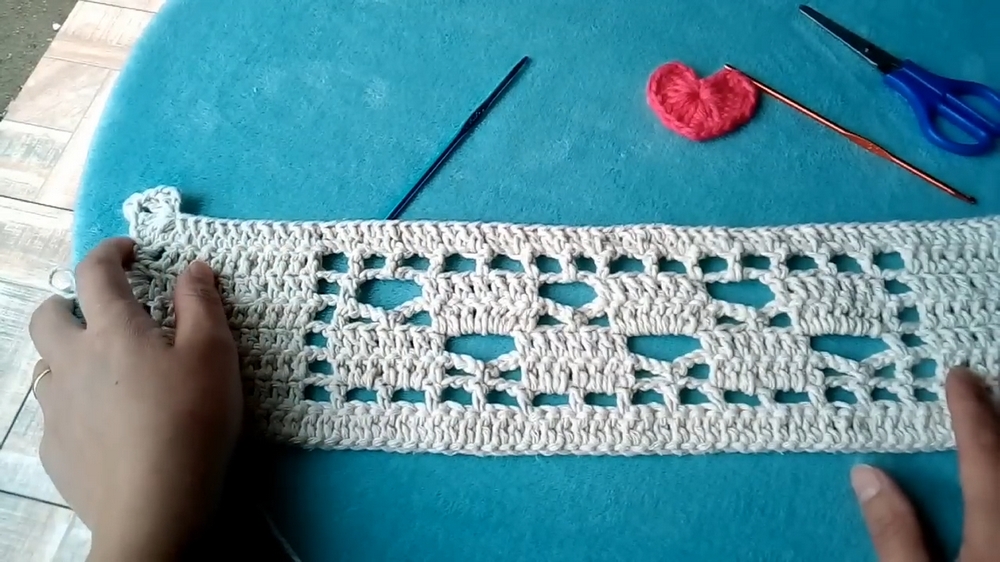
This runner begins with a clean, structured base, allowing the length to extend as needed depending on your table’s size. The tutorial carefully guides through evenly spaced rows and subtle texture shifts that maintain visual interest without overwhelming the eye. As the pattern progresses, it incorporates elegant edging that adds finesse without complicating the process.
Suited for confident beginners and intermediate crocheters, the process balances relaxation and engagement, offering a rewarding outcome. Once completed, the runner serves as both a protective layer and a decorative centerpiece. It pairs well with everyday meals, holiday spreads, or as a thoughtful handmade gift.

Step-by-Step Details
1. Materials Needed
- String: Euro Roma Number 8 string (preferred brand due to its quality and being stain-free).
- Needles: Number 14 needle for the main work and a smaller-sized needle (e.g., 3.5 mm) for finishing touches.
- Scissors for finishing.
- Preferred Colors: Raw (natural beige) and green, though any color can be chosen.
2. Starting with Chains
- Begin by creating 63 chains.
- Add 3 more chains and count five spaces from the needle. Insert the needle at the fifth chain to begin the first row.

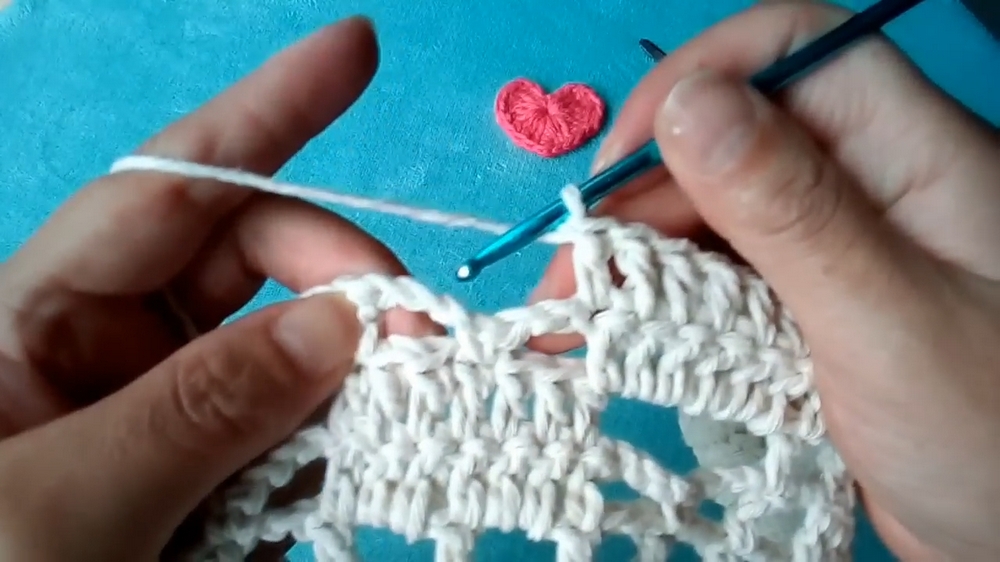
3. Foundation Rows
- The first row consists entirely of double crochets (one double crochet in each chain). At the end, you should have 63 double crochets.

- If creating a larger piece (like the famous version featured), continue to expand this base by repeating the rows of double crochets for four rows instead of one.
4. Second Row: Creating Blocks of Double Crochets
- Start with 11 double crochets at the beginning of the row.
- Create two chains, skip two stitches, and place a double crochet in the next stitch.
- Repeat this process across the row to form 14 blocks separated by two chains.
- End the row with 11 double crochets.
5. Repetition of Motifs
- For subsequent rows, motifs are created by alternating blocks and decorative chain spaces.
- Example motif: Seven double crochets followed by three chains, one single crochet, and three more chains.
- Repeat this motif until the desired length is achieved for the runner.
6. Final Rows and Polish
- Switch to a smaller needle for finishing details to ensure the work doesn’t “open up” or appear uneven.
- Complete the final row with double crochets in every stitch while maintaining proper spacing and alignment.
7. Optional Beaded Border
- Add a decorative border using fan-like motifs (three double crochets, three chains, one single crochet, repeated in the same space).
- This provides an elegant finish and can be customized based on personal preference.
Special Features
- Economical Design: The runner uses minimal material, making it budget-friendly yet impressive.
- Ease of Crafting: The tutorial emphasizes simple stitches like double crochets and chains, suitable for beginners.
- Versatility: The runner can be adjusted in size, ranging from small decorative mats to full-length runners over two meters long.
- Durable Materials: The Euro Roma string is advocated for its quality and resistance to stains.
Level of Difficulty
- Beginner-Friendly: The tutorial primarily focuses on double crochets and chain stitches, making it simple to follow.
- Repetitive Patterns: Although some rows require attention to count motifs, the majority of the work involves repetitive actions that are easy to master.
Tutor’s Suggestions
- Pay Attention: Focus closely on distinguishing between chains and stitches to avoid errors.
- Use Smaller Needles for Finishing: This keeps the work compact and neat at the edges.
- Experiment with Colors: Use variations of raw and green or other shades based on personal preference.
- Work at Your Pace: Even though the design is simple, take your time to ensure accuracy.
Uses and Materials
- Home Décor: Ideal for dining tables, sideboards, and coffee table decoration.
- Gift Idea: A handmade runner makes a thoughtful, personalized present.
- Outdoor Use: With its durability, it can be used comfortably in patios or open-air dining spaces.
- Materials: Euro Roma string ensures high quality, while properly-sized needles ensure smooth execution.
Tip to Remember
Always use a slightly smaller needle than the main one for finishing touches to maintain tightness and clean edges. This avoids distortion, keeps the rectangular/square shape intact, and gives the runner a professional look.
Conclusion
The tutorial is a simple yet impactful guide for crocheting a versatile runner. Its beginner-friendly nature combined with tips and tricks ensures an enjoyable crocheting experience. Whether you are looking to spruce up your home or make a unique gift, this project is accessible, affordable, and timeless.