Keep hands warm with Crochet Mosaic Mittens, adding stylish, colorful, and cozy charm that makes winter accessories fun and eye-catching.
Warm, stylish, and functional, these mittens are perfect for keeping your hands cozy while adding a touch of sophistication to winter outfits. Their intricate design brings both charm and practicality, making them a standout accessory for everyday wear. The Crochet Mosaic Mittens Pattern combines timeless elegance with modern detailing, creating mittens that are as beautiful as they are comfortable.
Bold Crochet Mosaic Mittens Pattern with Eye-Catching Design

Featuring a detailed mosaic stitch, the pattern produces mittens with striking geometric textures that elevate any cold-weather ensemble. The Crochet Mosaic Mittens Pattern also provides excellent warmth and flexibility, ensuring a snug fit without sacrificing comfort. Its thoughtfully structured design makes it suitable for both beginners seeking a manageable project and experienced makers looking for visually rich results. The layering of stitches creates depth and dimension, giving each mitten a refined, polished appearance.

Adaptable to a variety of yarns and colors, these mittens can reflect your personal style—from soft pastels for a subtle, elegant look to vibrant shades for a bold winter statement. The Crochet Mosaic Mittens Pattern encourages experimentation with colors and textures, allowing the final pair to be uniquely yours. Lightweight yet warm, these mittens offer practicality without compromising on style, making them a cherished addition to any winter wardrobe.
Crochet Mosaic Mittens Step-by-Step Guide
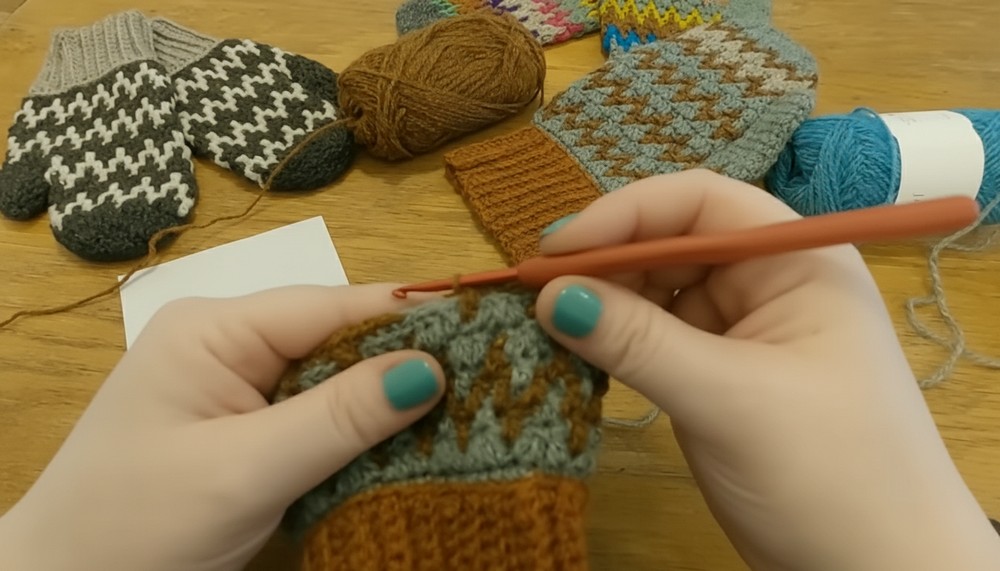
Step 1: Materials Needed
Tina suggests the following materials for making the mittens:
- Yarn: Sport-weight yarn (preferably wool, such as Jamieson & Smith Shetland four-ply wool). You’ll need:
- 50 grams of each color (or two 25-gram skeins per color for smaller skeins).
- For extra-large sizes, you may need three 25g skeins of each color.
- Crochet Hook: 3.5 mm.
- Other Tools:
- Scissors.
- Darning needle (for weaving ends).
- Optional: Leftover scrap yarn for additional colors.
Step 2: Create the Ribbing
- Chain 15 Stitches: Start by chaining 15 stitches (adjust based on size if using different yarn weights).
- Work Back and Forth: Create a back-loop ribbed effect:

- Skip the first chain and make 14 single crochets across.
- Chain 1, turn, and repeat with 14 single crochets into the back loops only.
- Repeat for 44 Rows (Large Size): For a snug ribbing, keep an even stitch count and avoid tension issues.
- Join the Ribbing into a Circle: Slip stitch the short ends together into a round to form the wristbase of the mitten.
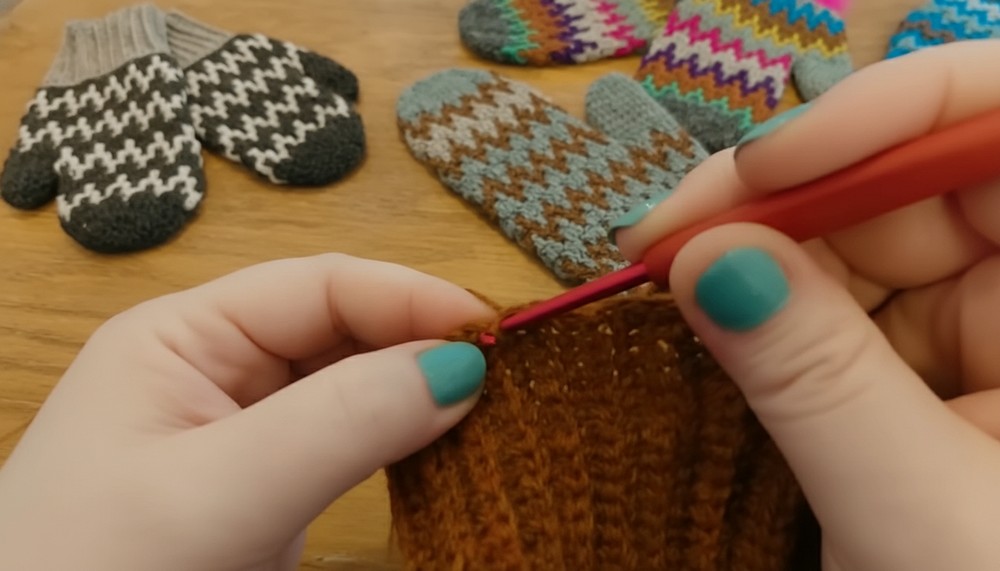
Step 3: Start the Base of the Mitten
- Create the First Round:
- Work one single crochet into each row of the ribbing to create the foundation round (44 stitches for size large).
- Create an invisible join for a smooth appearance.
- Build the Mitten’s Body (Mosaic Crochet Begins):
- Alternate between single crochets into the back loop and double crochets “dropped” into stitches from previous rows to create the distinct mosaic effect.
- Some foundation rounds (e.g., round 2 and round 3) require one single crochet in every back loop to set the base for the mosaic pattern.
4: Work the Mosaic Pattern
- Choose Your Patterns and Colors:
- The mosaic visuals come from alternating two yarn colors (color A and color B) between rounds.
- You can use two colors or up to 16 different colors by incorporating scrap yarn.
- Follow the Repeats:
- Common pattern repeats:
- 1 single crochet, 3 double crochets.
- 3 single crochets, 1 double crochet.
- 1 double crochet, 1 single crochet.
- Placement of double crochets: Always drop a double crochet into the round below to create the zigzag mosaic look.
- Handle joins cleanly by finishing single crochet rounds and starting double crochet rounds seamlessly.
- Common pattern repeats:
5: Add the Thumbhole
- Skip Stitches for the Thumb:
- In the designated thumbhole round, skip 16 stitches (for the large size).
- Continue single crochets in the back loop after skipping, leaving the thumbhole open.
- Reduce Stitches in the Rounds: With skipped thumb stitches, rounds now have 44 stitches for the mitten body.
6: Finish the Mitten
- Complete the mosaic pattern rounds until the top of the mitten starts tapering.
- Bind Off the Mittens Properly: Tina notes that the joining method results in a seamless design to create a polished look.

- Add the Thumb: After finishing the main body, go back to the thumbhole and crochet the thumb section in the round using leftover stitches.
Special Features
- Customizable Design: You can use a variety of color combinations, from a simple two-color design to a vibrant 16-color pattern.
- Versatility: The pattern comes in multiple sizes, from extra-small (for children) to extra-large (for adults). You can play with finer yarns for baby mittens.
- Mosaic Stitching: The tutorial introduces a straightforward mosaic crochet technique that’s visually impressive but easy to learn.
- Bonus Beanie Pattern: Tina includes a matching beanie pattern in the written PDF pattern, available in her Ravelry shop.
Difficulty Level
The project is Beginner to Intermediate:
- Beginner-Friendly: Tina shows all steps stitch by stitch and explains in detail. If you’re familiar with single and double crochet, you can handle this project.
- Intermediate Appeal: The mosaic crochet technique and the potential to play with multiple colors offer room for exploration.
Tutor’s Suggestions
- Use Scrap Yarn for Variety: These mittens are an excellent project for using leftover yarn. Different colors for the ribbing, body, and mosaic pattern make each mitten unique.
- Choose Colors You Love: Tina encourages crocheters to experiment—neutral tones like gray and brown create classy mittens, but brighter colors make eye-catching designs.
- Pay Attention to Joins: To ensure a seamless look, be mindful of your joins, working stitches cleanly and snugly at those points.
- Block the Mittens: To finish, lightly block your mittens for a polished look and proper fit.
- Modify for Size: Adjust the number of stitches in the ribbing and rounds to customize the fit for different hand sizes.
Uses:
- Everyday Wear: Stylish and warm for winter use.
- Gifts: Beautiful handmade presents for friends and family.
- Custom Accessories: Create matching sets with the included beanie pattern.
Tip
When working on mosaic crochet, use stitch markers at the start of your rounds to keep track of your progress. This will help you ensure clean joins and avoid losing your place in the pattern.
Conclusion
The “Hackla Mittens Mosaic Crochet pattern” offers a fantastic opportunity to create stunning and customizable mittens while learning or improving your mosaic crochet skills. The project is relaxing yet rewarding, and the mittens are perfect for gifts or personal use. Tina’s detailed and encouraging tutorial ensures that crocheters of all levels feel confident tackling the project.