Learn how to crochet a quick and easy mug cozy that’s perfect for gifts or selling with a step-by-step tutorial for beginners. Using 100% acrylic medium-weight yarn and a 5mm crochet hook, the cozy is worked with single crochets, primarily using back loops. The project involves creating 31 rows for the base, followed by chain stitches for added structure and single crochets along the sides. The result is a stretchy, customizable cozy.
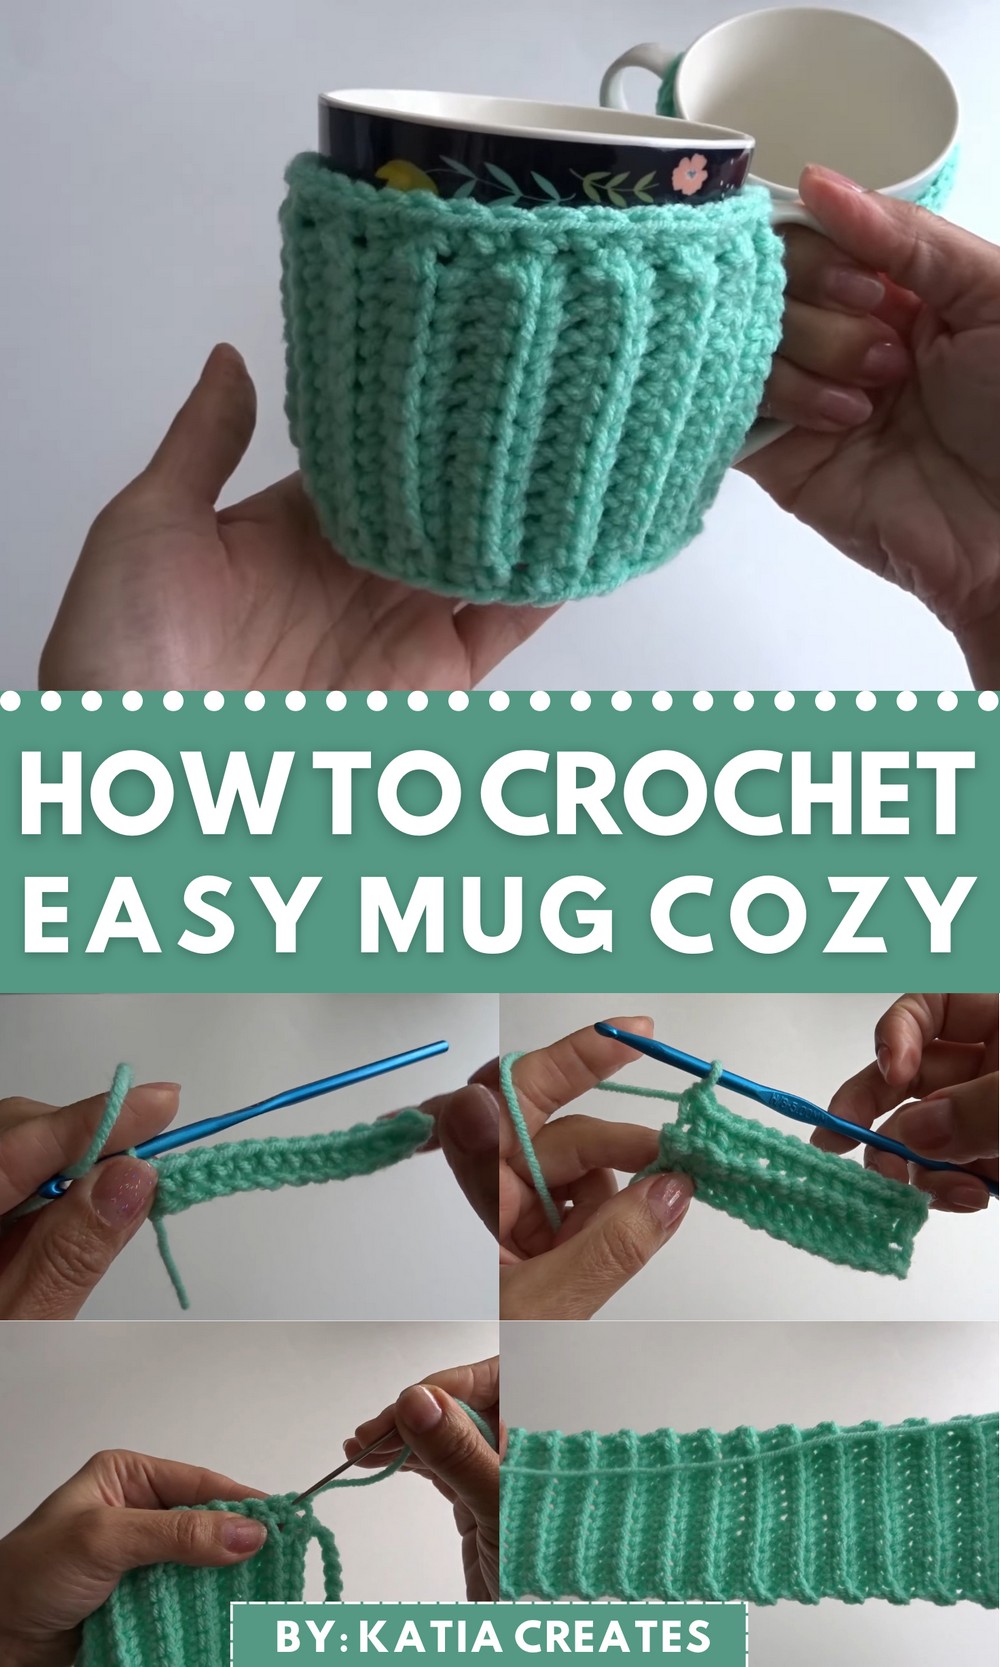
Crochet an Easy Mug Cozy Tutorial
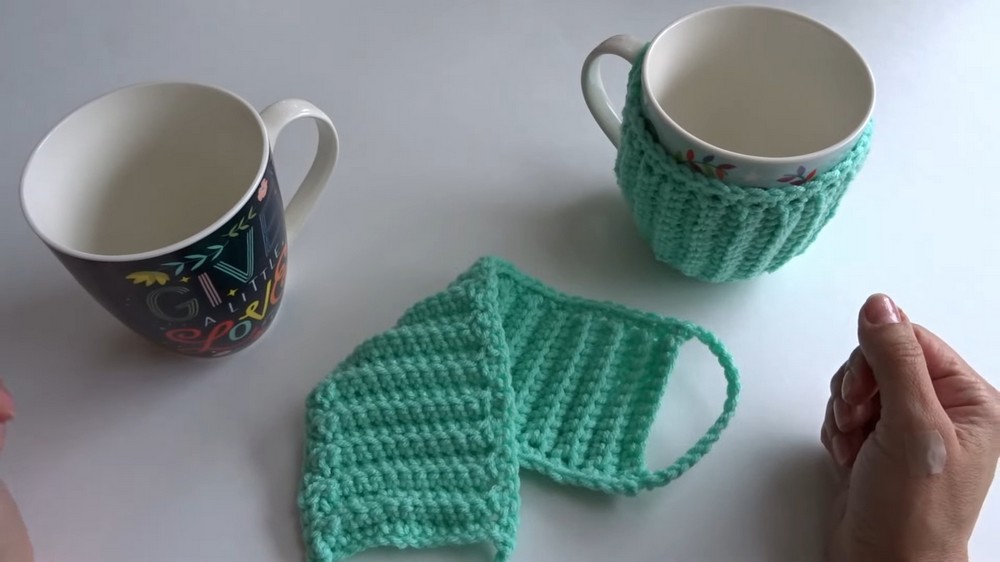
The host introduces the tutorial, explaining how to crochet a quick and easy mug cozy. It’s described as a perfect gift idea, fun to make, and even suitable for selling. The required materials include medium-weight acrylic yarn (cotton yarn can be used as an alternative) and a 5 mm crochet hook.
Starting the Project
- Foundation Chain:
- The project begins by making a slip knot and forming a chain.
- The host explains the foundation chain setup as the starting base for the cozy.
- First Row:
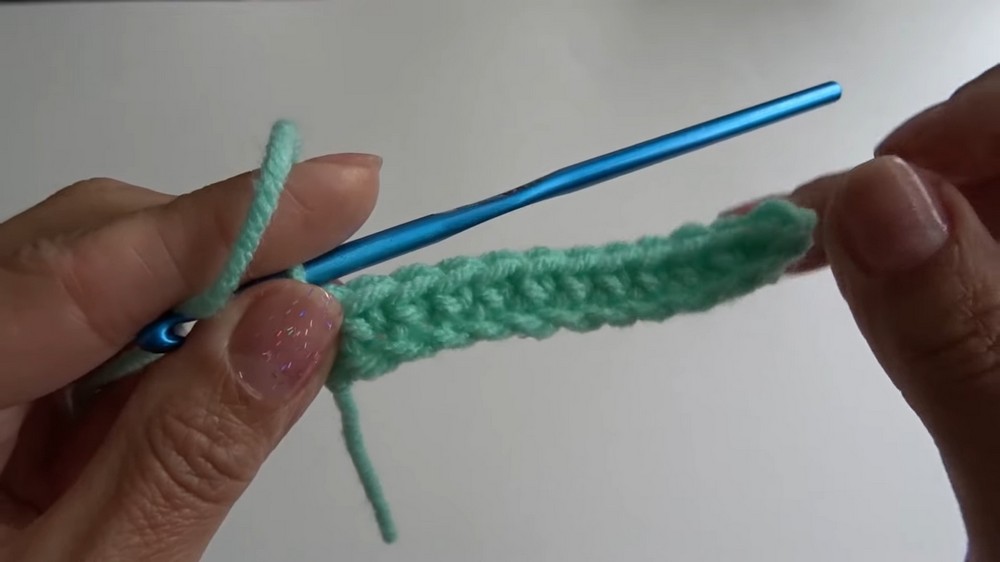
- Single crochet stitches are worked into the foundation chain to form the structural base.
- Each stitch is evenly placed to ensure a solid and consistent start.

Building the Mug Cozy Body
- Back Loop Single Crochets:
- From the second row onward, single crochets are worked using the back loops of each stitch.
- The host emphasizes how this technique creates a ribbed, textured effect, adding stretch and durability to the cozy.
- Repeating Rows:
- Rows are built by chaining, turning the work, and continuing the back loop single crochets.
- The host demonstrates the correct placement for each stitch and focuses on maintaining even rows.
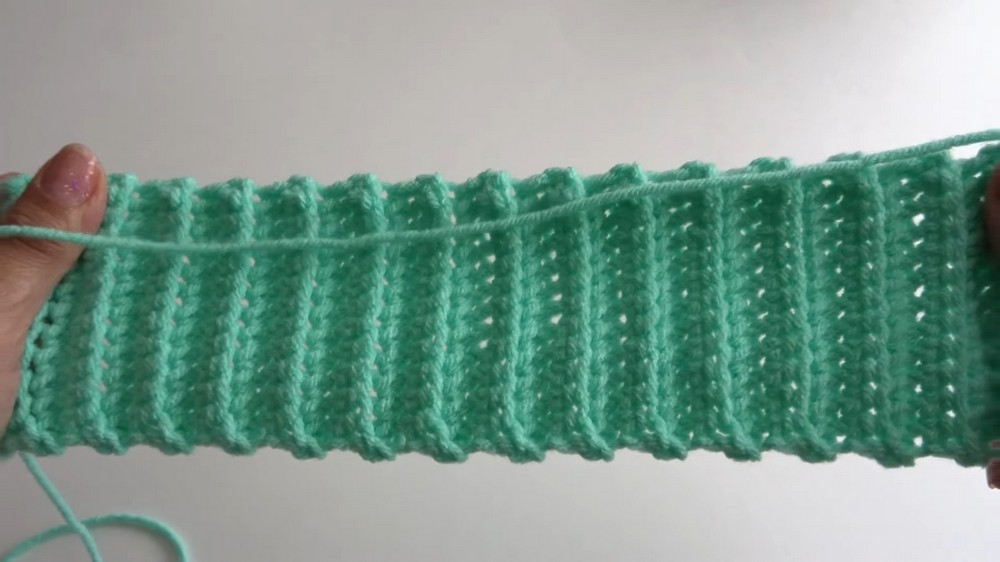
- All rows up to row 31 are completed using this repetitive method to form the body of the cozy.
- Completed Body:
- After finishing the rows, the host shows how the completed body piece is stretchy, allowing it to fit various mug sizes.
Adding Structural Details
- Planning the Chain Extensions:
- Once the body is complete, chain extensions are added to the edges of the cozy.
- These chain extensions help form loops or structural pieces that help to secure the cozy to the mug.
- Working the Side Stitches:
- Single crochets are added along the side edges of the cozy to make it sturdy.
- This is done by working into the posts of each stitch from the rows and picking spaces evenly across the side.
- Repeating on the Opposite Side:
- The same chain extension and side stitch technique is repeated on the opposite edge of the cozy.
- The host stresses the importance of ensuring that the chains are not twisted, and the side stitches are placed uniformly.
Finishing Touches
- Securing and Fastening Off:
- The final row is ended with a slip stitch into the starting chain space.
- The yarn is cut, pulled through the loop, and tightened to secure the work.
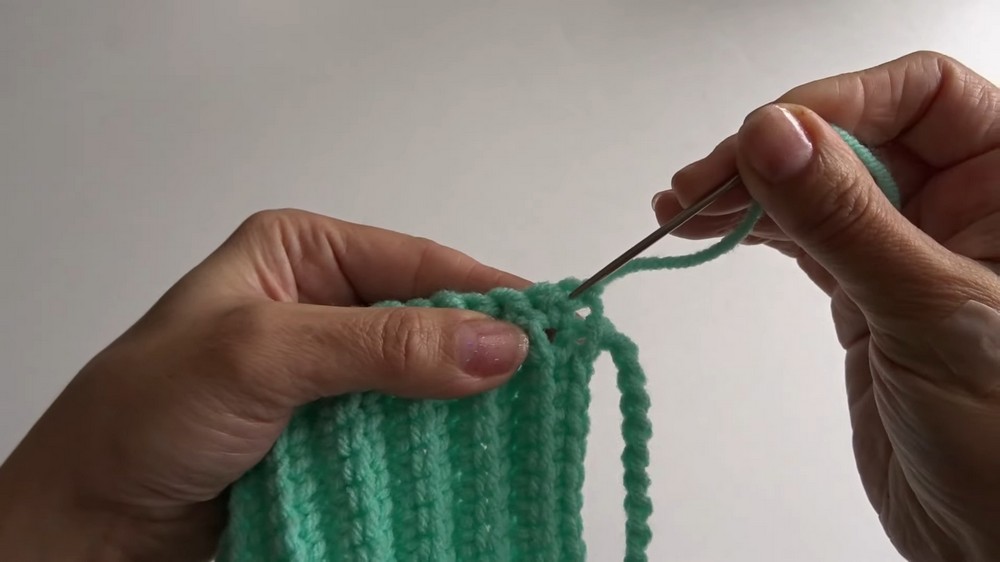
- Hiding the Yarn Tail:
- The remaining yarn tail is hidden by weaving it through the back loops of the work using a needle.
- This step ensures a clean finish, making the cozy look polished and professional.
Final Mug Cozy Display
- The host shows the finished mug cozy, demonstrating its texture, stretchability, and appearance.
- The cozy is functional, attractive, and ready to be used or gifted.

Video Guide