Learn how to crochet a charming and functional glasses holder inspired by Winnie the Pooh, using crochet techniques. The presenter demonstrates the process in great detail, including the materials needed, patterns, and embellishments like eyes, blush, and eyebrows.
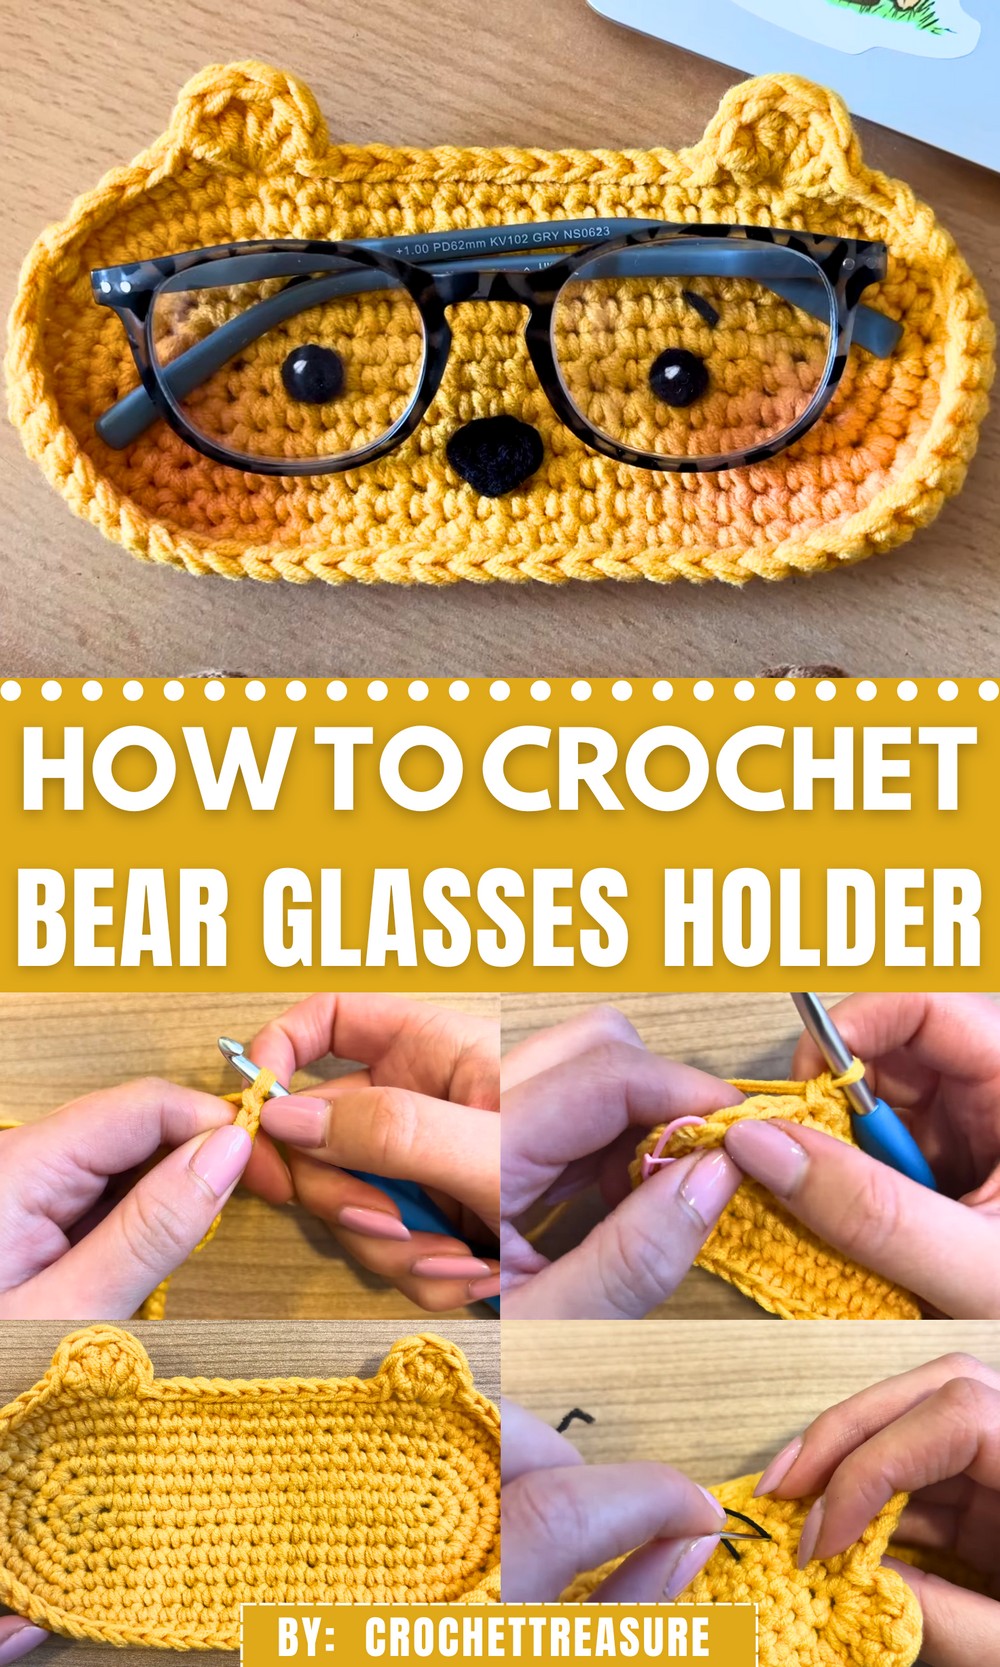
Crochet a Bear Glasses Holder Tutorial
The project involves making a crocheted glasses holder that doubles as an adorable and functional piece of decoration. Two versions are showcased:
-
- A Winnie the Pooh-inspired design.
- A classic bear design without added details like eyebrows and blush.
- Viewers are encouraged to choose their preferred version, as the base pattern remains the same for both.
- The presenter promises step-by-step instructions for creating the design with additional optional features.
With clear instructions on magic circles, single crochet, and triple crochet, the tutorial is beginner-friendly and customizable. Whether opting for felt or crochet details, viewers are guided to create a delightful decorative piece. Let’s get started!
Crochet Bear Glasses Holder
Materials Needed
- Yarn for Glasses Holder Base:
- Worsted weight yarn (approx. size #4) or double-strand lightweight yarn (approx. size #3).
- 2 skeins/yarn strands for double-stranded crocheting.
- Suggested colors:
- For Winnie the Pooh: Yellow.
- For classic bear: Brown or beige.
- Yarn for Details:
- Black yarn: For nose and eyes.
- Optional: Felt in black or white for easier detailing.
- Optional Embroidery Yarn:
- For eyebrows (black embroidery thread).
- For highlight on the eyes (white embroidery thread).
- Crochet Hook:
- 5 mm crochet hook for base (or any hook suitable for your yarn weight).
- 3 mm crochet hook for smaller details (nose, eyes).
- Other Tools:
- Scissors.
- Darning needle: For weaving in ends and attaching details.
- Glue: For attaching felt (if applicable).
- Blush: (Real makeup optional) for cheeks.
- Brush or fingers for applying blush.
- Stitch marker (optional).
Special Techniques
- Magic Circle (Magic Ring):
A technique to create a tight, adjustable center for working in the round. - Single Crochet (SC):
The most basic crochet stitch used throughout the pattern. - Slip Stitch (SS):
For joining and finishing rounds. - Double Crochet (DC):
Used for specific details to shape the ears and nose. - Triple Crochet (TR):
Longer than DC; used for shaping the ears. - Embroidery Techniques:
For adding eyebrows and highlighting the eyes.
Pattern Instructions
Step 1: Base of the Glasses Holder
- Foundation Chain:
- Using double-strand yarn and a 5 mm hook, create a slip knot.
- Chain 20.

- Round 1:
- Skip the last chain (closest to the hook).
- Work into the second chain from the hook:
- Increase: Make 2 SC into the same chain.
- Mark this stitch with a stitch marker (optional).
- 17 SC across the next 17 chains.
- Into the last chain: 3 SC increase.
- Rotate to work on the opposite side of the starting chain:
- 16 SC across.
- Into the final chain (same as the chain where you started): 2 SC.
- Slip stitch into the marked stitch to close the round.
Stitch Count: 40.
- Round 2:
- Chain 1.
- 2 SC into next 2 stitches (increases).
- 17 SC across.
- 3 increases: 2 SC into each of the next 3 stitches.
- 17 SC across.
- 1 increase (2 SC) in the last stitch.
- Slip stitch to the first SC to close.
Stitch Count: 48.

- Round 3:
- Chain 1.
- SC in the first stitch, increase in the next stitch.
- Repeat sequence: SC, increase for a total of 4 alternating stitches.
- 17 SC across.
- Repeat sequence (SC, increase) for the next 6 stitches.
- 17 SC across.
- 2 SC, 1 increase to finish the round.
- Slip stitch to close.
Stitch Count: 56.
- Measurements Check:
- The base should begin forming an oval shape, wide enough to hold glasses.
- Rounds 4–6:
- Work 1 SC into each stitch around without increases.
- Continue until the base begins forming the main holder shape.
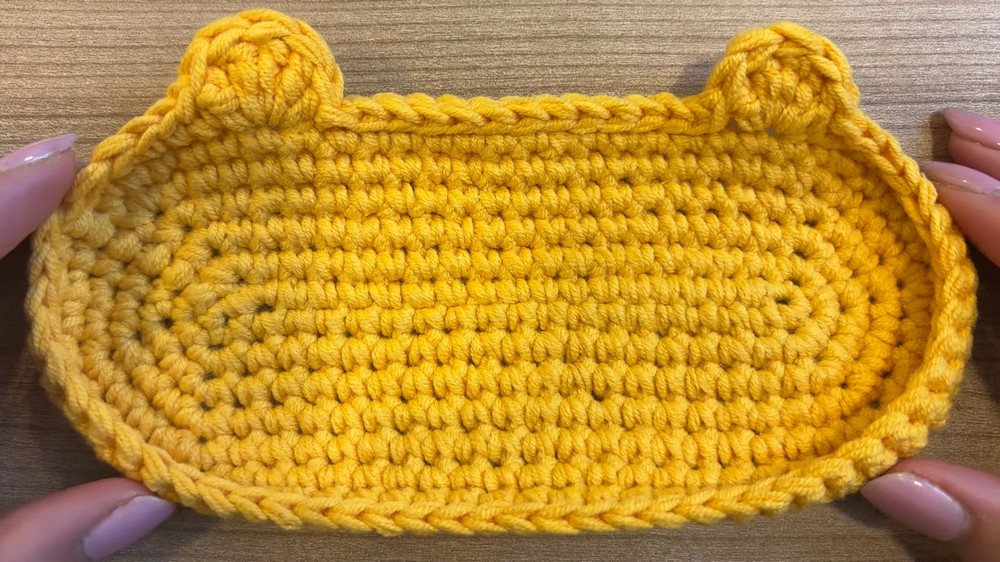
Step 2: Shaping the Ears
The ears will be worked directly onto Round 7.
- First Ear:
- SC 43 stitches across from the start of the round.
- In the next stitch, complete as follows:
- 1 DC, 3 TR, 1 DC into the same stitch (one ear is complete).
- 14 Slip Stitches:
- Continue with slip stitches across the next 14 stitches to space the ears.
- Second Ear:
- In the next stitch, repeat the same pattern as the first ear:
- 1 DC, 3 TR, 1 DC into the same stitch.
- In the next stitch, repeat the same pattern as the first ear:
- Complete the remaining stitches in SC, ending with a slip stitch to close.
Step 3: Face Details
Nose
- Using black yarn and the 3 mm hook, create a magic circle.
- Crochet as follows:
- SC, DC, SC, 3 SC, DC, SC, DC into the circle.
- Pull the magic circle closed, then slip stitch into the first SC to close.
- Hide the yarn ends using the darning needle.
Eyes
- Create another magic circle with black yarn.
- Crochet 4 SC into the circle and pull it tight.
- Slip stitch into the first SC, fasten off, and hide the yarn ends.
- OPTIONAL: Add a white embroidered stripe for detailing.
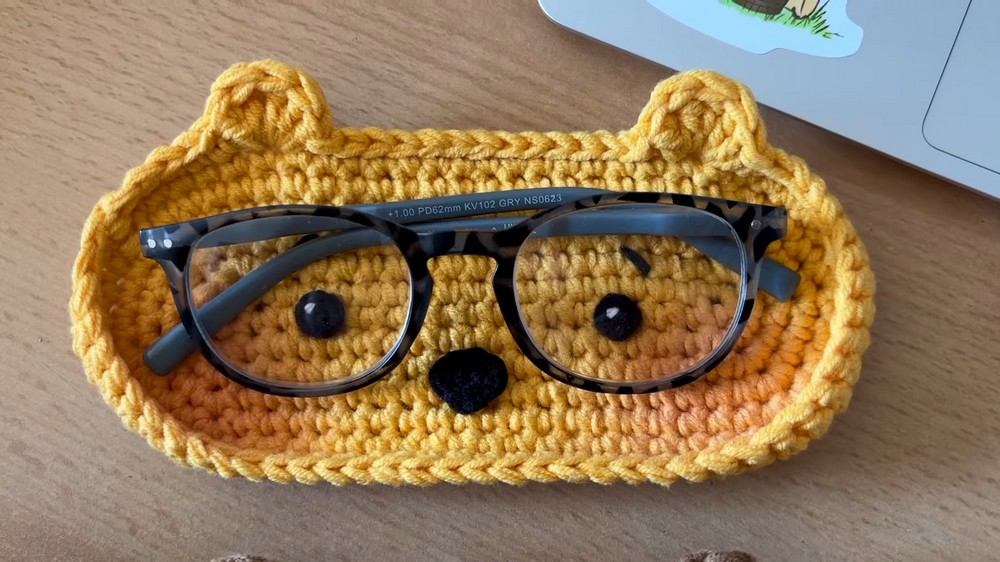
Step 4: Assembly
- Positioning:
- Place the nose and eyes onto the main piece.
- Align the eyes with the middle of the ears and position the nose just below.
- Attachment:
- Glue the pieces onto the base, or carefully sew them using a needle.
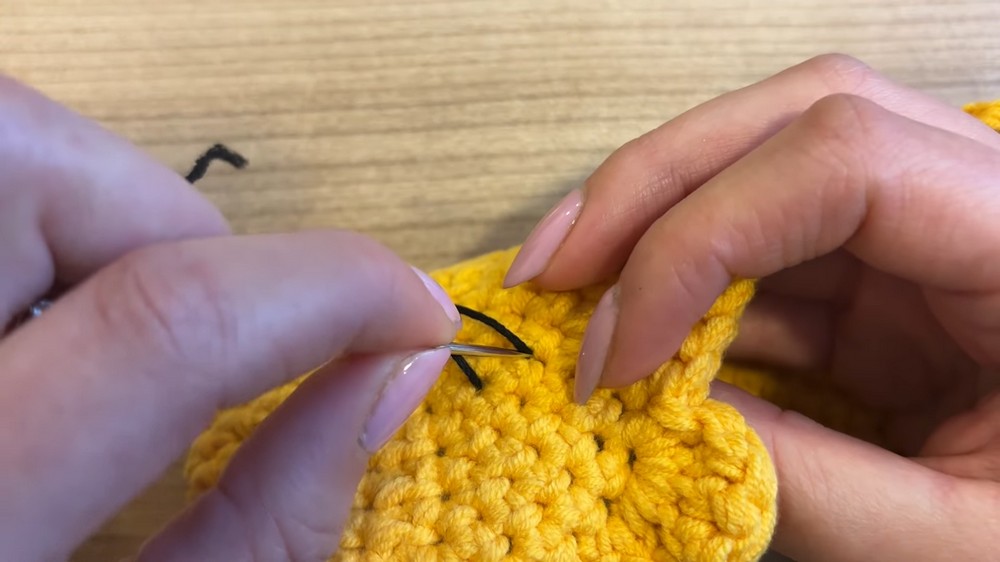
Step 5: Embroidery
Eyebrows:
- Using black embroidery thread or fine yarn, stitch diagonal eyebrows just above the eyes.
- To secure, double-knot at the back and weave in the ends.
Blush:
- Use makeup blush and lightly pat it under the eyes for a cute, rosy effect.
- Use a brush or your fingers to apply evenly.
Finishing
- Remove Excess Ends: Ensure all yarn tails are securely hidden.
- Final Shaping: Adjust the holder’s shape by hand to ensure it stands upright.
Customization Ideas
- Colors: Adjust the yarn color to create custom characters (e.g., gray for koalas, white for polar bears).
- Eyewear Storage: Use it for sunglasses or reading glasses.
- Personalization: Add initials or small decorative elements like bows or flowers.
Final Words & Tips
- Durability: Use strong, durable yarn (such as acrylic blends) for better structure.
- Blocking: Lightly block the base to ensure the shape remains even.
- Beginner-Friendly Options: Use felt for details instead of crocheting the eyes and nose.
This crochet glasses holder is an adorable, functional decor piece that makes a perfect handmade gift. Try creating various animal-inspired designs and have fun personalizing this easy project!