In this tutorial, learn how to crochet an adorable apple charm, perfect for gifts like teacher appreciation, and designed for beginners. Starting with a magic ring and progressing through step-by-step rounds, the tutor crafts the apple, adds safety eyes, decorative accents, and a stem.
Additionally, she shows how to create a matching pencil charm and assemble them into a car or backpack accessory using marbled yarn resembling a composition notebook. Follow through with the complete tutorial.
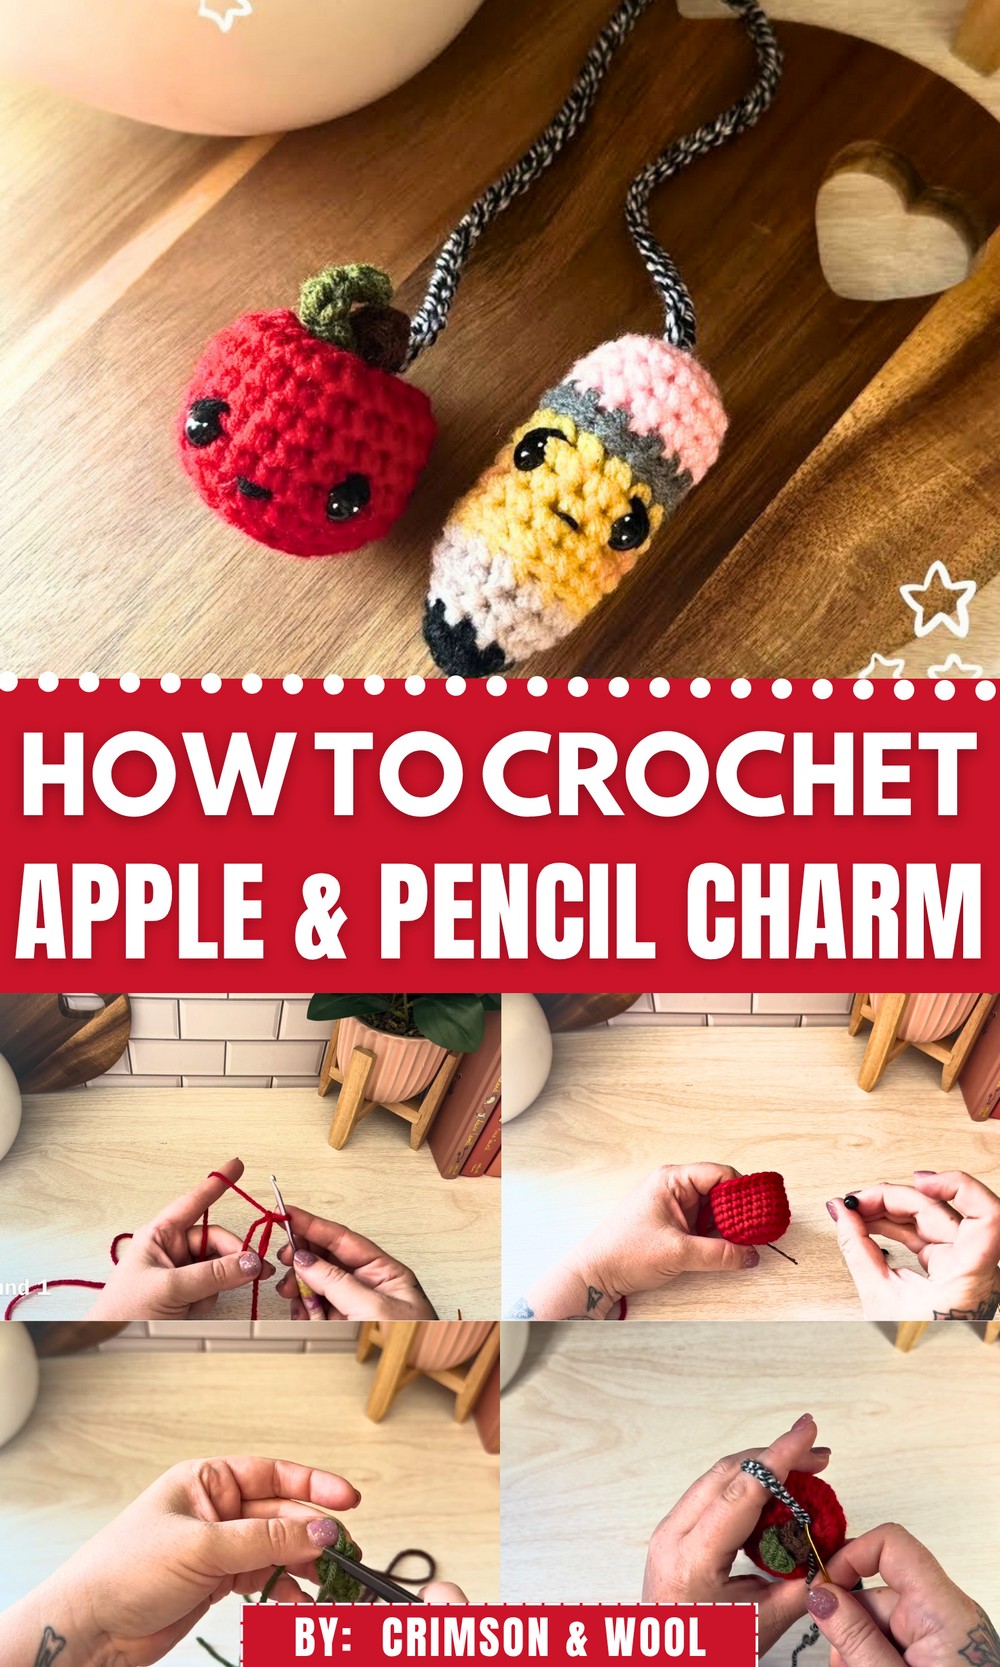
Crochet Teacher Gift Apple and Pencil Car Tutorial
This tutorial, led by Sarah from Crimson and Wool, provides step-by-step instructions on creating a crochet apple charm that can be hung in a car or used as an accessory on a backpack or purse. The video is part of a teacher appreciation gift set and complements the pencil charm, whose tutorial and pattern are linked in the video description.
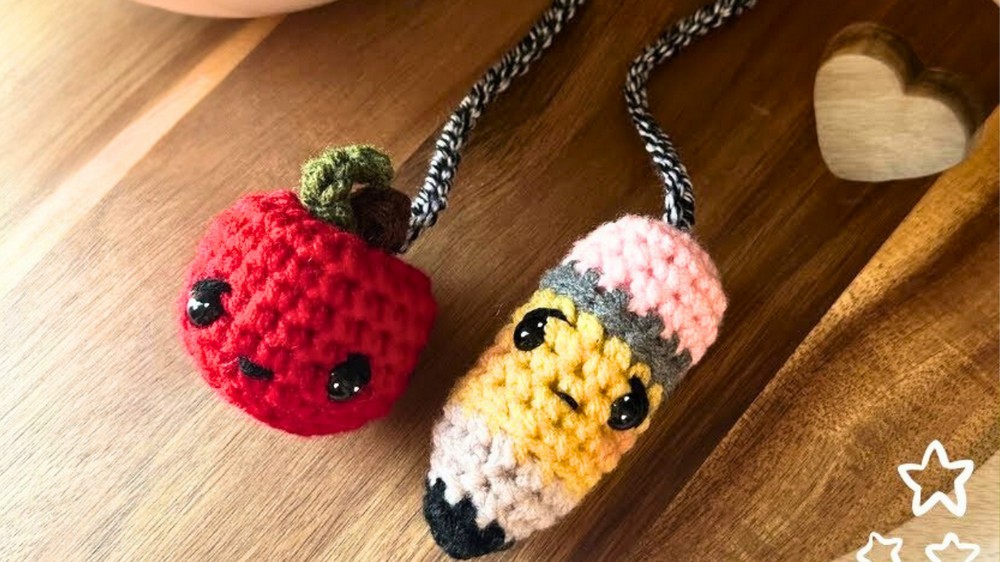
Crochet Car Charm Apple and Pencil
Materials Needed
- Yarn:
- Red (Apple body): Worsted weight, medium (#4).
- Brown (Stem): Worsted weight, medium (#4).
- Green (Leaf): Worsted weight, medium (#4).
- Marbled yarn: Composition notebook-like pattern (for chain).
- Crochet Hooks:
- 4.0 mm for apple, leaf, and stem.
- Additional Tools:
- Tapestry needle.
- Scissors.
- Stitch marker.
- Stuffing: Polyester fiberfill.
- 9 mm safety eyes.
Gauge
- Not critical for this project. Adjust hook size if desired for different sizes.
Finished Size
- Apple: Approximately 2-2.5 inches in diameter.
- Chain: 65 chain stitches (adjust for desired length).
Pattern Instructions
Step 1: Apple Pattern
Body of the Apple
- Create a Magic Ring:
- Chain 2 (does not count as a stitch).

- Chain 2 (does not count as a stitch).
- Round 1:
- Work 7 SC into the magic ring.
- Pull the tail to close the ring.
- Total stitches: 7 SC.
- Round 2 (Increase Round):
- Work 2 SC into each stitch (increase).
- Total stitches: 14 SC.
- Final Increase Round (Round 3):
- 1 SC in the first stitch, 2 SC in the next stitch.
- Repeat from * to * around.
- Total stitches: 21 SC.
- Rounds 4-9:
- SC in each stitch around.
- Total stitches per round: 21 SC.
- Place safety eyes between rounds 5 and 6, 4 stitches apart.
- Round 10 (Decrease Round):
- SC in the next 4 stitches, SC decrease.
- Repeat from * to * around.
- Total stitches: 18 SC.
SC Decrease: Insert hook in next stitch (front loop), insert hook into the next stitch (front loop), yarn over, pull through two loops, yarn over, pull through remaining loops.
- Round 11 (Final Decrease Round):
- SC decreases in each stitch around.
- Total stitches: 9 SC.
- Fasten off, leaving a 12-inch tail.
- Close the Circle:
- Use the tail and tapestry needle. Insert the needle through front loops only (like forming a decrease).
- Pull tight to close the gap.
Stuff the Apple
- Lightly stuff the apple with polyester fiberfill before closing the final gap completely.
Shape the Apple
- Indent the Top:
- Insert the needle at the bottom center.
- Bring it out at the top center and back again to form an indentation.
- Repeat a few times until satisfied with the shape.
Step 2: Apple Details
Stem (Brown Yarn)
- Chain 8.
- Row 1:
- SC in the second chain from the hook and each chain across.
- Total stitches: 7 SC.
- Fasten off, leaving a tail for sewing.
Leaf (Green Yarn)
- Chain 5.
- Row of Stitches:
- Slip stitch (SS) in the second chain from the hook.
- SC in the next stitch.
- Half double crochet (HDC) in the next stitch.
- Double crochet (DC) in the last stitch.

- Create Point:
- Chain 2, SS into the same stitch as the DC.
- Finish Off:
- Fasten off, leaving a tail for sewing.
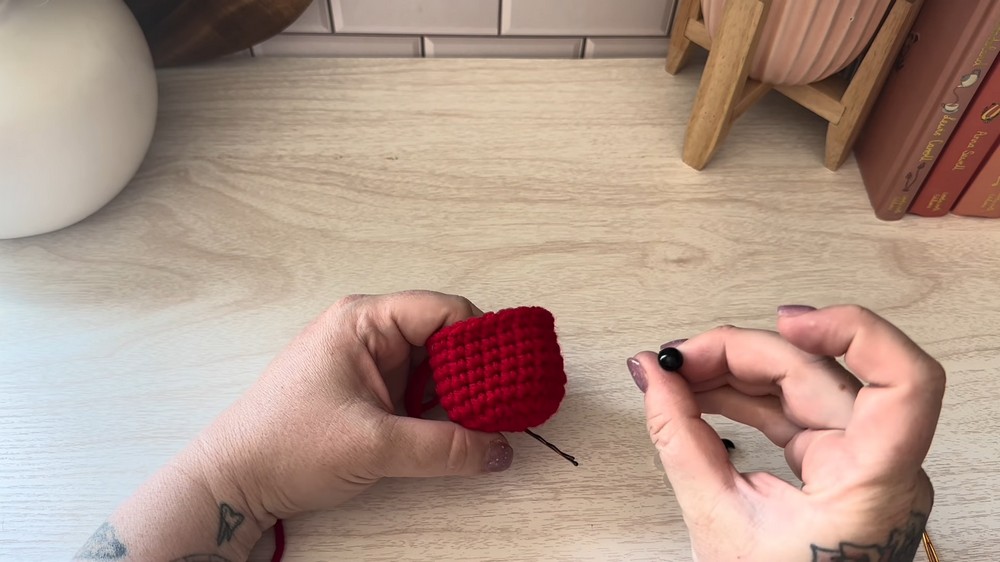
Step 3: Eye Accents and Mouth
- Eye Accents:
- Using black yarn, sew small eye accents at the top of the safety eyes.
- Mouth:
- Thread with black yarn, center between eyes (one row below).
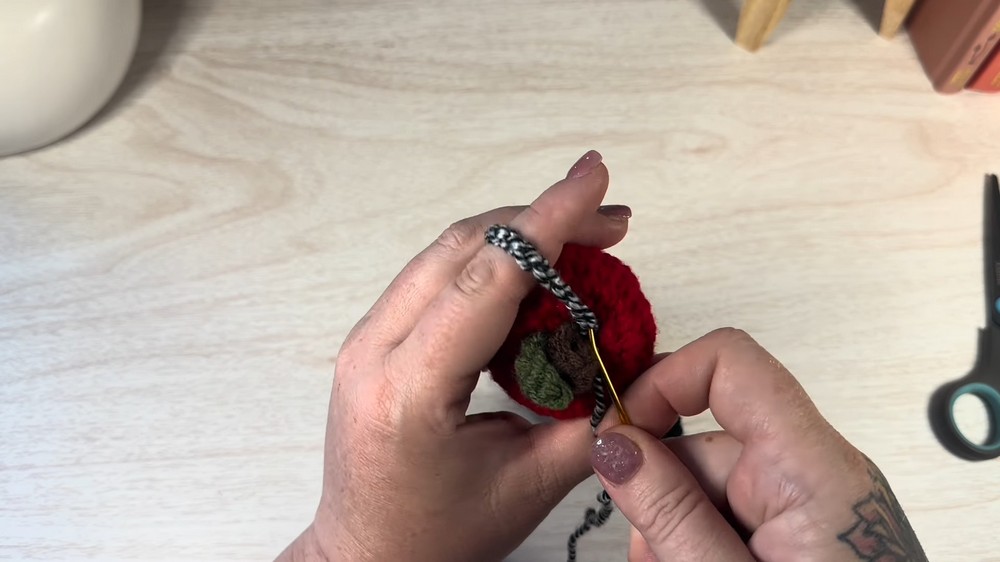
Step 4: Assemble and Attach
- Attach Stem and Leaf:
- Fold the stem piece in half and sew it to the top center of the apple.
- Attach the leaf next to the stem, positioning as desired.
- Finishing:
- Secure each item with additional stitches to ensure stability.
- Secure each item with additional stitches to ensure stability.
Step 5: Creating the Chain
- With Marbled Yarn (or desired chain yarn):
- Chain 65 or desired length for hanging.
- Fasten off, leaving a tail for attaching.
- Attach Each Piece:
- Using tapestry needle, attach the pencil and apple to each end of the chain.
- Sew securely by making several passes through the chain and the top of each piece.
Customization Ideas
- Colors: Change yarn colors for different fruit or themed charms.
- Sizes: Adjust the hook size or yarn weight for smaller/larger charms.
- Additional Accessories: Add other charms or small items to customize further.
Final Words & Tips
- Secure Attachments: Ensure all pieces, especially small items, are attached securely to avoid detachment.
- Detail Work: Take time with facial embroidery to give the charm character.
- Gift Idea: Package as a set for teacher appreciation or themed gifts.
Enjoy this delightful and charming project that makes for a wonderful, personalized gift or a cute accessory for personal use. Happy crocheting!
Conclusion:
This cute car charm project includes detailed steps for creating an apple and pencil charm. Customize according to taste and enjoy gifting something handmade and unique. Happy crafting and stay creative!