This crochet pattern teaches you how to make a cute no-sew wallet in the shape of a frog or bear, perfect as a card holder. The step-by-step guide includes creating the wallet base, adding ears or eyes, forming a button flap, and finishing with adorable face details. It’s a beginner-friendly project that requires minimal materials and is fun, functional, and perfect for gifting or personal use.

Free Crochet Frog and Bear Card Wallet Pattern
The video provides a step-by-step tutorial for crocheting an adorable bear or frog-inspired wallet. Using 3.5mm crochet hooks, cotton yarn in multiple colors, and accessories like 8mm eyes, silicone glue, scissors, and buttons, the teacher guides viewers through creating chains, single crochets, and double crochets for shaping the wallet. It also includes adding cute details like ears, a button closure, and a smiling face.
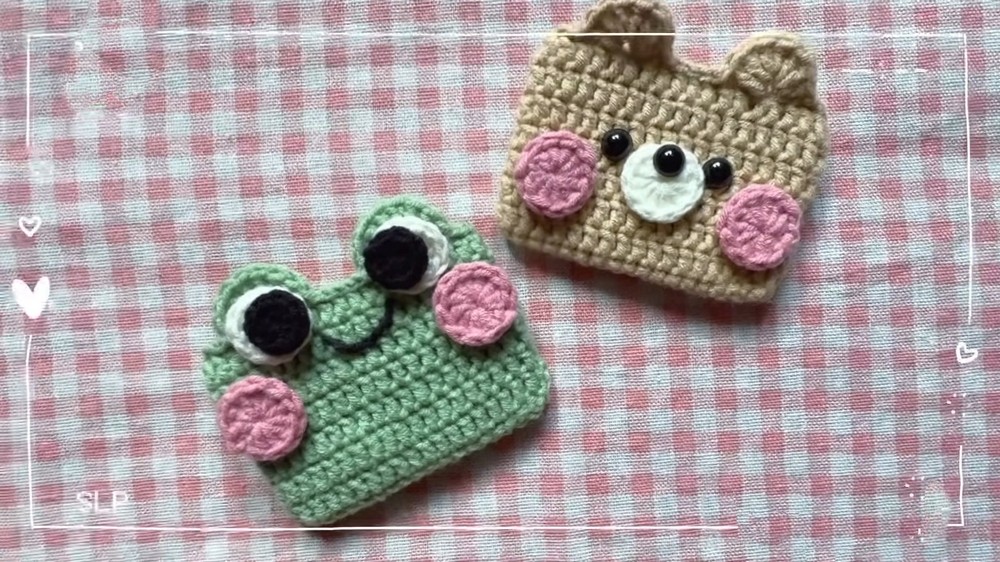
Crochet Bear or Frog Wallet Pattern
This step-by-step pattern will guide you in creating an adorable bear or frog wallet. It’s perfect for holding cards, coins, or small items, with charming face details that make it a standout accessory.
Skill Level
Intermediate – Suitable for those who are comfortable working in the round, with various stitches, and are familiar with basic sewing techniques.
Materials
- Yarn:
- 5-ply cotton yarn (or equivalent sport-weight yarn) in four colors:
- Main body color (e.g., green or beige for the base of the wallet)
- Color for blush or cheeks (e.g., light pink)
- White yarn for eye whites.
- Black yarn for details (smile embroidery).
- 5-ply cotton yarn (or equivalent sport-weight yarn) in four colors:
- Crochet hook: 3.5 mm (or size suitable for your yarn).
- Eyes: 8 mm plastic safety eyes for the frog or bear.
- Silicone glue (to attach the eyes securely).
- Scissors.
- Yarn Needle: For weaving in ends and attaching decorations.
- Buttons: Small button for the wallet closure.
- Card or wallet-sized reference: To measure the correct size.
Key Abbreviations
- Ch: Chain
- Sc: Single Crochet
- Dc: Double Crochet
- Hdc: Half Double Crochet
- Sl st: Slip Stitch
- Inc: Increase (2 stitches in the same stitch).
- BLO: Back Loop Only
- FLO: Front Loop Only
Special Notes
- This pattern is suitable for making either a bear wallet or a frog wallet, with slight changes to the final step decorative features.
- Be sure to use the correct hook size based on your yarn to achieve the desired project size.
- Measure the foundation chain and finished rows against a card or wallet to ensure the correct size and adjust as necessary.
Pattern Instructions
Wallet Base
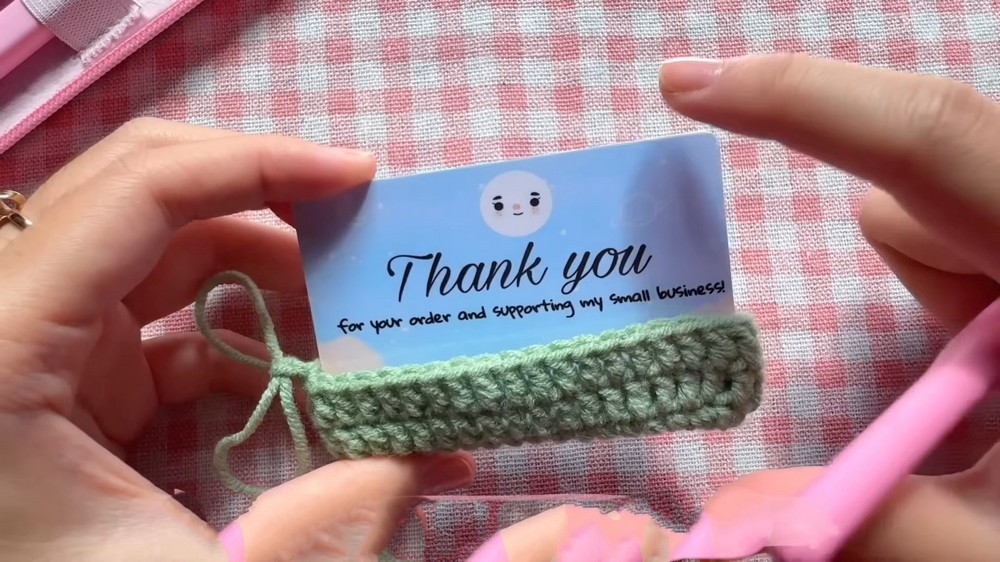
Round 1: Foundation Round
- Begin with a slip knot: Wrap the yarn around two fingers, pull to create a loop, and tighten it on the hook.
- Chain 18 (or as many chains as needed to match the length of a card).
- Chain 1 more (this acts as the turning chain).
- Work 1 Sc in the second chain from the hook and proceed to make 1 Sc in each stitch across. (Total: 17 Sc at this point).
- When you reach the last stitch, make an additional 3 Sc in the same stitch (this creates the curved edge for the bottom of the wallet). Use a stitch marker, if needed, to identify the start of the round.
- Continue working on the other side of the foundation chain:
- 1 Sc in each chain along the opposite side of your foundation chain.
- Make 2 Sc in the last chain.
- To close the round, slip stitch (Sl st) into the first Sc.
Round 2: Double Crochet
- Chain 2 (counts as 1 Dc).
- Work 1 Dc into the same stitch as the chain-2.
- Make 1 Dc in each stitch around the wallet base until the end of the round.
- Slip stitch into the top of the chain-2 to close the round.
Rounds 3–7: Building the Wallet Body
- For Rounds 3 through 7 (or until the wallet reaches the desired height):
- Begin each round with Ch 2.
- Make 1 Dc in every stitch around.
- Join with a slip stitch in the top of Ch 2 after every round.
Tip: The specific number of rounds depends on the height of the wallet needed. Ensure the wallet covers your cards or small items.
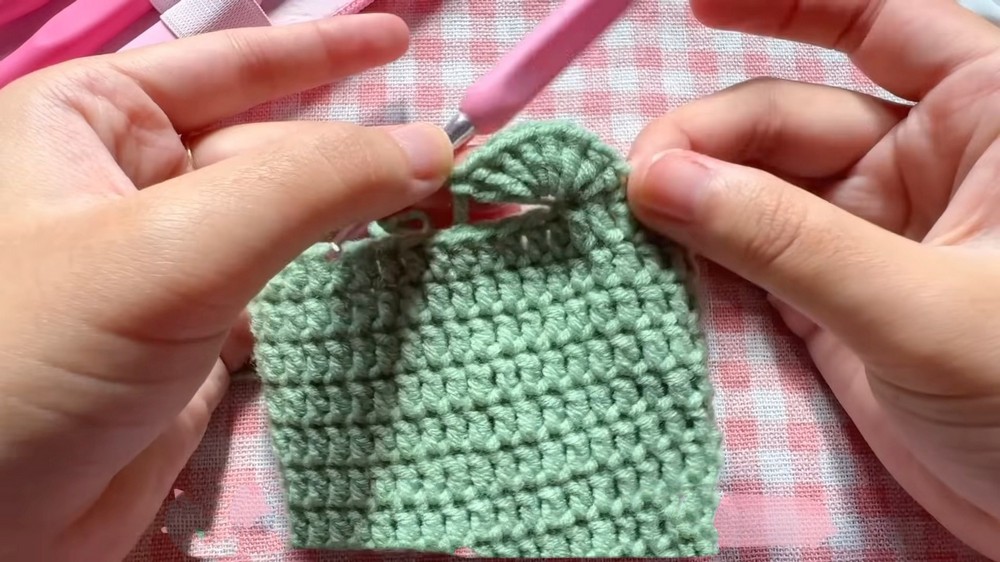
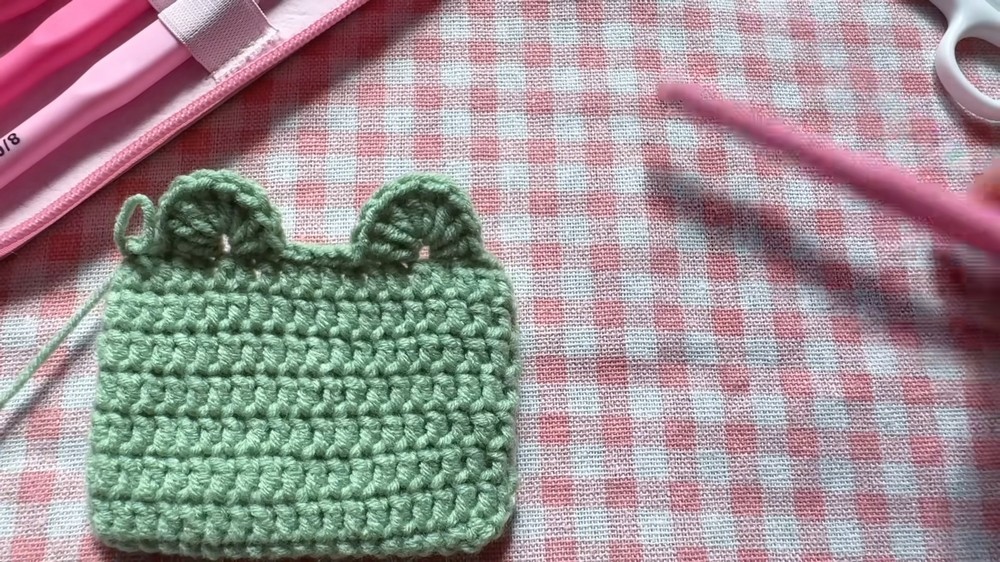
Round 8: Ears/Eyes (Front Loop Slip Stitch)
- For this round, you will work Front Loop Only (FLO) Slip Stitches (Sl st).
- Insert your hook into the front loop of each stitch and make 4 FLO Sl st.
- After completing 4 Sl st, skip 1 stitch, then make 8 Dc into the front loop of the next stitch. This will form the first ear or eye.
- Skip 1 stitch, and make 6 FLO Sl st.
- Skip 1 stitch, then work 8 Dc into the front loop of the next stitch to create the second ear or eye.
- Skip 1 stitch and finish this round with 4 FLO Sl st.
- Finish the round with a slip stitch and fasten off.
Wallet Flap
- Insert your hook into the first unworked back loop of Round 7.
- Chain 2, then work 1 Dc into each back loop of the previous round, stopping at the wallet’s fold.
- Continue with additional rows to create the desired thickness of the flap:
- At the end of a row, Ch 2, turn your work, and repeat 1 Dc into each stitch across.
- Repeat until the flap matches your desired length.
Buttonhole (Optional Row)
- On the final row of the flap, stop before reaching the center of the row.
- Chain 2, skip 1 Dc, then continue Dc across the row. This leaves a small space for the button to fit through.
Facial Details
Cheeks and Eye Whites (x2 of each)
- Start with a magic ring.
- Chain 2 to start.
- Work 12 Dc into the magic ring.
- Pull the magic circle tight and slip stitch into the top of the Ch 2 to close the round.
- Fasten off, leaving a long tail for sewing the cheeks/white of the eyes onto the wallet.
Pupil (Black Part of the Eye, x2)
- Create a magic ring as before.
- Chain 2, then work 10 Hdc into the magic ring.
- Tighten the magic circle and slip stitch into the top of Ch 2.
- Fasten off, leaving a tail for sewing.
Assembly & Embellishment
- Glue Eyes: Attach the black pupils to the white eyes using silicone glue, then glue the completed eyes to the wallet’s flap.
- Sew Cheeks: Use pink yarn and sew the blush near the base of the wallet’s flap for an adorable look.
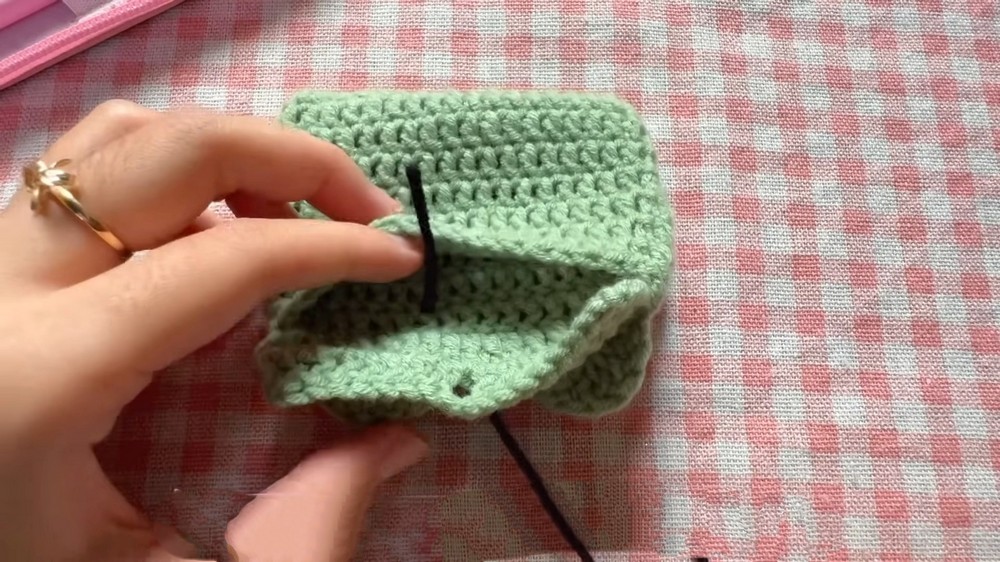
- Embroider a Smile: With black yarn or thread, embroider a simple smile just below the eyes.
- Attach Button: Position the button under the flap and sew securely to the wallet using yarn or thread. Ensure the button aligns with the buttonhole.

Conclusion
Your DIY Bear or Frog Wallet is now ready to use! This whimsical, functional pouch is fun to make and perfect for storing cards or small belongings. It’s a delightful handmade project for gifts or personal use.
Tips
- Customization: Experiment with colors or add extra details like bows or spots for a unique design.
- Secure Eyes: For younger children, avoid small detachable parts and embroider the eyes instead for safety.
- Adjust Size: Make the foundation chain longer or shorter depending on the size of cards or items you plan to store.
Corrections
- If stitches do not align (e.g., ears or indentations are off-center), adjust placement slightly by skipping or adding a stitch mid-round.
- Ensure the buttonhole aligns perfectly with the button before sewing.