Carry style and functionality effortlessly with a crochet hand bag pattern perfect for personalized accessories to complement everyday looks and special occasions.
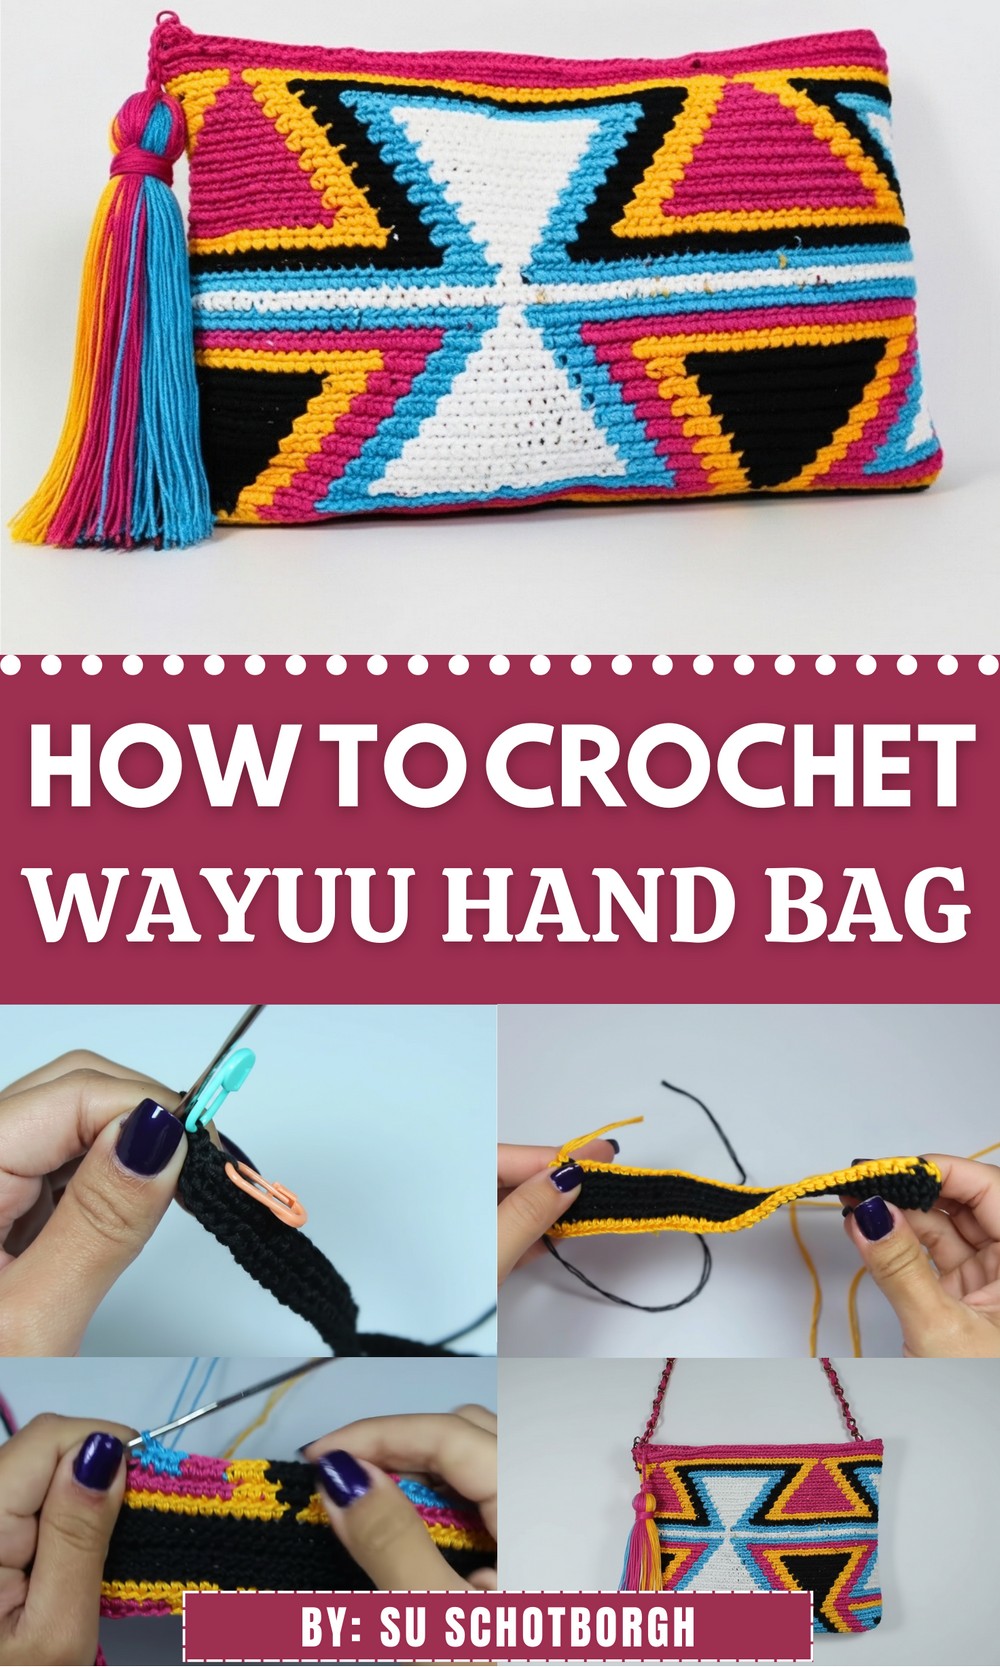
A free crochet hand bag pattern is the perfect way to combine creativity with practicality. Imagine having a stylish, handmade accessory that’s uniquely yours—whether you need a roomy bag for errands, a trendy piece for casual outings, or a statement bag for special occasions.
Your Go-To Crochet Hand Bag Pattern for Any Season
This pattern offers endless possibilities to match your preferences, from playful pops of color to sleek, understated textures. Plus, crocheted bags are not only fashionable but sturdy and eco-friendly too. Whether you’re just starting out or have been crocheting for years, this project is a delightful blend of fun and functionality.
Ready to make it your own?
Materials Needed
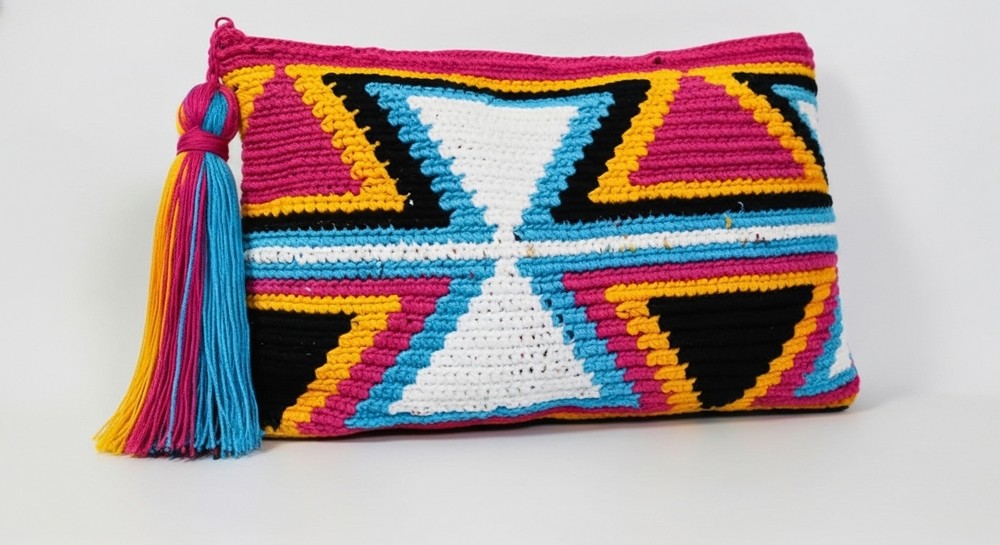
- Yarn: Thin handmade yarn popular for Guayu-style bags; you will need 2 rolls per color (colors used in this pattern: black, yellow, fuchsia, aquamarine blue, and white)
- Crochet Hook: Size 0 crochet hook (US terminology: 2.55 mm)
- Accessories:
- Small bags or jars to hold multiple yarn rolls to avoid knotting
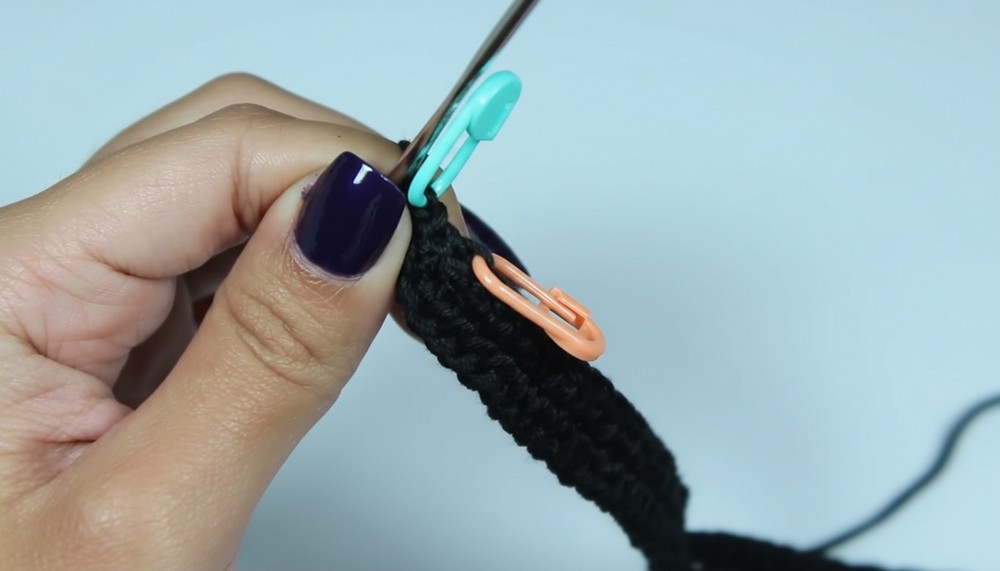
- Stitch markers (or paper clips) to mark stitches
- Scissors
- Zipper/closure or tassel (optional, for finishing details)
- Strap hardware: small rings and hooks for attaching a removable strap (optional)
Skill Level
Intermediate to Advanced
Key Abbreviations
- ch: chain
- sc: single crochet
- sl st: slip stitch
- inc: increase (2 single crochet stitches in the same stitch)
- st(s): stitch(es)
- rep: repeat
Special Notes:
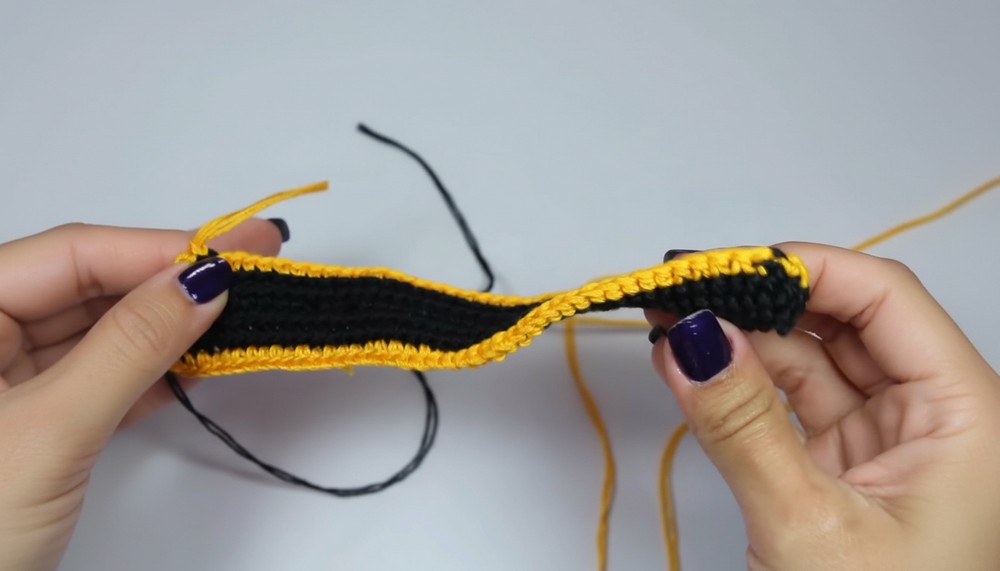
- Work with double strands of yarn throughout the pattern for strength and thickness.
- Always carry unused yarn behind your work and crochet over it to keep your transitions clean.
- Mark the first stitch of each row and the last stitch of the previous row to avoid confusion during row transitions.
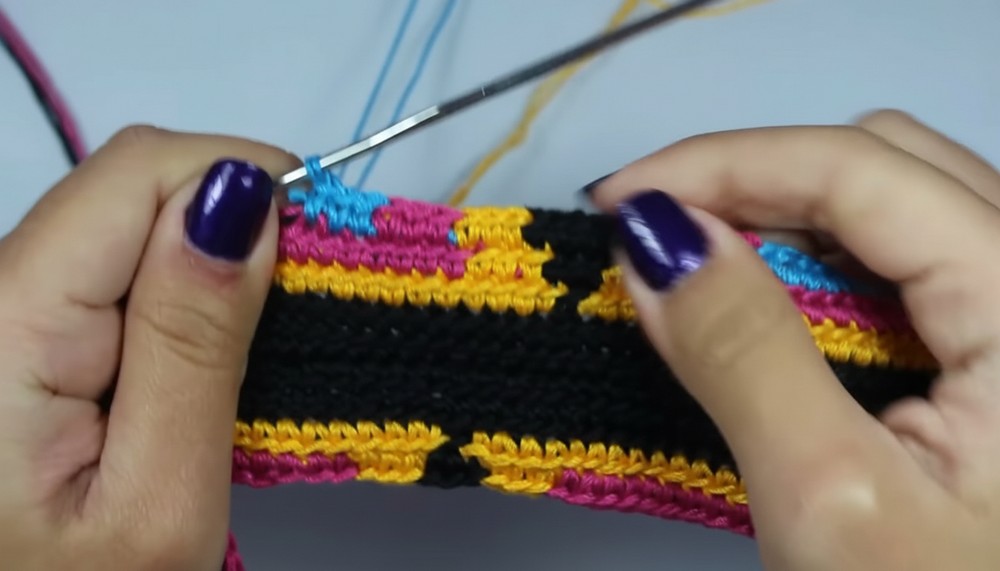
- Ensure you switch colors seamlessly: finish the last step of the previous stitch with the new color (pull through the final loop with the new color).
Pattern
Base of the Bag
- Foundation Chain: Using black yarn, make 66 chains.
- First Row (Bottom Edge):
- Begin in the second chain from the hook. Work 1 sc into the first chain.
- Place a stitch marker in this first stitch.
- Into the same chain, work 2 more sc (total of 3 sc in 1 spot; this will form the curve at the bottom).
- Continue working sc in each chain along the foundation chain until you reach the last chain.
- Curve at the End: When you reach the last chain, work 3 sc into the same stitch to create the other curved edge.
- Back Side: Work 1 sc in each stitch along the backside of the foundation chain, hiding the loose yarn tail.
- At the end of the row, you should have 130 sc total (67 along the front, 63 on the back).
- Join: Use a sl st to join the row to the first sc, and ch 1 to begin the next row.
Second Row
- Work 1 sc in each stitch around. Do not increase. (130 sc)
- Insert your hook into the back loops only of each stitch to give the fabric a textured effect like that of Guayu.
- Close the row with a sl st in the first sc. Chain 1 and begin the third row.
Third Row
- Begin adding colors for the pattern. Switch to yellow yarn.
- Work 1 sc in each stitch, still crocheting into the back loops only.
- At the end of the row, switch back to black yarn without cutting the yellow yarn.
Rows 4–5: Introducing the Pattern
- Continue working in back loop sc, following the color sequence below.
- Switch colors during the last step of the current stitch, ensuring clean transitions.
- Row 4 Color Sequence:
- Yellow: 22 sc
- Black: 1 sc
- Yellow: 42 sc
- Black: 1 sc
- Yellow: 42 sc
- Black: 1 sc
- Yellow: 23 sc
- Row 5 Color Sequence:
- Aquamarine Blue: 14 sc
- Fuchsia: 3 sc
- Yellow: 3 sc
- Black: 5 sc
- Yellow: 3 sc
- Fuchsia: 3 sc
- Aquamarine Blue: 26 sc
Continuing the Bag
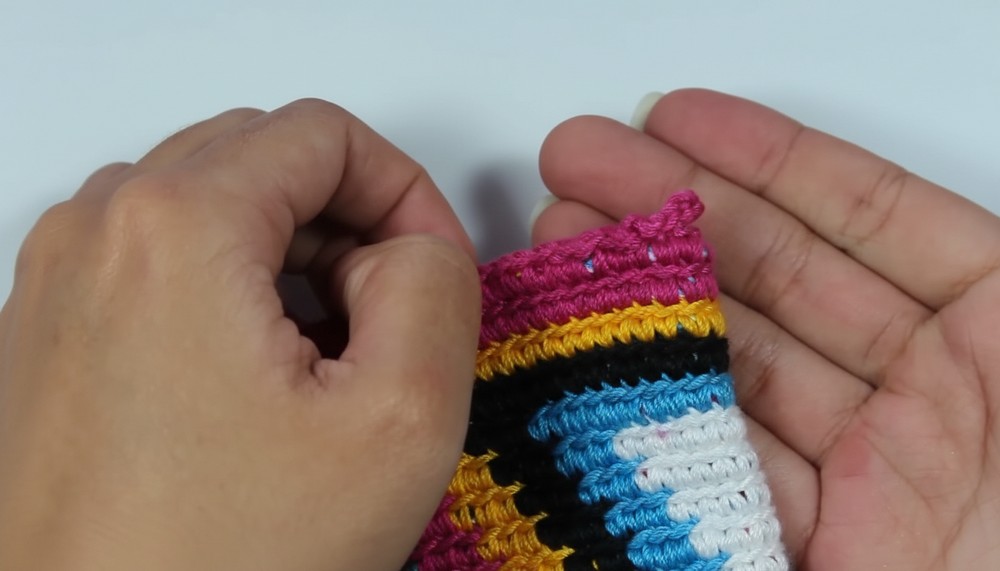
- Refer to the Pattern Chart: After row 5, use the accompanying pattern chart for the exact repetition of stitches and sequences for the Guayu-inspired design. Pause or refer to diagrams as needed to follow the intricate colorwork.
- Carry Yarn Between Colors: Always hide inactive yarn by crocheting over it to keep the inside tidy.
Finishing the Bag
- Final Row: Work the last row in a single color or follow the sequence. Begin hiding and cutting excess yarn as you reach the end of the final row to avoid bulk.
- Closure: Use a sl st to join, cut the yarn, and secure with a knot. Tuck in all loose ends within the stitches for a clean finish.
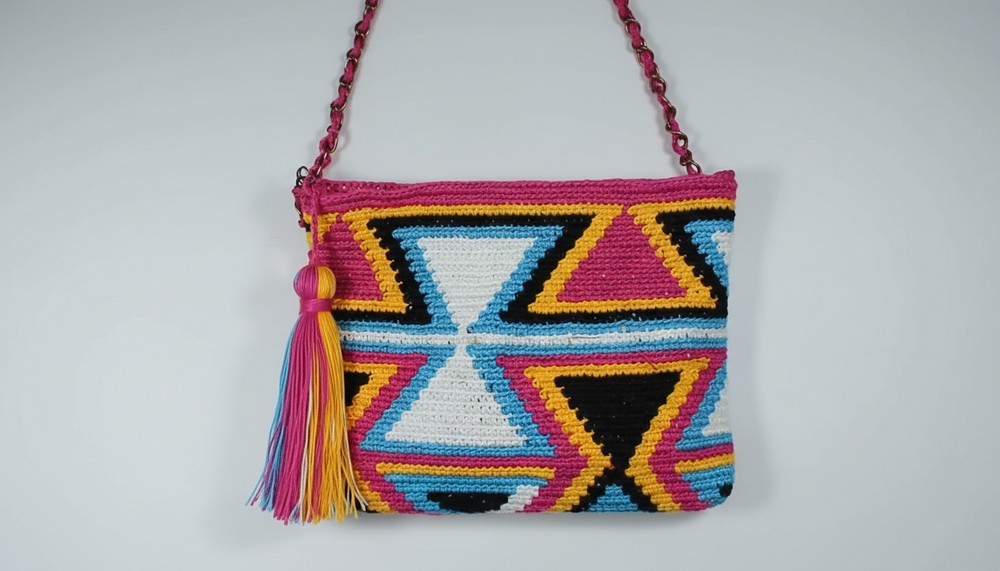
Adding Optional Zipper, Tassel, and Strap
- Attach a zipper/closure at the top opening for easier use.
- Create a removable strap: Crochet a long chain (adjust length based on desired strap size). Attach hardware such as hooks and rings for easy removal.
- Add decorative tassels in matching yarn colors for an extra touch.
Conclusion
This Guayu-inspired crochet bag is an excellent intermediate to advanced project that lets you practice precise color changes, the back-loop-only technique, and intricate patterns. The end result is a stylish, custom handmade bag that’s perfect as a statement piece or a thoughtful gift. The optional zipper, strap, and tassel allow for great personalization.
Pattern Correction and Tips
- Do Not Cut Yarn Often: Unless changing color completely, carry the unused yarn along the back to avoid having too many loose ends to weave in.
- Use Stitch Markers: Mark the first and last stitches of each row; this prevents accidental increases or uneven rows.
- Gauge Management: Ensure consistent tension, especially when managing multiple strands of yarn for double-thread work.
- Wrong-Side View: The fabric might look odd until it’s folded into a bag shape. Rest assured, this is normal for this pattern.