Master the art of crocheting a timeless shirt with collar that’s simple, stylish, and perfect for every occasion while inspiring your personal wardrobe flair.

Looking for a stylish and versatile crochet project? This free crochet shirt with collar pattern is exactly what you need! Perfect for makers of all skill levels, this pattern combines elegance with simplicity, allowing you to create a polished, handmade shirt that’s perfect for casual or semi-formal occasions.

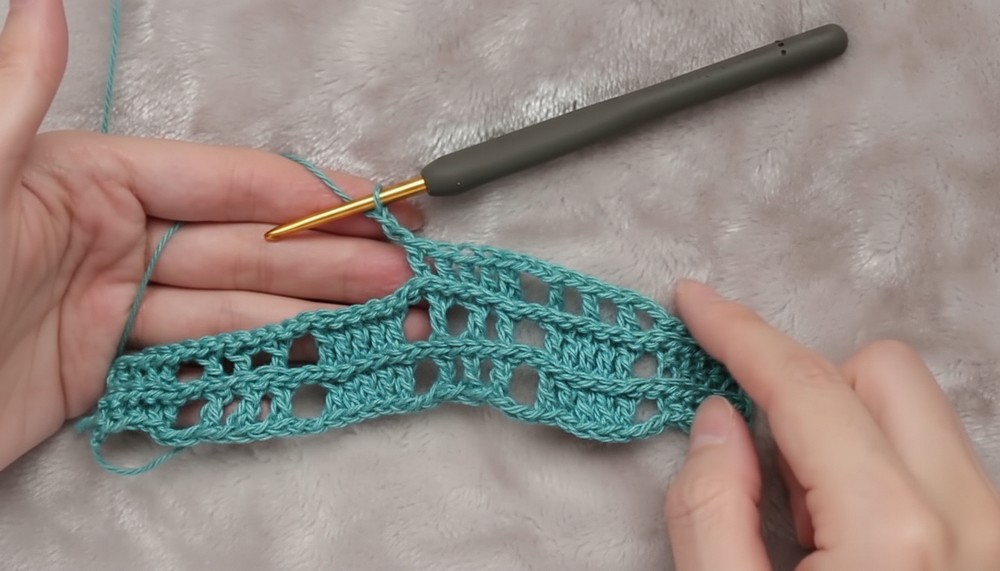
Elegant Crochet Shirt With Collar for a Classy Touch
Using lightweight yarn and basic stitches, you’ll love how easy it is to crochet a comfortable, breathable, and flattering design that fits beautifully. Whether you want a classic look or a modern twist, this pattern offers endless possibilities to customize.
Grab your supplies and start building your wardrobe with this timeless crochet creation!
Materials & Supplies
Yarn
- Yarn: Orin Ichikawa Cotton Thread from Rakuten Ichiba, 25g (90m), 100% Cotton. A lightweight cotton or DK-weight yarn can be substituted if unavailable.
Hook
- 3mm crochet hook
(If substituting yarn, adjust hook size according to the label recommendations.)
Additional Supplies
- Scissors
- Tapestry Needle for securing ends
- Stitch markers (optional, to mark edges or midpoints)
Skill Level
Intermediate: Familiarity with US crochet stitches such as single crochet, double crochet, chain stitches, and slip stitches required. The project involves working ribbing, back loop-only stitches, mesh patterns, and creating sleeves.
Key Abbreviations & Definitions
- ch = chain
- sc = single crochet
- dc = double crochet
- sl st = slip stitch
- st(s) = stitch(es)
- back loop only (BLO): Insert the hook into the back loop of the stitch only.
Pattern Notes:
- Size Adjustments: The pattern begins with a foundation chain. Customize the width according to the final measurements.
- Color Variations: Use color blocks, stripes, or a gradient yarn for a unique effect.
- Ribbing: The ribbed sections use slip stitch in the back loop only for texture.
- Construction: Worked flat in pieces, folds and sews for shaping, and adds finishing details like edging or optional buttonholes.
Pattern Instructions
Step 1: Foundation Chain
- Chain 270 (This will form the width of the top).
(For demonstration, the pattern chains 40 instead. Adjust based on your desired size). - If making a smaller or larger item, ensure your stitch count matches the pattern multiplier: 254 stitches + 2 stitches = 14 repeats.
Step 2: Ribbing
Row 1:
- Work ribbing along 8 stitches on both sides by slip stitching through the back loop only.
- Finish the row with sl st into the bump of the chain for a clean edge.

Row 2 (Begin Mesh Pattern):
- Chain 2, skip 2 stitches, and work the following sequence:
- Work 5 dc into the next stitch.
- Chain 2, skip 2 stitches.
- dc in the next stitch, chain 1, skip 1, dc in the next stitch.
- Repeat the pattern across the row.
- At the end, sl st into the remaining thread and turn your work over.
Step 3: Mesh Pattern Rows
From Row 3 Onwards:
- Back Loop Only: From the 2nd row onward, work every stitch in the back loop only to maintain texture consistency.
- Work the mesh pattern by repeating the 5dc clusters, chain 2 skips, and alternating stitches.
- Turn your work after every row using slip stitches (BLO).
Step 4: Body Construction
- Continue Mesh Pattern Rows: Repeat Steps 2–3 for 44 rows or until desired width (approximately 23cm).
- Middle Section: Fold the main body in half to find the center. Work mesh stitches for 10cm in the middle section.
Step 5: Sleeves
- Create the First Sleeve:
- Attach yarn to the middle corner of the folded body.
- Work mesh patterns for 16 rows at a width of 24cm.
- Ensure ribbing on both sides matches the main body for a cohesive design.
 Shape Underarms: Fold the sleeve pieces and secure the edges by stitching with a tapestry needle.
Step 6: Collar
- Attach Yarn at the collar edge (center of 5 blocks).
- Work alternating dc rows and sl st rows (BLO) for 10 layers.
- Add rib stitching to the edges by using sl st (BLO) for structure.

Step 7: Finishing Details
Placket (Optional):
- Work a single crochet edging along both the left and right edges.
- Optional buttonholes: Create small openings by working sl st spaces in a designated area. Add buttons later.
Final Assembly:
- Sew the body together using the tapestry needle, ensuring all edges align properly.
- Weave in ends and trim excess yarn.

Tips for Success
- Use Stitch Markers: Place markers at the center and edges to ensure symmetry while folding and sewing the body.
- Customize Colors: Experiment with stripes, ombre gradients, or alternate ribbing colors for a creative, personalized look.
- Size Adjustments: The foundation chain can be altered to fit varying widths based on the stitch pattern’s multiplier.

Pattern Variations
- Color Blocking: Use different colors for the ribbing, mesh pattern, and sleeves for a striking design.
- Sleeve Length: Customize sleeve lengths by adding or reducing rows. Adjust the underarm stitching accordingly.
- Cropped Version: Shorten the foundation chain and reduce the row count for a trendy cropped kimono-style top.
Conclusion
This ribbed cotton kimono-style crochet top is versatile and elegant, perfect for layering over summer wear or casual outfits. With its textured design, customizable sizing, and potential for creative color combinations, the project becomes a unique addition to any wardrobe.