
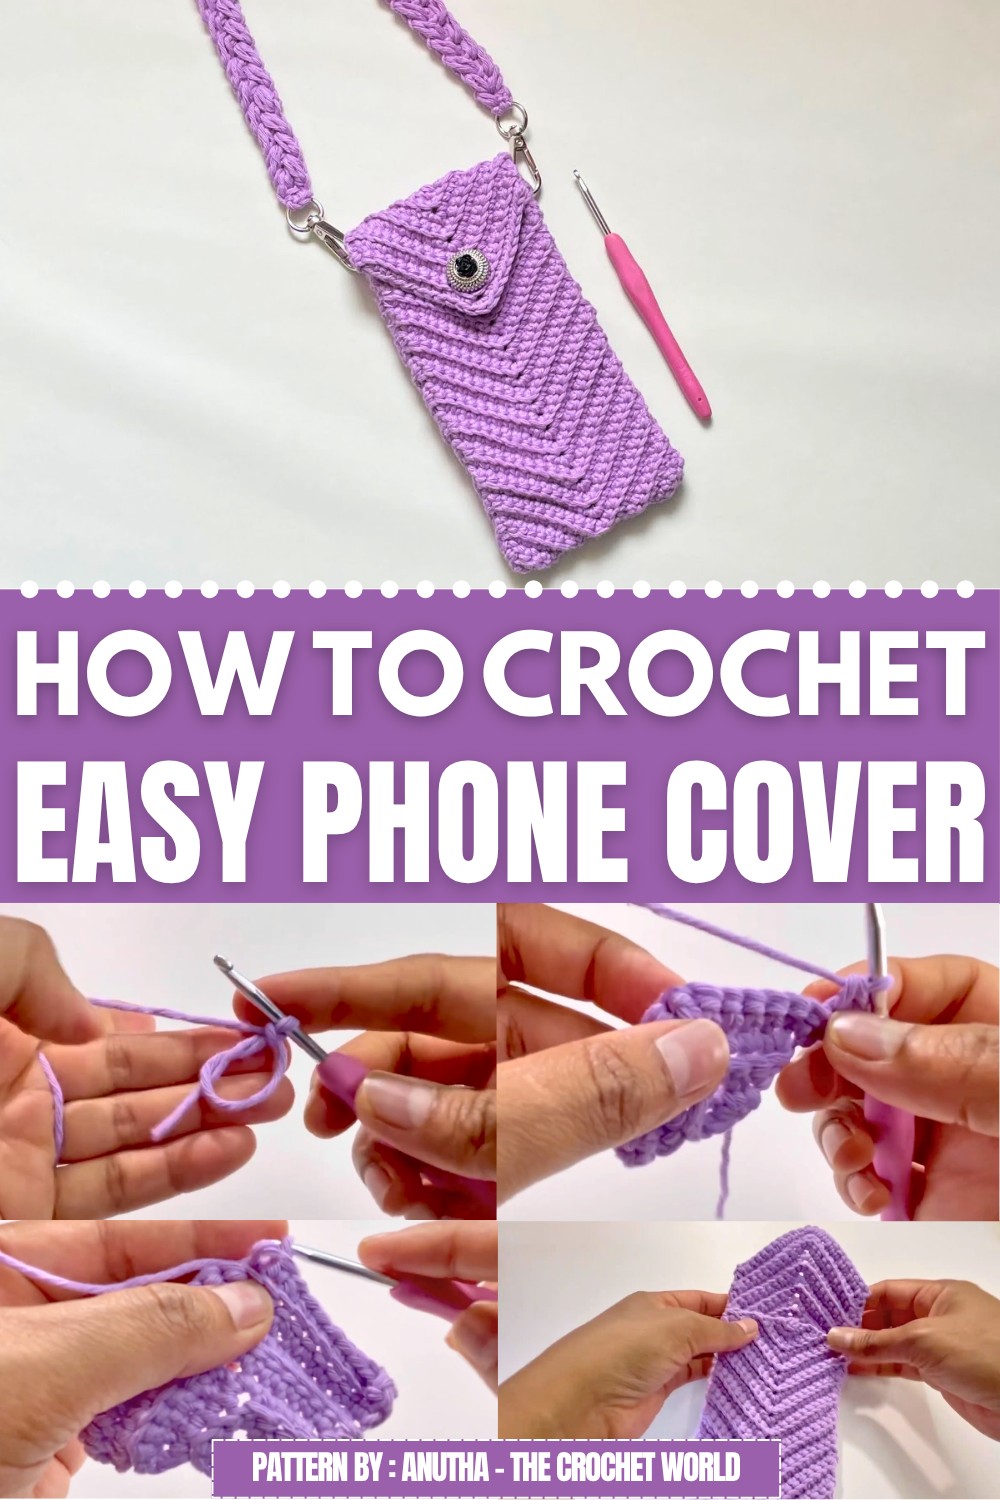
You can use this cute phone cover every day. It keeps scratches and small bumps away from your device. Plus, it makes your phone stand out in a crowd of plain cases. It’s a great accessory that is both fashionable and helpful. You can carry your phone with confidence knowing it’s protected and looks special.
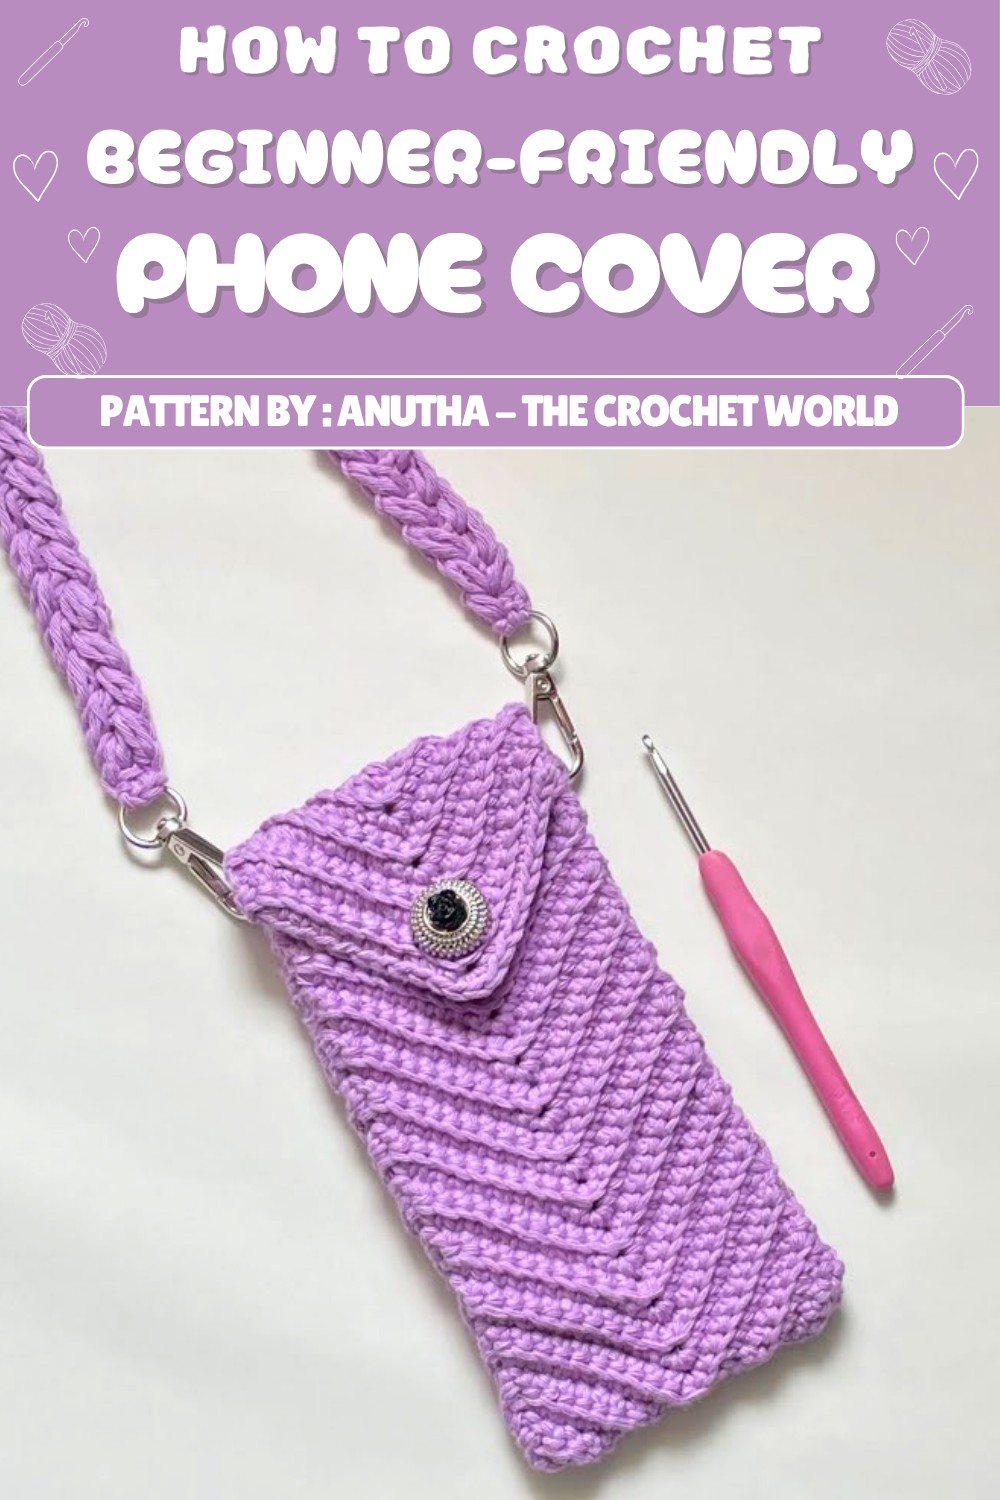
This project also makes a great handmade gift for friends or family who love their phones. It’s thoughtful and shows you cared enough to make something just for them. Whether for yourself or as a gift, the Free crochet Phone Cover Pattern is easy, fun, and useful. Give it a try—you’ll enjoy making a cover that keeps your phone safe and stylish!
Crochet Phone Cover Pattern
This pattern will guide you step-by-step through crocheting a beautifully textured phone cover using 100% cotton yarn and a 3.5 mm crochet hook. The design features only back loop only single crochet stitches (BLO), creating a subtle ribbed texture and elasticity, ideal for protecting your phone with a snug yet flexible cover. Starting with a magic circle foundation, the work gradually increases the stitch count to form the base width, then transitions into consistent rows for the body length. Finally, the piece is folded and seamed to form a functional pouch with a secure flap and optional strap attachments. This durable and stylish cover makes a perfect handmade gift or practical accessory.
Quick Overview of Pattern
- Foundation worked in rows from a magic circle.
- Progressive increases to shape the base width.
- Rows 7 onward maintain steady stitch count via balanced decreases and central increases.
- Entire project uses single crochet stitches worked in the back loops only (BLO).
- Finished piece is folded and sewn into a pocket with flap closure.
- Button or fastener can be added to secure the flap.
- Optionally attach a strap for ease of carrying.
Notes
- The initial chain 1 at the start of each row does not count as a stitch—it serves as the turning chain.
- Utilizing BLO single crochet adds texture and flexibility to the fabric.
- Carefully place stitch markers or count when working repeats to maintain stitch accuracy.
- Seaming is flexible; exact alignment is not mandatory but aim for neat, secure joining.
- Length can be easily customized by adding or reducing rows after row 7.
- For security, fasteners such as buttons or snaps can be sewn at the flap edges.
- Consider adding a strap for a hands-free option; details for the strap are available via supplemental patterns.
Skill Level
Beginner to Intermediate — This pattern involves simple stitches but requires working increases and decreases, stitch consistency, and basic finishing techniques like folding and seaming.
Materials
- 100% cotton yarn (suitable for 3.5 mm hook)
- Crochet hook, 3.5 mm
- Stitch markers (optional)
- Yarn needle for weaving and seaming
- Scissors
- Button or button alternative (snap or Velcro) for flap closure
- Optional: strap yarn or ready strap for handle
Measurements / Sizing
- Width approximately 11 cm (4.3 inches) after final increase row.
- Length approximately 17 cm (6.7 inches) after 60 rows, adjustable by adding or removing rows.
- Designed to fit most standard smartphones with allowance for ease and thickness.
Gauge & Stitch Pattern
- Gauge is approximate given flexible cotton yarn:
- 23 stitches wide after shaping phase.
- Entire project in single crochet back loop only (BLO SC) stitch.
- The BLO stitch creates a ridged, stretchy fabric ideal for phone protection.
Stitch Abbreviations
| Abbreviation | Stitch | Description |
|---|---|---|
| ch | Chain | Yarn over, pull through loop |
| sc | Single crochet | Insert hook, yarn over, pull through 2 loops |
| BLO | Back loop only | Insert hook under back loop only of the stitch |
| sl st | Slip stitch | Insert hook, yarn over, pull through all loops |
| dec | Decrease (2 sts together) | Yarn over, insert into next 2 stitches, yarn over, pull through loops, finish stitch |
Special Stitches
Back Loop Only Single Crochet (BLO SC)
- Insert the crochet hook only through the back loop of the stitch—this is the loop farthest from you.
- Yarn over and pull through the loop, yarn over, pull through both loops on hook.
- Produces textured ridges and increases flexibility.
Decrease (2 stitches together – dec) in BLO
- Yarn over, insert hook through back loop of the next stitch, yarn over and pull up a loop.
- Insert hook through back loop of the following stitch, yarn over and pull up a loop.
- Yarn over and pull through all loops on hook to complete the decrease with neat, flat shaping.
The Crochet Pattern
Phase 1: Foundation and Increases
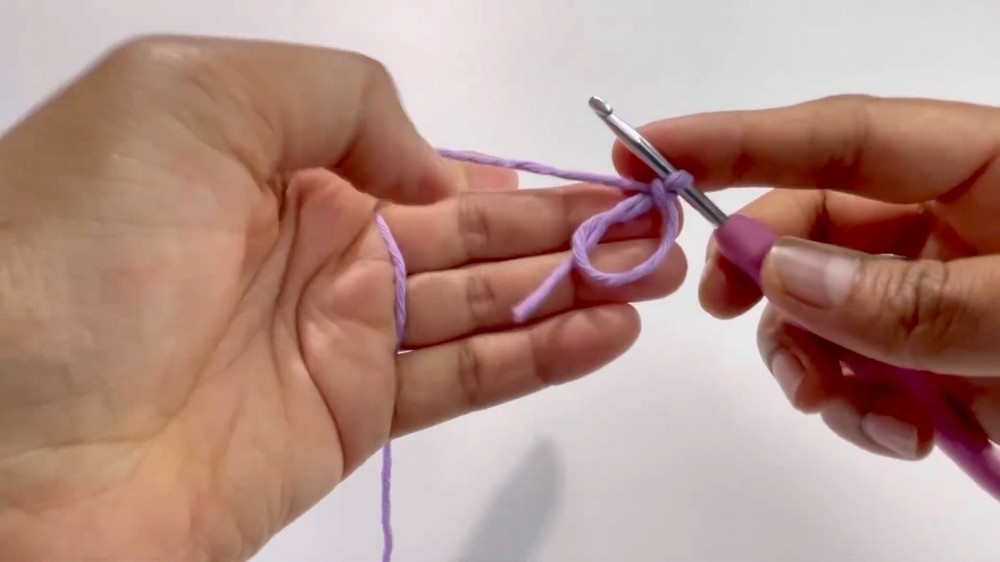
Magic Circle
- Create a magic circle and chain 1 to secure (chain does not count as a stitch).
Row 1
- Work 3 single crochets into the magic circle (BLO not applicable for the first row since stitches are worked in the round).
- Pull tail tightly to close the ring.
Row 2
- Chain 1, turn work.
- All stitches from now on are worked in back loop only.
- In first stitch: work 2 BLO single crochets.
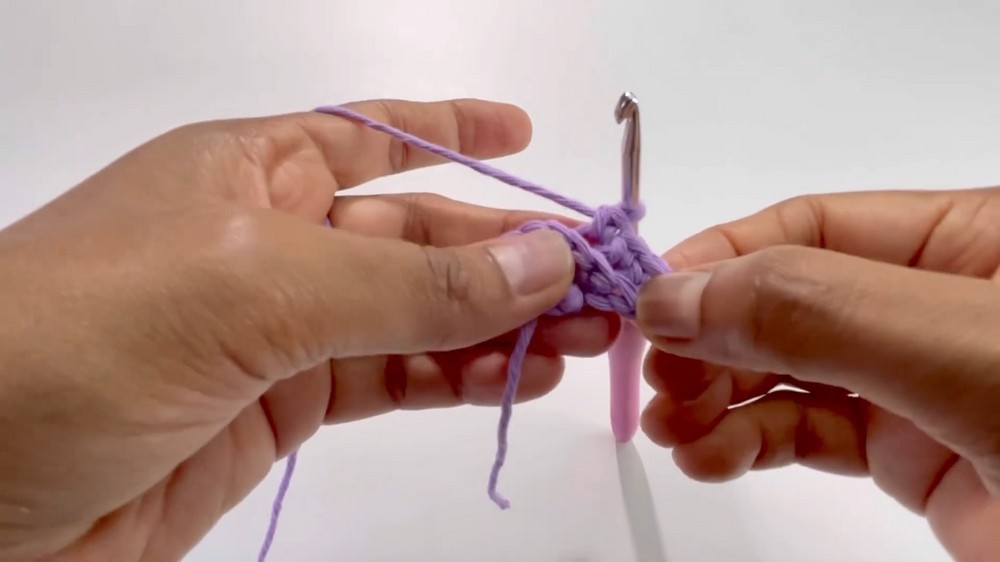
- In second (middle) stitch: work 3 BLO single crochets.
- In last stitch: work 2 BLO single crochets.
- Total stitches: 7.
Row 3
- Chain 1, turn.
- First stitch: 2 BLO SC.
- Next 2 stitches: 1 BLO SC each.
- Middle stitch: 3 BLO SC.
- Next 2 stitches: 1 BLO SC each.
- Last stitch: 2 BLO SC.
- Total stitches: 11.
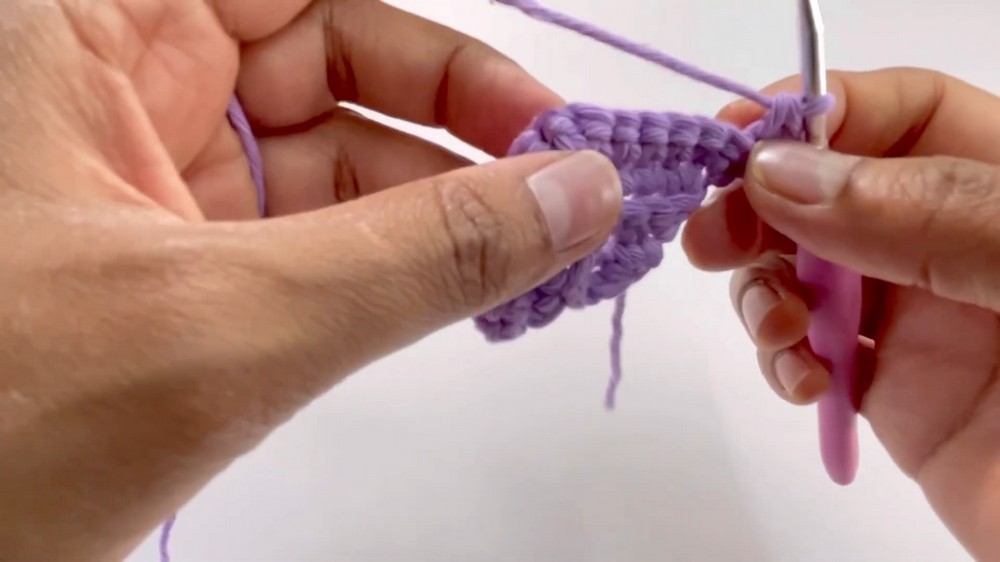
Row 4
- Chain 1, turn.
- First stitch: 2 BLO SC.
- Next 4 stitches: 1 BLO SC each.
- Middle stitch: 3 BLO SC.
- Next 4 stitches: 1 BLO SC each.
- Last stitch: 2 BLO SC.
- Total stitches: 15.
Row 5
- Chain 1, turn.
- First stitch: 2 BLO SC.
- Next 6 stitches: 1 BLO SC each.
- Middle stitch: 3 BLO SC.
- Next 6 stitches: 1 BLO SC each.
- Last stitch: 2 BLO SC.
- Total stitches: 19.
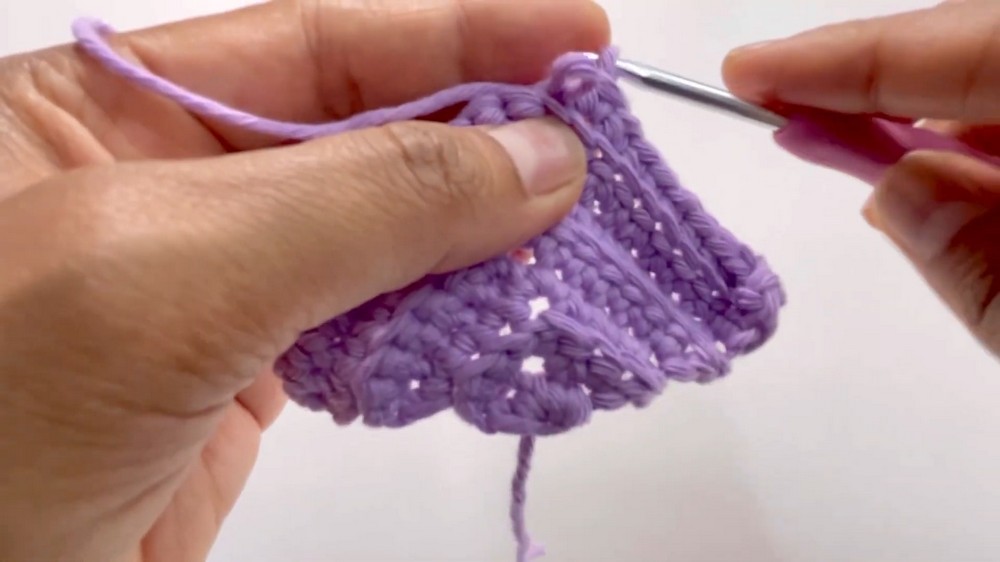
Row 6
- Chain 1, turn.
- First stitch: 2 BLO SC.
- Next 8 stitches: 1 BLO SC each.
- Middle stitch: 3 BLO SC.
- Next 8 stitches: 1 BLO SC each.
- Last stitch: 2 BLO SC.
- Total stitches: 23.
Phase 2: Main Body – Stable Stitch Count Rows
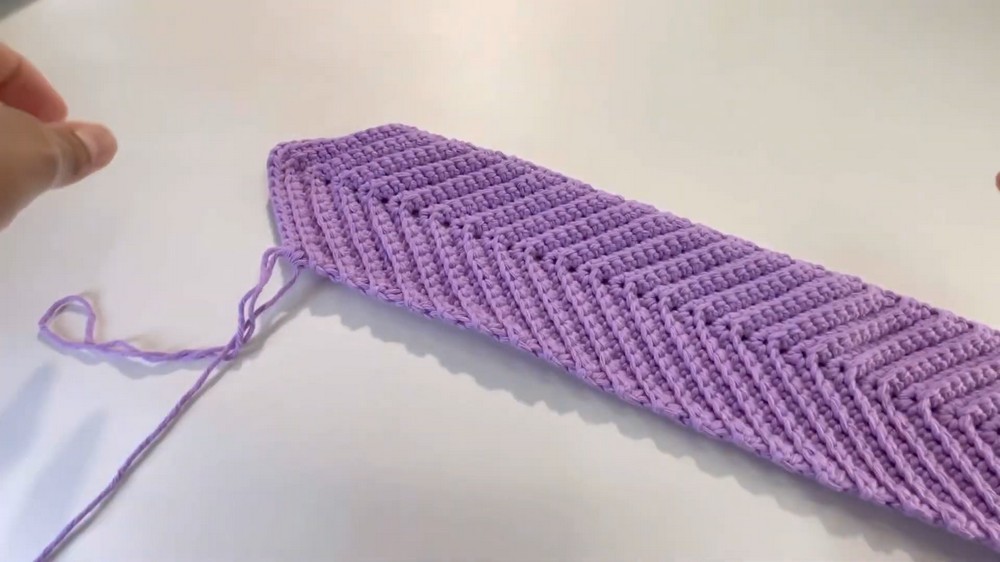
Row 7 to 60 (or desired length)
- Chain 1, turn.
- Work 2 next stitches together (decrease) in BLO at the beginning of the row.
- Work 9 BLO single crochets.
- Work 3 BLO single crochets into the middle stitch (center of work).
- Work 9 BLO single crochets.
- Work 2 stitches together (decrease) in BLO at the end of the row.
- Total stitches per row: 23 (the stitch count remains constant through decreases on edges balanced by increase in middle stitch).
- Repeat this row pattern sequentially continuing up to row 60 or your desired phone case length.
- Fasten off after final row.
Phase 3: Assembly
Folding
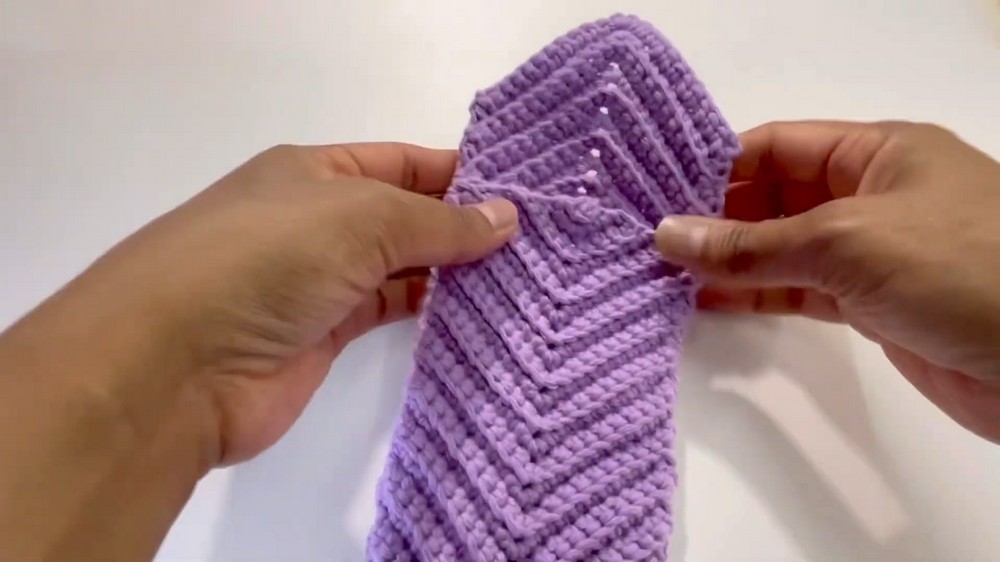
- Fold the bottom portion of your crochet work upwards to meet row 10, creating the phone pouch shape.
Seaming
- Use a yarn needle and matching yarn to sew the edges of the folded sides together securely.
- Stitch markers can help hold edges aligned as you sew.
- Seaming does not require exact stitch counting; simply create a neat and durable seam.
Finishing
- Turn your finished phone case inside out if needed for a seamless look.
- Attach fasteners such as buttons or snaps to the flap for secure closure.
- You may also add a strap by crocheting or attaching a store-bought item. (Strap pattern and instructions referenced in the original tutorial’s supplemental materials).
Assembly & Finished Size
- After seaming, the phone pouch measures approximately 11 cm wide by 17 cm tall after 60 rows, perfect for standard phone sizes.
- Depth accommodates most phones comfortably with room for case thickness.
- Button flap adds convenience and style to the case.
- Strap accessory allows for hands-free carrying.
- Customize length by adding or reducing rows as needed before assembly.
Conclusion
This crochet phone cover pattern combines simplicity with elegant textured stitching to produce a durable and flexible everyday phone accessory. The use of back loop only single crochet stitches provides a stretchy yet firm fabric, ideal for phone protection. Starting with a magic circle foundation and increasing gradually shapes the base perfectly, while subsequent rows maintain stitch count for consistent length and neat edges.
Folding and seaming the piece forms an attractive and functional pouch with a flap top that can be secured by a button or snap. Optional strap addition turns this cover into a fashionable and practical item suitable for gifting or personal use.
