
Follow this free guide to crochet a charming Hippo Amigurumi that turns simple yarn into a soft and lovable toy for any skill level.
The original YouTube tutorial by Hooks & Needles By Mita offers a clear and friendly guide to crochet a Hippo Amigurumi, giving full credit to Mita for sharing this charming project. This small, soft toy resembles a hippopotamus with a round body, short legs, small ears, and a sweet, gentle face. Its simple yet cute design appeals to people of all ages who enjoy yarn art.
Plush Crochet Hippo Amigurumi Free Pattern For Animal Lovers
This project uses basic crochet techniques, making it suitable for beginners while still engaging for those with some experience. The process starts with a magic ring to form the body and head as one piece. Separate parts like ears, legs, and nostrils are crocheted individually before being sewn onto the main body. The hippo is shaped using basic stitches such as single crochet and slip stitch, which build up the form step by step.
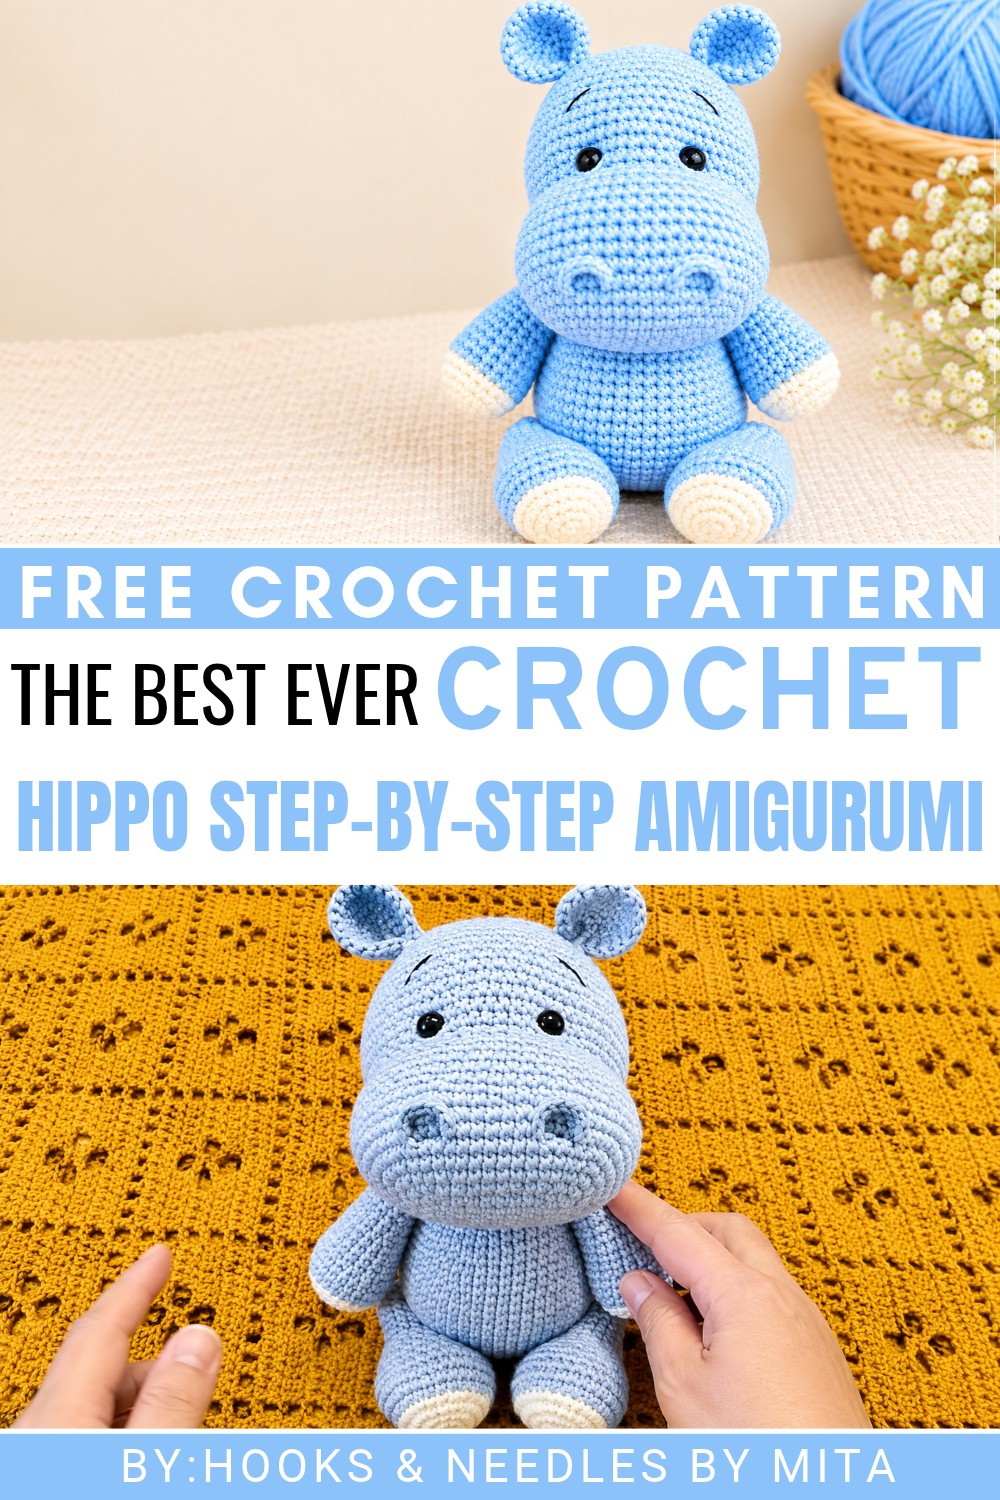 One interesting feature is its customization options. Choosing different yarn colors allows the toy to match personal taste or home decor. Changing hook sizes lets you crochet a hippo in different sizes, adding uniqueness to each finished toy. The completed hippo can be used as a cute decoration in bedrooms or living areas, a thoughtful gift, or a cozy addition to any amigurumi collection.
With Mita’s easy-to-follow instructions and friendly style, this Crochet Hippo Amigurumi offers an enjoyable and approachable project for those who like to work with yarn and enjoy making soft, cuddly figures.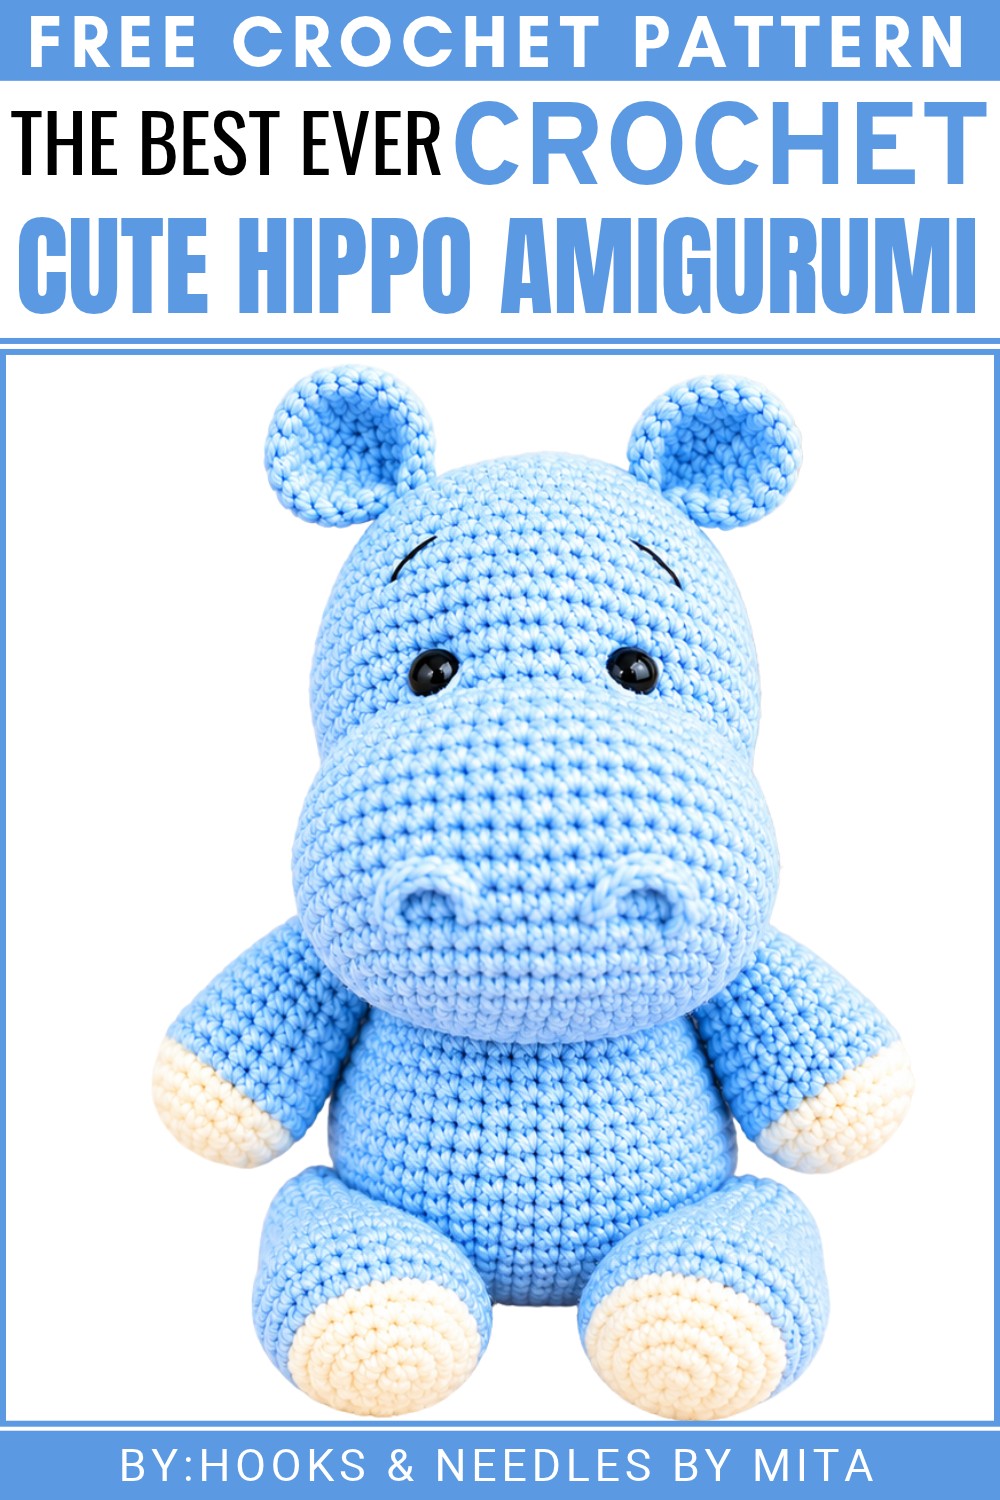
About the Pattern
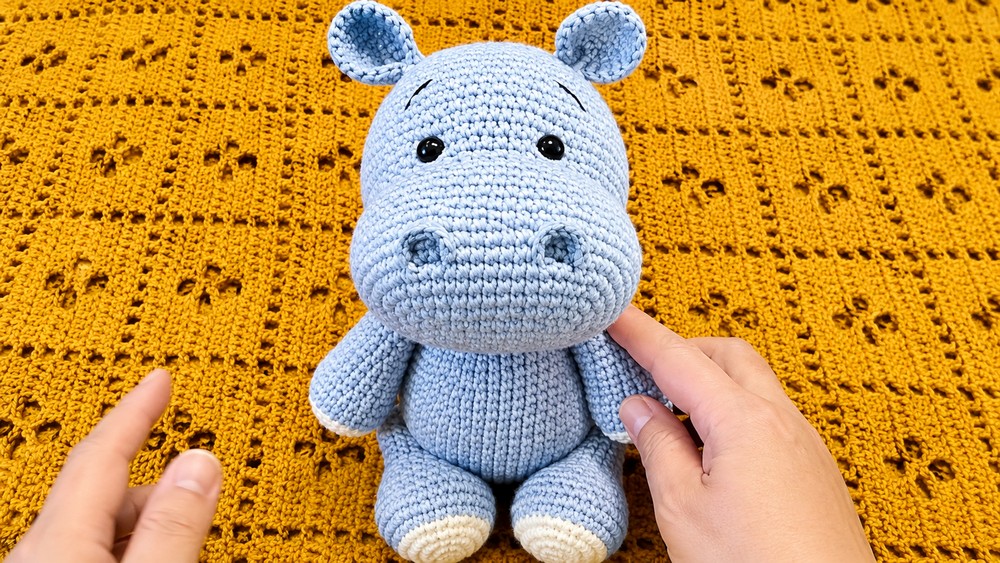
This amigurumi hippo showcases the characteristic round head, snout, and short limbs of a hippopotamus with thoughtfully placed color transitions and shaping techniques. Each anatomical detail is enhanced through strategic increases, decreases, and straightforward stitching. The final assembly produces a stylized but naturalistic hippo, and every step is meticulously constructed for both beginner and intermediate crocheters.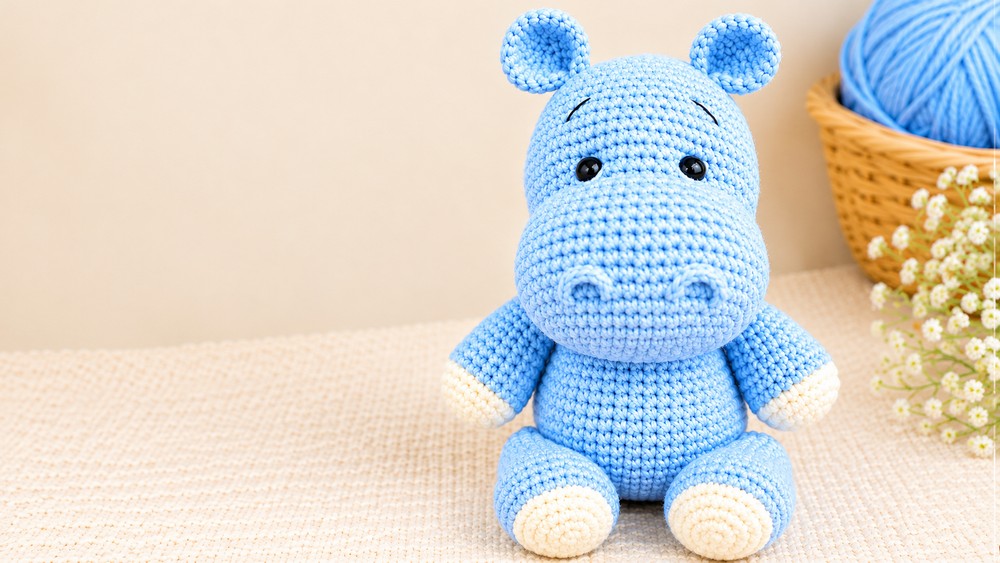
Pattern at a Glance
The hippo pattern is systematically divided into separate body sections: Head, Body, Ears, Arms, Legs, and Tail. Each section follows sequential increases, straight rounds, and decreases. Detailed sewing instructions finish the piece with expressive facial and body placement. Contrasting yarn on the feet and hands add lifelike detail, and embroidery completes the face.
Important Notes
- Work in continuous rounds unless specified.
- Use a stitch marker for the first stitch of each round.
- Stuff body parts as you progress for consistent shaping.
- Color changes typically occur at the start of a round; always change color on the final yarn over.
- Embroider facial features before final assembly for best results.
- Pin parts before sewing to confirm placement.
Difficulty Level
The pattern is suitable for adventurous beginners or intermediate crocheters. Familiarity with single crochet, color changes, and working in rounds is necessary. The structure is simple, with some basic embroidery.
Supplies Needed
- Worsted weight yarn: light grey (main body), cream (hands and feet), black (details)
- 3.5 mm crochet hook
- Fiberfill stuffing
- Yarn/embroidery needle
- 10 mm safety eyes
- Scissors
- Stitch markers
- Pins
Size & Measurements
Finished hippo stands approximately 6–8 inches (15–20 cm) tall depending on yarn, tension, and hook size.
Gauge & Stitch Details
Amigurumi gauge is typically tight to prevent stuffing from showing:
- 10 rows x 10 stitches of single crochet = 2 inches (5 cm)
- No strict gauge, but adjust hook/yarn to preference.
- US crochet terms are used.
Crochet Abbreviations
- MR: Magic ring
- sc: single crochet
- inc: increase (2 sc in same stitch)
- dec: decrease (single crochet 2 together)
- ch: chain
- st(s): stitch(es)
- sl st: slip stitch
- R: round/row
Special Stitch Guide
- Magic Ring: Start method for in-the-round pieces, tightened after initial stitches.
- Oval Foundation: Begin with a chain, work into both sides for flat, rounded shape (for head).
- Invisible Decrease: Insert hook through the front loops of two stitches, yarn over, pull through both loops, then yarn over and complete single crochet.
Complete Crochet Pattern
Head
- R1: Ch 12, sc in 2nd ch from hook, sc in next 9 ch, 3 sc in last ch; working on opposite side, sc in next 9, inc in very first st (24 sts)
- R2: sc in 10, inc in each of next 3, sc in 9, inc in each of last 2 (29 sts)
- R3: sc in 10, (sc, inc) x3, sc in 9, (sc, inc) x2 (34 sts)
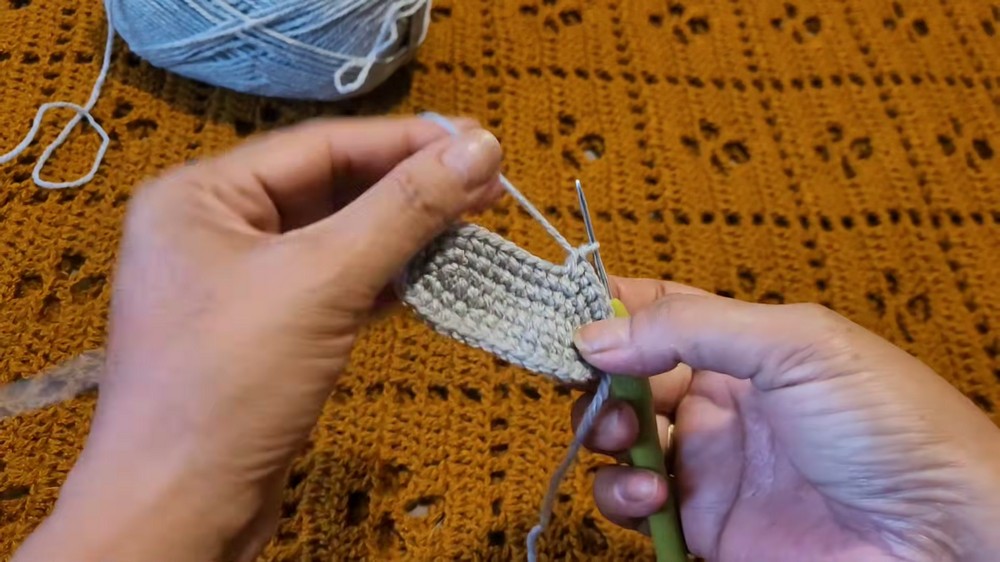
- R4: sc in 10, (2 sc, inc) x3, sc in 9, (2 sc, inc) x2 (39 sts)
- R5: sc in 10, (3 sc, inc) x3, sc in 9, (3 sc, inc) x2 (44 sts)
- R6: sc in 10, (4 sc, inc) x3, sc in 9, (4 sc, inc) x2 (49 sts)
- R7: sc in 10, (5 sc, inc) x3, sc in 9, (5 sc, inc) x2 (54 sts)
- R8–R14: sc in each st (54 sts)
- R15: (7 sc, dec) x6 (48 sts)
- R16: sc in each st (48 sts)
- R17: (6 sc, dec) x6 (42 sts)
- R18: sc in each st (42 sts)
- R19: (5 sc, dec) x6 (36 sts)
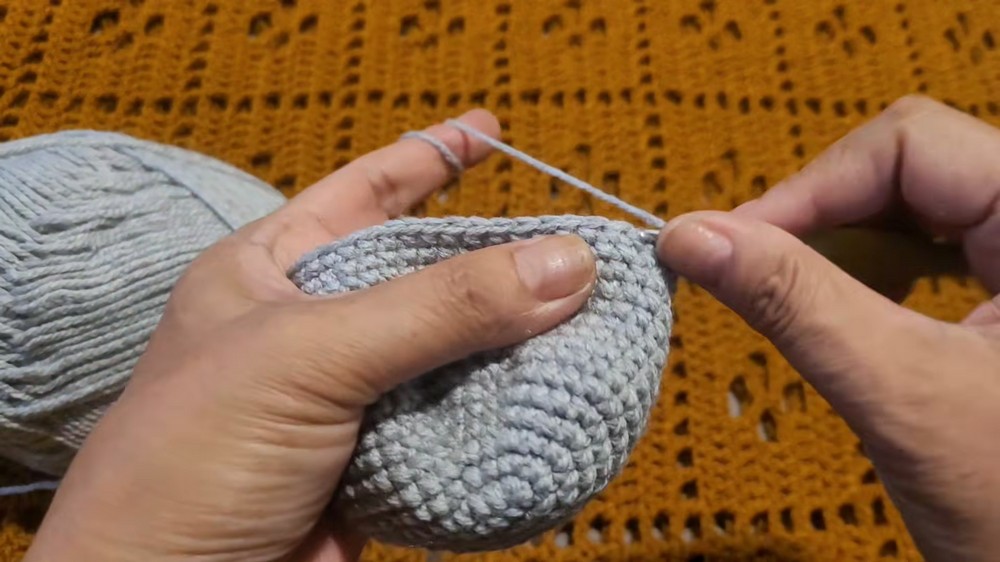
- R20: sc in each st (36 sts)
- R21: (4 sc, dec) x6 (30 sts)
- R22: sc in each st (30 sts)
- R23: (3 sc, dec) x6 (24 sts)
- R24: sc in each st (24 sts)
- R25: (2 sc, dec) x6 (18 sts)
- R26: sc in each st (18 sts)
- R27: (sc, dec) x6 (12 sts)
- R28–R35: dec around or sc in each st as needed, closing the head; stuff firmly as rounds decrease
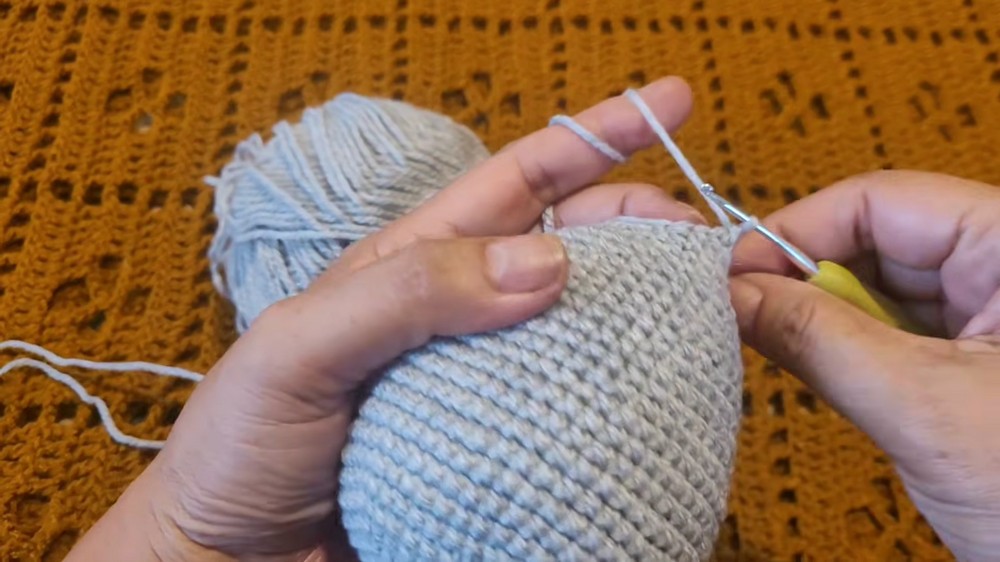
- Fasten off, leaving a tail to sew to body.
Body
- R1: MR, 6 sc
- R2: inc in each st (12 sts)
- R3: (sc, inc) x6 (18 sts)
- R4: (2 sc, inc) x6 (24 sts)
- R5: (3 sc, inc) x6 (30 sts)
- R6: (4 sc, inc) x6 (36 sts)
- R7: (5 sc, inc) x6 (42 sts)
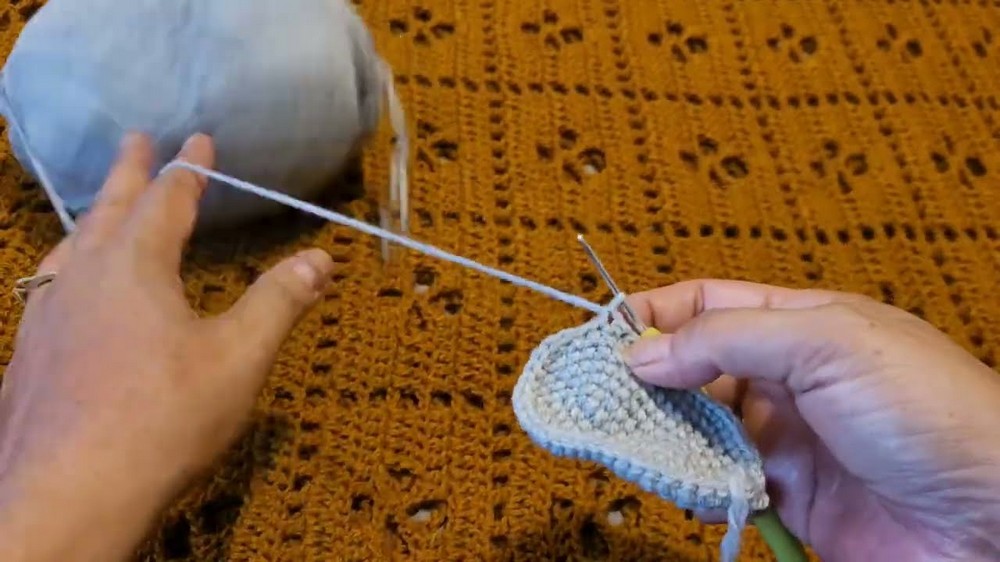
- R8: (6 sc, inc) x6 (48 sts)
- R9: (7 sc, inc) x6 (54 sts)
- R10–R17: sc in each st (54 sts)
- R18: (7 sc, dec) x6 (48 sts)
- R19: sc in each st (48 sts)
- R20: (6 sc, dec) x6 (42 sts)
- R21: sc in each st (42 sts)
- R22: (5 sc, dec) x6 (36 sts)
- R23: sc in each st (36 sts)
- R24: (4 sc, dec) x6 (30 sts)
- R25: sc in each st (30 sts)
- R26: (3 sc, dec) x6 (24 sts)
- R27: sc in each st (24 sts)
- R28: (2 sc, dec) x6 (18 sts)
- R29: sc in each st (18 sts)
- R30: (sc, dec) x6 (12 sts)
- R31: dec x6 (6 sts); finish stuffing, close opening, and fasten off.
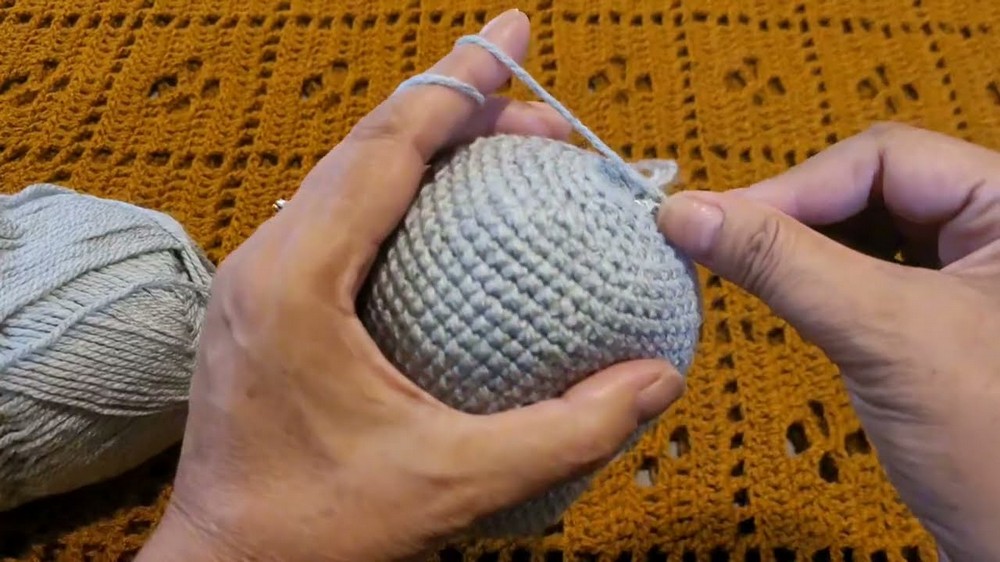
Ears (make 2)
- R1: MR, 6 sc
- R2: inc in each st (12 sts)
- R3: (sc, inc) x6 (18 sts)
- R4: (2 sc, inc) x6 (24 sts)
- R5: sc in each st (24 sts)
- Fasten off, fold ear in half and sew the base closed with a few stitches.
Arms (make 2)
- With cream yarn:
- R1: MR, 6 sc
- R2: inc in each st (12 sts)
- R3: (sc, inc) x6 (18 sts)
- R4: (2 sc, inc) x6 (24 sts)
- Switch to grey:
- R5–R7: sc in each st (24 sts)
- R8: (2 sc, dec) x6 (18 sts)
- R9: (sc, dec) x6 (12 sts)
- R10–R16: sc in each st (12 sts)
- R17–R21: sc in each st (12 sts); stuff lightly; fasten off.
Legs (make 2)
- With cream yarn:
- R1: MR, 6 sc
- R2: inc in each st (12 sts)
- R3: (sc, inc) x6 (18 sts)
- R4: (2 sc, inc) x6 (24 sts)
- Switch to grey:
- R5: (3 sc, inc) x6 (30 sts)
- R6: sc in each st (30 sts)
- R7: (3 sc, dec) x6 (24 sts)
- R8: (2 sc, dec) x6 (18 sts)
- R9: (sc, dec) x6 (12 sts)
- R10–R12: sc in each st (12 sts)
- R13–R21: sc in each st (12 sts); stuff lightly as you go; fasten off.
Tail
- R1: MR, 6 sc
- R2–R5: sc in each st (6 sts)
- Fasten off, leave a tail to sew.
Assembly & Finished Size
- Sew the ears to the sides of the head, slightly behind the midline.
- Embroider the nostrils with black yarn centered on the snout.
- Attach the safety eyes above the muzzle with space between, or embroider eyes if using for a small child.
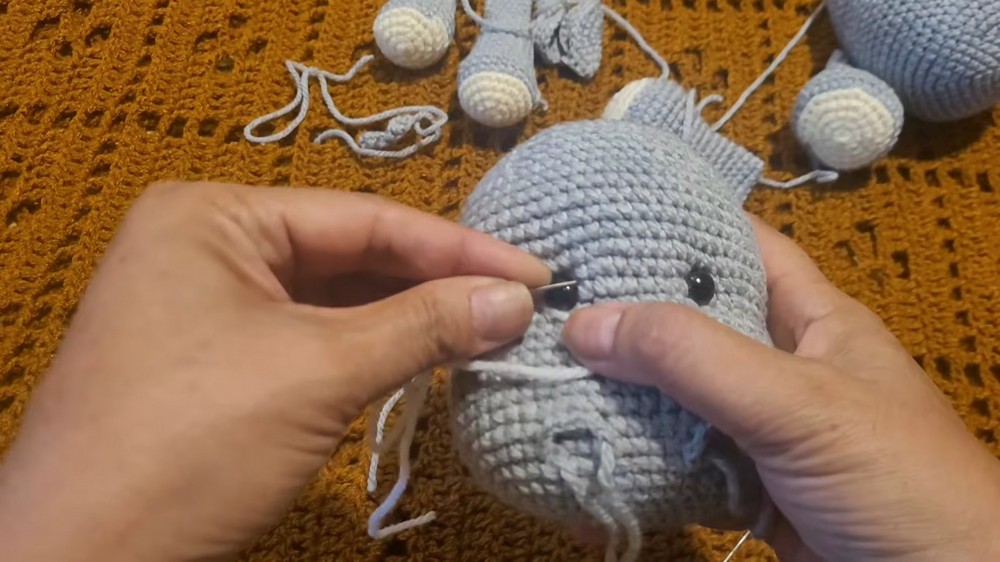
- Sew closed and attach the head to the body.
- Position and sew on both arms at shoulder height, evenly spaced.
- Attach legs to the bottom of the body, ensuring symmetry for a sturdy base.
- Sew the tail to the lower back side of the body.
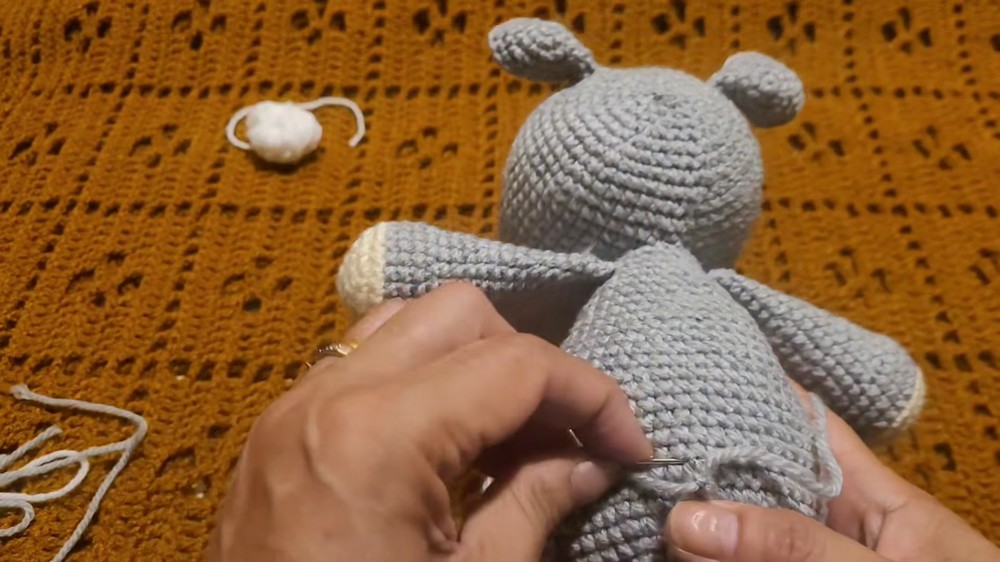
- Weave in and trim all ends for a clean finish.
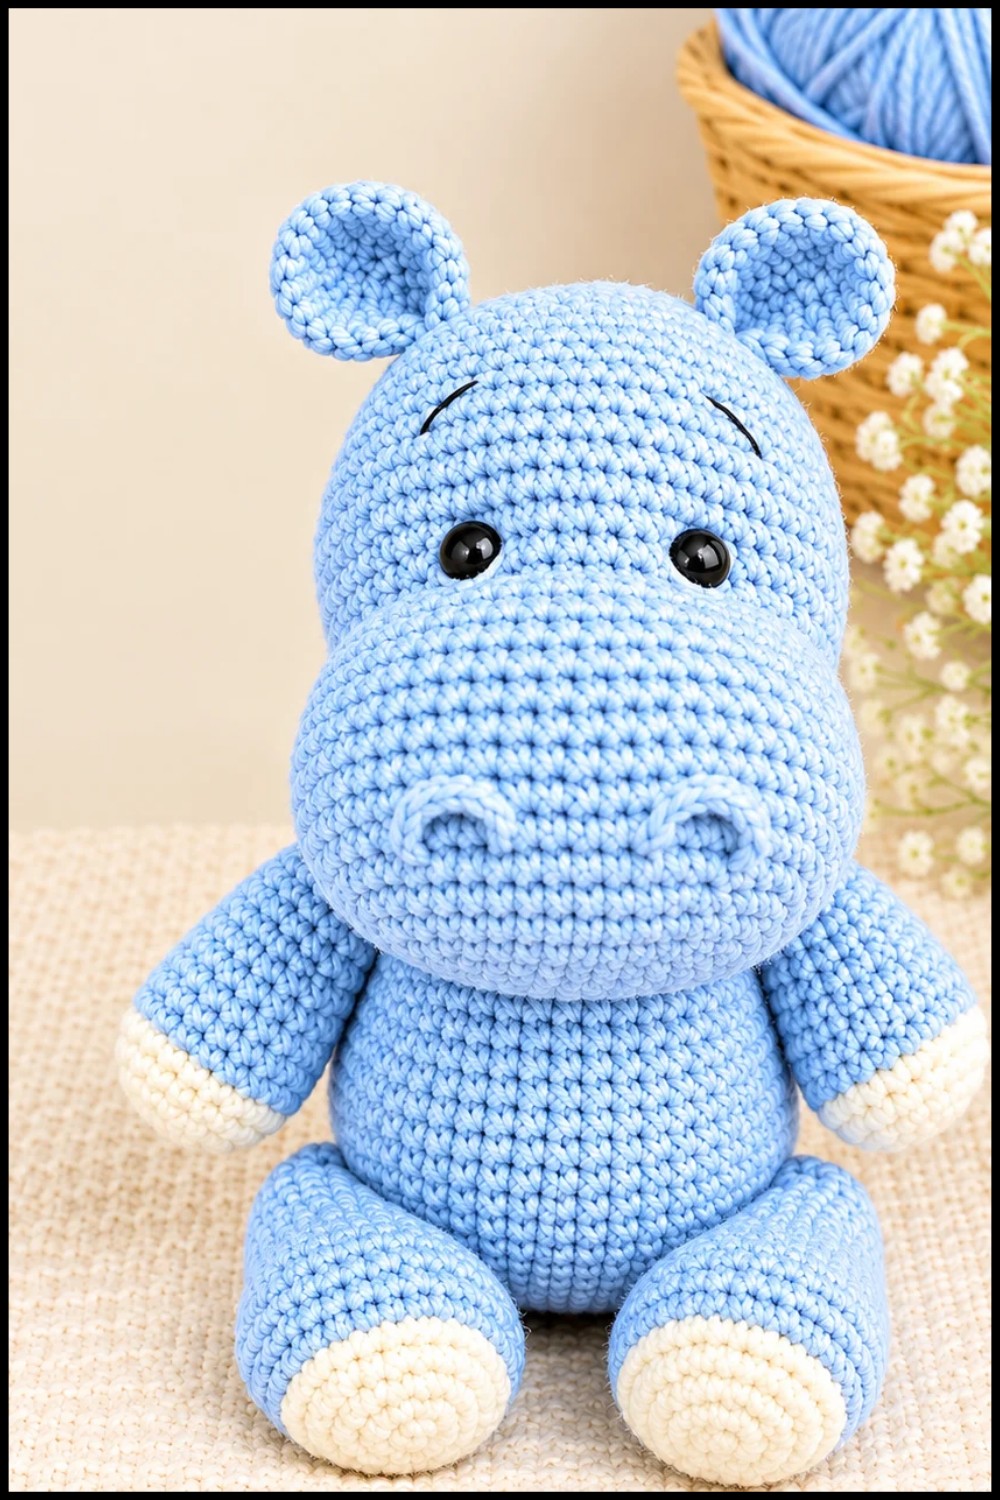
The completed hippo captures the compact and cheerful characteristics of the animal. The proportions allow the hippo to sit upright independently, making it ideal for decorative purposes or as a playful companion. The pattern’s modular design also allows for personal customization in colors or added accessories, enhancing the individuality of each finished hippo.
