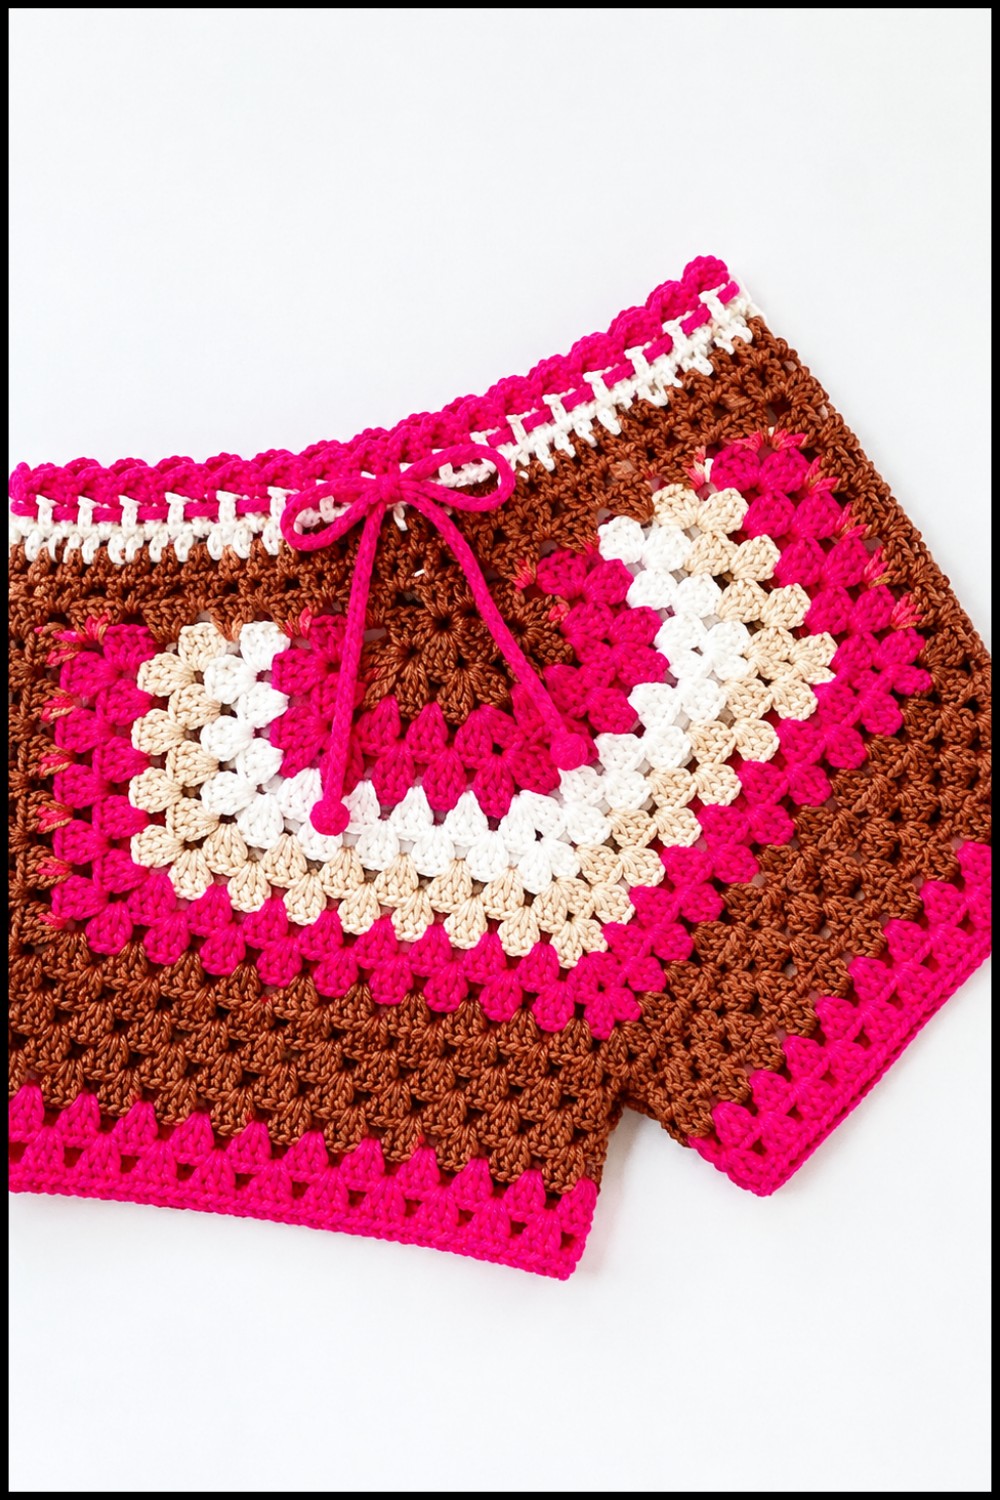
Try this Crochet Shorts Free Pattern for a relaxed handmade look with new stitches and a comfortable style that pairs nicely with your favorite daily tops.
One of the best places to start when learning a new crochet project is the original YouTube tutorial by Mimos da Malu—she truly deserves full credit for sharing such a clear and inspiring guide. Crochet shorts are a fantastic clothing item that combines functionality with handmade charm.
Simple Crochet Shorts Free Pattern With A Comfortable Fit
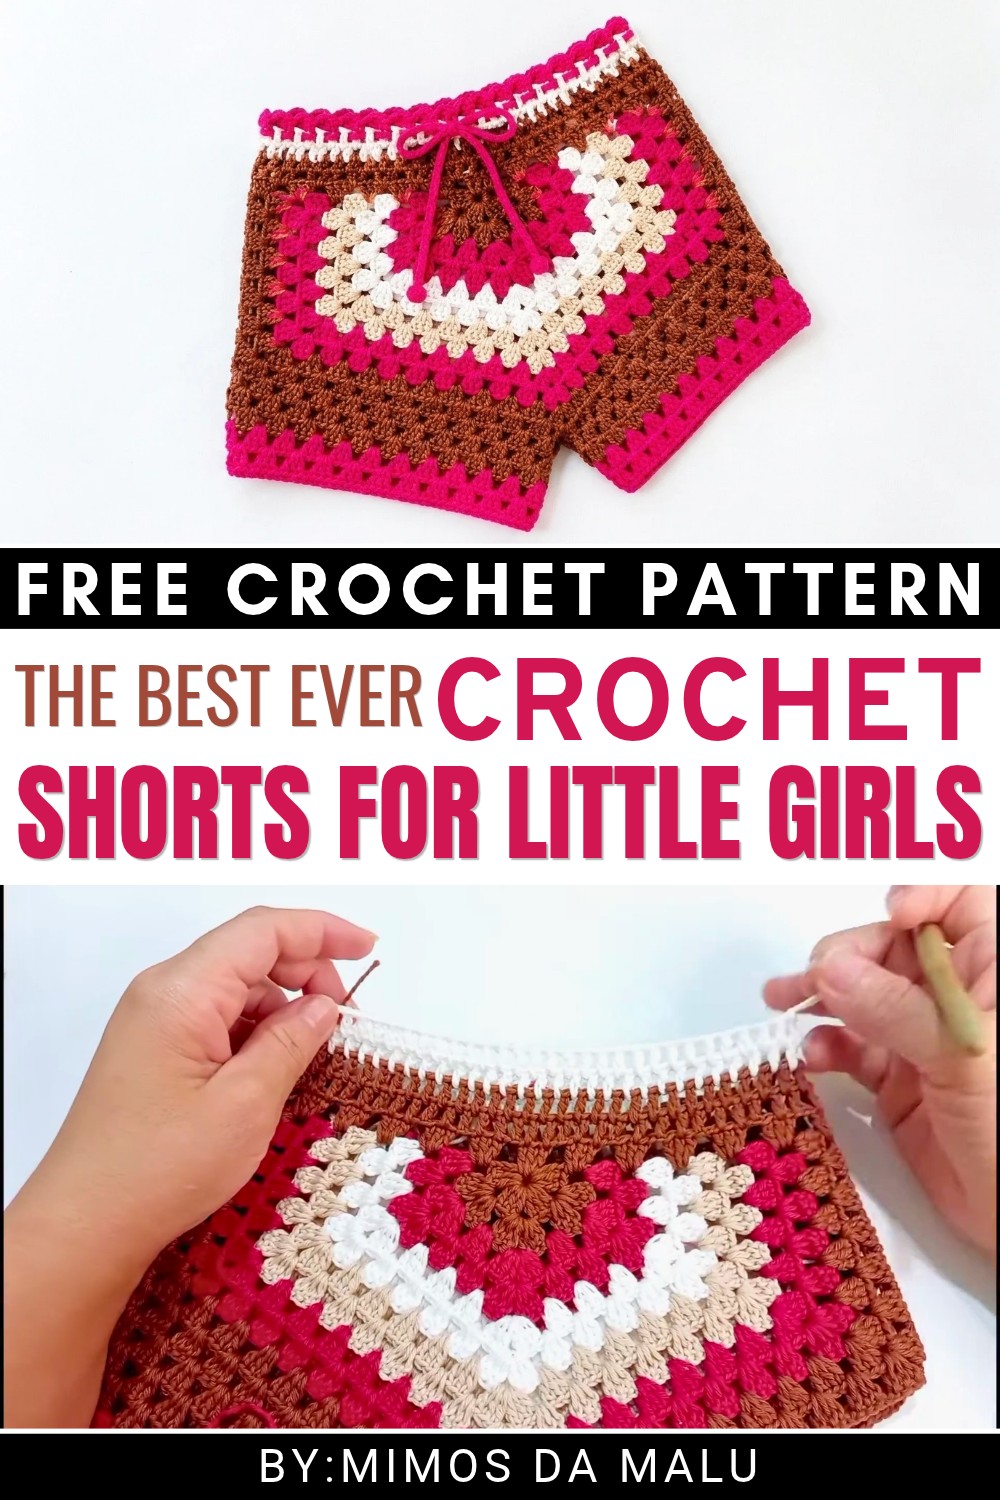 They are perfect for warm weather, offering breathability and a relaxed fit. These shorts can easily become a standout piece in your wardrobe because of their unique texture and the endless possibilities for customization. Using different yarn colors, you can create vibrant or subtle looks depending on your style. The project also lets you adjust sizes for a perfect fit.
The main steps involve working with basic crochet stitches, primarily single crochet and double crochet, to build the fabric of the shorts. Usually, the process begins with making the waistband, which can be elastic-backed or crocheted with ribbing stitches for flexibility.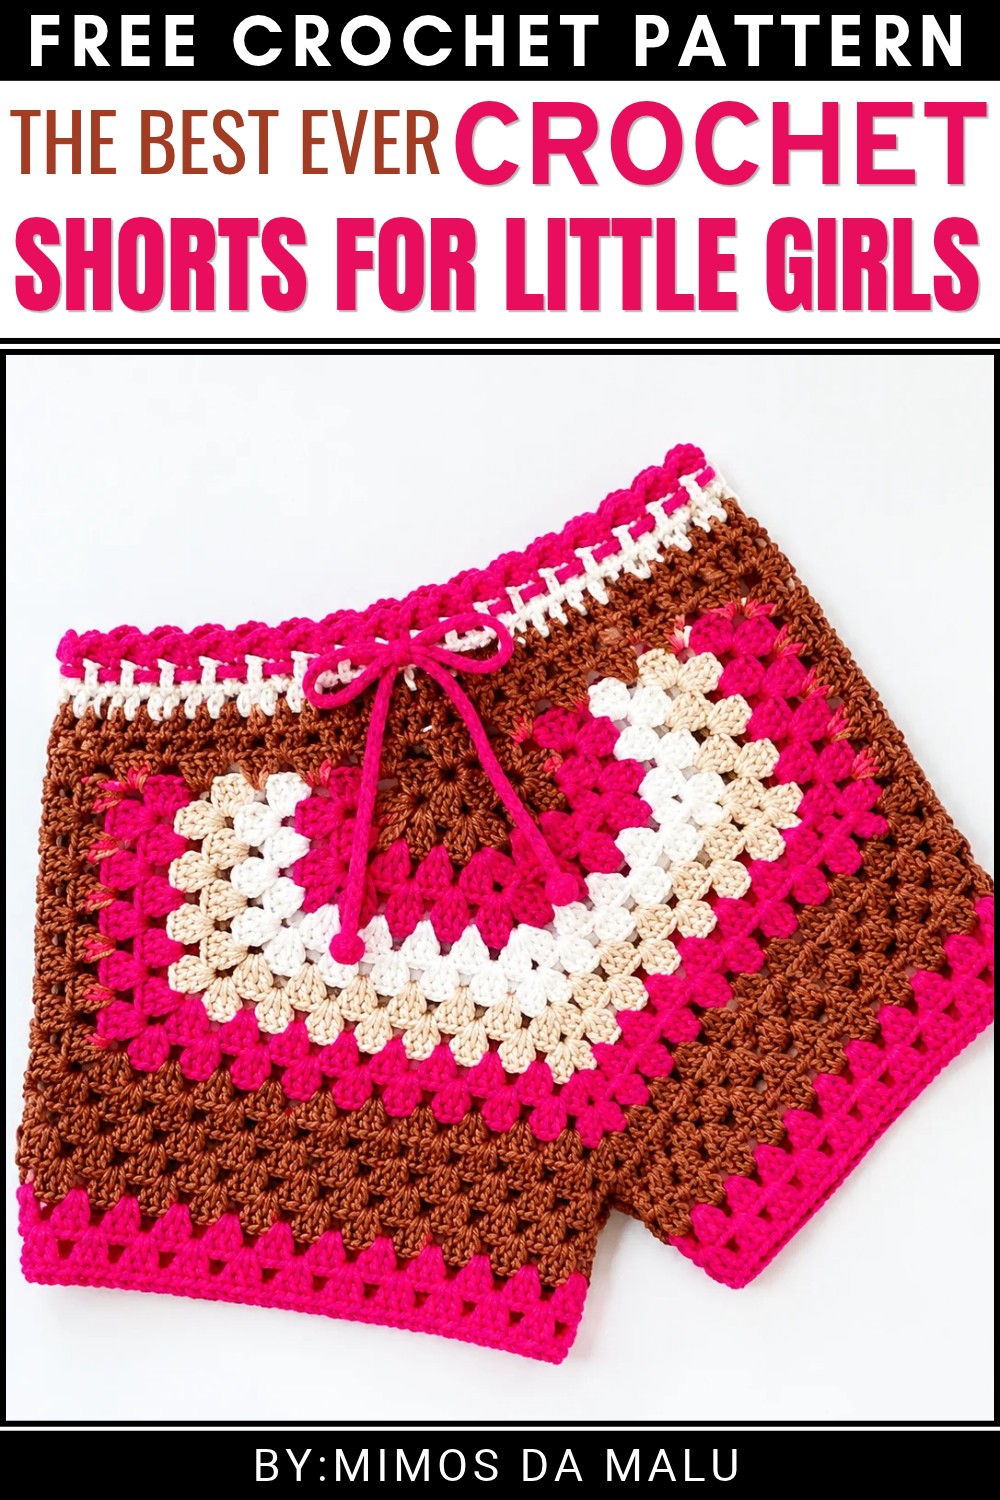
Then, you create the leg parts by crocheting in rounds or rows, gradually shaping them to match your measurements. What makes these shorts truly special are small decorative options you can add, like scalloped edges or simple crochet patterns, which add a lovely detail that personalizes the piece.
Because the tutorial is beginner-friendly, even those new to crochet can achieve beautiful results with patience and practice. Wearing handmade crochet shorts not only feels great but also showcases your creativity and crochet.
Blogger-Style Crochet Shorts (For 1-Year-Old)
Pattern Overview
This pattern creates a stylish, multicolor blogger-style shorts for a 1-year-old child. The design uses rows of fan stitches and simple increases, making it adaptable for any age or size. It features color stripes, textured fans, and a drawstring waist for a comfortable, adjustable fit. Each leg is worked separately after the main body, and the pattern is easy to modify for larger or smaller sizes.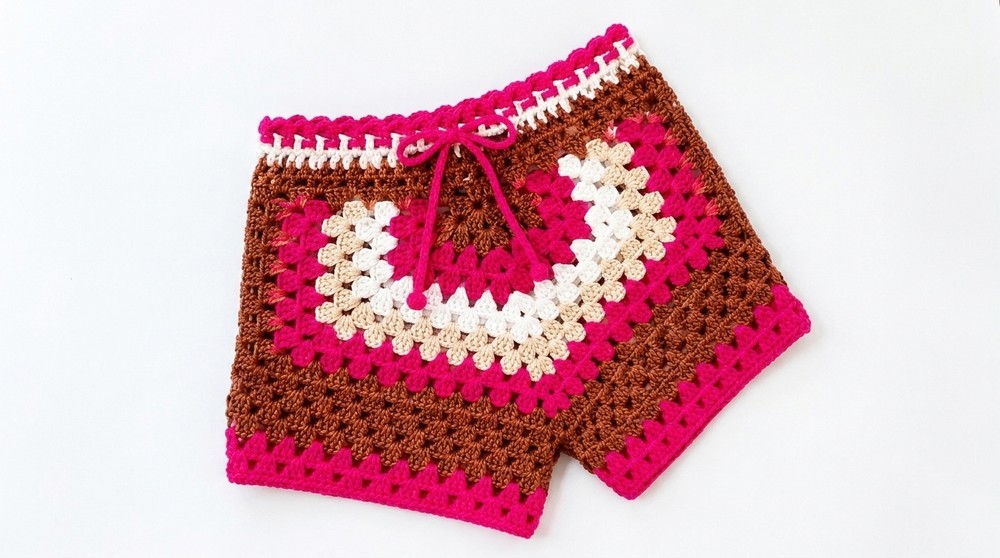
Quick Details
- Age/Size: 1 year old (adjustable)
- Stitches Used: Chain, slip stitch, double crochet, single crochet
- Construction: Worked in rows, joined and divided for legs, with color changes for stripes
Important Tips
- Always measure the child’s hips to adjust for other ages/sizes.
- Leave yarn tails long enough to weave in or knot securely.
- Switch colors cleanly by finishing the last pull-through of the last stitch of one row with the new color.
- Work fans evenly spaced; keep chain counts consistent for neat joining.
- Secure and weave all ends for a tidy finish, especially after each color change.
Skill Level
Confident beginner or intermediate. You should know how to work in rounds, make double crochets, and change colors smoothly. Some ability to follow basic shaping instructions is helpful.
Materials
- Sport or DK weight yarn in three colors (suggested: brown, red, white)
- Color codes: Red 7504/378, White 17684, Brown (as used in transcript)
- 2.5 mm crochet hook
- Sewing needle for finishing
- Scissors
Measurements
- Sized for a 1-year-old; to size up or down, check child’s hip measurement and adjust initial chains.
- Drawstring length: about 80 cm (can be adjusted as needed).
Gauge
- Use a measured sample if possible. If not, use the recommended hook and adjust after a few rows for best fit.
- The construction is forgiving; fitting comes mainly from drawstring and the starting chain number.
Abbreviations
- ch = chain
- sl st = slip stitch
- sc = single crochet
- dc = double crochet
- sp = space
- rep = repeat
- st(s) = stitch(es)
- beg = beginning
Special Stitches
Fan Stitch: (2 dc, ch 2, 2 dc) all in the same space.
Step-by-Step Instructions
Waistband and Foundation
Round 1
- With brown yarn, ch 6.
- Join with a sl st to the first ch to form a small circle.
Top Edge Fans
Round 2
- Ch 3 (counts as first dc).
- Into the center ring: (dc, ch 2) — rep, making a total of three sets of 2 dc separated by ch 2 each.
- Continue working into the center; finish the round with sl st into top of first ch 3.
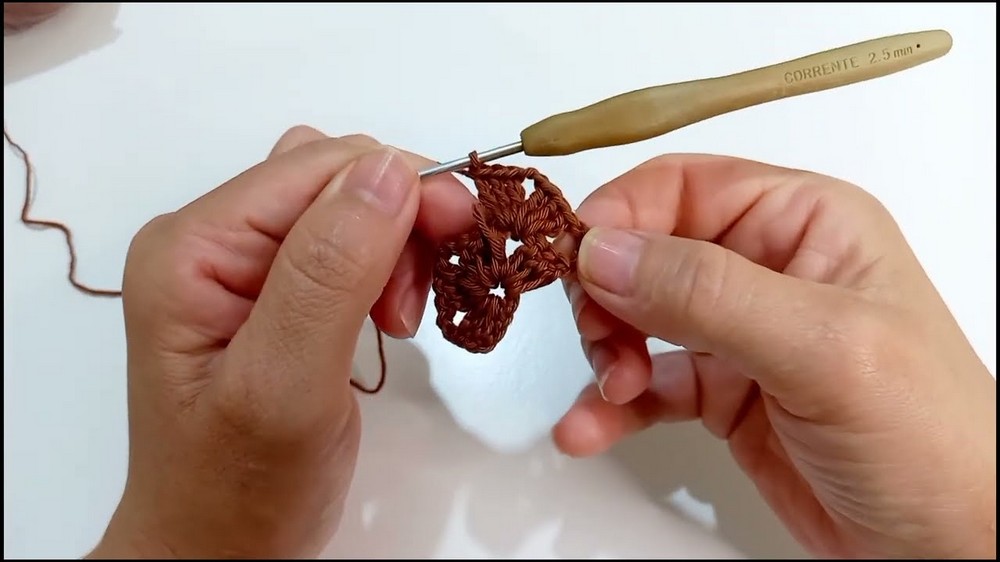
- You will have three “fan” sections separated by chain spaces.
Round 3
- Ch 3, dc in same sp, ch 2, 2 dc in same sp (fan).
- Ch 1, skip to next chain space, (fan) in next chain space.
- Repeat from * around for each fan section.
- When finished, join with sl st.
- This forms a row of fans with chain spaces in between.
Expanding Rows and Stripes
Round 4
- Change color (e.g., to red): Cut old color, join new yarn at the start.
- Ch 3 (counts as dc), work 2 dc in space, ch 1, skip next 3 dc, in next space work: 2 dc, ch 2, 2 dc (fan).
- Continue around, alternating single dc groups and fans, following the previous spacing, always working into chain spaces.
- At end, join with sl st.
Rounds 5 and Onward
- Continue working in the established pattern (fans in fans, double crochets in spaces, chain spaces between groups).
- Always ch 1 between groups, and in any fan space make (2 dc, ch 2, 2 dc).
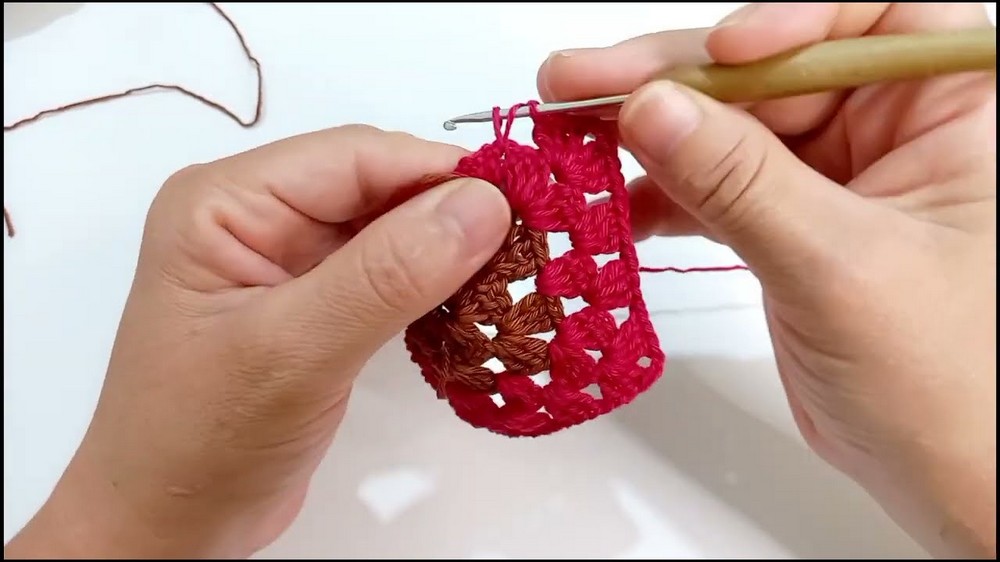
- At the end of each round, join with sl st.
- After every two rounds, change to the next color (cycle through brown, red, white as in the transcript).
Stripe Sequence Example:
Repeat two rows each of brown, red, white until you have 11 rows total for the front part.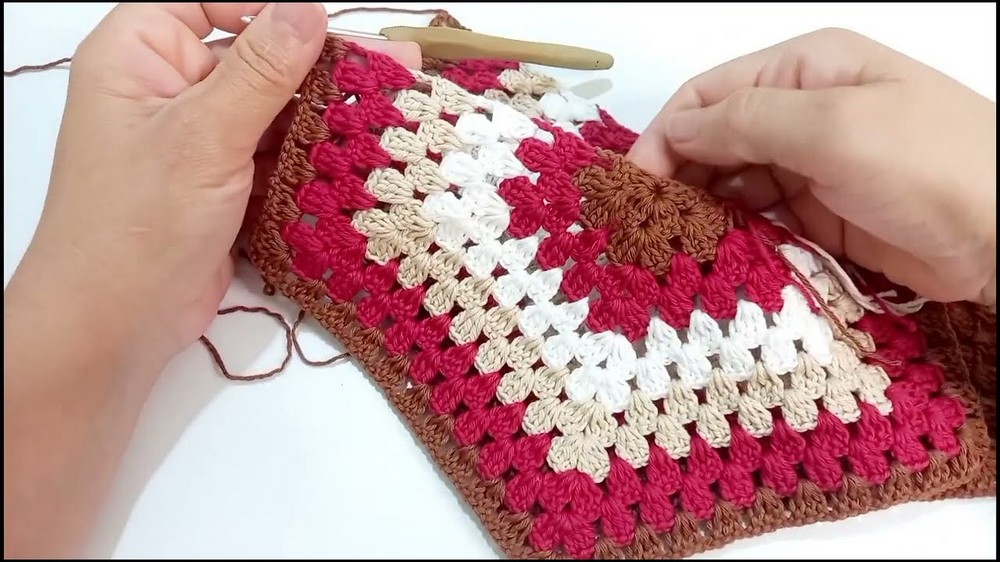
Split for Legs
Once the desired length is reached (11 rows for front), make another identical piece for the back.
Joining the Shorts
- Align the two panels with right sides facing together.
- With matching yarn, join sides using sc or slip stitch seam to create the shorts “body.”
- Seam along both left and right sides, leaving openings for the legs.
Creating the Legs
First Leg
- Join yarn at crotch or leg opening.
- Ch 6, dc in ring, (ch 3, dc in next space) working all around the leg opening.
- At the join, use sl st to finish the round.
Forming Leg Fans
- Ch 3, work into spaces as before, making dc, chain spaces, and fans.
- Alternate colors every two rows: two in brown, two in red, two in white, keep this sequence.
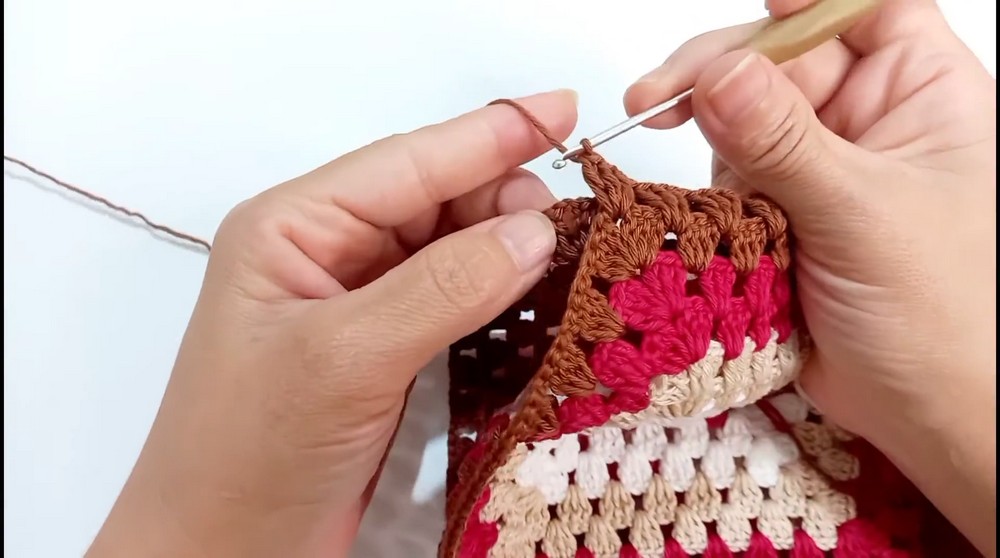
- Work until desired leg length (follow color repeat for even look).
- After last round, finish with a round of sc for neat edge.
Second Leg
- Repeat as for first leg.
Leg Finishing
- Weave in all ends with sewing needle.
- Block and shape if desired.
Drawstring Waist
- With chosen color, ch to about 80 cm, or to desired length.
- Optionally, go back along the chain with sl st to strengthen.
- Weave drawstring through the top waistband (between fans or in ch spaces).
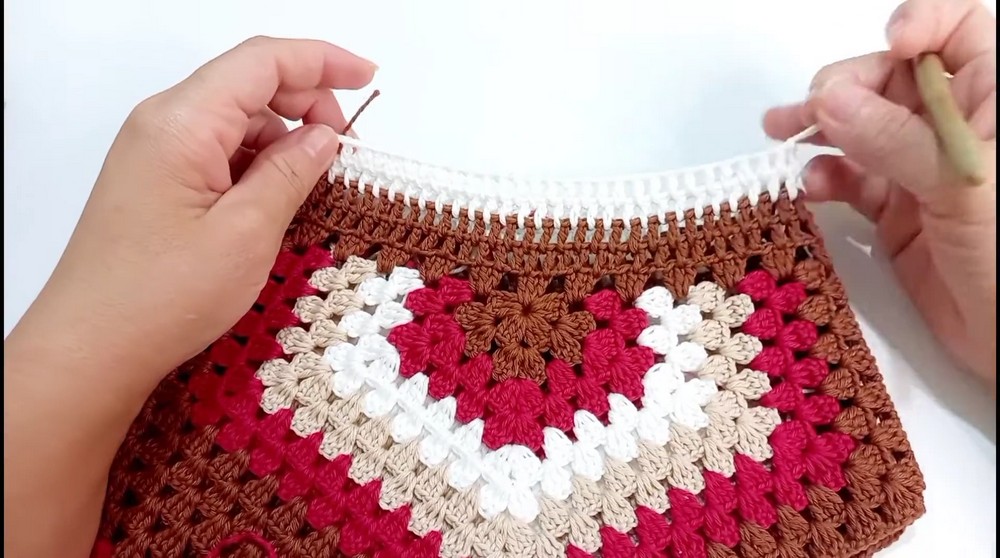
- Tie ends; adjust tightness to fit child’s waist.
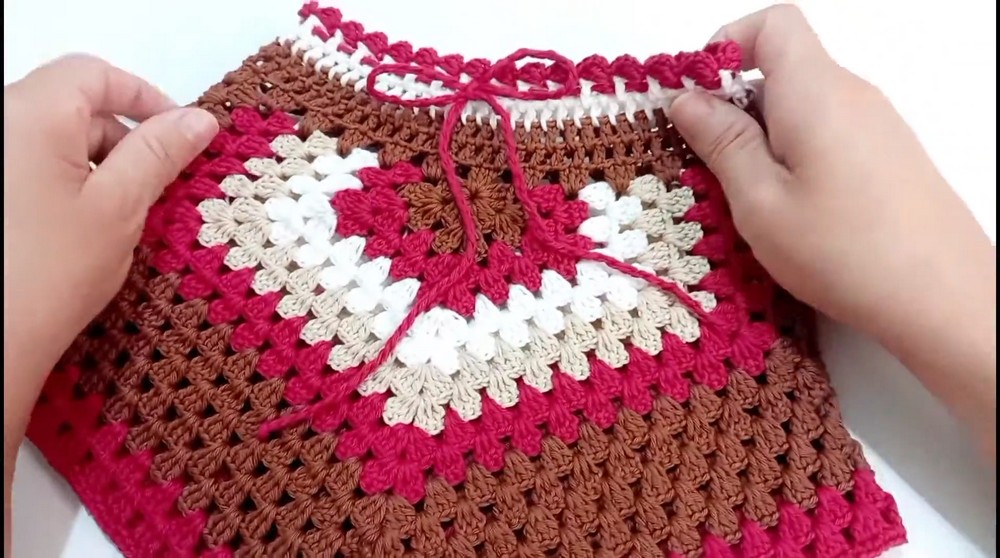
Assembly
- Be sure all color changes are secure; weave in all tails.
- Turn shorts right side out.
- Weave drawstring evenly for snug fit and comfort.
Final Notes
- The design features color bands and soft fans, ideal for infants or toddlers, with plenty of stretch for play.
- To resize for older children or adults, increase starting chain to fit hip measurement (always an even multiple for spacing), and adjust round count for desired length.
- Coordinate with a matching top or other accessories for a full set.
- This pattern is about color, comfort, and cheerful style—enjoy making and personalizing your shorts!