
Carry your everyday favorites with the Crochet Handbag Free Pattern, a roomy yarn purse for market visits, coffee dates, and relaxed weekends.
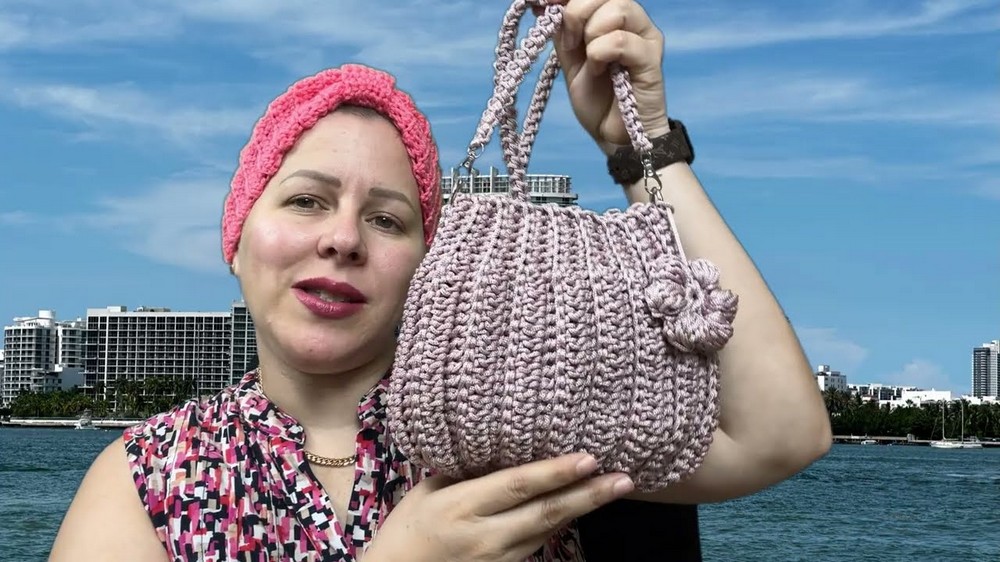
The original YouTube tutorial by Yanet Pupo Crochet provides a wonderful guide for creating a beautiful crochet handbag, and full credit goes to her for this easy-to-follow project. This crochet handbag is a stylish and practical accessory that anyone can make with a bit of patience and creativity. It features a simple yet elegant design, perfect for everyday use or special outings. The bag’s texture and pattern give it a unique charm that sets it apart from ordinary bags, making it both a fashion statement and a handmade treasure.
Free Crochet Handbag Pattern To Match Your Outfits
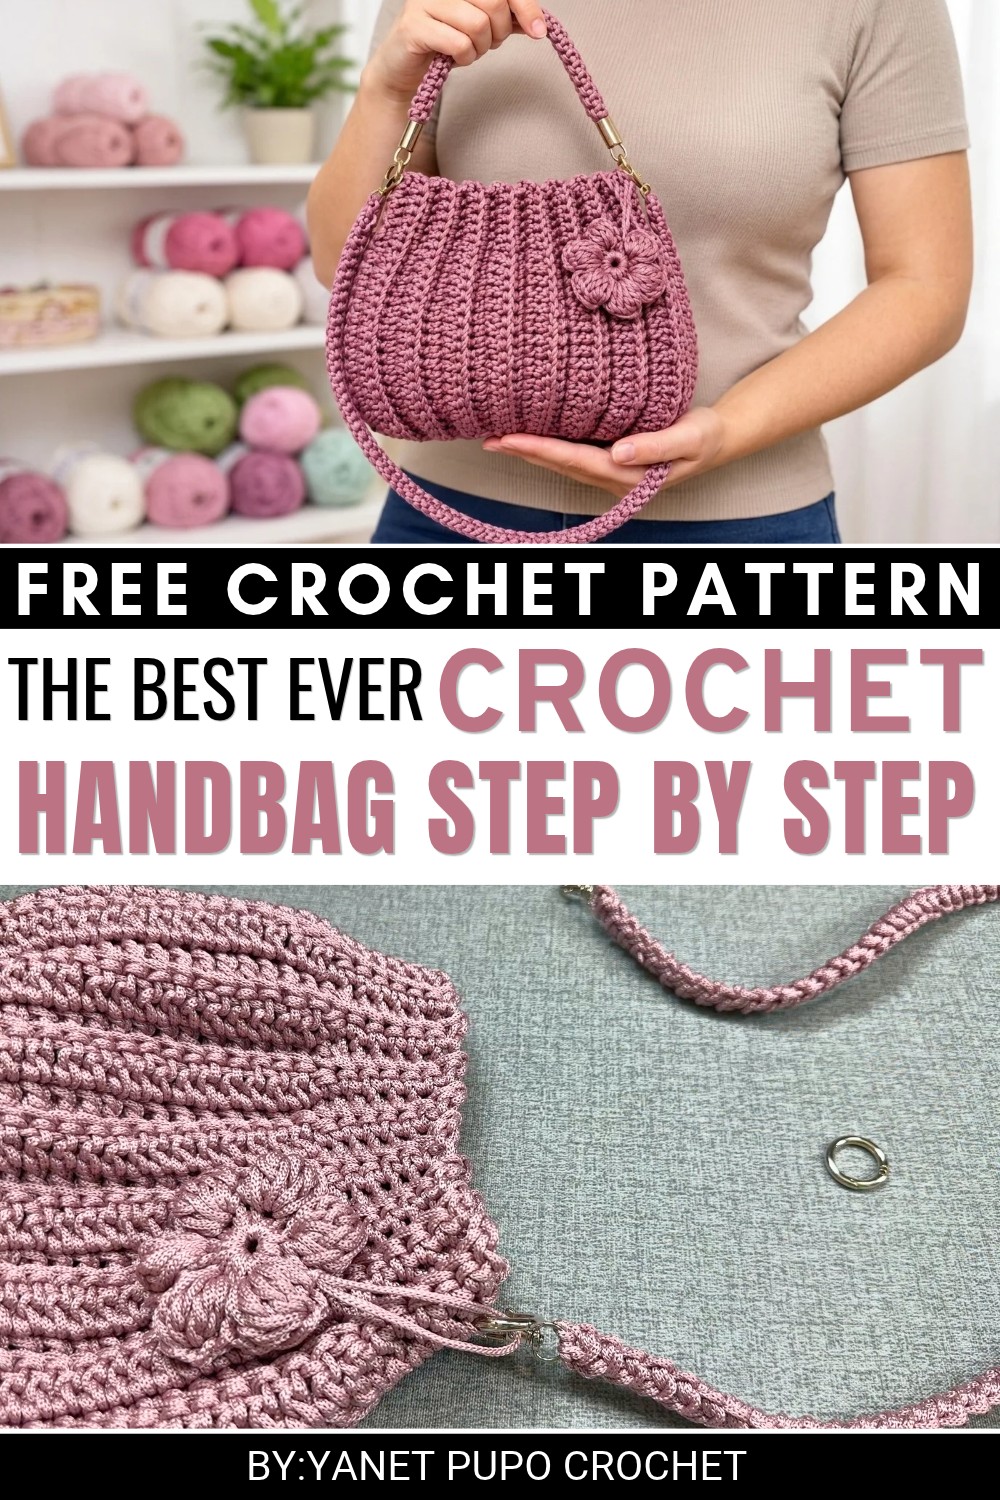 One of the great things about this crochet handbag is the ability to customize it. You can choose different colors, yarn types, and even add decorative touches like buttons, tassels, or appliques to make it truly your own. The sturdy handles and roomy interior ensure that it is not just pretty but also functional, able to hold your essentials comfortably.
The project starts with basic crochet stitches like chains and single crochets to form the base. Then, Yanet’s tutorial guides you through creating the body of the bag using repeated stitches, shaping it as you go. Finally, the handles are attached securely, making the handbag ready to use. This accessory is perfect for beginners and experienced crocheters alike who want to create something beautiful and useful.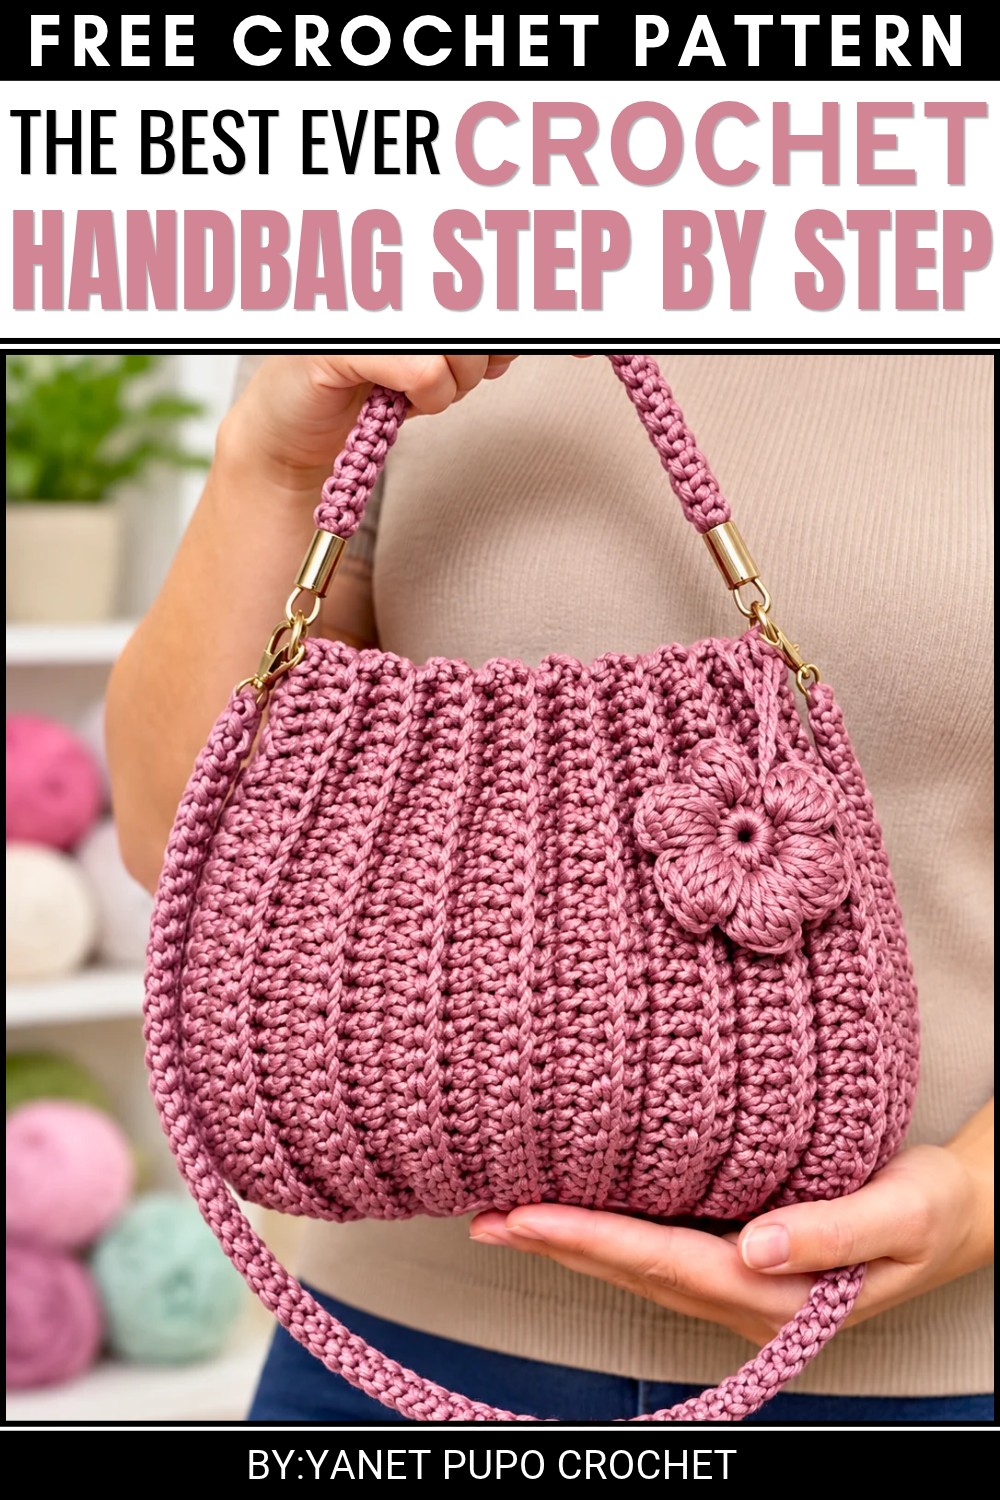
Crochet Purse Pattern with Number 3 Cord
This crochet purse pattern features a dense and textured design, achieved by working exclusively into the back loops of each stitch. The organized stitch sequence—alternating single, half double, and double crochets—creates a structured yet flexible fabric ideal for a handbag. Once the main panel is complete, the purse is assembled with slip stitched sides for clean lines and reinforced construction. Hardware is added for the finishing professional touch.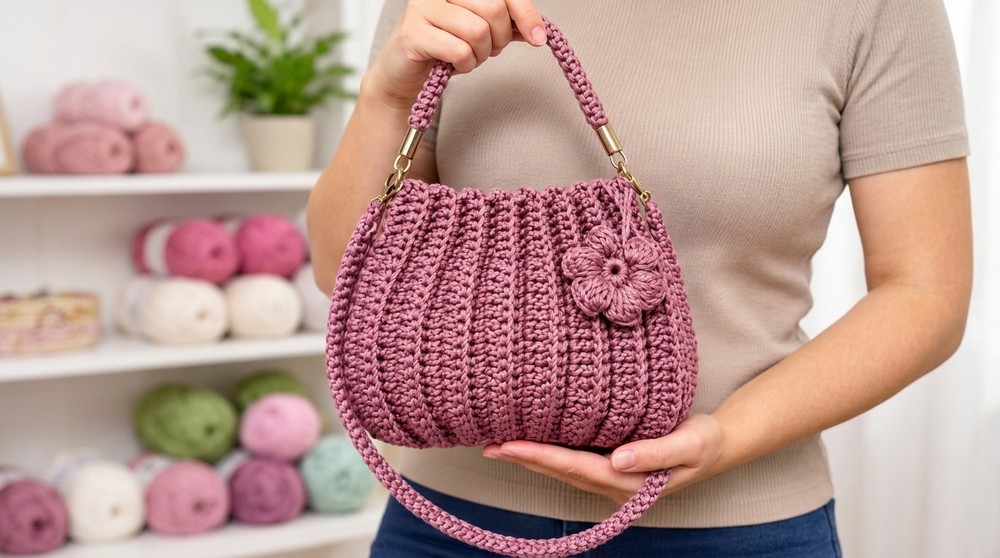
About the Pattern
The purse is constructed as a single rectangle crocheted flat, then folded and slip stitched along the sides. Strategic use of back loop-only crochets forms a subtle ridged texture that adds durability and visual appeal. The stitch sequence is repeated identically across all rows for simplicity and symmetry. Marked stitches are used to ensure accurate assembly and lining up during seaming.
Pattern at a Glance
- Dense, textured fabric
- Seamless edge construction using slip stitch
- Distinct stitch sections for structure and design
- Hardware installation for functional, stylish closure
- Ideal for use with strong polyester cord
Important Notes
- Use stitch markers at every half double crochet to aid in seaming and alignment.
- Work each row’s stitches into only the back loop unless stated otherwise.
- Maintain even tension for a sturdy purse body; polyester cord is less forgiving of loose stitches.
- The pattern is worked in rows (not rounds), and the finished rectangle is folded for purse assembly.
Difficulty Level
This pattern is suitable for confident beginners and intermediate crocheters. Familiarity with working into the back loop of stitches, basic marking and slip stitching for assembly, and attaching purse hardware is recommended.
Supplies Needed
- 250g Number 3 polyester cord
- 3.75mm aluminum crochet hook
- Stitch markers (minimum 4, for marking half double crochet stitches)
- Scissors
- Yarn needle (for weaving in ends)
- Purse hardware: opening rings for top corners, handle or strap
Size & Measurements
- Finished rectangle: Approximately 10.5″–11″ wide x 7″–8″ tall (28 cm x 20 cm), depending on cord thickness and tension
- Depth: Created by folding and slip stitching the sides; actual purse body is 10.5″ (width) x 3″ (side seam depth) x 7.5″ (height)
- Handle/strap: Adjustable as preferred; suggested strap length is 20″–30″ (50–75 cm) for shoulder or crossbody use
Gauge & Stitch Details
- Gauge: 18 stitches x 16 rows = 4″ (10 cm) in established purse stitch pattern worked in back loop only
- Cord may not respond to blocking; check gauge by measuring first rows as worked
Crochet Abbreviations
- ch – chain
- sc – single crochet
- hdc – half double crochet
- dc – double crochet
- sl st – slip stitch
- st(s) – stitch(es)
- blo – back loop only
Special Stitch Guide
- Back Loop Only (blo): Insert hook under only the back loop of the stitch, leaving the front loop unworked.
- Slip stitch seaming: With correct sides together, insert hook through matching marked stitches and slip stitch to join edges securely.
Complete Crochet Pattern
Foundation
- Create a slip knot.
- Chain 55 stitches.
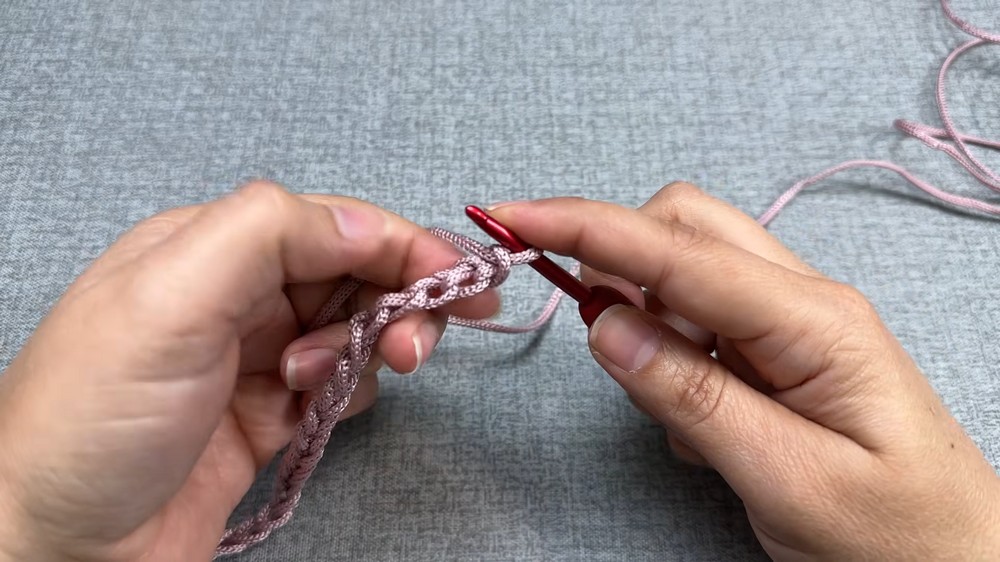
Row 1 (Foundation Row):
- Skip the last chain (closest to hook).
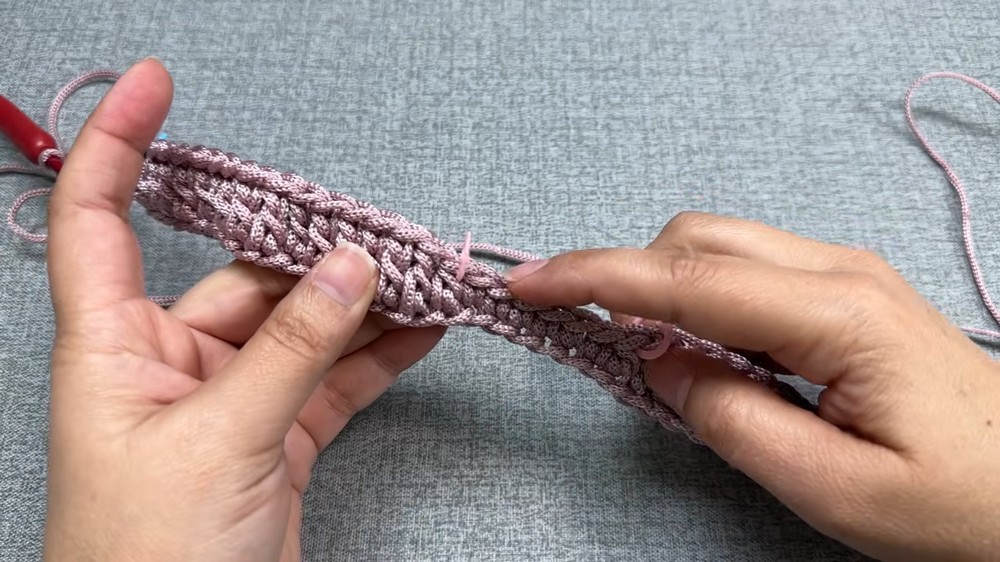 Work into the back bump of remaining chains:
- 6 sc
- 1 hdc, place stitch marker in this hdc.
- 16 dc
- 1 hdc, place marker
- 6 sc
- 1 hdc, place marker
- 16 dc
- 1 hdc, place marker
- 6 sc (final section)
This completes the first row: four marked hdc sections dividing the row into distinct stitch segments.
Rows 2–18 (Pattern Rows):
For Each Row:
- Chain 1 to turn.
- Work only into the back loop (blo) of every stitch:
- 6 sc
- 1 hdc (insert marker in hdc)
- 16 dc
- 1 hdc (marker)
- 6 sc
- 1 hdc (marker)
- 16 dc
- 1 hdc (marker)
- 6 sc
- Repeat this stitch pattern for each row.
- Continue until you have 18 rows in total, including the foundation row.
Markers remain in each hdc throughout. These serve as your reference points during sewing.
Assembly
- With the rectangle flat and right sides facing, align edges so stitch markers match each other (each hdc section lines up perfectly).
- Slip stitch seam technique: Insert hook through both marked hdc stitches (on each side) and slip stitch to join; continue slip stitching each edge, keeping seams straight and sides aligned.
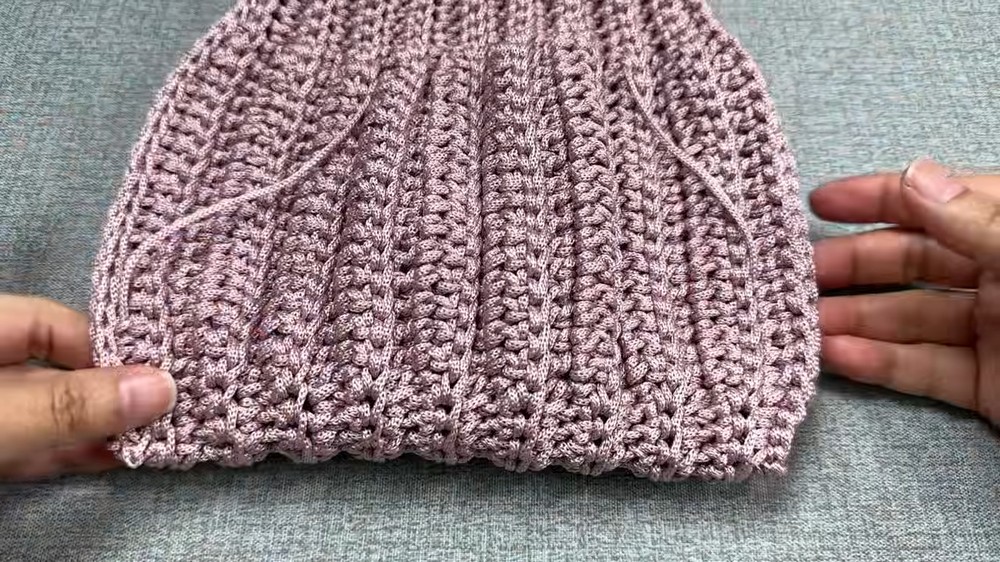
- Slip stitch both side edges closed from bottom up to top edge, stopping at the marked hdc to create structured side seams.
Finishing Steps
- Turn the purse inside out. This exposes the clean seams and hides any cord transitions.
- Attach opening ring hardware to top corners: thread through the corner stitches and reinforce securely for handle installation.
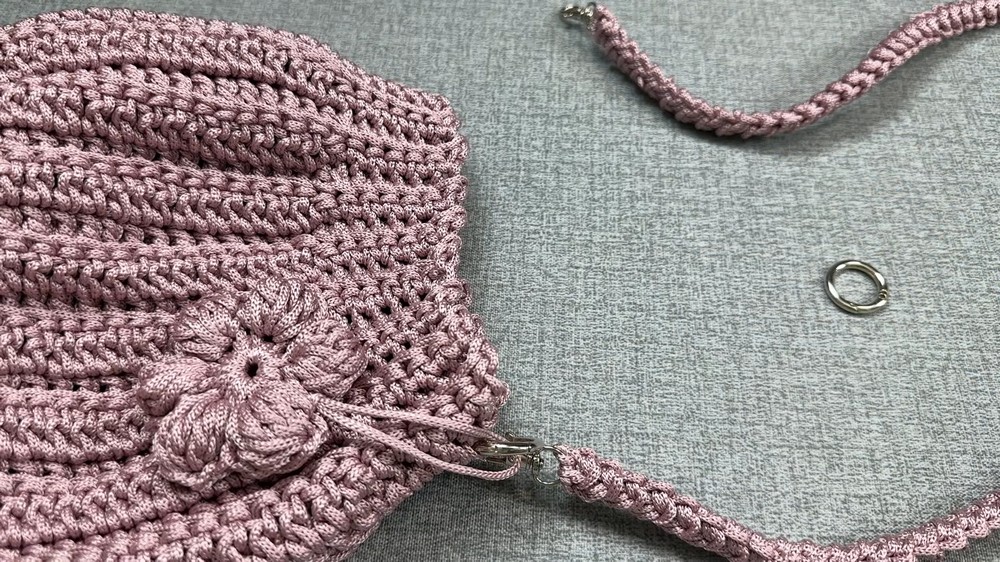
- Fasten your chosen handle or strap to the rings or directly to the purse as desired.
- Weave in all yarn ends using a yarn needle.
Assembly & Finished Size
The purse, once turned and assembled, has a professional edge. The handle or strap adds a practical carrying option; adjust length and hardware type for shoulder, handheld, or crossbody use. The slip stitch seam and ridged texture present a tailored finish.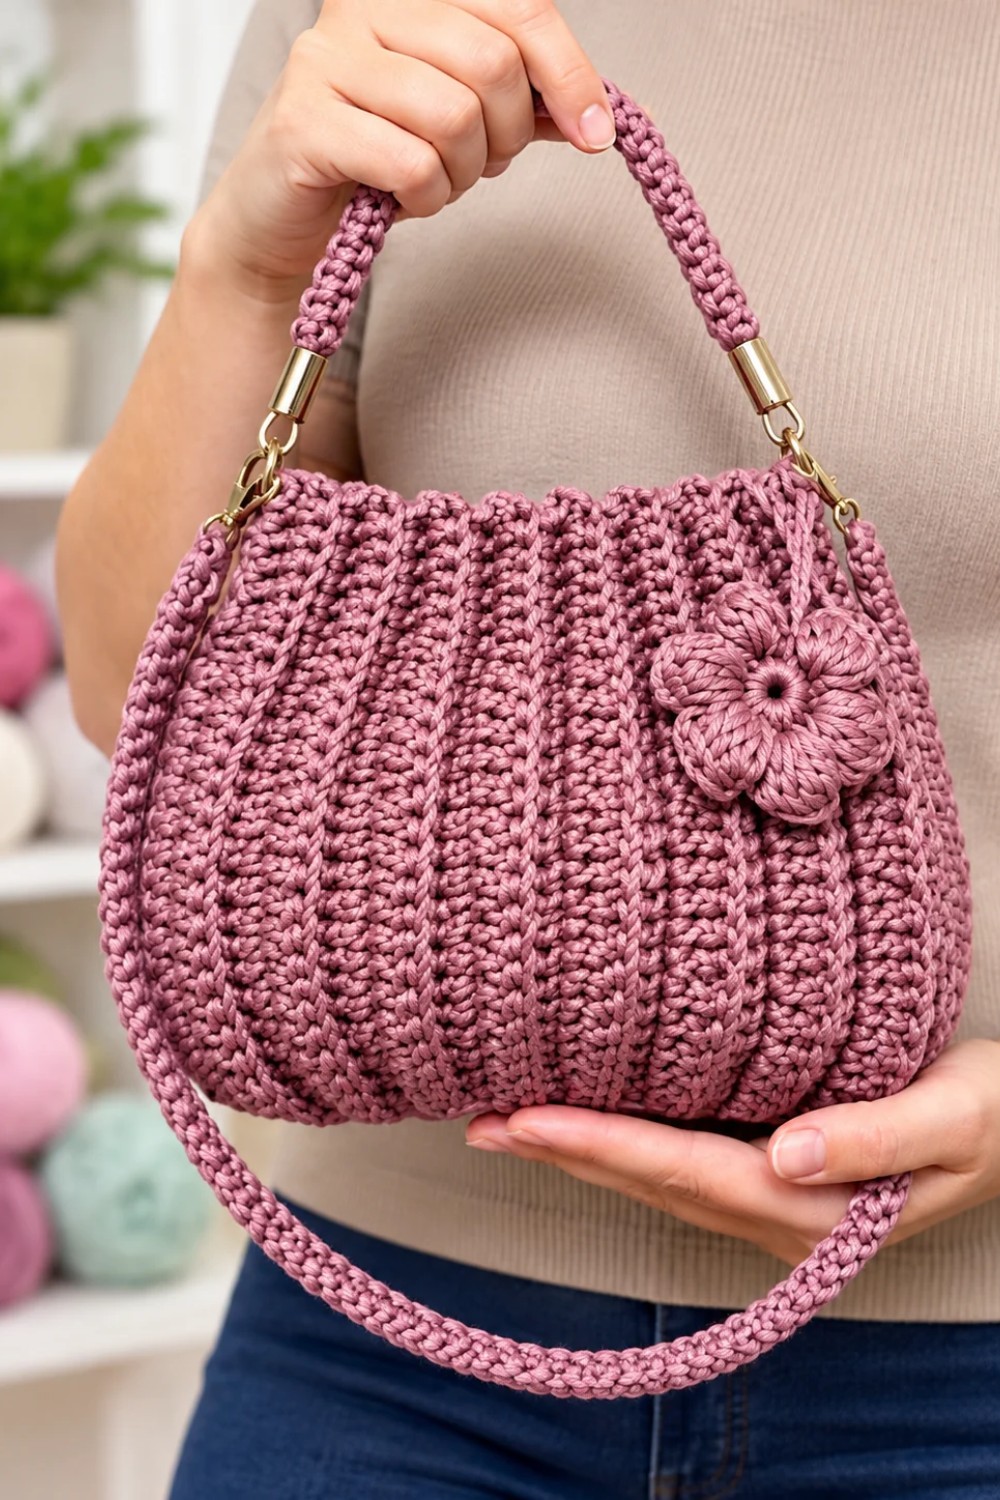
Conclusion
This pattern demonstrates how purposeful stitch placement, robust cord, and even rows combine to create a contemporary crochet purse. Repeating sections of single, half-double, and double crochets yield both structure and style. The marked stitches ensure symmetry and precision through assembly. With minimal shaping and clear guidelines, this purse is approachable for most crocheters and offers a satisfying result. Adapt finishing details as desired for a truly unique accessory.
