Decorate any space with the Crochet Triangular Pennant Garland Pattern and create a fun colorful handmade garland that is easy enjoyable and perfect for parties.
Bring charm and color to your space with a lovely string of triangle-shaped crochet flags that instantly brighten up any room or occasion. These small, beautifully textured pieces can be hung on walls, across windows, or used to decorate parties, birthdays, and festive events, adding a handmade, cheerful touch.
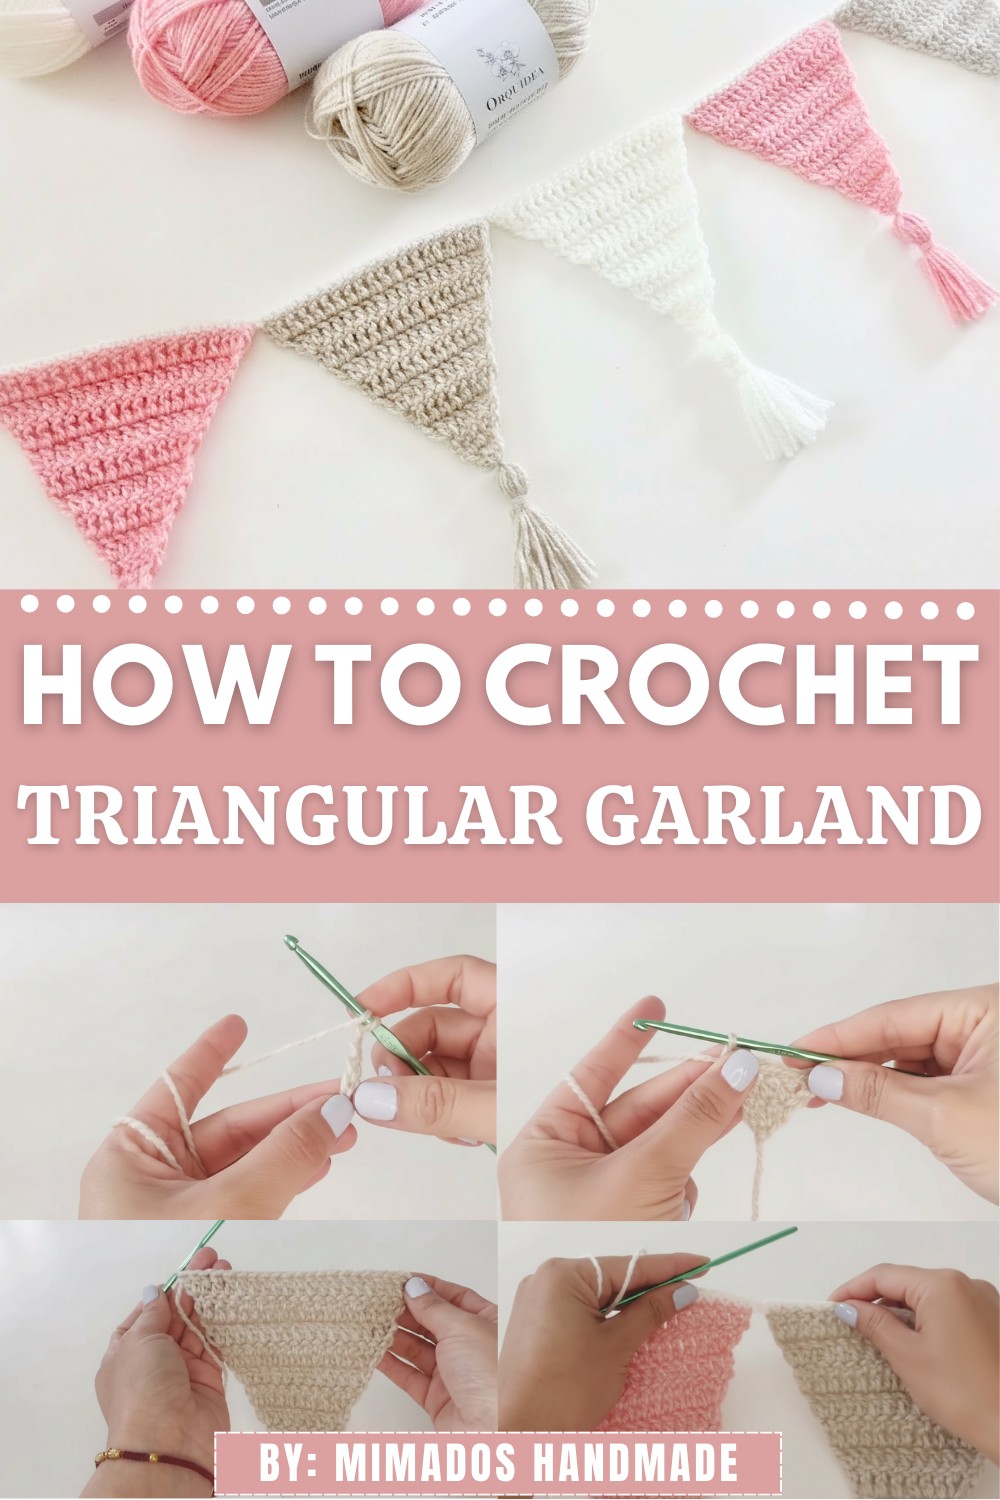
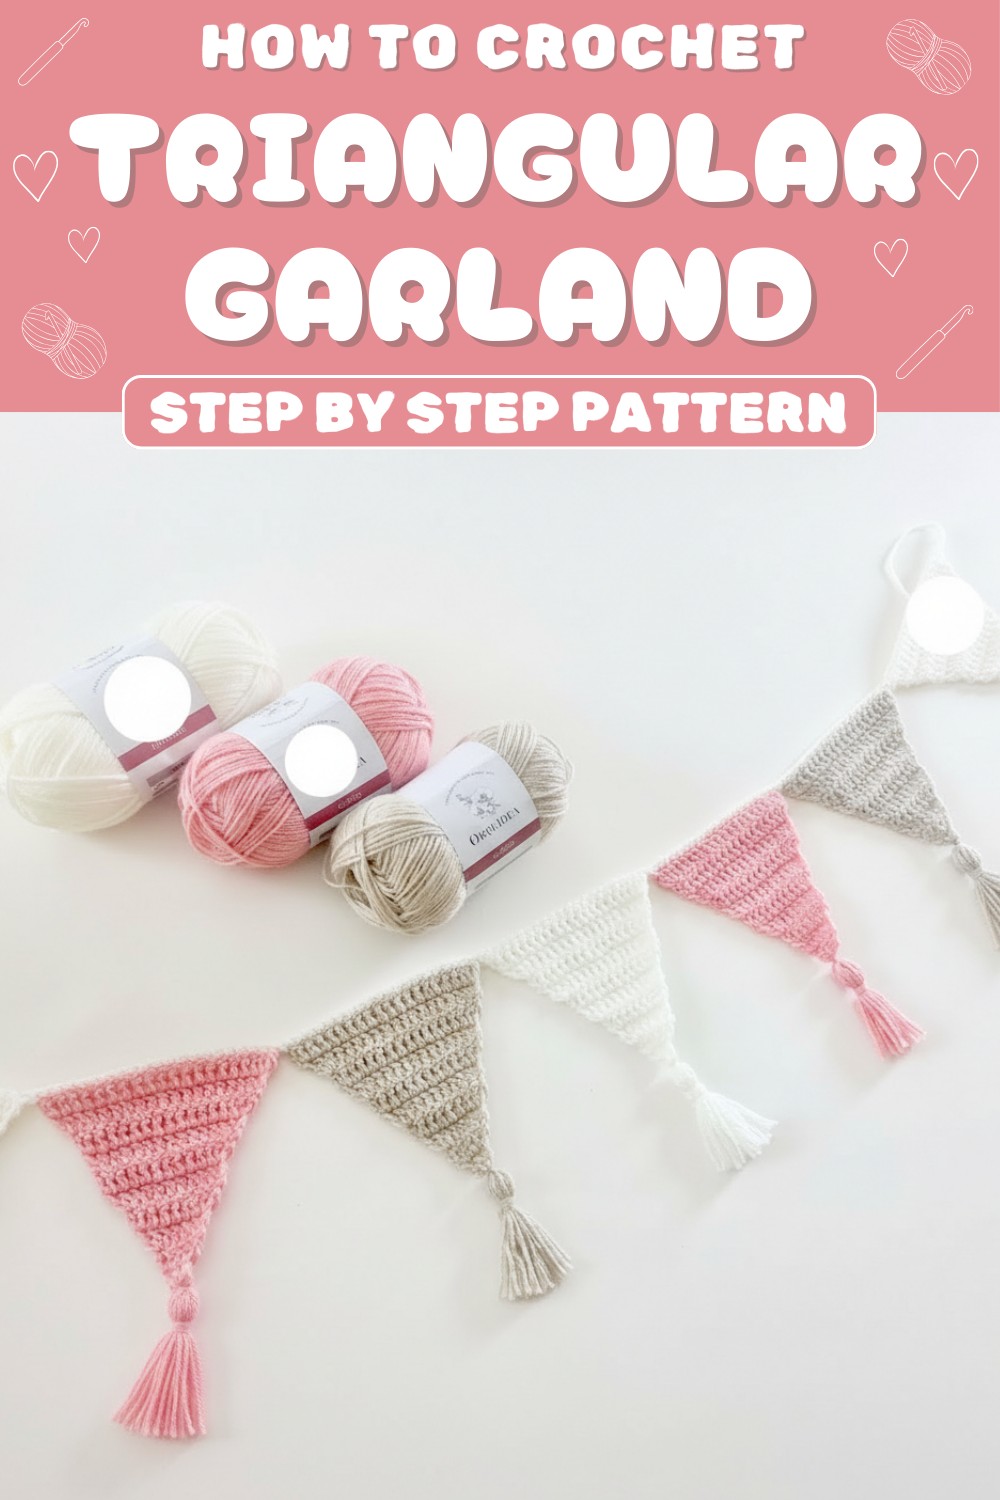
Crochet Triangular Pennant Garland Pattern That Adds Cheer
Available in vibrant or soft colors, they create a playful or elegant vibe, depending on your style. This delightful decoration is not only simple to make but also versatile enough to match any theme, making it a wonderful way to showcase creativity and spread joy in your home or celebrations.
Materials Required:
- Yarn: Three colors (example in the video: beige, pale pink, and a club/darker pink). Feel free to choose colors of your preference.
- Crochet Hook: 4 mm hook.
- Scissors.
- Cardboard Template: A piece of cardboard measuring 8 cm to aid tassel creation.
- Yarn Needle
Project Overview & Measurements:
- Each pennant is triangular in shape, crocheted with double crochets (dc).
- Measurements depend on the number of rows you complete, giving flexibility to achieve the desired size.
- Finished size: Approx. 21 double crochets wide on the final row (after 10 rows).
Crochet Instructions for Triangle Pennant
Step 1: Begin the Triangle
- Begin with a foundation chain:
- Crochet 4 chains, then attach the yarn to your hook.
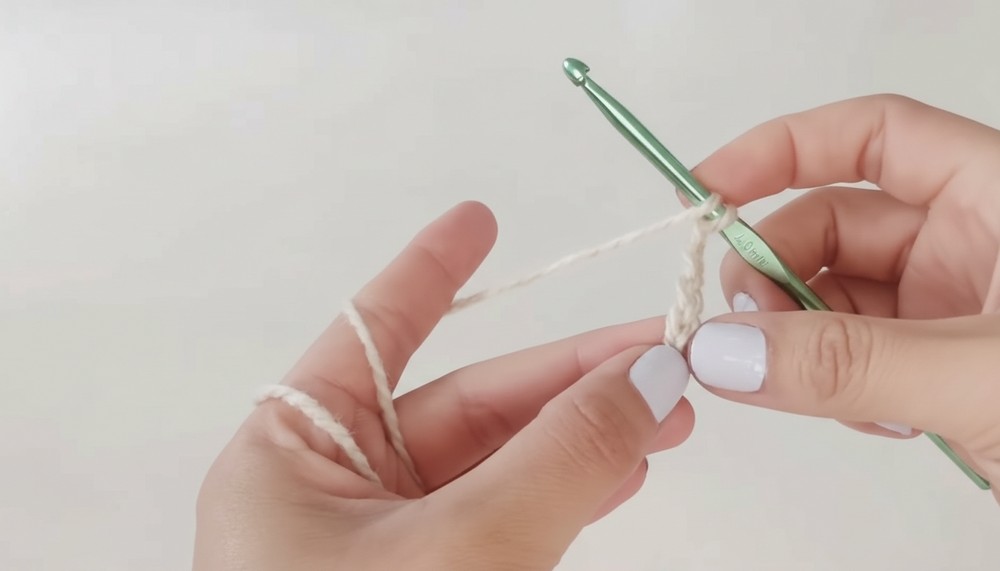
- Crochet 4 chains, then attach the yarn to your hook.
- In the first chain, make 2 double crochets (dc):
- To do this:
- Yarn over, insert the hook into the chain, pull up yarn (you’ll have 3 loops on the hook).
- Yarn over, pull through 2 loops, yarn over again, and pull through the remaining 2 loops on the hook. Repeat.
- Count your initial 3 chains as the first double crochet; this gives you 3 double crochets total at the tip of your triangle.
- To do this:
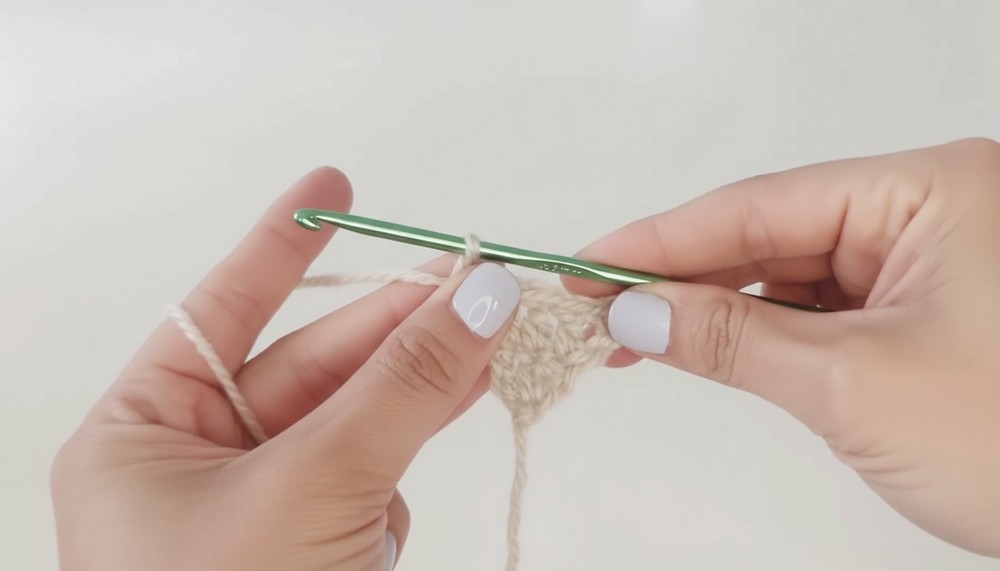
Step 2: Increasing Rows
- For each row:
- Chain 3 (counts as your first double crochet).
- Turn your work, and in the first space of the previous row, make 1 double crochet for an increase.
- Continue crocheting double crochets (dc) across the row.
- At the end of each row, make an increase (2 double crochets in the same stitch).
- Progress:
- Row 1: 3 double crochets.
- Row 2: 5 double crochets.
- Row 3: 7 double crochets.
- Continue increasing rows until you reach the desired size.
- Example from the tutorial: After 10 rows, you’ll have 21 double crochets across the top edge of the triangle.
Step 3: Finish the Triangle
- Once you’ve reached your desired size:
- Cut your yarn.
- Use a yarn needle to hide excess threads neatly.
Tassel Creation Instructions
Step 1: Prepare the Cardboard Template
- Take a piece of cardboard measuring 8 cm.
- Wrap the yarn around the cardboard about 15 times (adjust depending on desired tassel thickness).
Step 2: Assemble the Tassel
- Cut a small piece of yarn to tie the tassel.
- Slide the tied yarn under the loops at the top of the cardboard and knot securely. Remove it from the cardboard.
- Wrap another piece of yarn slightly below the tied area to shape the tassel’s “head.” Secure it with knots.
- Trim the tassel to ensure the ends are neat and evenly cut.
- Leave the top thread intact for attaching the tassel to the pennant later.
Attach Tassels to the Pennants
Step 1: Positioning the Tassels
- Use your crochet hook to hook the tassel thread at the corners of the pennant triangle.
- Tie the tassel using the strands left at the top, securing firmly with a double knot.
- Hide excess threads neatly using a yarn needle.
Connecting the Pennants
Step 1: Crochet the Base Chain
- Create 20 chains in the air as the base chain for attaching pennants.
- Adjust the chain length depending on how much “tail” you want at both ends for tying up the banner.
Step 2: Join the Pennants
- Take your finished pennant and position it.
- Anchor the top edge of the pennant to your base chain:
- Insert the hook into the top edge of the pennant and make single crochets (sc) across its top.
- If you prefer to leave space between pennants, make air chains in between before joining the next pennant.
- Repeat this process until all pennants are attached.
Step 3: Finish Off
- After attaching the pennants, complete 20 chains to form the tail at the opposite end of the banner.
- Cut the yarn and hide excess threads neatly.
Customizations
Color Variations:
- Use bright and cheerful colors like yellow, red, and turquoise for events like birthdays or parties.
- Opt for earth tones like beige, terracotta, and olive green for rustic or minimalist decor.
Size Adjustments:
- For larger pennants: Increase rows for a wider and taller triangle.
- For smaller pennants: Reduce rows, stopping when you’re satisfied with the size.
Tassel Variations:
- Create multicolored tassels by combining strands of different yarn colors during wrapping.
- Make longer tassels by using larger pieces of cardboard.
Tips
- Maintain tension: Keep consistent yarn tension to ensure uniform stitches.
- Test sizes: Before completing all pennants, crochet one triangle and test its size as part of the banner.
- Space wisely: If pennants aren’t glued together, use chains to create symmetrical spacing.
- Trim excess neatly: Carefully trim tassels and threads for a polished result.
Conclusion
This crochet pennant project combines creativity and practicality, allowing you to personalize your decor to match various events or settings. The colorful tassels add a whimsical touch, while the triangular pennants make great bunting for parties or home decoration. Following this pattern provides an adaptable and fun project for crocheters of all skill levels.
Final Words
The completed banner adds charm to any occasion and can be customized in both color and size. Whether you’re celebrating a birthday, sprucing up a party, or enhancing your decor, this banner is sure to stand out.