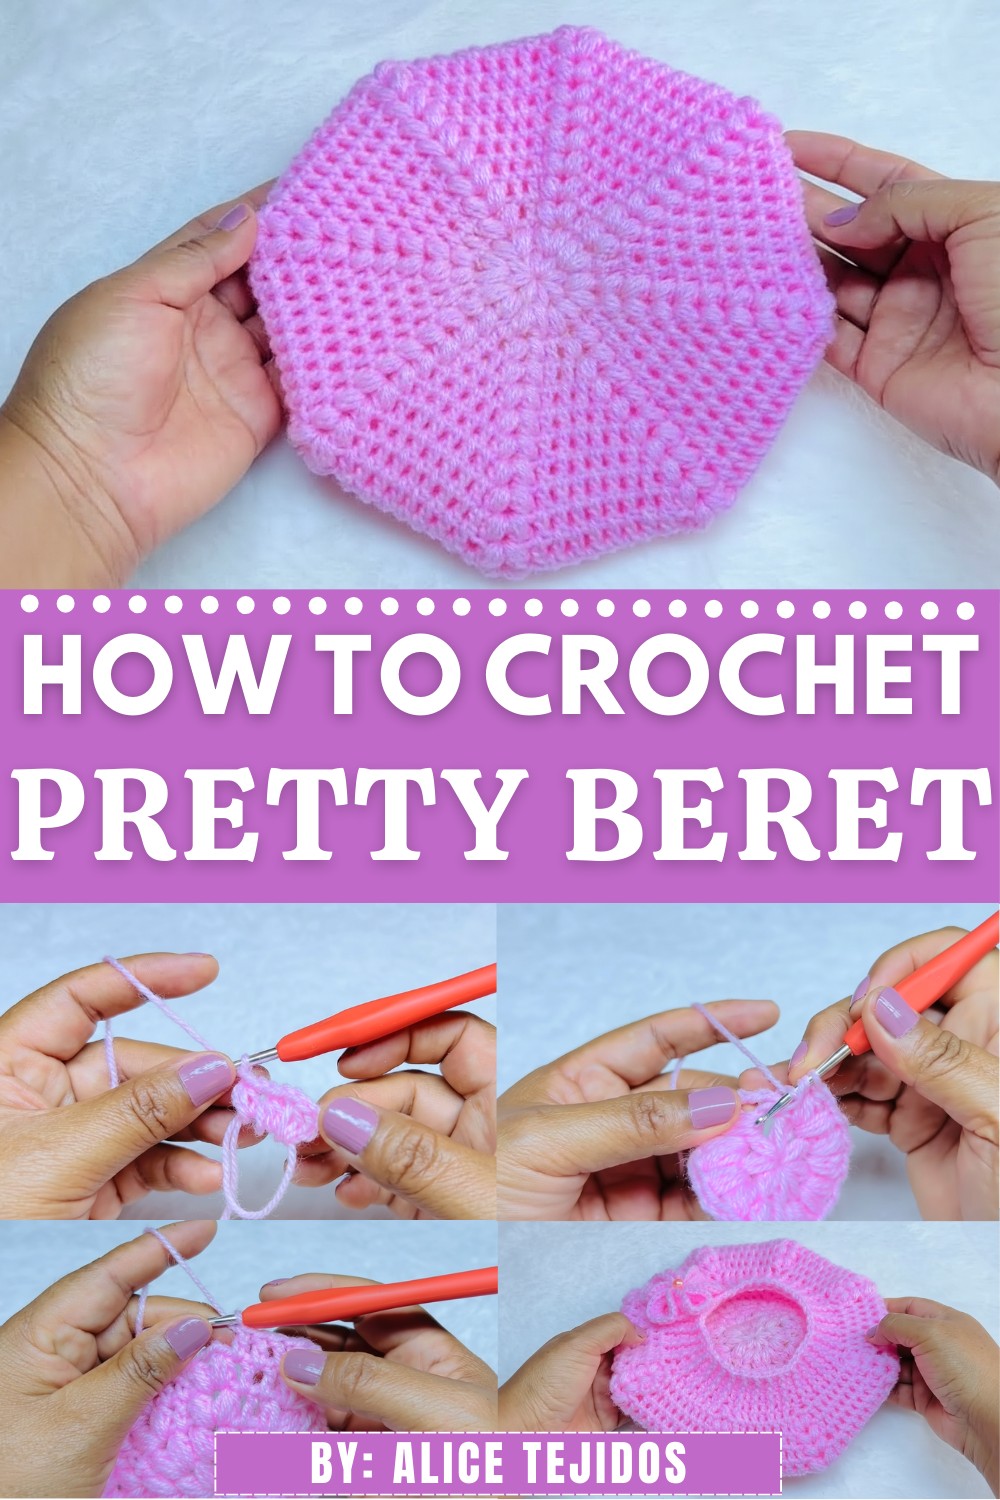
Learn how to crochet beret with easy-to-follow instructions that will guide you through making a stylish and cozy accessory perfect for any occasion.
A charming accessory that combines warmth, style, and the artistry of handmade crochet, this is the beauty of a crochet beret. Its soft, round shape and delicate designs make it the perfect choice for adding elegance to your look, whether you’re heading to a party, taking a stroll, or giving someone a thoughtful gift.
Lovely Croche Beret Pattern Perfect for Any Outfit
With endless color and decoration options like flowers or buttons, it’s easy to create a one-of-a-kind masterpiece that suits any outfit and occasion. Cozy, timeless, and full of personality, a crochet beret is a delightful way to bring creativity and comfort into your everyday life.
Materials Required:
- Yarn:
- Size: Weight 3 (light yarn, approx. 50 g).
- Color: Any preferred color (pastels work well for baby projects).
- Crochet Hook: Size 3 mm.
- Other Supplies:
- Stitch markers.
- Tapestry needle for finishing and weaving in ends.
- Scissors.
- Optional: Decorative items like flowers, buttons, or bows.
Skill Level:
Intermediate to Advanced – Includes techniques like making a magic circle, working increases, post stitches, and creating ribbing.
Key Abbreviations (US Terminology):
- ch: Chain
- sc: Single Crochet
- slst: Slip Stitch
- dc: Double Crochet
- hdc: Half Double Crochet
- fpdc: Front Post Double Crochet
- sp: Space
- st(s): Stitch(es)
Special Notes:
- Magic Circle Tip: A snug magic circle ensures no gap at the top of the beret. Tighten before weaving ends.
- Stitch Awareness: Keep track of the motif placements and space increases to maintain a consistent pattern throughout.
- Gauge: Ensure your finished crown reaches 19 cm in diameter for the correct size, using similar yarn weight and hook size.
Step-by-Step Pattern:
1. Creating the Crown (Motif Base)
- Magic Circle & Round 1:
- Make a magic circle, then:
- Ch 3 (counts as the first dc).
- Make 1 dc cluster consisting of three loops joined at the top:
- Yarn over, insert hook into magic circle, pull up a loop, yarn over, pull through two loops. Repeat 2 more times (you’ll have three loops on the hook). Yarn over and pull through all three loops.
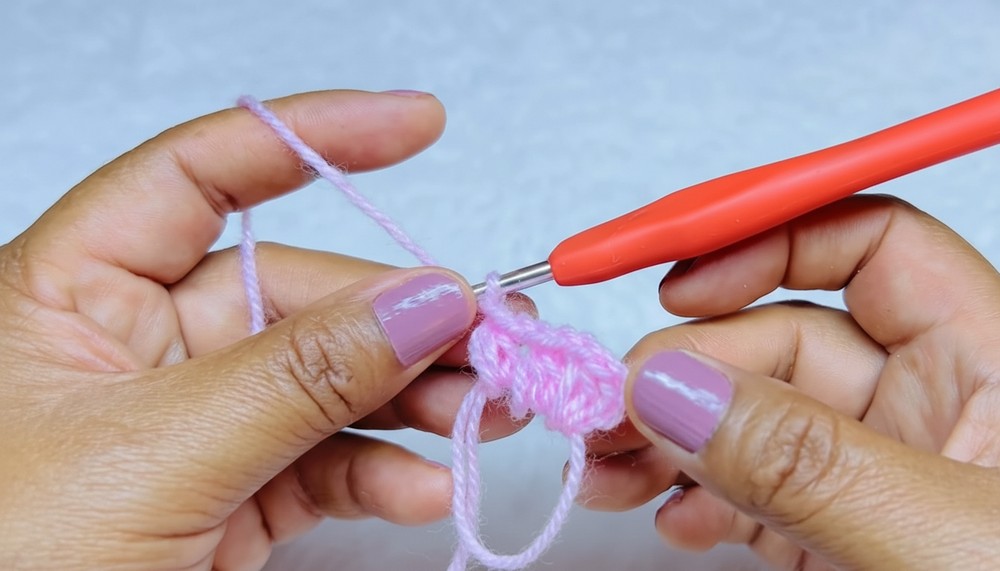
- Yarn over, insert hook into magic circle, pull up a loop, yarn over, pull through two loops. Repeat 2 more times (you’ll have three loops on the hook). Yarn over and pull through all three loops.
- Chain 1 to lock the motif.
- Repeat the motif to create a total of 8 motifs around the circle.
- Close the round with a slst into the top of the initial ch-3.
- Make a magic circle, then:
- Round 2 (First Increase Round):
- Slip stitch into the next space, then:
- Ch 4, make 1 dc cluster in the same space.
- Chain 2, then repeat the motif to add two clusters in every space (increasing the total motifs).
- Close the round with a slst into the top of the ch-4.
- Slip stitch into the next space, then:
- Round 3 (Second Increase Round):
- Repeat the motif in every space as follows:
- Ch 4, make 1 dc cluster in the space, chain 1, and then work two motifs in every other space.
- Continue this sequence across the row: 1 motif, 2 motifs to alternate the increase.

- Repeat the motif in every space as follows:
- Subsequent Increase Rounds:
- Continue adding additional dc motifs between the increases, keeping the sequence consistent with every round.
- Stop increasing motifs once the crown diameter reaches 19 cm (approximately 8 rows of increase).
2. Working the Straight Body of the Beret (Non-Increase Section)
- Transition to Straight Rows:
- From this stage, no further increases are made. Begin working evenly in each space to maintain the crown’s shape.
- Work the Motifs:
- For each round, continue with the established motif sequence (dc cluster stitches, ch 1, and spaces).
- Ensure the 8 double crochets between motifs are maintained to create a lightly sloping straight edge.

- Number of Rows:
- Work 5 rows of straight motifs, alternating placement of skipped stitches (alternate leaving the first or last stitch free in successive rows).
3. Adding the Ribbed Brim
- Transition to Ribbing:
- After completing the straight rows, transition to the brim by skipping 1 stitch at the start of the row.
- Ribbing Setup (Double Crochet and Post Stitch):
- Work the post stitches as follows:
- Ch 3, and alternate between fpdc (front post double crochet) and regular dc.
- Repeat this sequence (fpdc, dc) across the round.
- Work the post stitches as follows:
- Repeat Ribbing Rows:
- Continue the established fpdc, dc sequence for 3-4 rows, or until the ribbing measures between 3-4 cm.
- Invisible Finish:
 To finish, cut the yarn and make an invisible join using a tapestry needle:
- Pull the yarn through the last stitch, insert the hook into the first post stitch, and bring the yarn back into the inside of the beret.
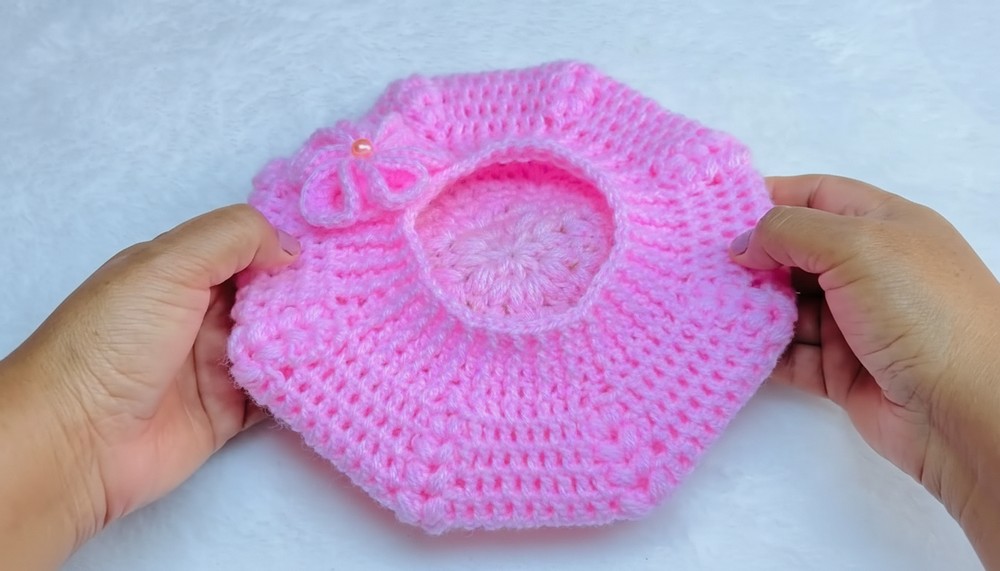
4. Decoration (Optional):
- Create a Decorative Flower or Other Item:
- Refer to a simple flower crochet tutorial or attach a pre-made button, bow, or embellishment.
- Sew securely to the side of the beret for a polished touch.
Tips for Success:
- Count Stitches Regularly: Regularly count your motifs and double crochet spaces to ensure consistency across rounds.
- Tension Control: Keep tension consistent for a smooth and even finish.
- Blocking: Gently steam-block the beret after completing to even out shapes and stitches.

Customization Ideas:
- Color Variations: Alternate colors every few rows for a striped beret effect. Use bright or playful colors for a fun design.
- Pattern Modifications: Use lighter-weight yarn and smaller hooks to size down, or thicker yarn and larger hooks for custom sizes.
- Additional Embellishments: Add beads, sequins, or applique details for flair.
Conclusion:
This beautiful crocheted beret is an elegant and practical accessory for a baby girl. With its decorative crown, snug ribbed brim, and charming embellishments, it becomes a thoughtful handmade gift or a stylish addition to a little one’s wardrobe. Personalize with colors, flowers, or buttons to match any occasion or outfit.
Corrections & Observations:
- Ensure motif joins are tight and consistent, as loose threads can cause unevenness.
- Keep gauge uniform throughout the project to ensure the hat fits well.