Dress little ones in charm with this Free Crochet Baby Frock Pattern that offers a soft, comfy outfit perfect for daily wear, photos, or thoughtful baby gifts.
Comfort and softness are very important when making clothes for a baby. Learning a Free Crochet Baby Frock Pattern can help anyone make a gentle and attractive frock using soft yarn and simple crochet stitches. This baby frock usually has a light and airy design that allows the baby to move comfortably while still looking adorable. The neat crochet texture and delicate shape give the frock a beautiful handmade appearance that easily catches attention.
Trendy Free Crochet Baby Frock Pattern for Baby Style
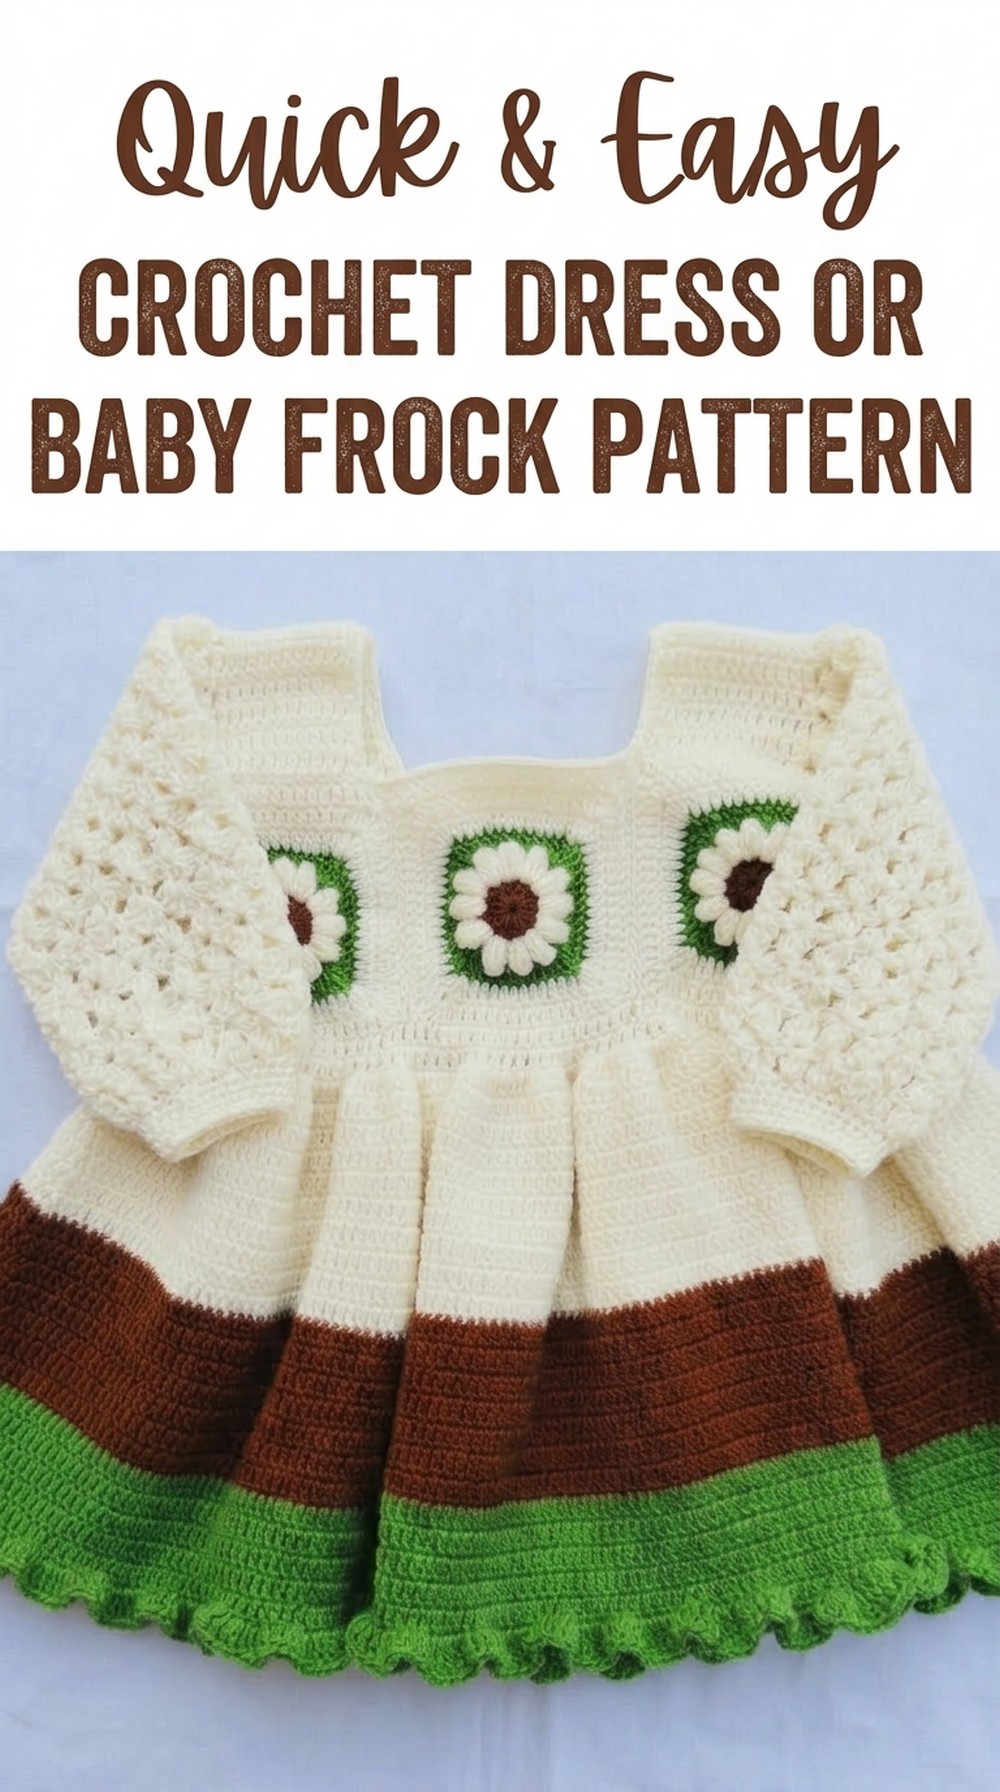
It can be worn during family gatherings, small celebrations, photo moments, or even on a calm day at home. The pattern often includes clear and easy steps, which makes it suitable for beginners who want to try making baby clothing for the first time. Different yarn colors can change the look of the frock, making it sweet, bright, or playful. In the end, this crochet baby frock offers comfort, beauty, and a warm handmade touch.
Step-by-Step Detailed Crochet Baby Frock Pattern
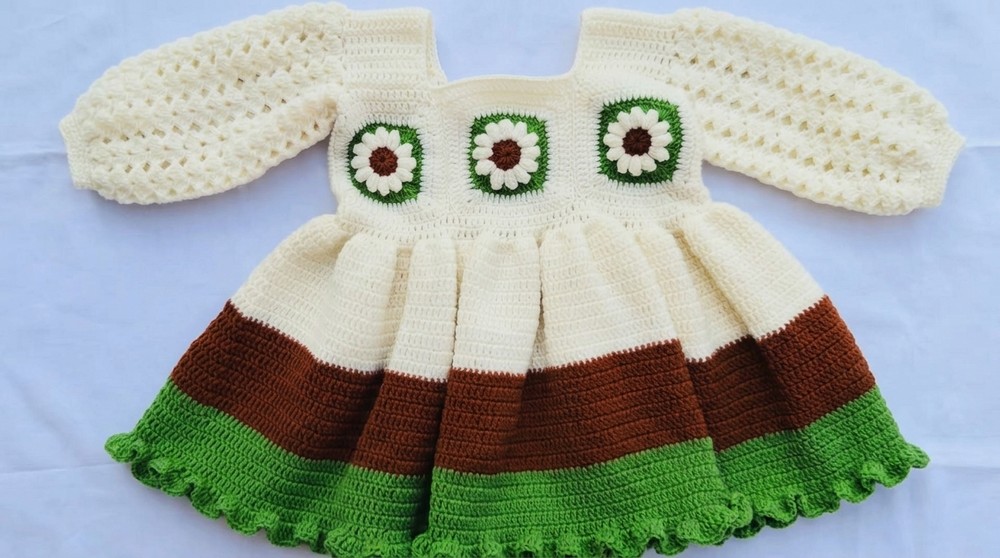
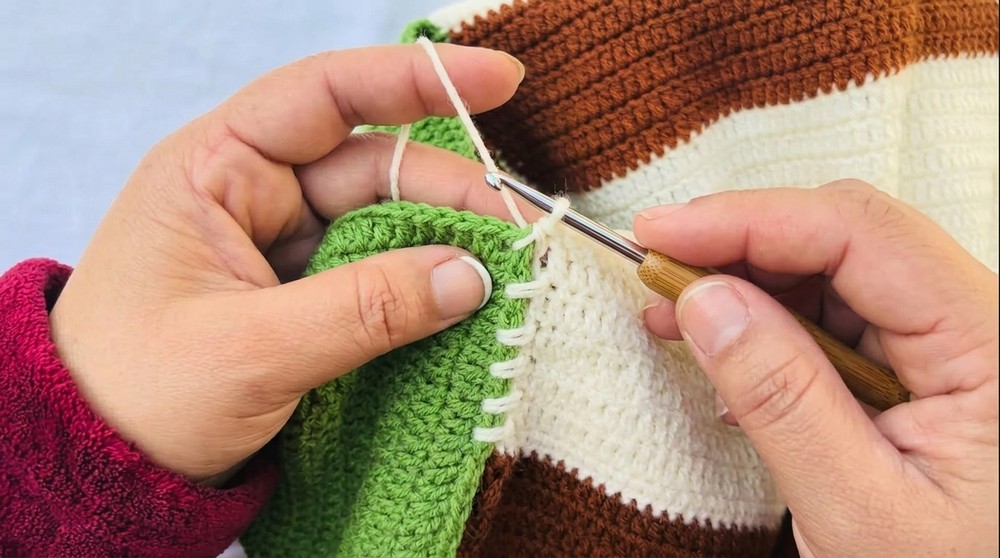
Finished Project Information
- Size: Suitable for a baby aged 1.5 years. The size can be adjusted by altering the chains and pattern rounds.
- Difficulty Level: Intermediate (Ideal for those familiar with basic crochet stitches).
- Design Overview:
- Puff stitches add texture and interest.
- Square motifs connect into a full frock pattern.
- Borders and shoulder shaping complete the design.
Materials
To create this baby frock, you will need:
- Yarn:
- Main body yarn: Green, Off-White, and Brown (or colors of your choice).
- Recommended Yarn Weight: Light (Weight 3/DK) for a soft and lightweight garment.
- Hook: 2.25 mm crochet hook (adjust hook size as needed based on gauge).
- Scissors: Required for cutting yarn and finishing edges.
- Crochet Stitch Marker: Optional, for marking specific stitches (can use safety pins or contrasting yarn pieces).
- Tapestry Needle: Essential for weaving in ends and joining sections.
Special Techniques
- Magic Circle (Alternative to Foundation Chains): Used for creating a ring base for rounds.
- Puff Stitch: A textured stitch requiring multiple yarn overs for loops.
- Double Crochet (dc): Primary stitch used throughout.
- Single Crochet (sc): For borders and joining.
- Corner Formation in Motifs: Technique involves chaining and clustering for square motifs.
Pattern Instructions
1: First Round
- Foundation Chain:
- Begin with a magic circle or chain 4 and slip stitch into the first chain to make a circle.
- Work 1 double crochet (dc) into the ring, then continue working dc stitches uniformly.
- Total: 10-12 dc stitches in the ring.
- Pull the tail to tighten the ring, chain 1, and cut the yarn to finish the round.
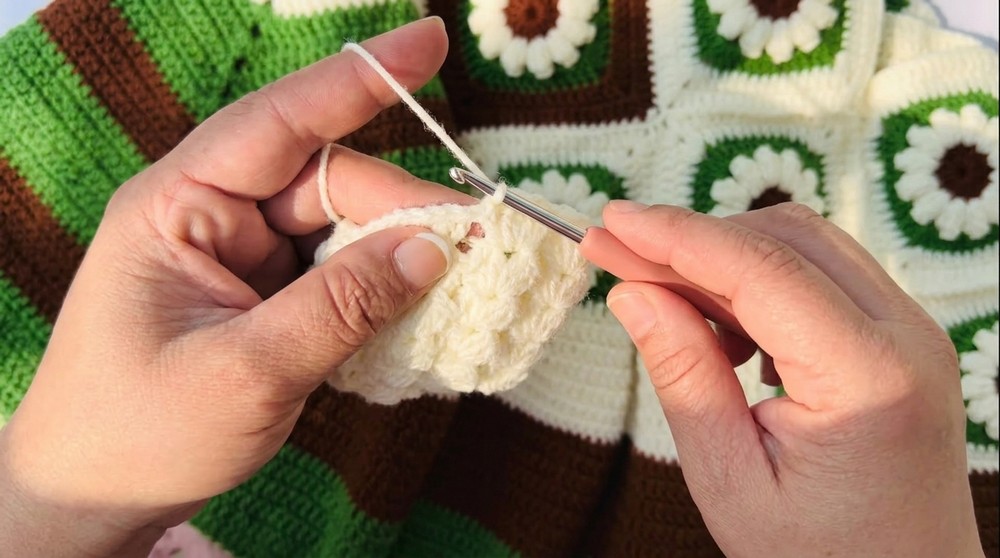
2: Second Round – Puff Stitches
- Change Yarn Color (Off-White):
- Attach the yarn to the first stitch of Round 1.
- Begin Puff Pattern:
- Step 1: Chain 2 to begin.
- Step 2: Work 5 double crochets (dc) in the same stitch, yarn over, and pull through all loops on the hook to complete a puff stitch.
- Step 3: Secure with 2 chains, creating a space between puffs.
- Repeat Pattern:
- Continue working puff stitches in the remaining stitches of the round, ensuring even spacing.
- Total: 12 puff stitches by the end of the round.

- Join and Finish:
- Slip stitch into the first puff stitch, chain 1, and fasten off.
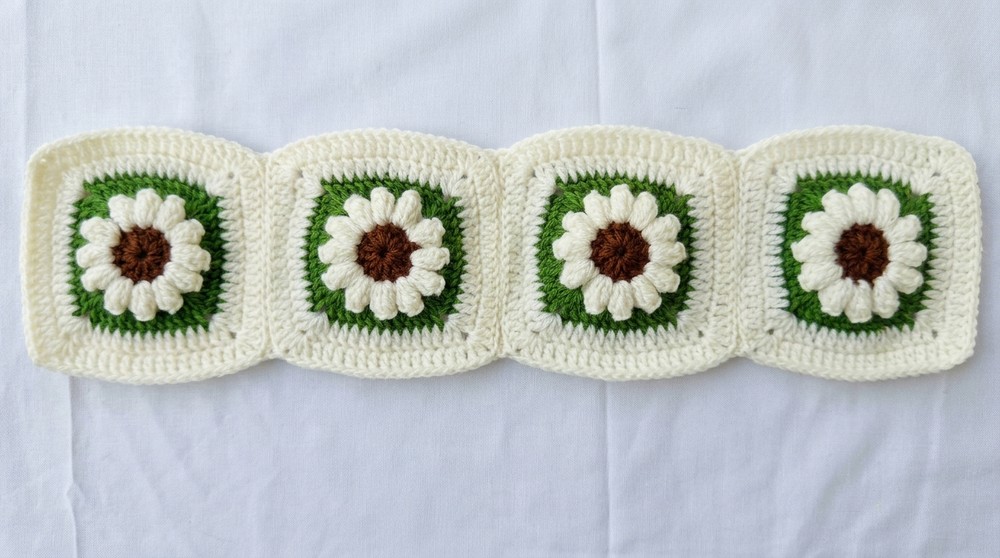
3: Square Motif Formation
- Change Yarn Color (Green):
- Attach the green yarn into any puff gap from Round 2.
- Corners and Sides:
- Work 3 double crochets (dc) into the gap, chain 2 (for corner turning), then another 3 dc.
- Continue this pattern to form square motifs. Between corners, work 3 dc evenly spaced.
- Ensure uniform corner spacing for symmetry.
- Close the Round:
- Slip stitch into the first corner. Chain 1 and fasten off.
4: Extending the Body
- Connect Squares:
- Crochet 6 square motifs, ensuring uniform size.
- Use single crochet (sc) stitches to join the motifs edge-to-edge, working carefully into each stitch of adjacent motifs.
- Use loose tension while joining the motifs to maintain flexibility.
- Work the Frock Body:
- Once the squares are connected into a circular structure, switch to double crochet (dc) for the frock’s main body.
- Work dc stitches into each chain across each round, ensuring even spacing.
- Increase for Gathered Effect:
- After the first few rounds, increase in every 3rd or 4th chain by working 3 dc into 1 chain.
- Continue increasing for desired fullness, then proceed with regular dc rounds to complete the frock’s body length.
5: Shoulder and Border
- Shoulder Sections:
- Separate sections for the shoulders, leaving neckline space in the middle.
- Work single crochet (sc) stitches in rows to shape compact shoulder straps.
- Adjust strap length as needed for a proper fit.
- Final Border:
- Using green yarn, work single crochet (sc) stitches around the neckline and bottom edge to finish.
- Include decorative shapes like scallops or picots in the border (optional).
Finishing and Final Words
- Secure Loose Ends:
- Weave in all tails using a tapestry needle, ensuring no yarn is left hanging.
- Avoid cutting yarn too close to stitches to prevent loosening.
- Steam Block or Wash:
- Steam block the frock for better shaping. If using machine-washable yarn, gently hand wash and air dry.

- Steam block the frock for better shaping. If using machine-washable yarn, gently hand wash and air dry.
Tips
- Adjusting Size:
- For younger babies, reduce foundation chains and motifs.
- For larger size, increase chains and rounds proportionally.
- Color Changes:
- Alternate colors between rounds for vibrant patterns.
Conclusion
The baby frock combines puff stitches and square motifs for a beautiful and functional design. It is lightweight, breathable, and perfect for formal and casual settings. By following this guide, you can confidently create a stunning garment that combines creativity with practicality.