
Create a charm to your home decor with this Crochet Pumpkin Doorstop which is a useful accent that works beautifully throughout the autumn season.
Brightening up your home with seasonal touches can be simple and fun. The Crochet Pumpkin Doorstop is an appealing item that combines usefulness with autumn charm. Márcia Souza Crochê shares a lovely approach to this project, which adds a cozy feel to any room while helping keep doors steady.
Free Crochet Pumpkin Doorstop Pattern With A Rustic Touch
This doorstop features a soft pumpkin shape with gentle curves that resemble a real pumpkin. The round body and stout stem stand out with a warm, textured surface made from yarn. Its sturdy weight provides practical support, holding doors open or closed with ease.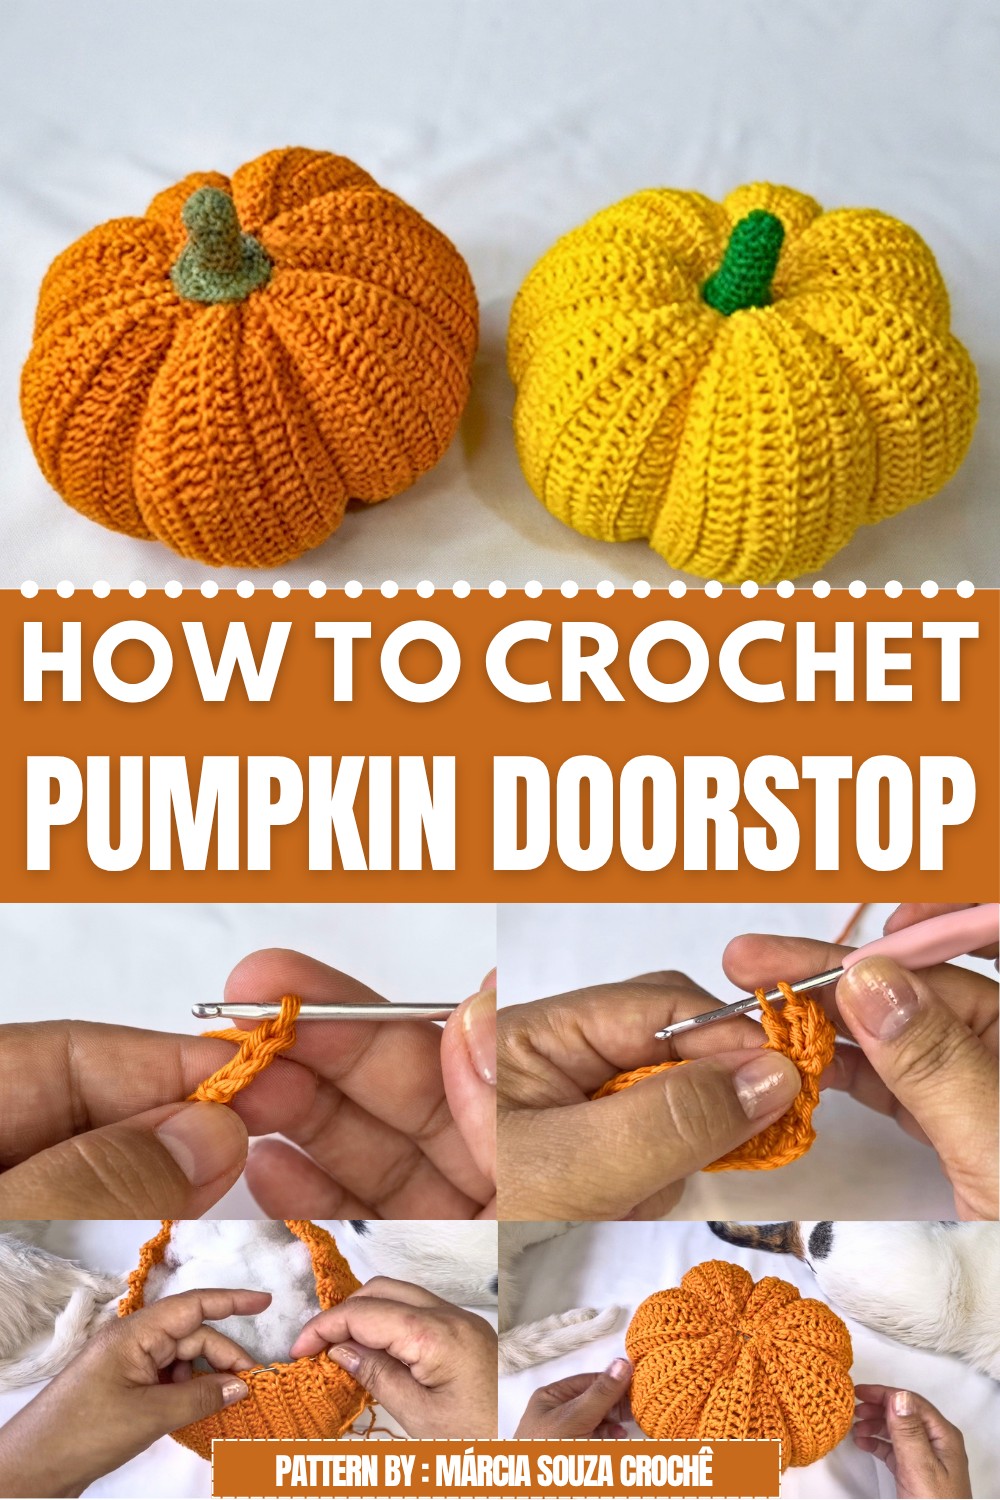
This pumpkin has great potential as a thoughtful gift during fall celebrations like Halloween or Thanksgiving. Placed near your entrance or on a windowsill, it creates a welcoming and homely atmosphere. Its simple yet eye-catching style fits well with many decorative themes, from rustic farmhouse to modern spaces.
The warm colors of the yarn and the subtle stitch details highlight the pumpkin’s natural form without being too flashy. This balance of style and function makes it a standout accent that adds charm without overwhelming other décor.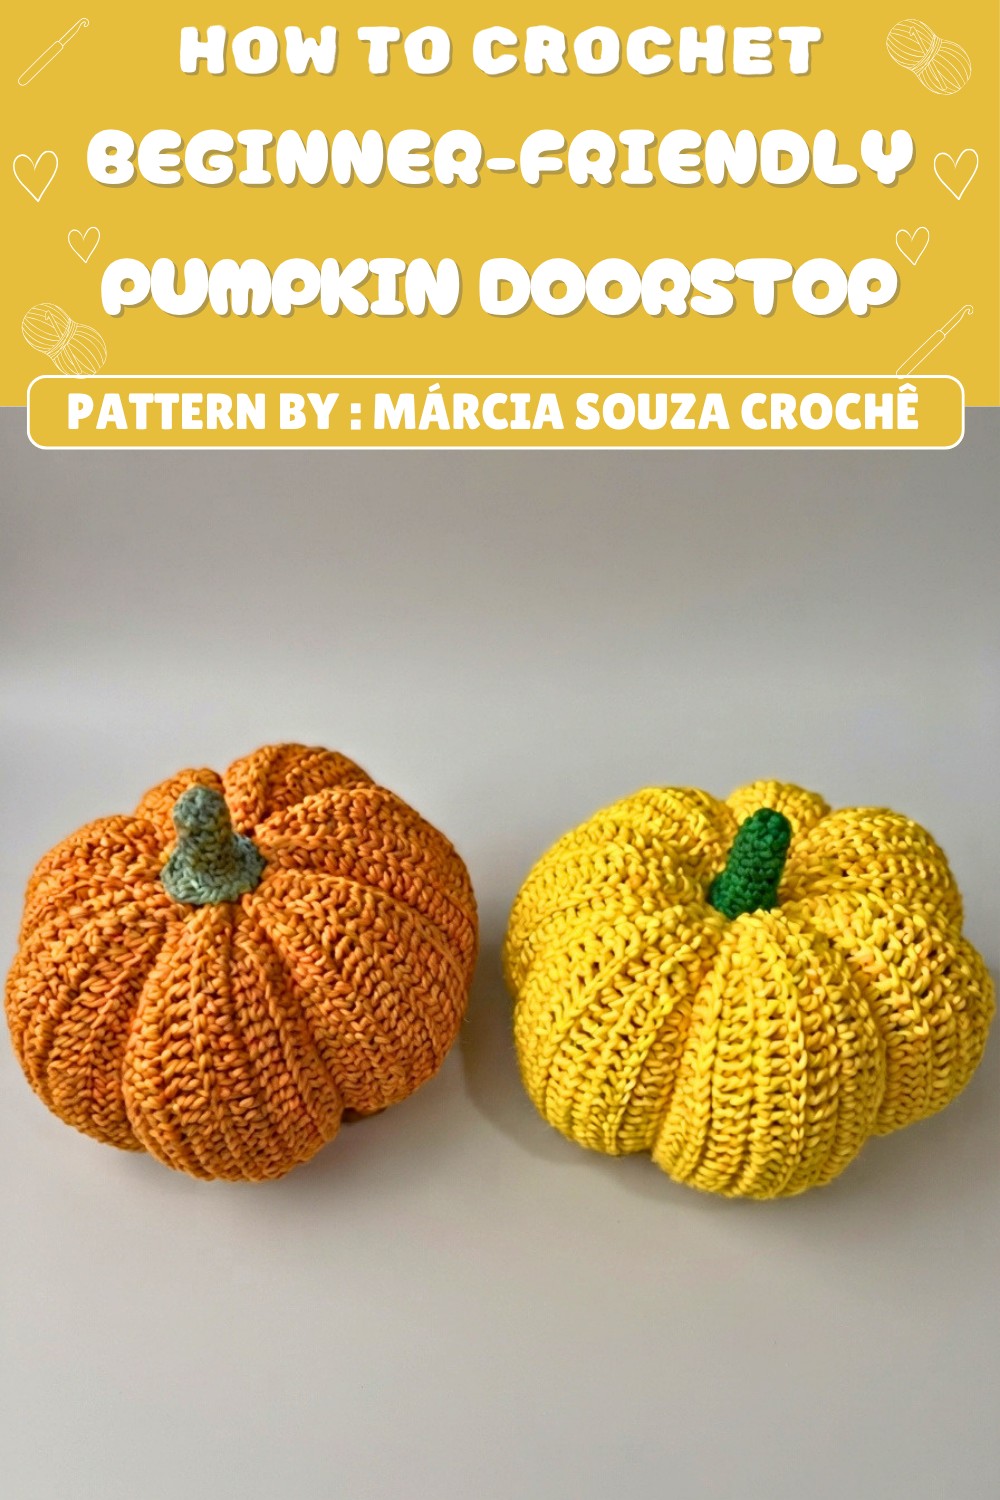
With clear instructions from Márcia Souza Crochê’s video, this project suits both newcomers and experienced crocheters. It offers a gentle combination of style and practicality, making everyday living a little cozier and more inviting.
Pumpkin Doorstop Crochet Pattern
This crochet pumpkin doorstop pattern results in a sturdy, charming home accessory that can be customized for seasonal decoration or practical use. The elegant ribbed structure is achieved with back loop double crochet, and the pumpkin is finished with a realistic, sculpted stem and contrasting “plug” for the base. You can choose to add a weighted insert for functional doorstop use or simply stuff the pumpkin for decorative purposes.
Pattern Basic Points
Key Features
- Ribbed texture created by back loop double crochet
- Versatile stuffing options for decoration or weighted doorstop use
- Segmented pumpkin effect formed with long stitches
- Realistic stem and base plug crocheted separately and attached
- Customizable size based on chain and row counts
Construction Overview
- The pumpkin body is worked flat as a rectangle, then joined and cinched to form the shape
- Both ends are gathered; assembly adds stuffing and weighting
- The stem and base plug are crocheted in the round and glued/sewn in place
Special Notes
- Using a dense yarn and tight tension produces a sturdy pumpkin
- For a doorstop, add a sand-filled bag or heavy material before stuffing
- Acrylic stuffing alone creates a decorative, lightweight piece
- Yarn colors and shading offer seasonal customizations
- Glue is used for attaching components, but sewing is possible for those who prefer
Skill Level
Suitable for Beginners
- This pattern includes simple shaping and assembly
- Familiarity with basic crochet stitches and working in the round is required
Materials
- Yarn: Barroco #6 (or similar worsted weight, in orange and military green); any color preferred for pumpkin and stem
- Crochet hook: 3.5 mm
- Tapestry needle: For seaming and shaping
- Small scissors
- Fabric glue: Círculo or similar strong glue
- Measuring tape
- Stuffing: Acrylic fiberfill
- Sand and small bag (optional): For weighting as a doorstop
Measurements / Sizing
- Completed rectangle: 50 cm length x 23 cm width
- Finished pumpkin: About 20 cm diameter (size can be adjusted by altering chain and row number)
Gauge
- Gauge is not critical, but for reference:
- Double crochet (dc) in back loop: 14 sts and 8 rows = 10 cm square
- Maintain consistent tension for an evenly shaped pumpkin
Stitch Abbreviations
- ch – chain
- dc – double crochet
- sc – single crochet
- sl st – slip stitch
- BLO – Back loop only
Special Stitches
- Double Crochet Back Loop Only (dc BLO): Work each double crochet in the back loop for ribbing.
- Magic Ring: Used for stem and base plug; adjustable circle for working in the round.
Pumpkin Body
Step 1: Pumpkin Base Rectangle (Orange Yarn)
- Foundation:
- Make a slip knot, then ch 40 for base chain (adjust for size).
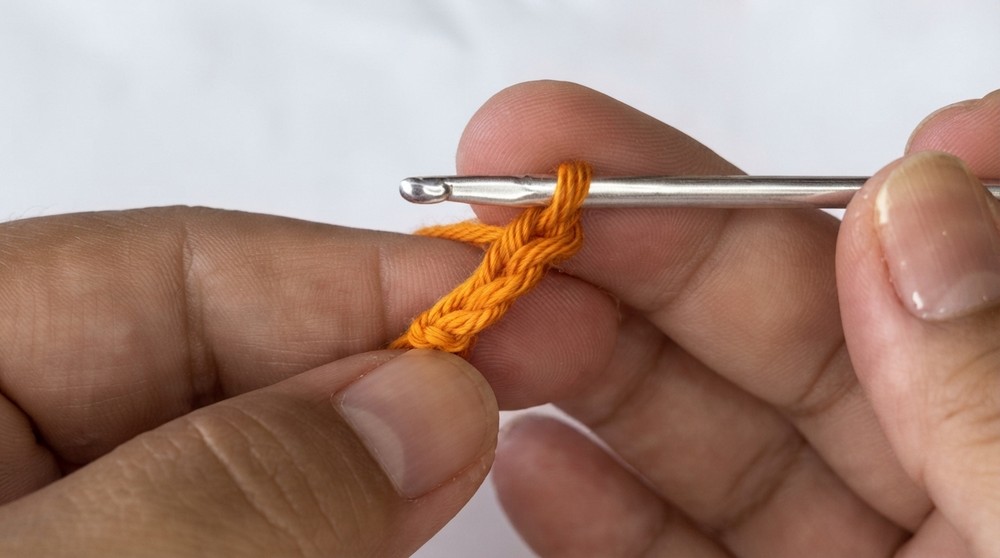
- Make a slip knot, then ch 40 for base chain (adjust for size).
- Row 1:
- Starting in 3rd ch from hook, work dc in each chain across. (38 dc; ignore turning chain for count)
- Rows 2–40:
- Ch 2 (does not count as a stitch), turn.
- Work dc BLO in each stitch across (38 dc per row).

- Repeat until you have 40 rows.
Note: Check your stitch count every few rows to ensure you stay at 38 dc.
Step 2: Joining and Shaping
- Once 40 rows are complete, fold the rectangle widthwise.
- With tapestry needle or hook, seam the two short sides together:
- Align edges, working through the back loops only, join with sl st across side to make a cylinder.
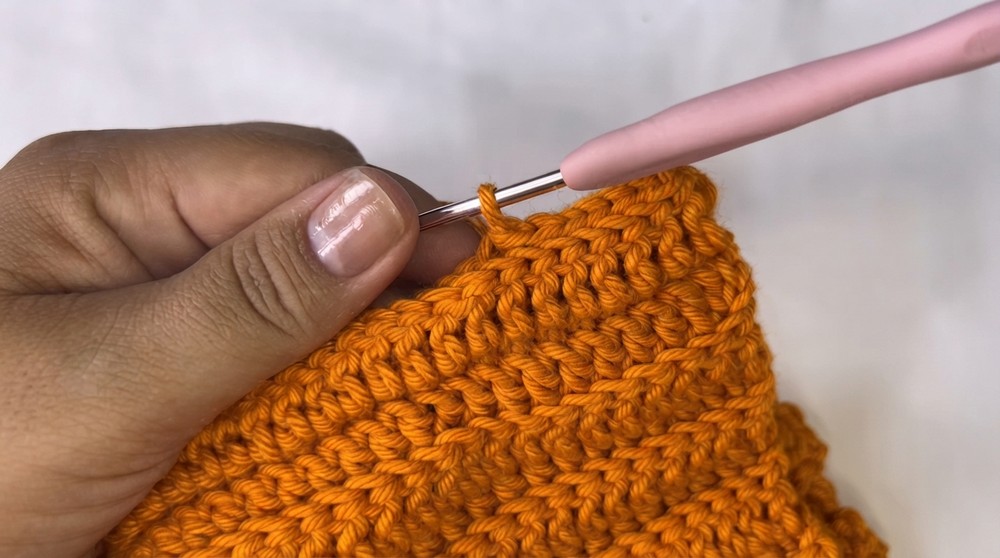
- Align edges, working through the back loops only, join with sl st across side to make a cylinder.
- Fasten off. Leave a long tail for gathering.
Step 3: Closing the Ends
- With a tapestry needle and the long yarn tail, weave through the top edge of cylinder, picking up stitches evenly around.
- Pull tight to gather and close one end. Secure with a knot, making small stitches to bring edges together, as needed.
- Turn piece inside out (optional).
- Stuff pumpkin firmly with acrylic filling or insert sand bag in the center and stuff around it. Adjust fullness for desired shape.
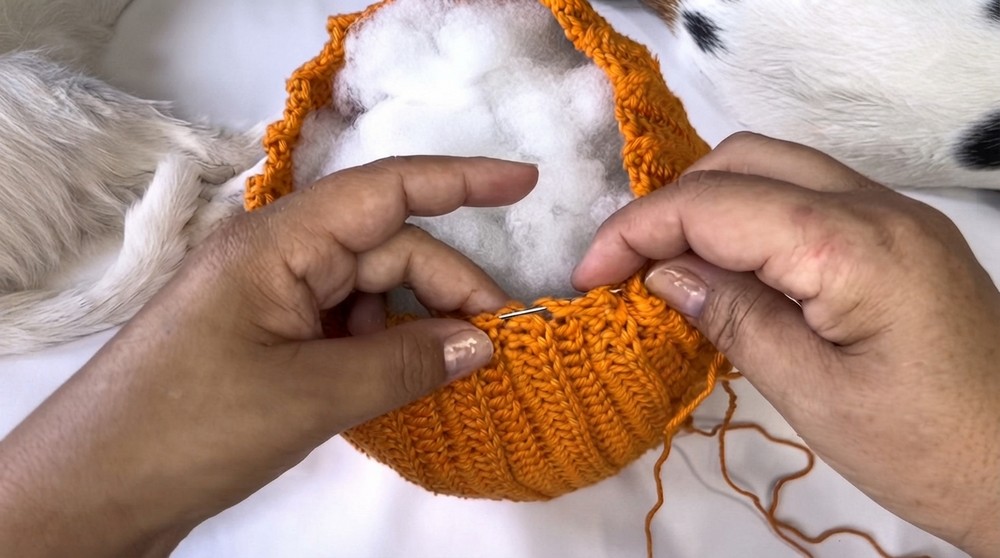
- Close second end in same manner: Weave yarn through edge, gather and secure.
- Both ends should be slightly open—plug and stem will cover gaps.
Step 4: Segment Shaping
- With leftover yarn, thread tapestry needle.
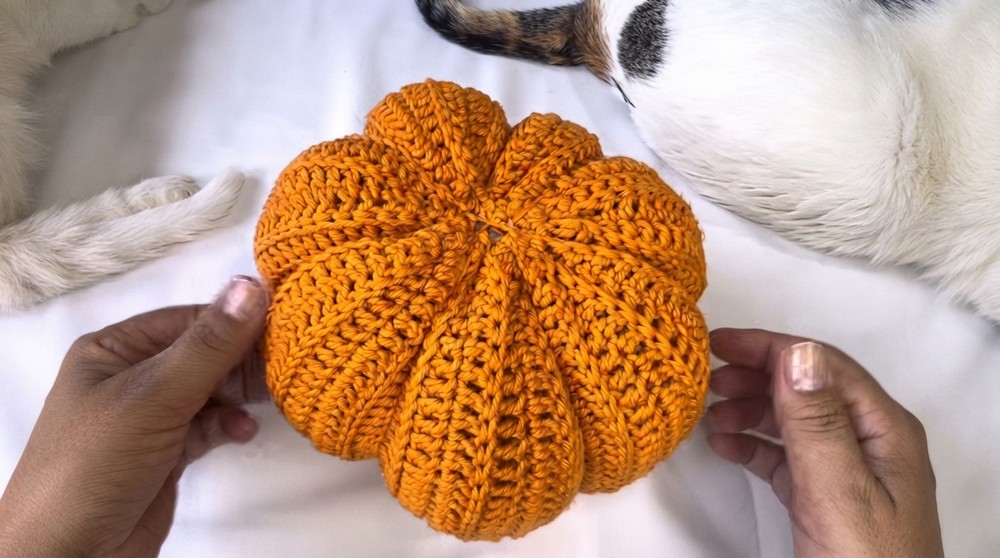
- Wrap yarn outside around pumpkin to form ridges (segments), skipping two gaps and bringing yarn tightly to form a sculpted look.
- Continue wrapping and knotting to create 6–8 segments evenly spaced.
- Hide ends securely inside pumpkin.
Base Plug (Green Yarn)
Round 1:
- Make a magic ring, ch 1 (does not count as stitch).
- Work 8 sc into ring.
- Pull tail tight to close ring.
Round 2:
- In each stitch, work 2 sc (16 sc total).
- Increase further for larger base as desired.
Finish:
- Join with sl st to first sc.
- Fasten off, leave long tail.
- Use excess yarn tail to close gaps if needed.
Assembly:
- Glue (or sew) plug onto bottom of pumpkin to cover opening.
Stem (Green Yarn)
Round 1:
- Make magic ring, ch 1.
- Work 8 sc into ring.
- Pull tight to close.
Rounds 2–9:
- Work 1 sc in each stitch around (spiral; 8 sc per round).
- Work 8 rows for a medium stem; add more for extra height.
Round 10:
- Increase round: In each stitch, work 2 sc (16 sc).
Round 11:
- Work one round: [1 sc, 2 sc in next st] around (24 sc).
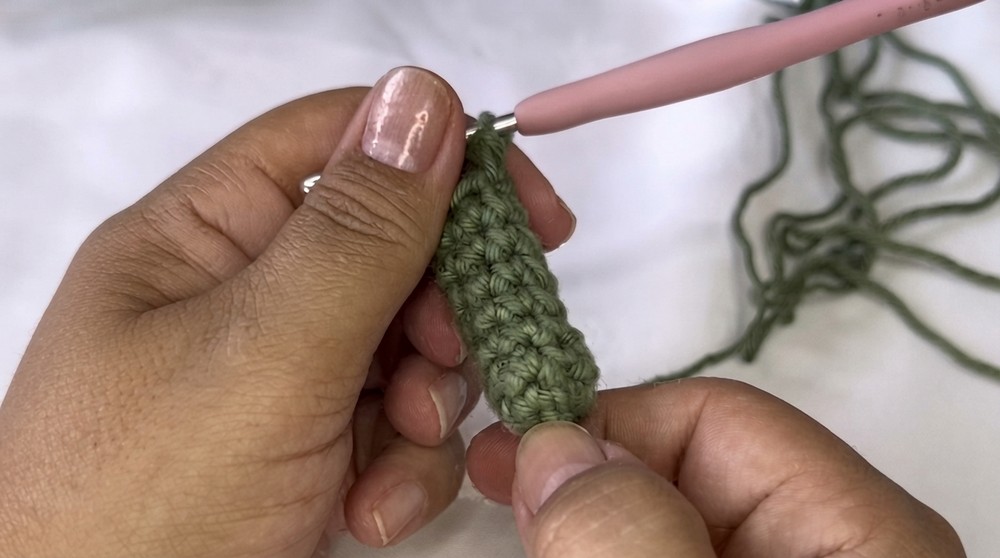
- Join with sl st; fasten off.
Assembly:
- Lightly stuff stem to desired stiffness.
- Glue (or sew) stem to top of pumpkin to cover opening.
Assembly & Finished Size
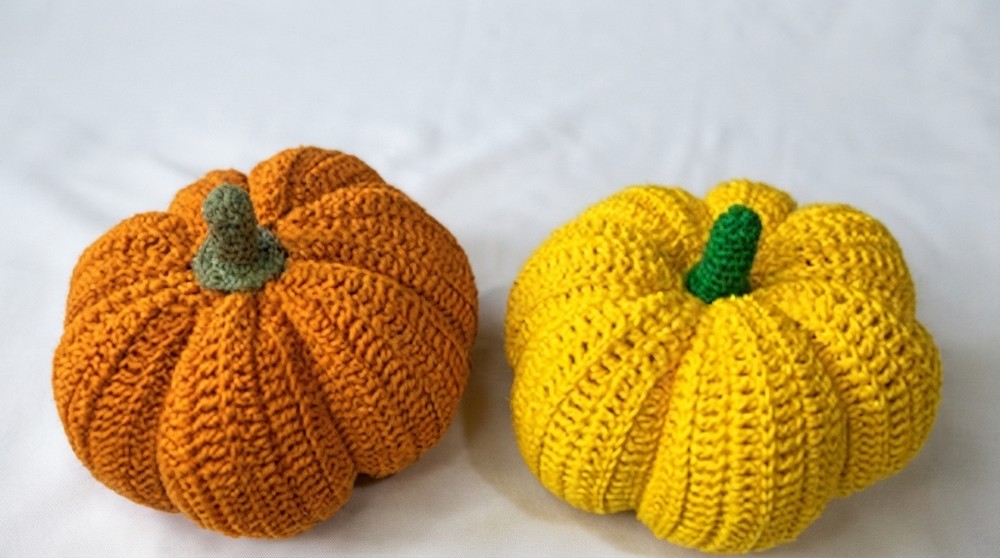
- Hide all yarn tails inside pumpkin body.
- Attach base plug and stem securely with glue or stitches.
- Adjust the stuffing and segments for symmetry and fullness.
- Weighted doorstop version: Ensure sand bag is centered before adding stuffing.
- Decorative version: Stuff firmly for rounded shape.
Conclusion
The pumpkin doorstop combines accessible crochet techniques with practical assembly steps to produce a textured, realistic pumpkin. The ribbed panels and sculpted segments add visual interest, while the choice of stuffing creates a functional or purely decorative piece. The base plug and stem lend authenticity, and the final assembly ensures stability and durability for everyday use. This pattern offers a cheerful addition to the home environment, suitable for festive seasons or as a playful design element. The simple shaping and finishing techniques make it an engaging project for beginners eager to explore textured crochet and basic three-dimensional construction.
