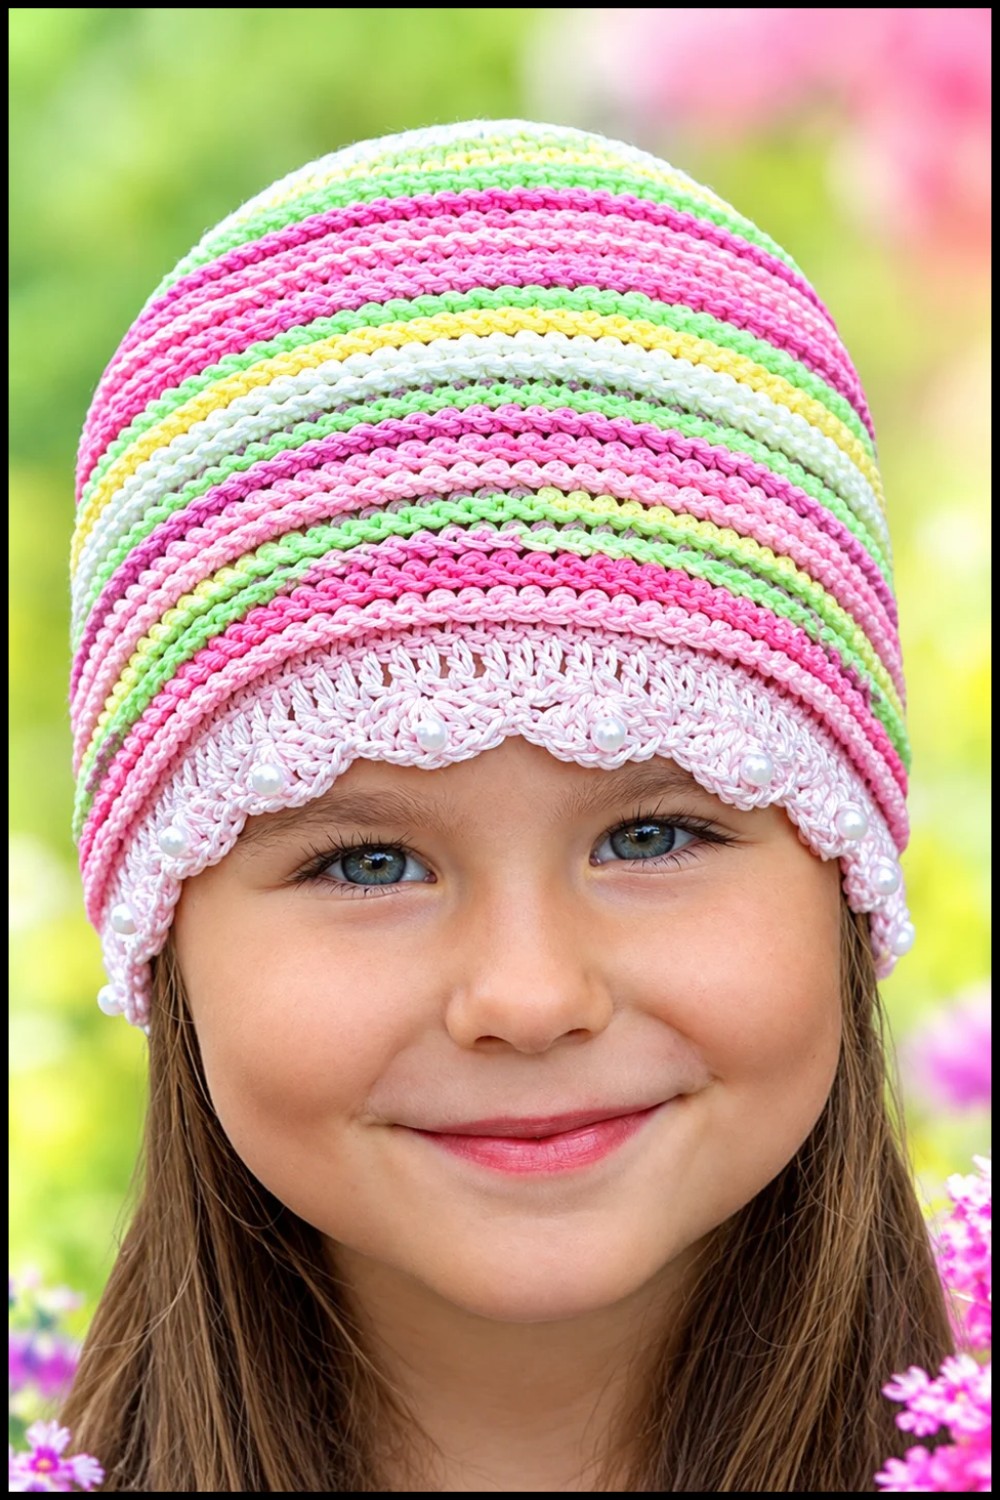
Stitch a cozy everyday accessory with this Crochet Cap Free Pattern, using soft woolen yarn and simple details for a comfortable look on cooler autumn days.
Кристина Богданова presents a crochet cap idea that focuses on making a hat with yarn, simple stitches, and careful shaping. The Crochet Cap is a wearable accessory with a textured surface that gives it a different look from regular fabric hats. Its overall shape, stitch details, and finishing depend on the tutorial.
Simple Crochet Cap Free Pattern For Casual Outfits
The cap can be worked in one color, such as dark blue, brown, or cream. Darker shades can hide small marks from daily use, while lighter colors show the crochet stitches more clearly. Choosing the right yarn thickness is important because it can affect the size and feel of the finished hat.
 Start by checking the head measurement and the hook size recommended in the instructions. As you crochet, pay attention to the increases that shape the upper section. Count the stitches at the end of each round to avoid mistakes. The lower edge should sit neatly without pressing too tightly against the forehead.
You can wear the finished cap with a denim jacket, a plain shirt, or a casual sweater. It is suitable for everyday walks, shopping trips, or spending time outside. For a handmade present, you can choose a color the person already wears often. This helps the cap fit naturally into their wardrobe.
After finishing, gently shape the cap and secure the loose yarn ends. Wash and dry it according to the yarn care instructions to help it keep its shape. This project also gives you practice with head measurements, stitch counting, and shaping curved crochet fabric.
Pattern Overview
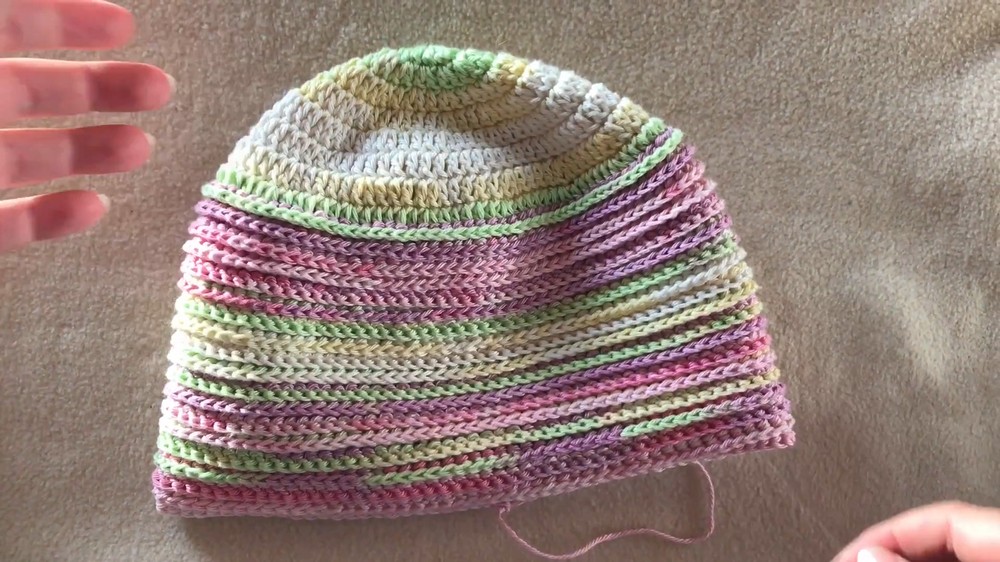
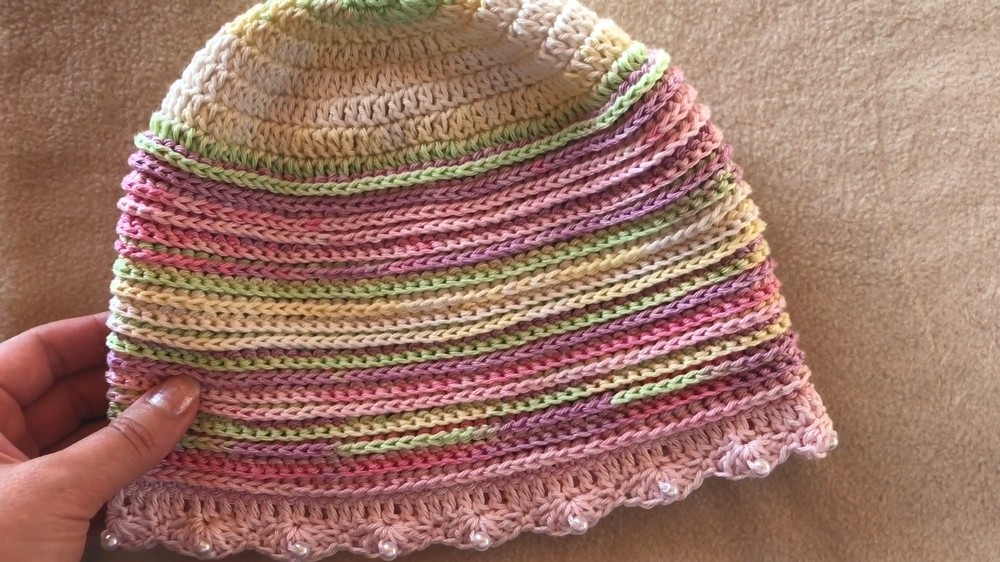
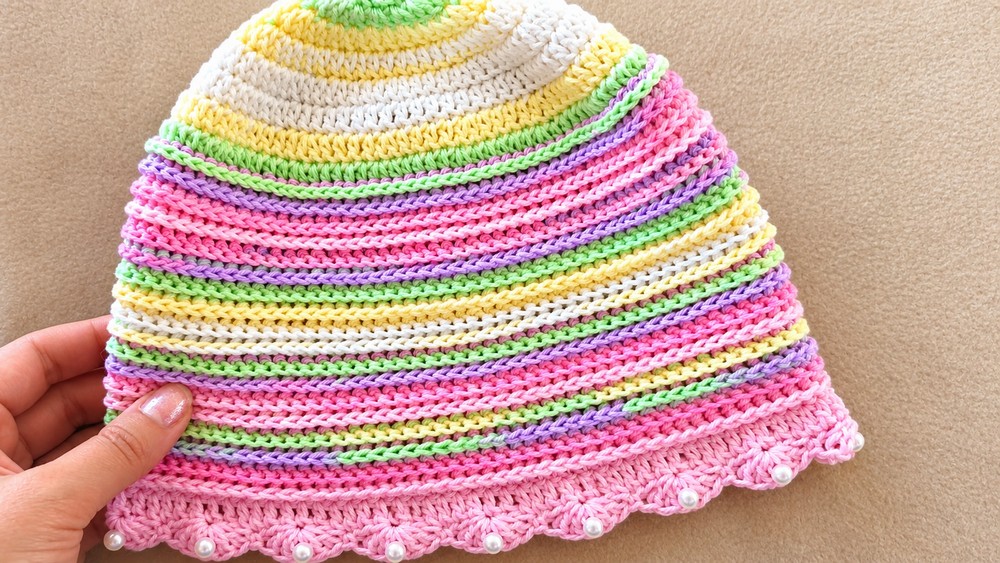
This crochet cap is constructed with a magic ring foundation followed by double crochet increases for the crown. The body of the hat features alternating post stitches in revolving rows, which keeps the seam from spiraling. Finishing touches include a decorative trim with beaded fan clusters. The instructions here are fully based on the provided transcript and step-by-step process.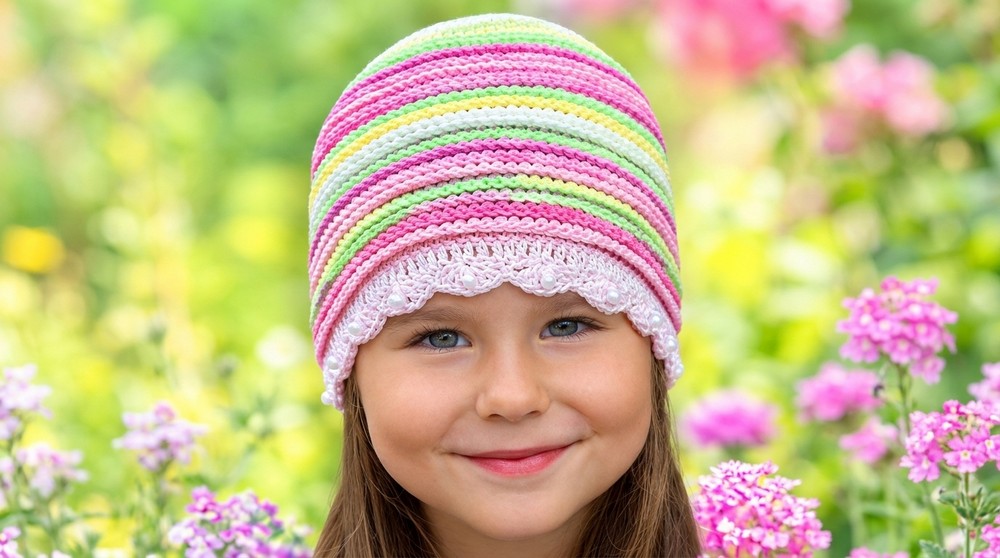
Quick Details
- Hat is worked from top down: crown, body, then trim.
- The crown formation is based on double crochet increases.
- Main body is in alternating front and back post double crochet, worked in revolving rows.
- Decorative edge uses fan clusters with beads.
Important Tips
- Revolving rows avoid a slanted seam and keep stitch pattern vertically aligned.
- Place a marker at row starts for accuracy (not included in transcript, but helpful).
- Beads should be prepared in advance and strung on your yarn if possible for trim.
- Measure crown diameter as you work; for a 51 cm head, finish increasing at approximately 17 cm in diameter.
- Keep tension consistent for professional finish.
- Weave ends securely and fasten off carefully.
Skill Level
Easy to Intermediate. Required skills are magic ring, double crochet, post stitches (fpdc and bpdc), and working in rounds.
Materials
- Yarn for cap (weight and fiber not specified)
- Crochet hook appropriate for yarn
- Beads for trim
- Scissors
- Yarn needle
Measurements
- Crown diameter before shaping body: approx. 17 cm for a 51 cm head circumference
- Total rows for body: 18
- Finished hat will fit an average adult or teen head (based on transcript)
Gauge
Gauge is not specified. Crown should be approx. 17 cm diameter before starting hat body for a 51 cm head fit.
Abbreviations
- ch: chain
- dc: double crochet
- fpdc: front post double crochet
- bpdc: back post double crochet
- sc: single crochet
- sl st: slip stitch
- st(s): stitch(es)
- rnd(s): round(s)
- MR: magic ring
Special Stitches
- Magic Ring: Form yarn loop, work stitches into ring, pull to close.
- Front Post Double Crochet (fpdc): Yarn over, insert hook around front of post, complete dc.
- Back Post Double Crochet (bpdc): Yarn over, insert hook around back of post, complete dc.
- Beaded Fan: Fan of 5 dc, bead placed on the third (center) dc.
Step-by-Step Instructions
The Crown
- Magic Ring:
- Create a magic ring.
- Round 1: Work 14 dc into the magic ring. Pull closed and join with a slip stitch.
- Increase Pattern:
- Round 2:
- Work 2 dc in each stitch around (28 dc total).
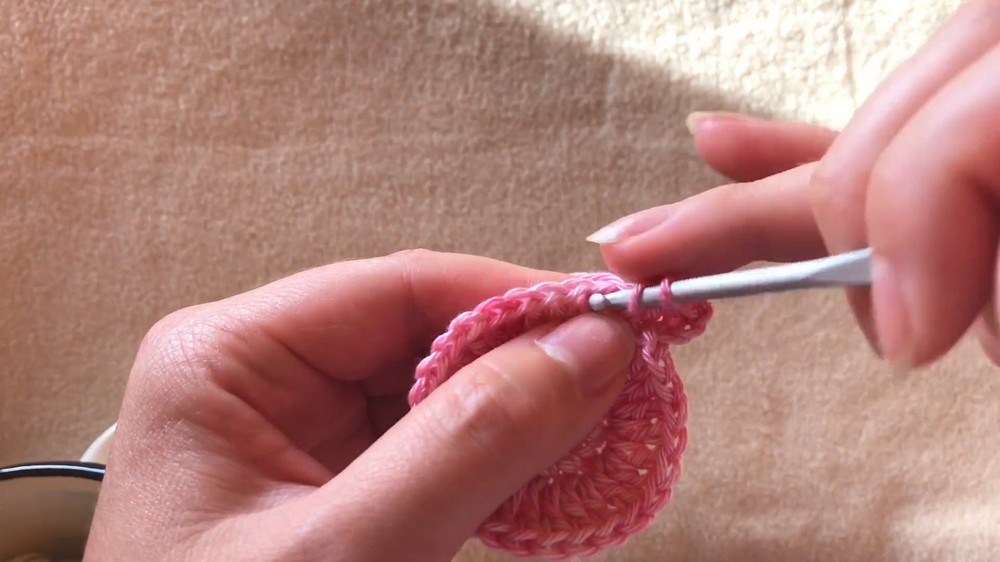
- Work 2 dc in each stitch around (28 dc total).
- Round 3:
- Work 1 dc in first st, 2 dc in next st (increase every 2nd st) around (42 dc total).
- Round 4:
- Work 1 dc in first 2 sts, 2 dc in next st (increase every 3rd st) around (56 dc total).
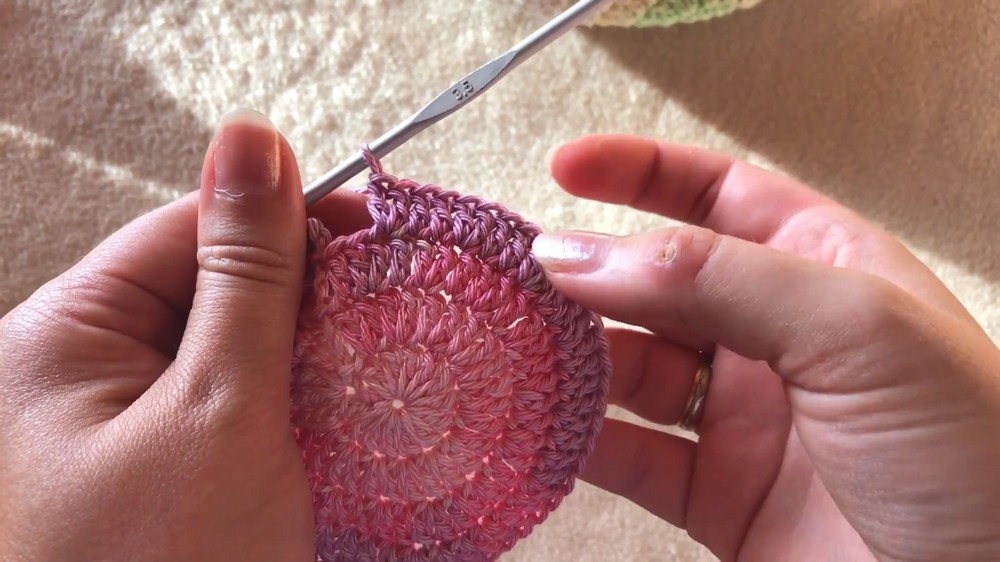
- Work 1 dc in first 2 sts, 2 dc in next st (increase every 3rd st) around (56 dc total).
- Round 5:
- Work 1 dc in next 3 sts, 2 dc in next st (increase every 4th st) around.
- Round 6:
- Work 1 dc in each stitch around (no increases, keep circle flat).
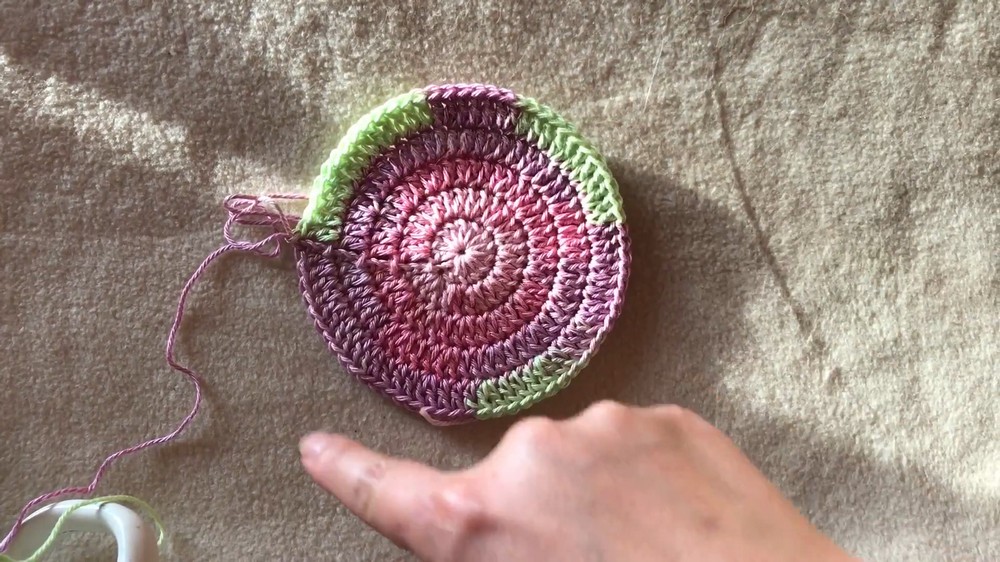
- Work 1 dc in each stitch around (no increases, keep circle flat).
- Rounds 7–8:
- Continue increasing in this pattern (increase every 5th, then 6th, etc., as needed) until crown is approx. 17 cm diameter for a 51 cm head circumference.
- You may need to continue increasing for additional rounds to reach the desired diameter.
- Round 2:
The Main Body
- Begin body after reaching the correct crown diameter.
- Body is worked in revolving rows to keep seam straight.
- Repeat for 18 rows total:
- Alternate between front post double crochet (fpdc) and back post double crochet (bpdc) across the row.
- Row 1:
- Start with a chain 2 or 3 (depending on preferred height).
- Work fpdc in first st, bpdc in next st, alternate to end of round.
- Join with slip stitch. Turn.
- Rows 2–18:
- Work back and forth rather than strictly in spiral to keep stitches vertically aligned. Turn and continue as above.
- Always start new row with a chain.
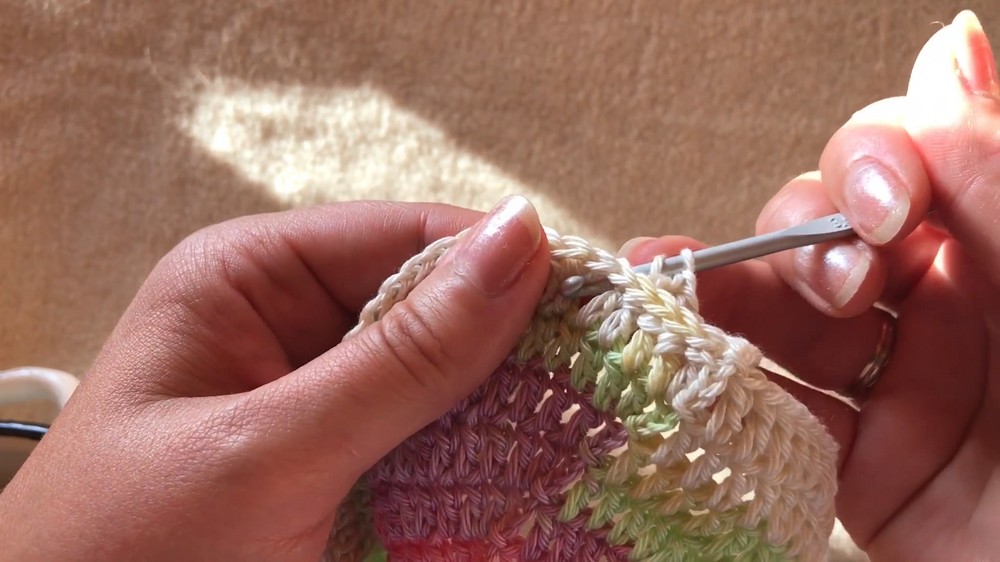
- Continue alternating fpdc and bpdc in each stitch to maintain ribbing effect.
- Complete a total of 18 rows in this post-stitch pattern.
Decorative Trim
- Prep Row:
- At hat base, work one row of standard dc all the way around. Join with slip stitch.
- Beaded Fans:
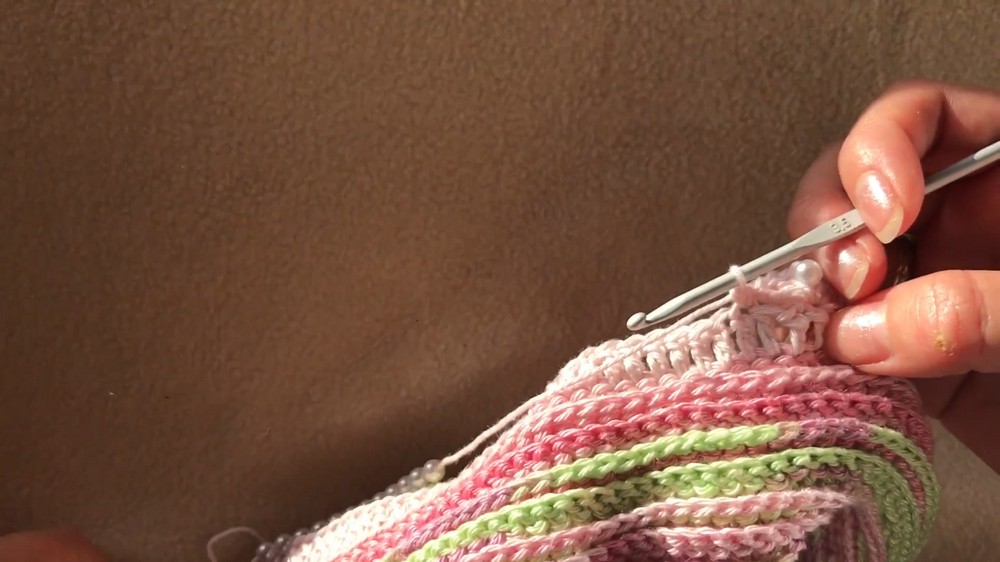
- In every 3rd stitch, work 5 dc fan (with bead in center of fan):
- dc in first st
- dc in second st
- dc with bead in third st
- dc in fourth st
- dc in fifth st
- Skip 2 stitches, then anchor the fan with a single crochet in next stitch.
- Continue this pattern around the hat:
- In every 3rd stitch, work 5 dc with bead at center,
- Skip 2 stitches,
- Single crochet to anchor,
- Repeat to end.
- In every 3rd stitch, work 5 dc with bead at center,
- At completion, slip stitch to join at beginning of trim.
- Fasten off and weave in yarn ends securely.
- In every 3rd stitch, work 5 dc fan (with bead in center of fan):
Assembly
- Weave in all ends with yarn needle.
- Ensure beads are secure, trim edges are neat.
- Shape hat as needed.
Final Notes
Construct this cap with care, paying attention to revolving rows to maintain seam placement and stitch alignment. The magic ring foundation ensures a smooth crown, and alternating post stitches provide texture and stretch for a comfortable fit. The decorative trim and beaded fans add detail and structure to the hat’s edge. Finish neatly, weave in ends, and enjoy your handmade crochet cap.