Feel relaxed with a Free Crochet Shoulder Top Pattern that gives you a light top perfect for warm days simple outfits and everyday use.
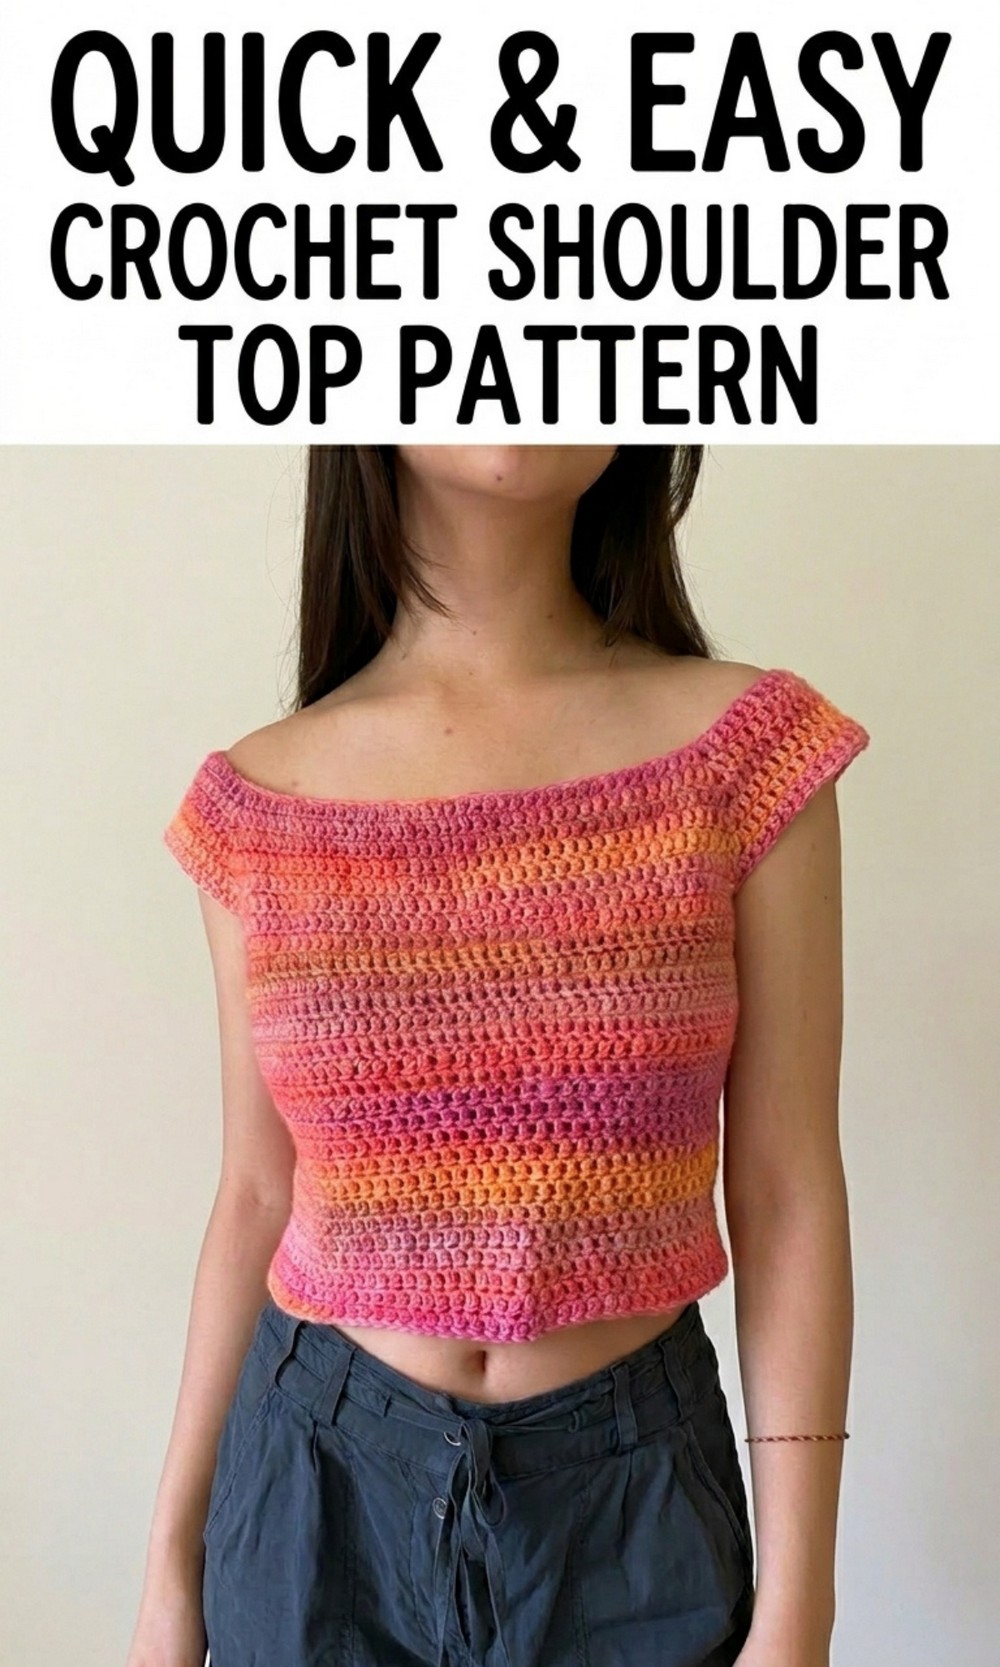
Free Crochet Shoulder Top Pattern for Everyday Relaxed Look
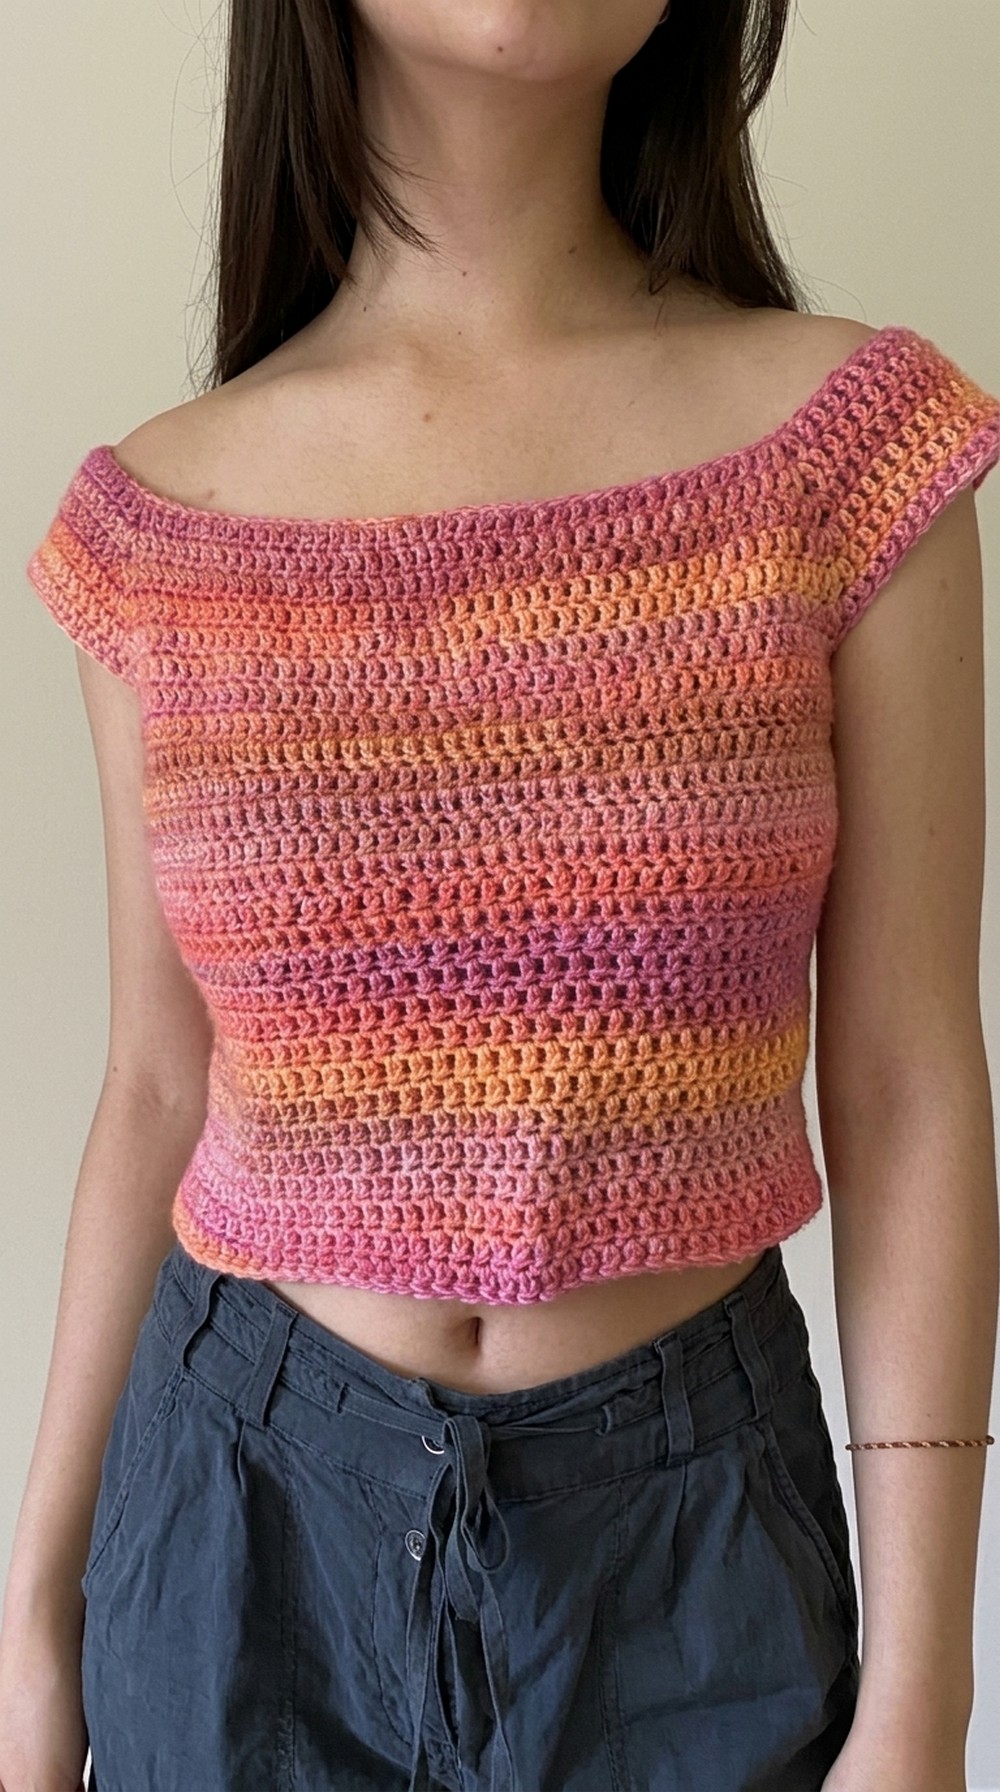
Look stunning this summer with a free crochet shoulder top pattern that’s easy to make and fun to wear. This beautiful top is light, airy, and perfect for warm weather. Whether you’re going to the beach, a casual outing, or just relaxing at home, this top is both fashionable and practical.
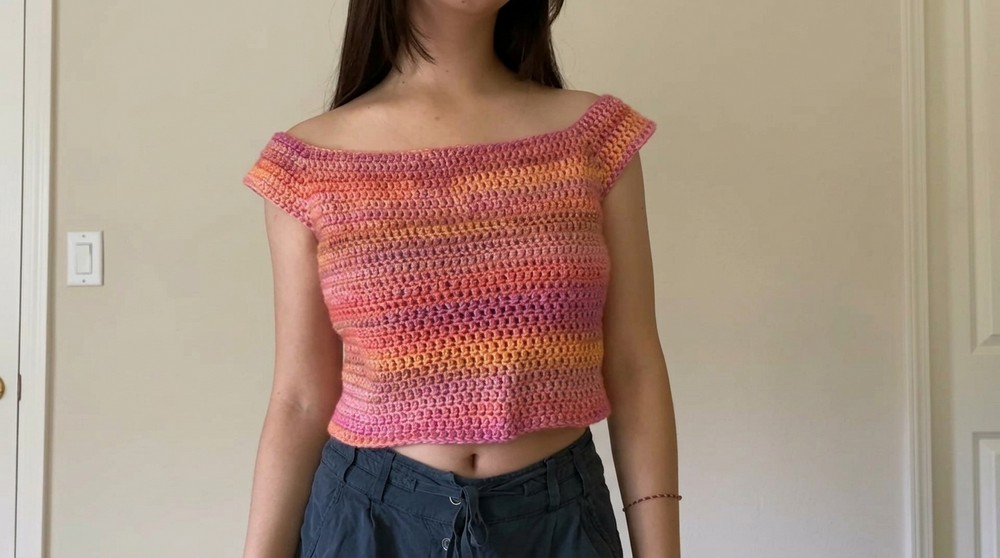
Featuring a unique granny square detail in the center and a trendy off the shoulder boat neckline, it’s the perfect mix of style and comfort. The flowy design makes it cool and breathable, making it ideal for sunny days. This crochet shoulder top isn’t just clothing – it’s a creative way to express your style. Follow the free pattern and create something stunning to wear all summer.
Crochet Shoulder Top Pattern
Materials
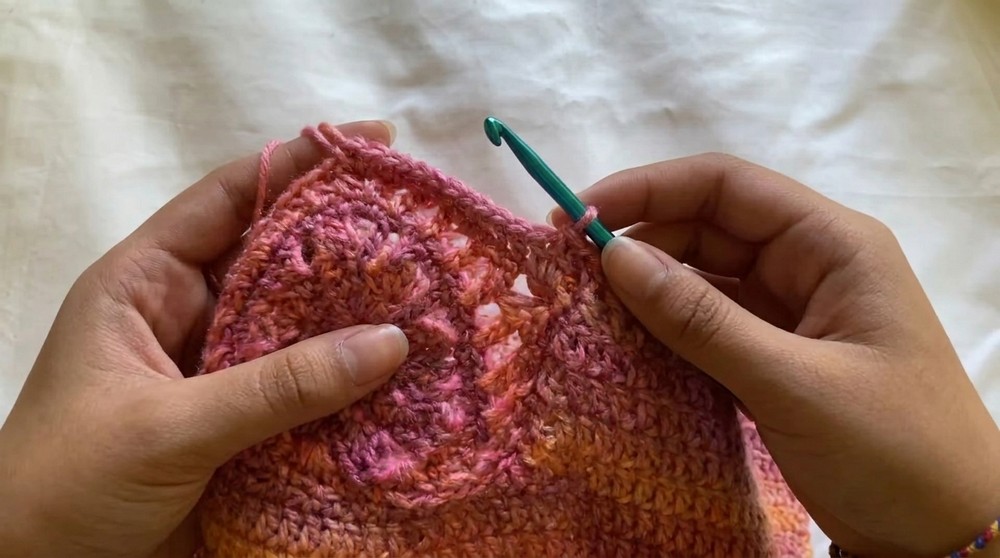
- Yarn: A worsted weight cotton yarn (as used in the video: Caron Blossom Cake yarn from Michael’s).
- Hook: A 5mm crochet hook.
- Stitch markers.
- Scissors.
- Sewing needle or tapestry needle.
Pattern Instructions
Chapter 1: Introduction
- The top features a granny square detail in the front, a boat neck neckline, and off shoulder sleeves.
- It’s airy and flowy for maximum breathability. Adjust the length according to personal preference to make it longer or cropped.
Chapter 2: Prepare the Base
Step 1: Create the Neckline
- Start by creating a slip knot.
- Chain the desired length for your neckline that comfortably wraps around your shoulders. Ensure the chain is in multiples of six.
- Example: If your chain is 120 stitches, fold it in half and check if it fits across your shoulder width.
Step 2: Join the Chain
- Insert the hook into the first stitch of the chain and join it by slip stitching to form a circle.
- Pull the yarn through the loop on your hook.

Chapter 3: Raglan Design
Step 3: Mark Sections
- Divide the neckline into sections for the front, back, and sleeves.
- Count one sixth of your chain length and place a stitch marker at these intervals.
- Example for 120 stitches:
- Front = 40 stitches
- Back = 40 stitches
- Sleeves = 20 stitches each.
Step 4: Begin Stitching
- Chain 2 at the start of each row, then use double crochet stitches until you reach the first marker.
- Remove the stitch marker and into the marked stitch, make:
- 1 double crochet
- Chain 1
- 1 double crochet (this is an increase).
- Continue double crocheting until you reach the next stitch marker. Repeat the increase technique at every marked stitch.
- At the end of the row, slip stitch into the first double crochet.
Step 5: Repeat for Rows
- Repeat this process for six rows, always maintaining the increases at the markers.
- Make sure to slip stitch at the end of every row and chain two at the beginning of each new row.
Chapter 4: Sectioning the Sleeves
Step 6: Create Sleeves
- Start a new row as usual with chain 2.
- Double crochet until you reach the chain space at the marker.
- In the chain space, double crochet once, then chain the number of stitches that fits around your arm. This chain connects the increase points for the sleeves.
- Example: If 10 chains fit comfortably around your arm, use that length.
- Skip the sleeve section and directly double crochet into the next chain space on the other side.
Step 7: Continue
- Repeat the process for the second sleeve, chaining the same number as before to maintain symmetry.
- Continue double crocheting until you return to your starting point. Slip stitch to complete the row.
Step 8: Tube Formation
- If you prefer leaving out the granny square detail, simply continue in rows of double crochet to form a plain tube that will act as the body of your top.
Chapter 5: Adding the Granny Square Detail
Step 9: Granny Square
- Create a granny square by following any granny square tutorial (the referenced tutorial link is in the video description but is not transcribed here).
- Make sure the square fits into the allocated space at the front of your top.
Step 10: Position the Granny Square
- Count the number of stitches at the top side of the granny square (e.g., 19 stitches).
- Measure the remaining stitches on the front, subtract the granny square count, and divide evenly to leave appropriate space on either side.
- Example: If the top has 53 stitches at the front and the granny square takes 19, the remaining 34 stitches are split equally: 17 stitches on each side.
Step 11: Sew the Granny Square
- To sew the granny square into place:
- Take a long piece of yarn and use it to stitch the square into the top using a tapestry needle.
- Sew carefully around each edge of the granny square, ensuring a neat and secure fit.
Chapter 6: Finalizing the Body
Step 12: Adjust Fitting
- Optionally, make your top fitted by creating decreases:
- Perform five double crochet stitches, then make a decrease in the sixth stitch. Work this across the row.
- Alternate decrease rows and normal double crochet rows until the top fits your preferred width. Ensure the reduced width is still comfortable to wear.
Step 13: Extend Length
- Continue making rows of double crochet until the top reaches your desired length. Avoid decreases in this phase.
- Make a slip stitch and chain two when ending the final row. Cut the yarn.

Finishing the Top
Step 14: Final Touches
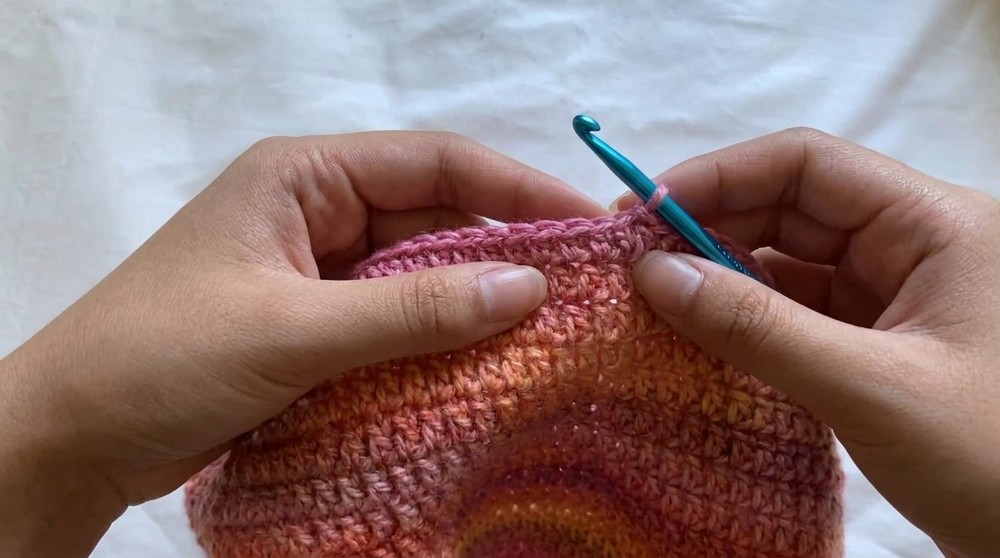
- Weave in all loose ends with a tapestry needle for a clean and polished finish.
- Ensure all stitch connections (especially near the granny square and sleeve sections) are secure.
Final Words & Tips
The Sage Top is versatile, either as a plain design or with the granny square detail. It offers flowy comfort while elevating your summer wardrobe. To maintain the top:
- Blocking: After completing, lightly block the top to align stitches and enhance its drape.
- Care: Hand wash or use gentle machine settings to avoid stretching the yarn.
- Adjustability: Experiment with sleeve and body length to suit your preferences.