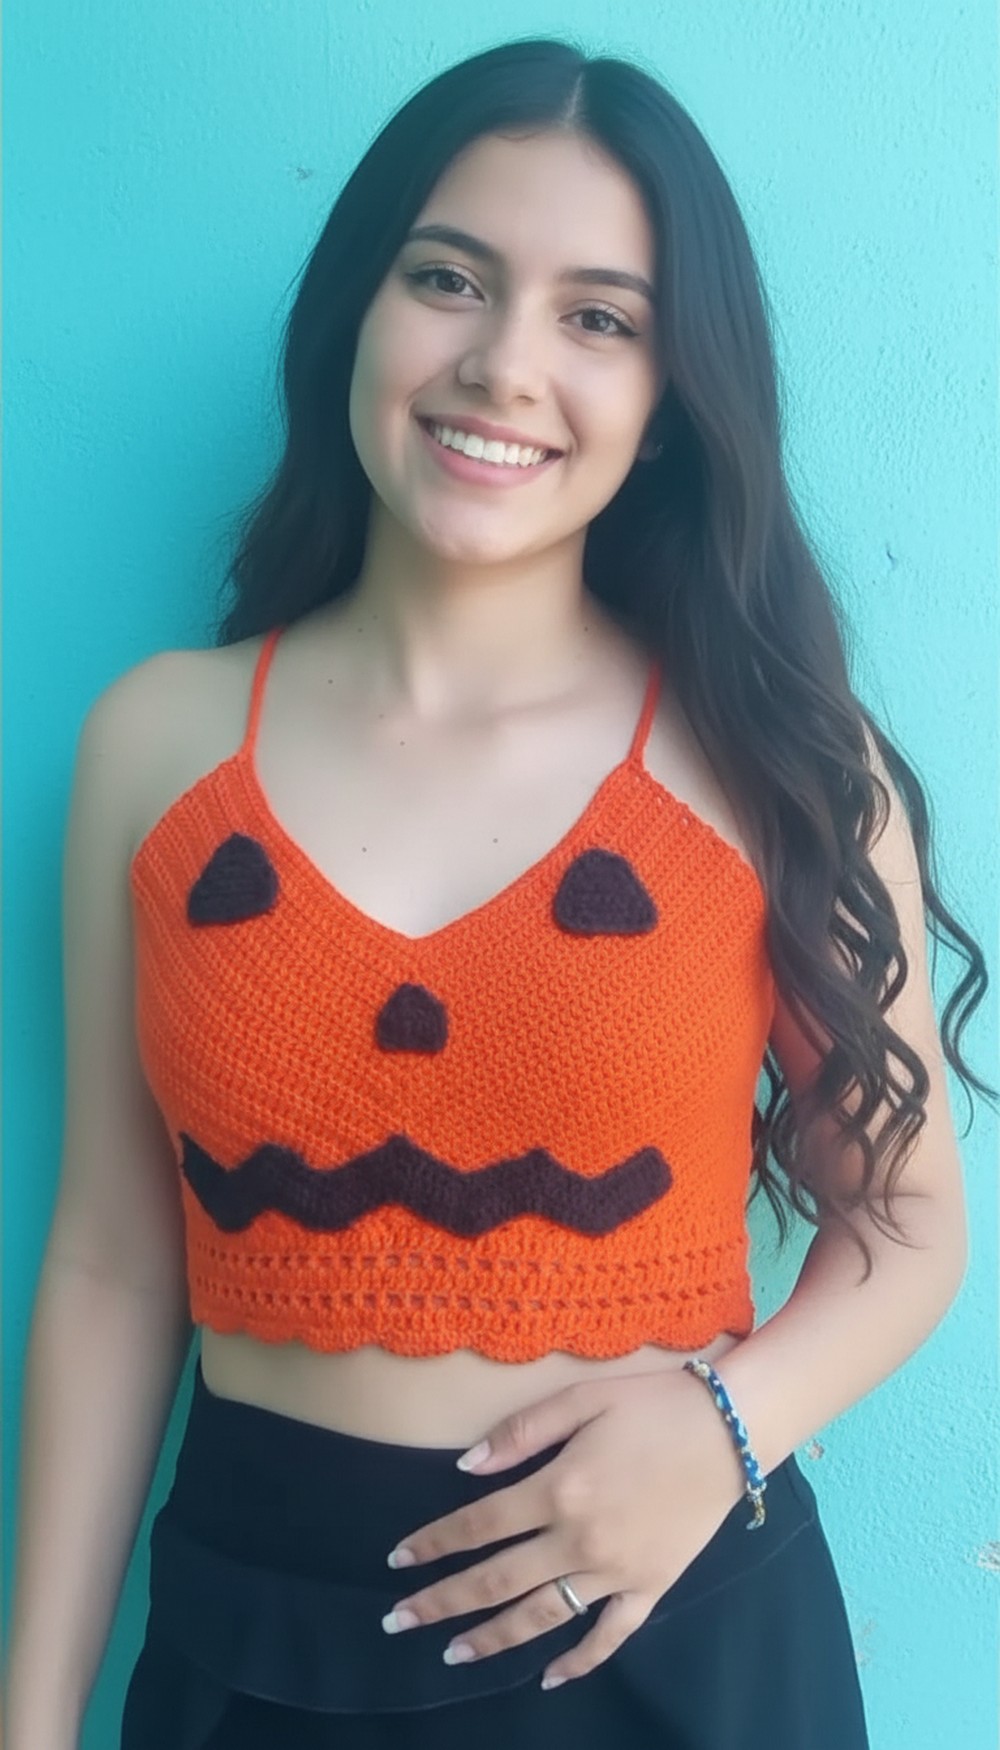
Hook this Free Crochet Halloween Top Pattern to design a soft, spooky shirt that brings a huge burst of festive magic to your holiday style.
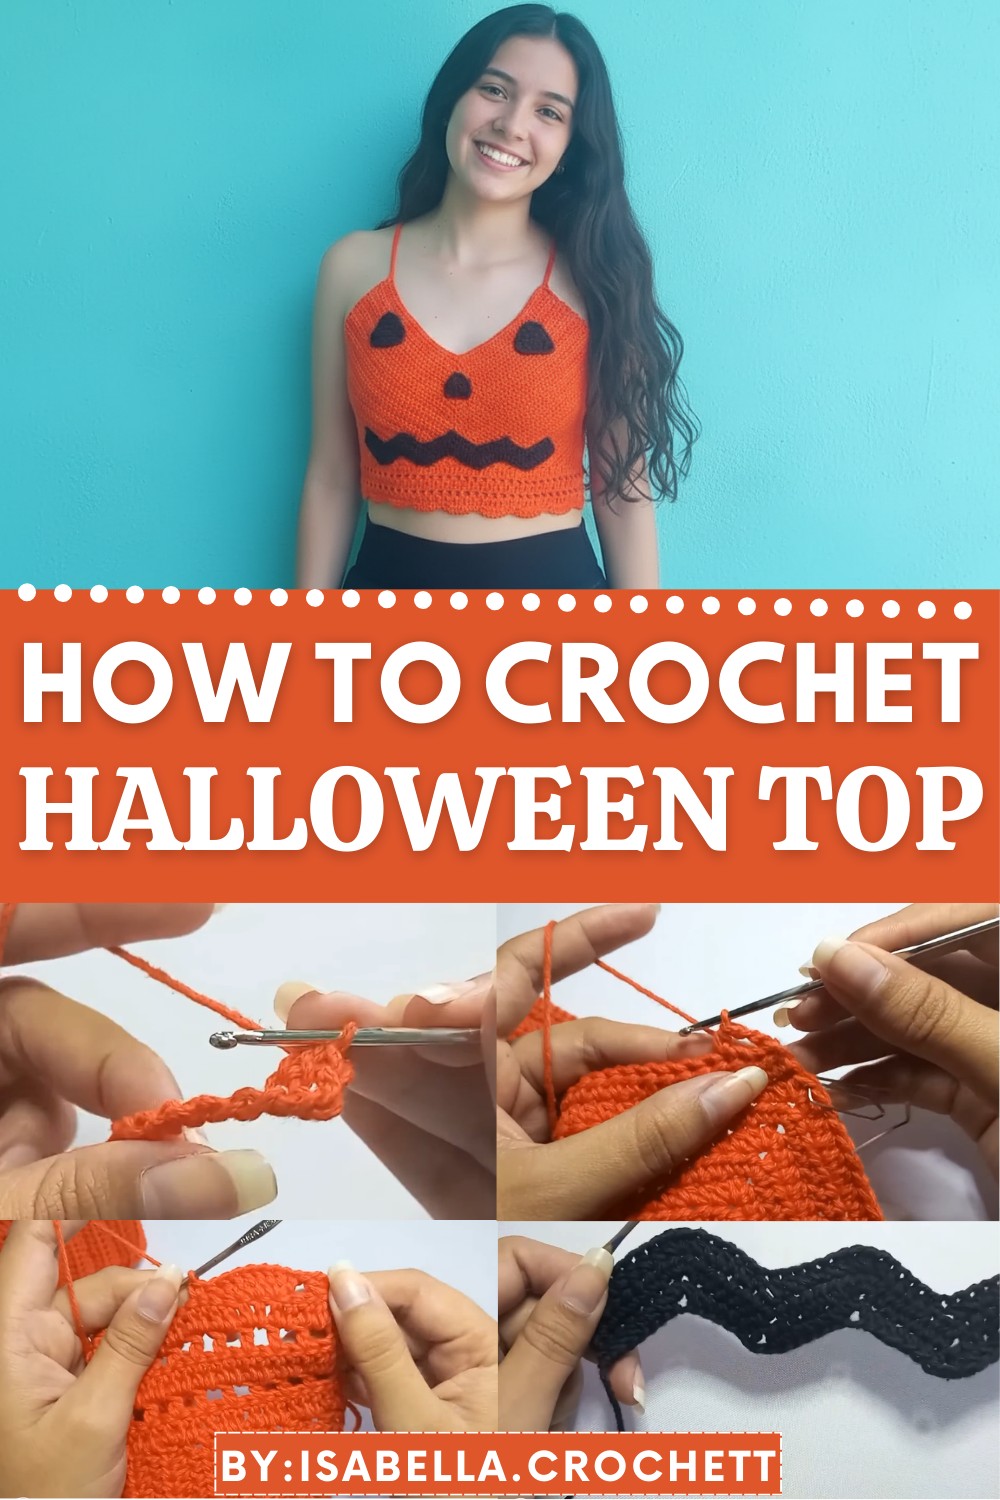
Fun Free Crochet Halloween Top Pattern to Complete Your Halloween Look
Wrap yourself in fun and festive vibes with the Free Crochet Halloween Top Pattern, a great choice for Halloween parties, school events, or casual fall days. This handmade top is easy to make, even for beginners, and gives you a unique pumpkin inspired design to stand out.
It features a stylish V shaped neckline and can be customized with details like a pumpkin face or left simple for a more classic style. The stuff is soft, cozy, and adjustable, making it comfortable for all day wear. The bottom edge has a beautiful fan like pattern that gives it an elegant and festive look.
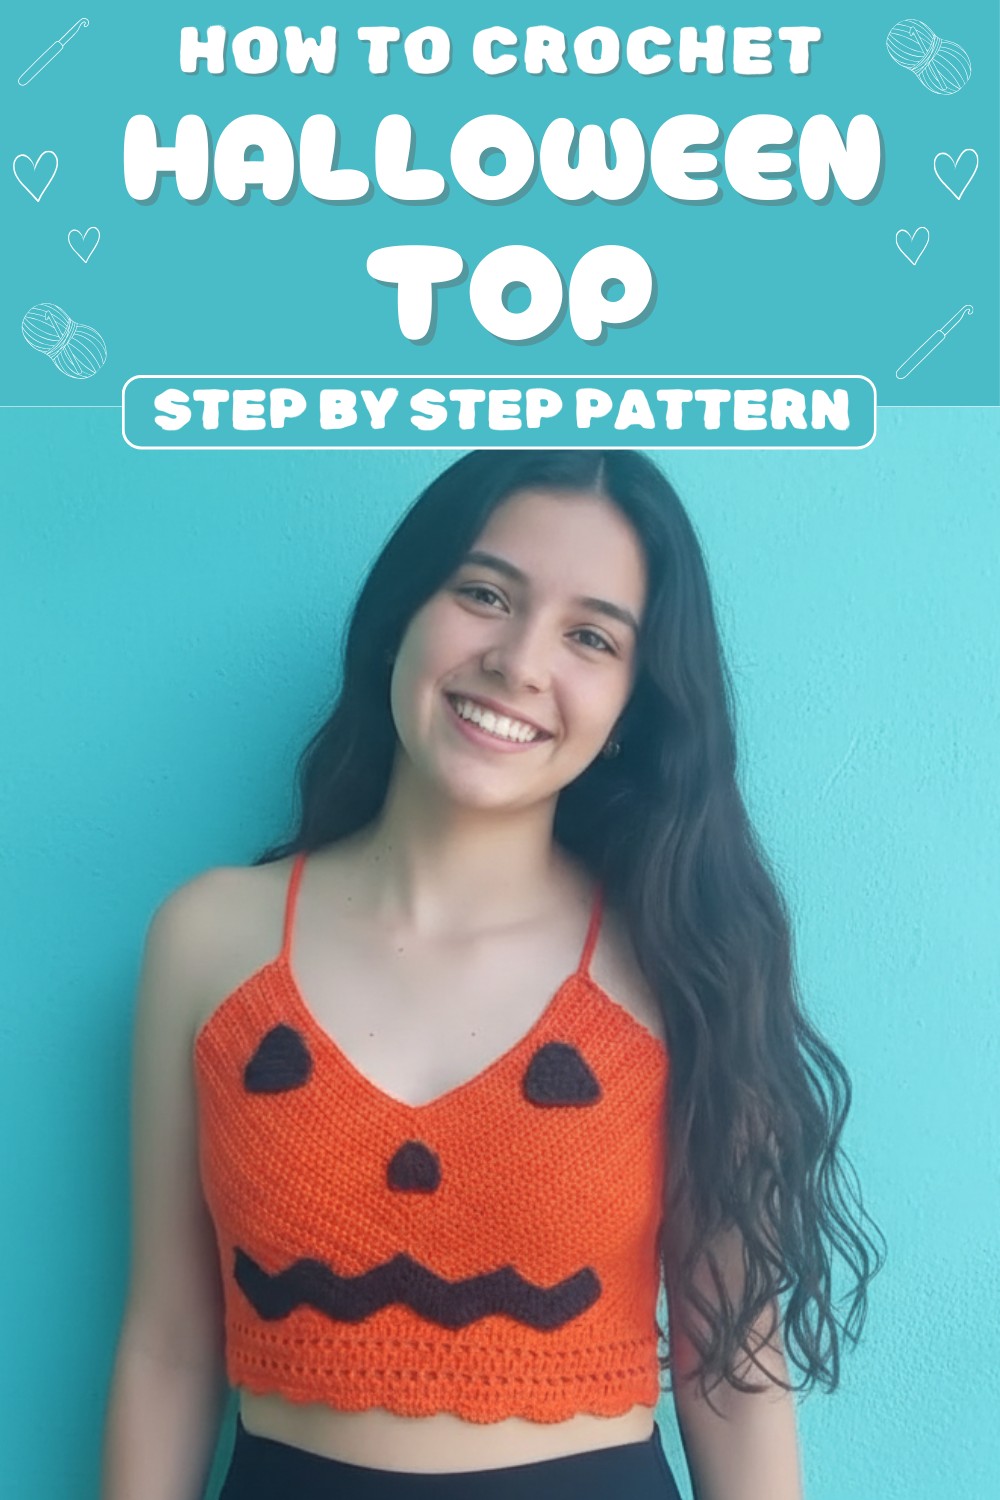
Whether it’s for yourself or as a thoughtful gift, this crochet top is a perfect way to add some Halloween charm to your wardrobe.
Free Crochet Halloween Top Pattern
Materials Needed
- Yarn: Medium weight yarn in pumpkin orange or your choice of color. You may also need black yarn for the face details (eyes, nose, and mouth).
- Crochet Hook: Size suitable for your chosen yarn (typically 4.0mm or 5.0mm).
- Stitch Markers: A few stitch markers to mark key points in the pattern.
- Tapestry Needle: For weaving in the ends and attaching the face details.
- Scissors: To cut yarn.
Pattern Techniques
- Slip Knot: Used to start your project.
- Chain Stitch (ch): For starting rows and creating straps.
- Half Double Crochet (hdc): The primary stitch in this project, creating a sturdy and textured fabric.
- Single Crochet (sc): Used for decorative edges and finer details.
- Slip Stitch (sl st): For joining rounds and creating neat edges.
- Double Crochet (dc): For the base and decorative borders.
Pumpkin Top Pattern
1. Creating the Base of the Top
- Start with a slip knot and create a foundation chain long enough to measure 13cm, or desired neckline width.
- Example: Chain a series until 13cm is achieved and then add 1 more chain.
- Add a marker in the last chain of the 13cm section and continue chaining the same number of stitches for the other side to create symmetry.
- Example: If 20 chains took up 13cm, create another section of 20 chains after the marker.
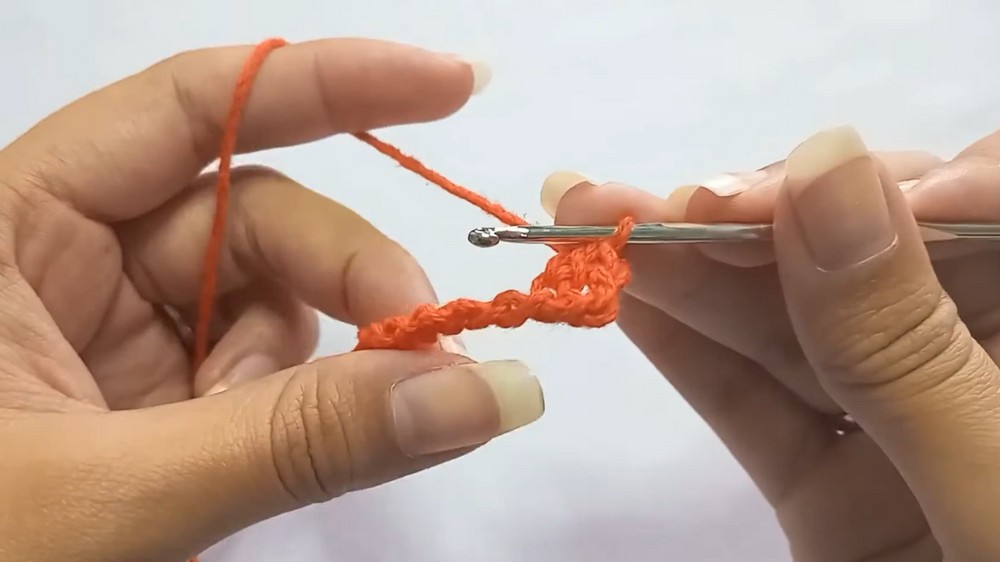
- Example: If 20 chains took up 13cm, create another section of 20 chains after the marker.
2. Body of the Top
- Add a chain for height and turn your work. In the third chain from the hook, start working half-double crochets (hdc).
- Work hdcs evenly across until the stitch marker.
- Remove the marker when reached, and make 3 hdc in the same stitch (this creates an increase to form the ‘V’ neckline).
- Place the marker back in the middle hdc of the increase to keep track of the center stitch.
- Continue working hdcs down the other side until you complete the row.
- Ensure your half double crochets before and after the increase are equal.
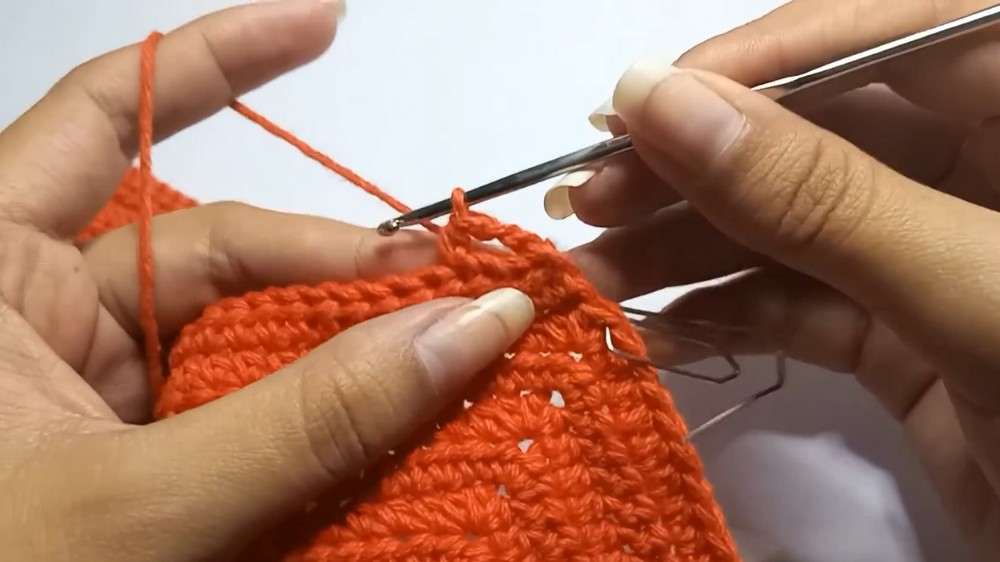
- Ensure your half double crochets before and after the increase are equal.
- At the end of every row:
- Chain 2, turn your work, and skip the first stitch as it corresponds to the turning chain, and continue working hdcs.
- Repeat the pattern, ensuring increases at the marker point for the V neck, until you reach the desired length of the top.
- Suggested length for the top: measure from shoulders to just under the bust. Standard measurements provided in the video are:
- Small: 13cm
- Medium: 15cm
- Large: 17cm
- Side Decreases for the Straps:
- To create the straps, decrease at the start of each row for a straight edge. Skip the first two stitches in every row along the bottom edge and continue with hdc until the section measures 8cm along the decreased part.
- Repeat the same steps for both sides to form the armholes.
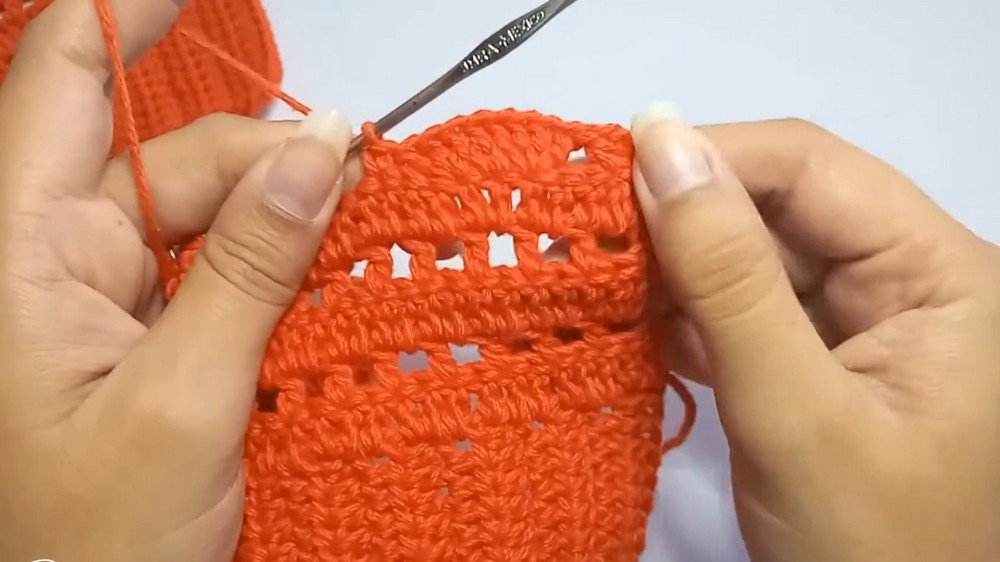
3. Decorative Hemline
- Begin double crochet (dc) stitches at the base of the top. Work one row of dcs around the entire base, adding extra stitches in wide spaces as needed to ensure an even stitch count.
- For the next row, create a pattern of lattice or squares:
- Chain 1, skip 1 stitch, dc in the next stitch. Repeat this sequence for the entire row.
- Continue alternating rows of dc and lattice design until you reach your desired length.
- Fan Stitch Border (Optional Decorative Edge):
- Work 3 double crochets in the same stitch, followed by 2 double crochets in the next stitch. Continue with 3 dcs together in the next stitch, skip 2 stitches, and work a single crochet to secure the fan. Repeat.
- Work 3 double crochets in the same stitch, followed by 2 double crochets in the next stitch. Continue with 3 dcs together in the next stitch, skip 2 stitches, and work a single crochet to secure the fan. Repeat.
4. Adding Details
- Mouth Shape
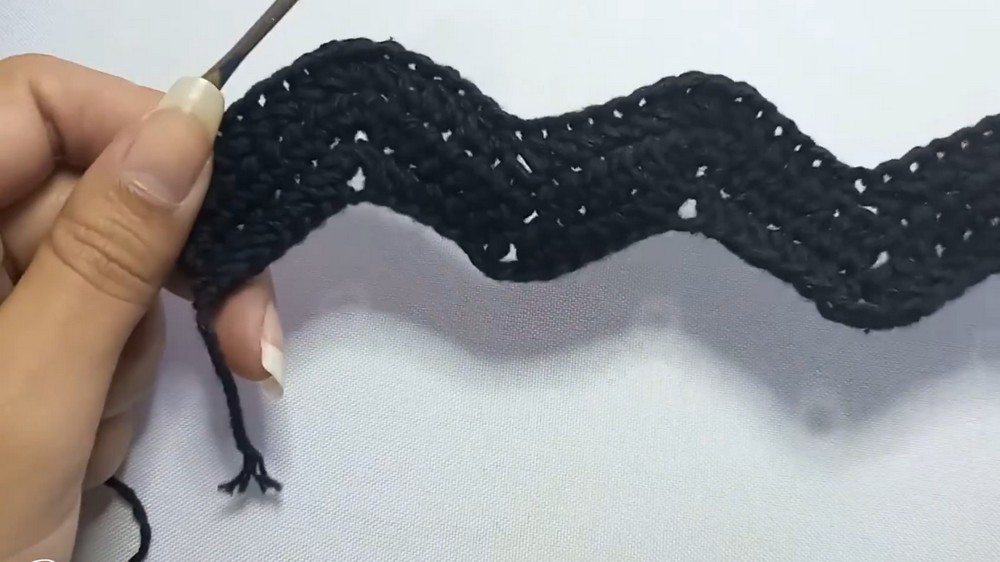
- Create a slip knot and then chain 59 stitches.
- Work rows of half double crochets (hdc) to shape the mouth. Follow increases and decreases to create peaks for the mouth corners. At the end of each peak, work 3 half double crochets in one stitch to shape the curve.
- Continue for multiple rows until the desired shape is formed.
- Nose and Eyes
- For the Nose: Chain 5 and start decreasing at the side edges to form a triangle shape.
- For the Eyes: Start with 8 chains and follow the same steps as the nose but make it larger with an increased foundation row.
- Finish the pieces (nose, mouth, and eyes) with a round of single crochet stitches to give a neat edge.
5. Assembling the Top
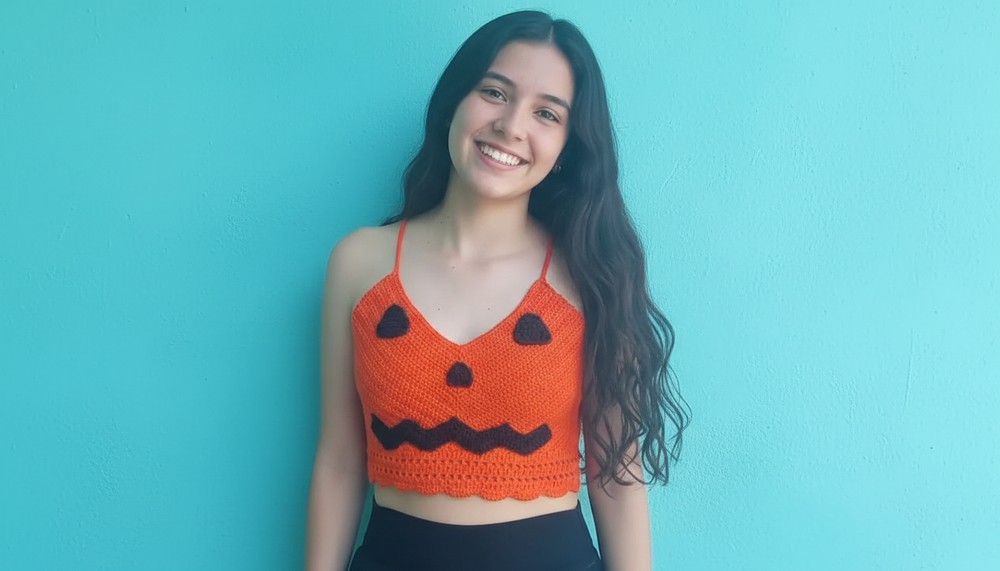
- Position the completed details (mouth, eyes, nose) onto the crochet top using a tapestry needle.
- Place the nose in the center approximately 3 rows down from the neckline.
- Align the eyes over the nose symmetrically with equal spacing on both sides.
- Ensure the mouth is centered at the bottom of the design.
- Thread and attach each piece by stitching around the edges securely.
- Weave in all loose ends carefully into the fabric.
Finishing
- Straps:
- Create straps using slip knots and chains to achieve desired length for tying or crossing. Chain for 1m to 1.5m for each strap depending on your desired fit.
- Work a row of slip stitches back along the chain to create a thick strap and attach securely to the top’s back edges.
- Final Touches:
- Block your work if necessary to stretch and shape it perfectly.
- Inspect for any loose threads or uneven sections and trim accordingly.
Final Words & Tips
- Customization: Feel free to adjust the top size and features like neckline length, strap width, or decorative borders. You can leave out the face details for a minimalist look or add other decorative elements.
- Care Instructions: Handwash in cold water with a gentle detergent to maintain shape and color. Lay flat to dry.
- Enhancements: Add ribbons, beads, or small accents to elevate the design further.
- Skill Level: This pattern is beginner friendly and introduces fun techniques, perfect for building crochet confidence.
Enjoy wearing or gifting your handmade Pumpkin Top, and let its festive charm brighten up Halloween or any occasion.