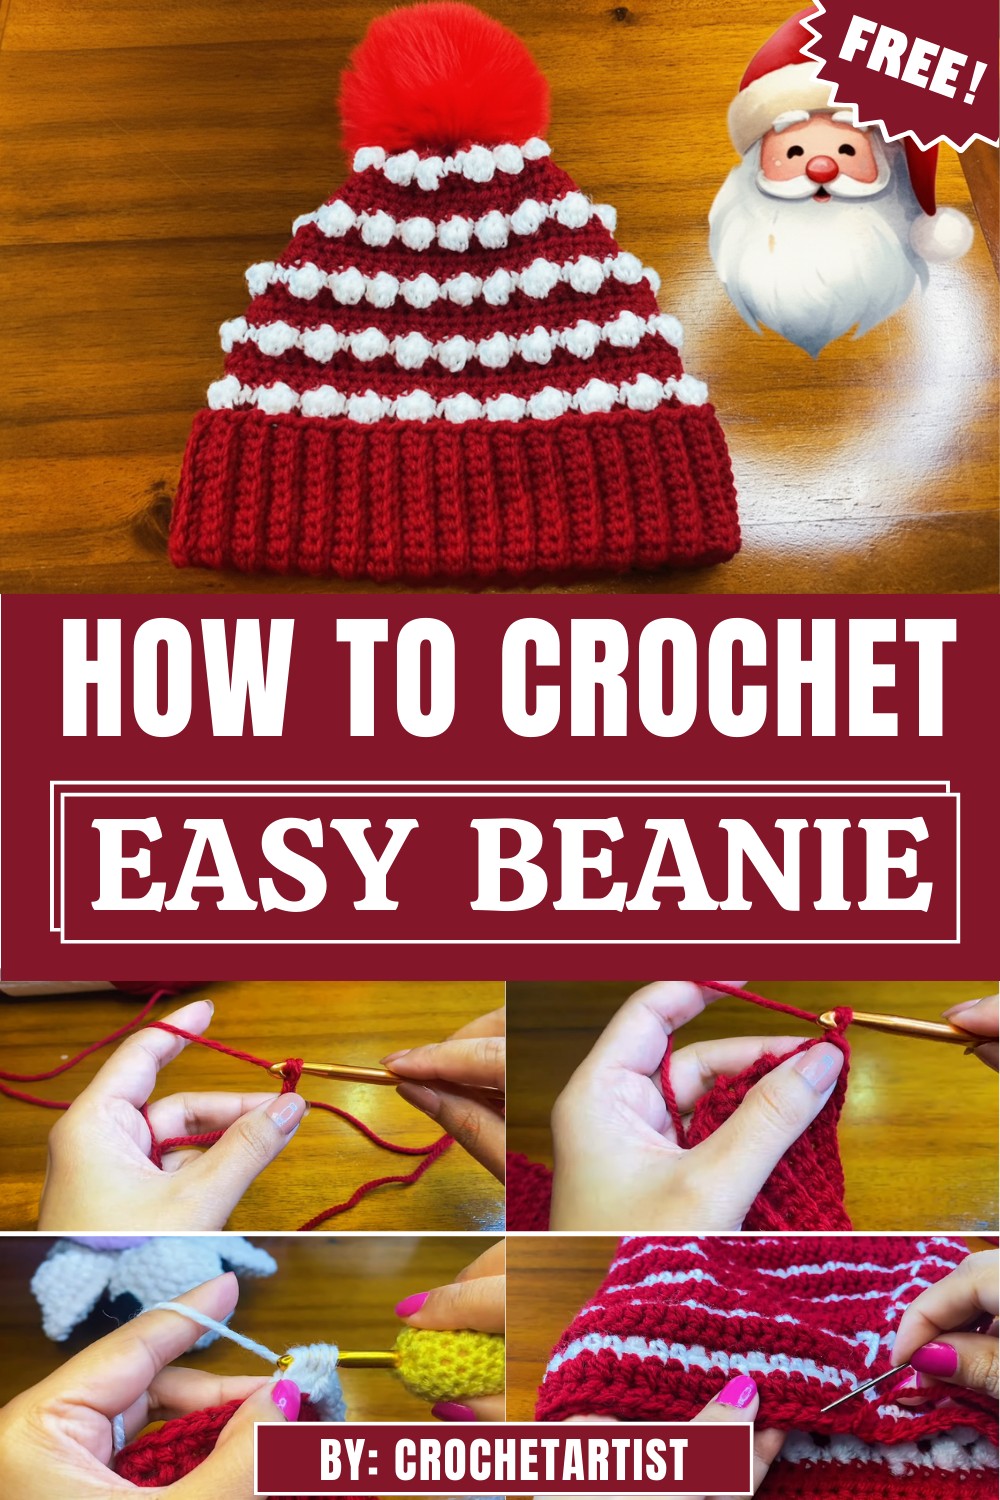
Celebrate festive style with Crochet Christmas Beanie Pattern, adding cozy, cheerful, and playful charm to your holiday outfits with ease.
Bright, warm, and full of seasonal charm, this beanie brings a festive touch to winter days while keeping you comfortably cozy. Its cheerful appearance makes it a wonderful choice for holiday gatherings, outdoor activities, and heartfelt handmade gifts. The Crochet Christmas Beanie Pattern offers a joyful blend of color and comfort, creating a winter accessory that stands out with its spirited look.
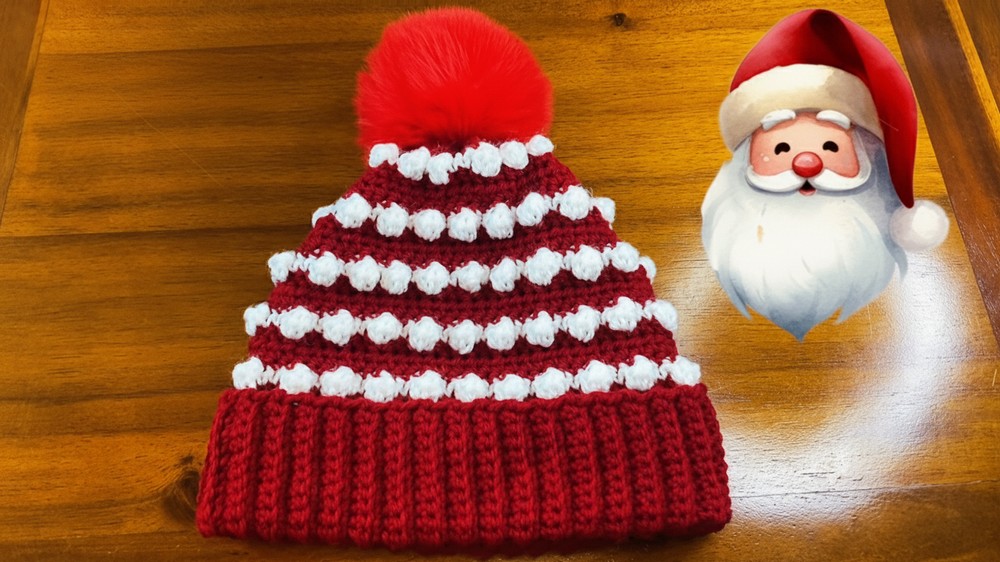
Cute Crochet Christmas Beanie Pattern Full of Holiday Fun
Shaped with a smooth, easy-to-wear fit, the pattern allows the festive theme to shine through without feeling overwhelming. The Crochet Christmas Beanie Pattern balances simplicity with playful detail, giving you a project that is enjoyable to make while still resulting in a beautifully finished piece. Its thoughtful structure provides gentle stretch and warmth, and optional accents—like color stripes, holiday motifs, or a classic pom-pom—let you personalize the design to match your seasonal style.
From traditional holiday tones to soft winter pastels, this beanie can be customized to suit any festive mood. Whether you choose rich reds, snow whites, or metallic hints, the final look feels both stylish and celebratory. The Crochet Christmas Beanie Pattern encourages creativity while delivering a polished accessory perfect for gifting or wearing throughout the season. It’s a delightful way to add joy, comfort, and holiday spirit to your winter wardrobe.
Step-by-Step Details
Step 1: Gather Your Materials
Before starting, make sure you have the necessary materials:
- Yarn: Aran yarn is used in the tutorial, but you can choose a yarn thickness that suits your preference. Red and white yarn colors were used for a Christmas theme.
- Crochet Hook: A 6 mm crochet hook is used, though the instructor suggests varying the hook size if required.
- Scissors: For trimming yarn when necessary.
- Yarn Needle: To seam the beanie and close the top.
- Pom-Pom (optional): For adding a decorative element at the top.
Step 2: Make the Slip Knot and Chain
- Create a slip knot by wrapping the yarn around your fingers. Insert the hook, pull through, and secure the loop.
- Chain 17 stitches by yarning over your hook, inserting it through the loop, and pulling the thread through. Repeat the process until you have 17 chains, which will form the base of your beanie.

Step 3: Begin the First Row (Single Crochet)
- Skip the first chain and single crochet into the second chain from the hook.
- To make a single crochet: Insert the hook into the chain, yarn over, pull through the chain, yarn over again, and pull through both loops on your hook.
- Continue working one single crochet into each stitch across the chain. By the end of the row, you should have 16 stitches.
- Once the row is complete, chain one, turn your work, and move to the next row.
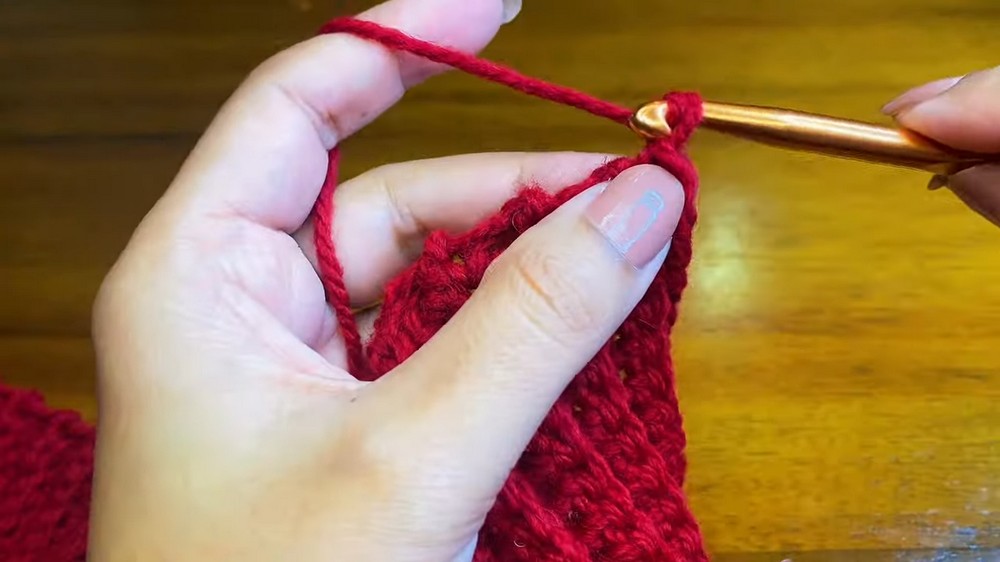
4: Work the Ribbed Band (Rows 2–69)
- For the second row, work one single crochet into each stitch again, but only into the back loops.
- Insert the hook into the back loop only (instead of the full stitch), yarn over, and complete the single crochet.
- At the end of the row, chain one, turn your work, and repeat the back loop single crochet stitching for all rows.
- Repeat this pattern for 69 rows to create the ribbed band. The instructor notes that you can adjust the number of rows to fit your head size but ensure the total is a multiple of 3.
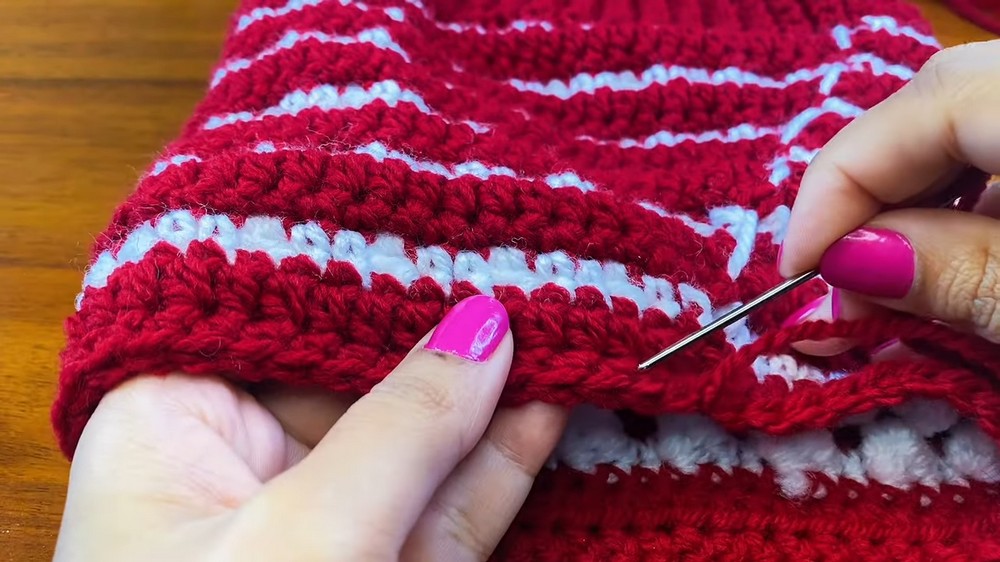
5: Seam the Band Shut
- After completing the rows, leave a long tail of yarn, approximately twice the length of the band.
- Use the yarn needle to sew the two edges of the ribbed band together.
- Seam the ends by stitching back and forth underneath each stitch, ensuring it is firmly secured.
- Once the band is seamed, you can weave in the tail or leave it for the next step.
6: Start the Body of the Beanie (Rounds)
- Start by inserting your hook anywhere along the seam of the band and pull up the yarn. Chain one (note: the chain does not count as a stitch).
- Work one single crochet into each row around the band. Since you made 69 rows to create the band, you should end up with 69 single crochets at the end of the round.
- When you reach the last stitch, slip stitch into the first single crochet to complete the round.

7: Add the Puff Stitch Pattern
- Switch to the white yarn by dropping the red yarn at the end of the previous round. Add the white yarn to the slip stitch at the start of the round.
- Chain one (this does not count as a stitch). Make one single crochet into the first stitch.
- To create a puff stitch:
- Yarn over, insert the hook into the next stitch, yarn over, and pull through.
- You should have three loops on the hook; yarn over again and pull through two loops.
- Repeat the process two more times until there are four loops remaining on the hook.
- Yarn over and pull through all four loops.
- Make a puff stitch into the next stitch, then two single crochets into the next two stitches. Repeat this pattern (puff stitch, then two single crochets) all the way around.
- At the end of the round, drop the white yarn and pick up the red yarn again for the next round.
8: Repeat Pattern for Body Height
- The beanie’s body consists of repeating four rounds:
a. Puff Stitch Round
b. Single Crochet Round
c. Half-Double Crochet Round
d. Single Crochet Round - Continue repeating these rounds for as long as you want until your beanie reaches approximately 12 inches in height, or your desired size.
9: Close the Top of the Beanie
- Once you’re satisfied with the height, cut the yarn, leaving a long tail equivalent to twice the circumference of the top of the beanie.
- Use the yarn needle and work the tail through every other stitch around the last row, creating large loose stitches.
- Pull the yarn tight to gather and close the top. Make sure there are no visible gaps by stitching securely and weaving in the ends.
10: Add the Pom-Pom (Optional)
- If you want to decorate the beanie, attach a pom-pom to the top:
- Thread the pom-pom’s strings through the opening at the top of the beanie.
- Tie the strings securely in place with the yarn tail.
Special Features
- Festive Design: The combination of red and white yarn, puff stitches, and optional pom-pom makes the beanie perfect for Christmas or other holiday occasions.
- Customizable: You can adjust the size, colors, and puff stitch placement to make the beanie suitable for any season or preference.
- Texture and Comfort: The ribbed band offers stretchiness, while the puff stitches add texture and warmth.
Level of Difficulty
- Beginner to Intermediate: This project is suitable for beginners familiar with basic crochet stitches (like single, half-double, and chain) and willing to learn puff stitches. The tutor provides clear instructions, making it easy for those willing to follow along closely.
Tutor’s Suggestions
- Yarn Selection: Use soft Aran yarn for warmth and a neat finish. If your chosen yarn is thicker, adjust your hook size accordingly.
- Tension Consistency: Keep your crochet tension even, especially when switching between stitches or colors, to avoid uneven rows.
- Adjust the Band Size: To ensure the perfect fit, adjust the number of rows in the band but keep the total count a multiple of three.
- Use Stitch Markers: If desired, use a stitch marker to indicate the beginning of each round, making it easier to track your rounds.
Uses
- Winter Accessory: The beanie is perfect for staying warm during cold weather.
- Christmas Gift: Its festive colors and cozy look make it an excellent handmade gift for the holidays.
- Stylish Item: Pair it with a casual outfit or outdoor wear to add charm to your look.
- Market Item: Great for selling as part of seasonal craft markets.
Tip
When adding the pom-pom, ensure you tie it securely but leave enough yarn to adjust or remove it later if needed. This way, you can change the decoration as your style evolves!
Conclusion
This pattern provides clear instructions to create a stylish and festive Christmas beanie using simple crochet techniques. The ribbed band, puff stitch pattern, and color changes make it a unique and customizable project. Whether for personal use, as a gift, or even to sell, this beanie is a versatile and rewarding project for crafters of all skill levels.