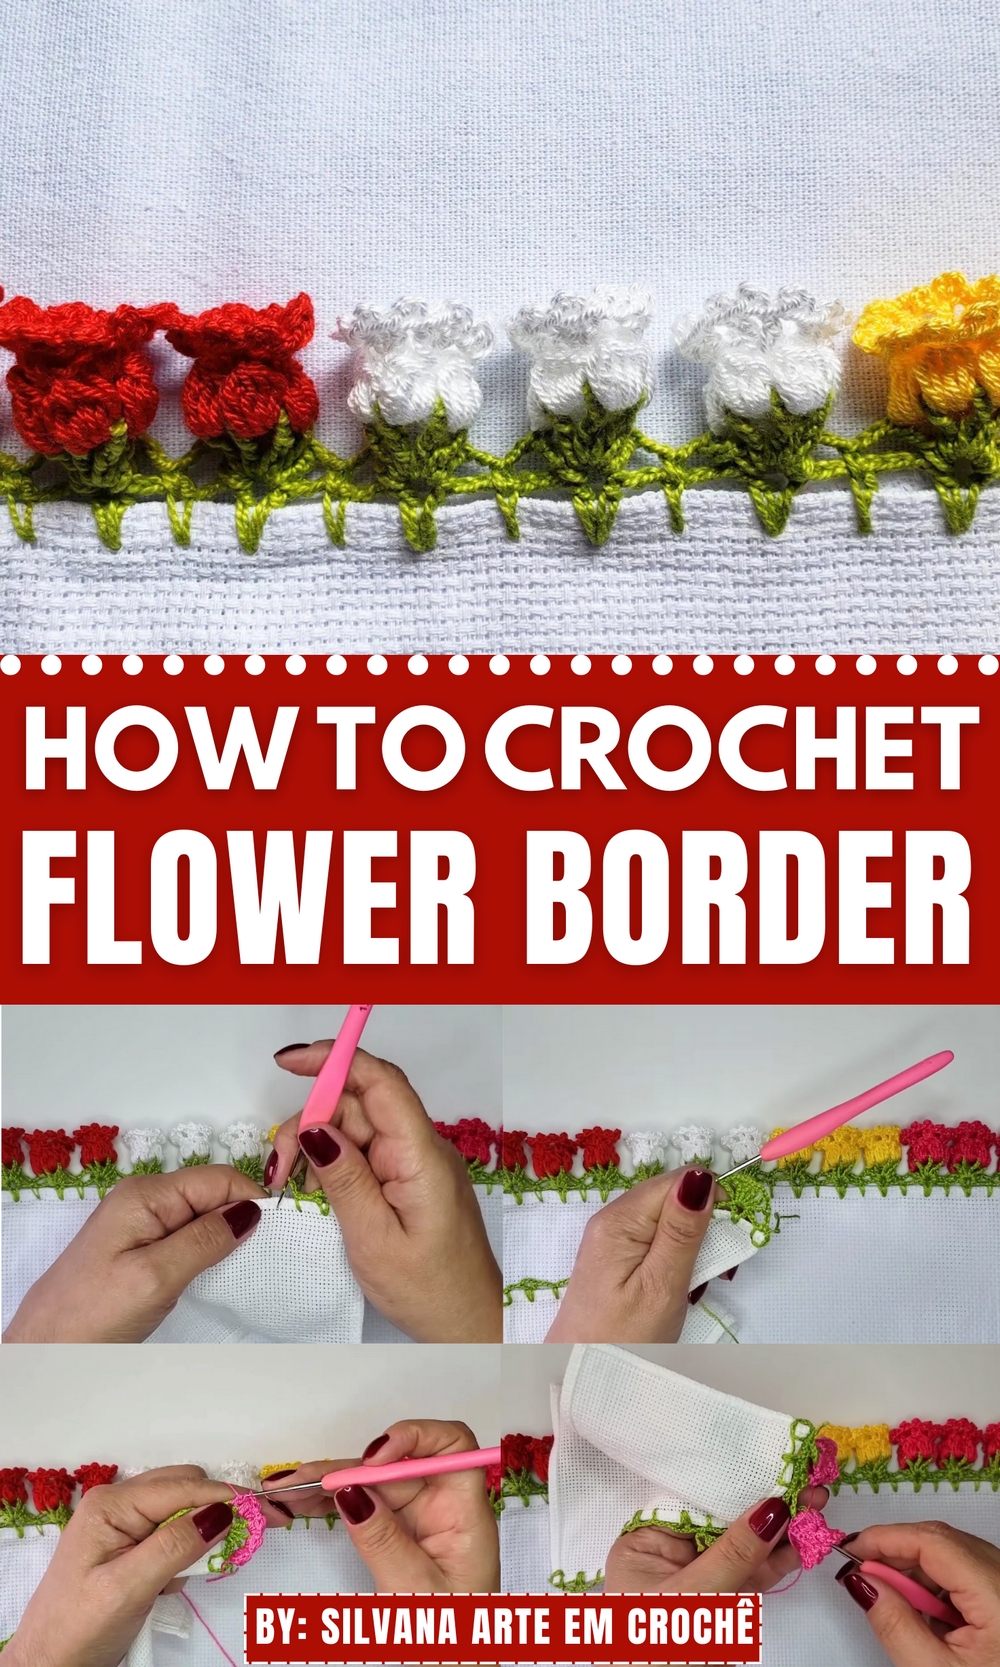
Freshen up your dishcloths with this Free Crochet Flower Border Pattern that adds charm, durability, and a polished finish to every edge you stitch.
One afternoon in a cozy kitchen, a plain dishcloth caught a grandmother’s eye. With leftover yarn and a little time, she added a row of tiny flowers to its edge. What was once ordinary became her favorite cloth—used not just for wiping but admired for its charm. That simple touch made it feel personal, cheerful, and worth using again and again. This Free Crochet Flower Border Pattern offers that same timeless enhancement. Meant specifically for dishcloths, it gives your everyday cleaning cloths a neat, soft finish that feels both sweet and thoughtful.
Delightful Crochet Flower Border Pattern to Beautify Edges Instantly

The dainty floral edging isn’t just decorative, it helps define the shape, holds up to repeated washing, and adds a light-hearted style that lifts even the simplest cotton square. Whether you’re refreshing your kitchen drawer or giving a handmade gift, these floral borders make the cloths feel more intentional and finished.
With just a few rounds, the result becomes something more than utilitarian, it brings joy to daily routines. The repetition is soothing, and the outcome is delightfully consistent. Add a little charm to your kitchen linens with these gentle loops, and watch how a small detail can quietly brighten the entire room.

Step-by-Step Details
1. Starting with Buttonholes:
- Step 1: Take the cloth you want to work on and locate the corner as the starting point. Pass the needle through the fabric, knot the thread twice to secure it.
- Step 2: Insert the needle again, pass the thread, and create two chains. Form a single stitch at the fabric’s corner.

- Step 3: In the same hole, make another single stitch. Then:
- Chain three.
- Introduce a yarn-over and begin a double crochet in a new space.
- Repeat: three chains, another double crochet, three chains, and an elongated single crochet in the next space.
- Step 4: Continue this pattern (chains, double crochets, elongated single crochets) across the length of your fabric, ensuring uniformity.

2. Creating the Second Row:
- Step 1: Begin the row with three chains and work with double crochet stitches.
- Step 2: In the section with three chains from the first row, work six double crochet stitches, separated by two chains. Repeat six double crochets for all chain spaces.
- Step 3: Bind rows with a single stitch atop the elongated single crochet, then repeat the process for all rows till the entire fabric is covered.
3. Crocheting the Floral Design:
- Step 1: Cut the thread to start fresh, leaving an extended thread for tying off later. Form a loop over your needle and secure it into the desired space.

- Step 2: Chain three, yarn over, and create six double crochets without completing the stitches. Pull all stitches through at once to create a clustered look. Secure with a chain.
- Step 3: Repeat the six double crochets in all available spaces, forming tightly bunched petals.
- Step 4: After completing all petals, create picots (small decorative loops) on the petals by adding a chain of three and working a single crochet at the end. Repeat on each petal to finalize the aesthetic.
- Step 5: Tie off and secure the flower by knotting the thread and weaving in excess yarn for durability.

Special Features
- Buttonhole Stitch: A simple yet decorative foundation row that can be used on fabric’s edges for utility and design.
- Elongated Crochet Stitch: Adds a unique texture and variation to rows.
- Cluster and Picot Flower Patterns: Enhances the final design with 3D embellishments resembling a blooming flower.
Level of Difficulty
This project falls under the intermediate level of crochet. While the video is beginner-friendly in its explanations, the use of elongated single crochet, double crochet, and picot edging requires prior handwork familiarity. Beginners may need some practice before mastering the petals and clusters.
Tutor’s Suggestions
- Always leave an extra-long thread when starting and finishing rows to make it easier to secure knots later.
- To avoid unraveling with less stable materials (e.g., acrylic thread), weave the threads tightly into the pattern.
- Experiment with colors. The tutor used multiple tones (pink, yellow, white) to showcase how the finished pattern could vary with preferences.
Uses and Materials
- Thread or Yarn: Cotton or acrylic thread (in multiple colors if desired). Preferably cotton for better knot stability.
- Crochet Hook: Specific hook size depends on the yarn weight. A medium-sized hook was likely used.
- Scissors: To cut threads.
- Fabric: Any base fabric to create the decorative border.
Potential Uses
- Edging for handkerchiefs, pillowcases, or clothing.
- Decoration for table runners or napkins.
- Standalone flowers for appliqué on bags, hats, or accessories.
Conclusion
This crochet pattern provides a beautiful way to decorate fabric with a combination of delicate buttonholes and eye-catching flower clusters. While the technique may require some practice for beginners, the final product is worth the effort. Whether used for personal projects or gifts, this design adds elegance and a personal touch.
Tip:
When working on cluster and picot flowers, ensure tension is even throughout to avoid uneven petals. Tighten your threads slightly after pulling through clusters to give the flower a polished, professional look.
