
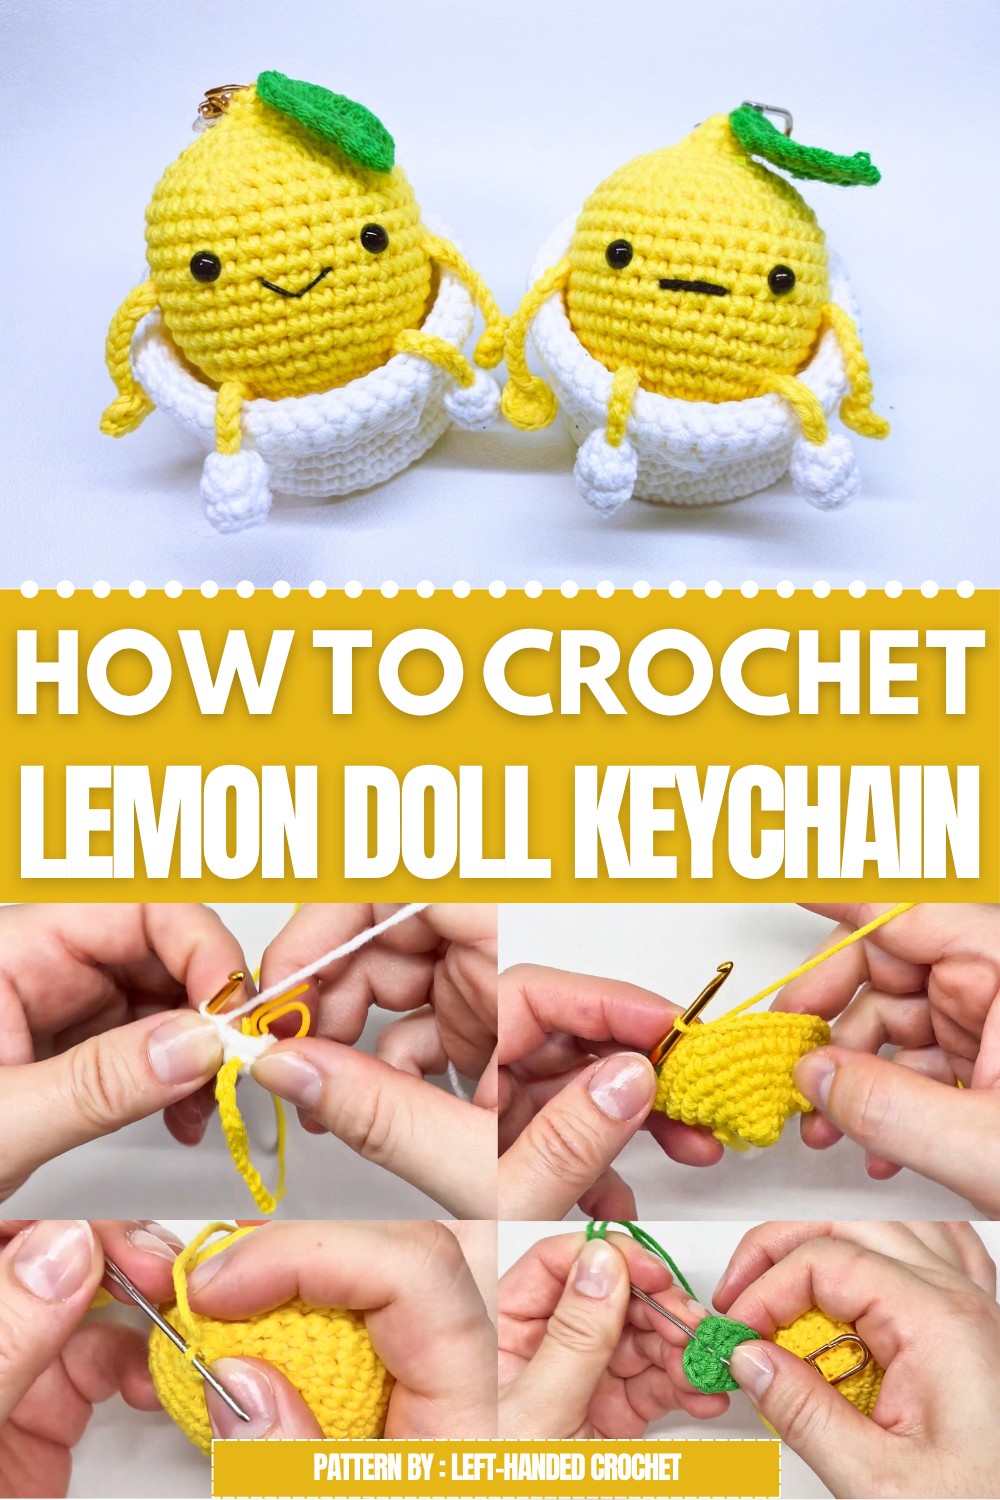
Enjoy this little lemon doll because it is more than a keychain. It is a cute companion that brings a smile every time you see it. Children love its friendly face, while teens and adults enjoy carrying a handmade accessory that feels unique. You can make several with different facial expressions or colorful details to build a playful collection or share them with family and friends. Every little doll has its own special personality, making each one feel extra special.
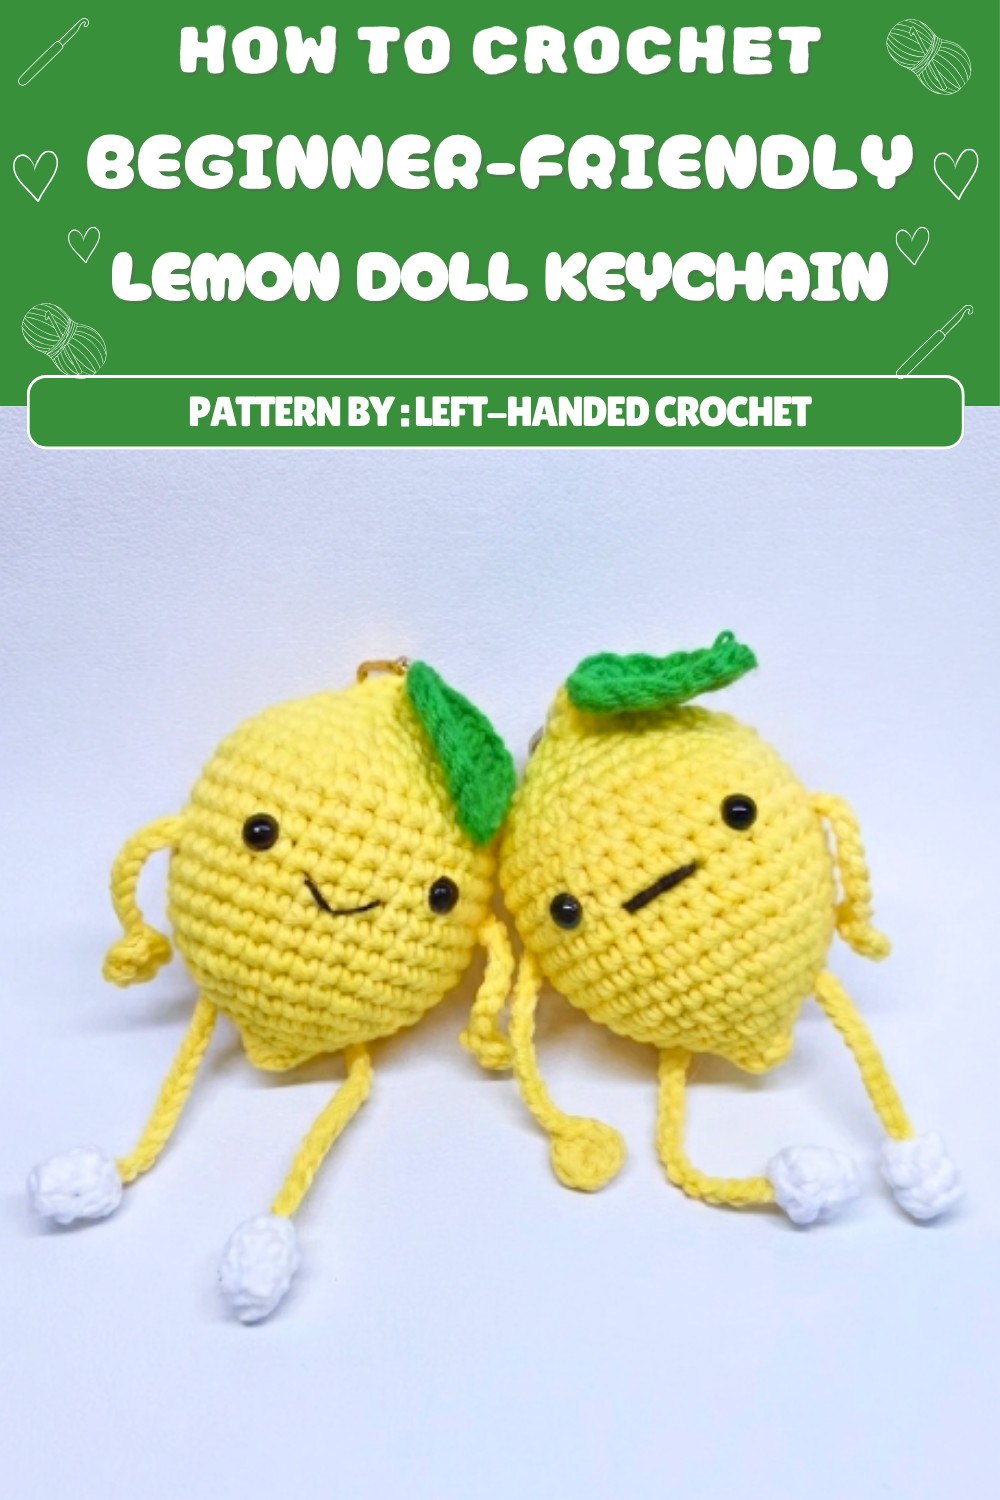
This lovely lemon doll keychain is a thoughtful gift for birthdays, holidays, party favors, or simple surprise presents. It is also a sweet keepsake for anyone who enjoys cute crochet creations. If you love cheerful crochet projects that are fun to display and easy to carry, the Free crochet Lemon Doll Keychain Pattern is a wonderful choice that will brighten every day with its adorable style.
Lemon Keychain Crochet Pattern with Arms and Legs
Welcome to the delightful lemon keychain crochet pattern! This charming little lemon character with arms and legs is perfect for beginners and experienced crocheters alike who want a fun, quick project. Constructed with simple stitches and features such as safety eyes and an embroidered smile, this keychain makes a great gift or keepsake. Follow the detailed step-by-step instructions to bring your lemon to life!
Quick Overview of Pattern
- Make two small arms using magic rings and chains.
- Create legs and feet, joining a chain “leg” to a crocheted foot.
- Crochet the lemon-shaped body with strategic increases and decreases.
- Add safety eyes and sew on arms between specified rounds.
- Finish with a cute leaf and an embroidered face.
- Attach a keyring for a practical and adorable accessory.
Notes
- This pattern is worked in rounds and rows, primarily in continuous spiral rounds unless noted.
- Use stitch markers to mark round beginnings or specific stitch placements.
- Stuff firmly but avoid overstuffing to keep shape soft but defined.
- Changing yarn colors is not required but consistent tension is important.
- Safety eyes are recommended for children 3 years and above; substitute embroidery for younger children.
- Weave in or neatly trim all loose yarn ends as you go.
Skill Level
Beginner to Intermediate: You should be comfortable with:
- Magic rings (MR)
- Single crochet (sc)
- Chain stitches (ch)
- Increases (inc) and decreases (dec)
- Basic embroidery for facial features
- Simple sewing and assembly
Materials
- Cotton yarn in yellow (for lemon body and limbs)
- Green or appropriate yarn for leaf
- Crochet hook size 5mm
- Fiberfill stuffing
- Two safety eyes (recommended size approx. 6mm)
- Tapestry needle for sewing and finishing
- Stitch markers
- Scissors
- Sewing thread for facial embroidery
- Keyring for final attachment
Measurements / Sizing (Optional Schematic)
- Finished lemon keychain length approx. 10–12 cm (including arms and legs).
- Width approx. 6–7 cm at the widest point of the lemon body.
Gauge (and Stitch Pattern)
- Gauge is flexible due to the toy nature.
- Approximately 15 single crochet (sc) per 10 cm with 5mm hook and cotton yarn.
- Adjust hook size if you want a larger or smaller finished piece.
Stitch Abbreviations
- MR = Magic Ring
- ch = Chain
- sc = Single Crochet
- inc = Increase (2 sc in one stitch)
- dec = Decrease (single crochet two stitches together)
- HDC = Half Double Crochet
- DC = Double Crochet
- st(s) = Stitch(es)
Special Stitches
- Magic Ring (MR): Adjustable round start with tight center, avoiding holes.
- Increase (inc): Two single crochet stitches into one stitch to widen the piece.
- Decrease (dec): Single crochet two stitches together to reduce stitch count.
- Half Double Crochet (HDC): Yarn over, insert hook, yarn over and pull through, yarn over and pull through all three loops on hook.
- Double Crochet (DC): Yarn over, insert hook, yarn over and pull through, yarn over pull through two loops, yarn over pull through last two loops.
The Crochet Pattern
1. Arms (Make 2)
- Start:
- Create a Magic Ring, ch 1.
- Work 6 sc into the ring. (6 sts)
- Connection:
- Slip stitch into the first sc to close the ring.
- Length:
- Chain 10 stitches to form the arm length.
- Finish:
- Cut yarn leaving a long tail for sewing.
- Secure and fasten off.
2. Legs (Make 2)
- Leg/Leg Chain:
- Chain 15 stitches to form the leg length.
- Foot Start:
- Create a Magic Ring, ch 1.
- Work 6 sc into the ring. (6 sts)
- Rounds 2-3 (Foot):
- Work 6 sc per round around (6 sts each round) for two rounds to shape the foot.
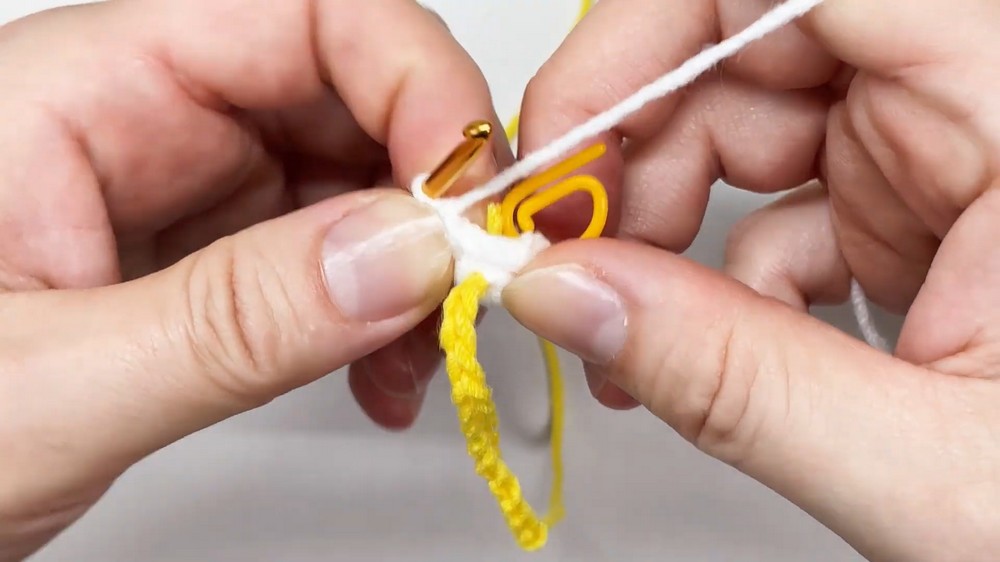
- Work 6 sc per round around (6 sts each round) for two rounds to shape the foot.
- Assembly:
- Attach the leg chain to the foot opening—sew securely to close the connection.
- Fasten off, leaving a tail for sewing.
3. Lemon Body
- Round 1:
- MR, ch 1, work 6 sc into the ring (6 sts).
- Round 2:
- Work 6 sc (6 sts).
- Round 3:
- Increase in every stitch: 2 sc in each sc (12 sts).
- Round 4:
- (1 sc, inc) repeat 6 times (18 sts).
- Round 5:
- (1 sc, inc, 1 sc) repeat 6 times (24 sts).
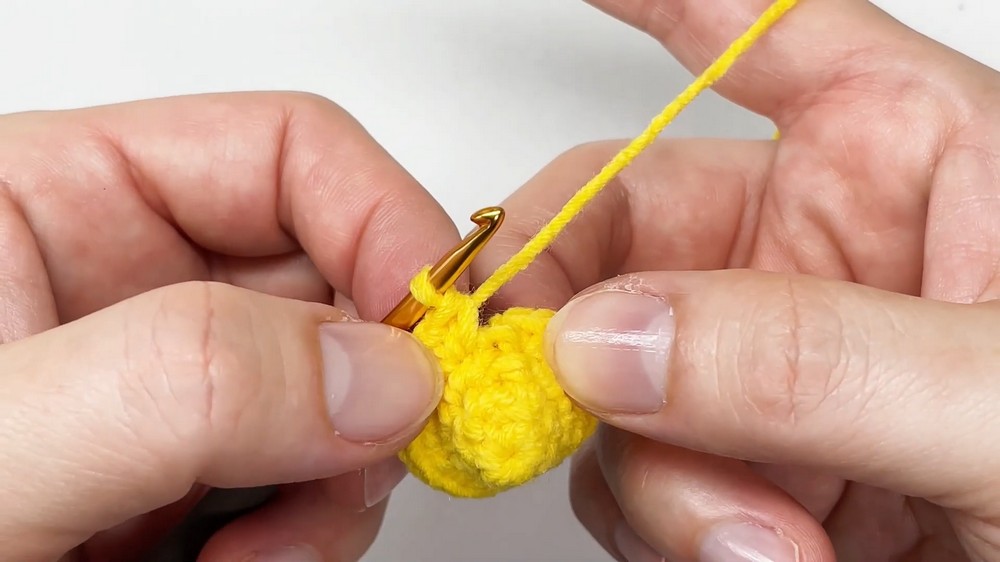
- (1 sc, inc, 1 sc) repeat 6 times (24 sts).
- Round 6:
- (3 sc, inc) repeat 6 times (30 sts).
- Round 7:
- (2 sc, inc, 2 sc) repeat 6 times (36 sts).
- Leg Attachment:
- Sew and attach legs between rounds 4 and 5 evenly on each side.
- Round 8:
- Work 36 sc per round for 8 rounds to elongate the lemon shape.’
- Round 9:
- Work 36 sc per round for 8 rounds to elongate the lemon shape.
- Round 10:
- Work 36 sc per round for 8 rounds to elongate the lemon shape.
- Round 11:
- Work 36 sc per round for 8 rounds to elongate the lemon shape.
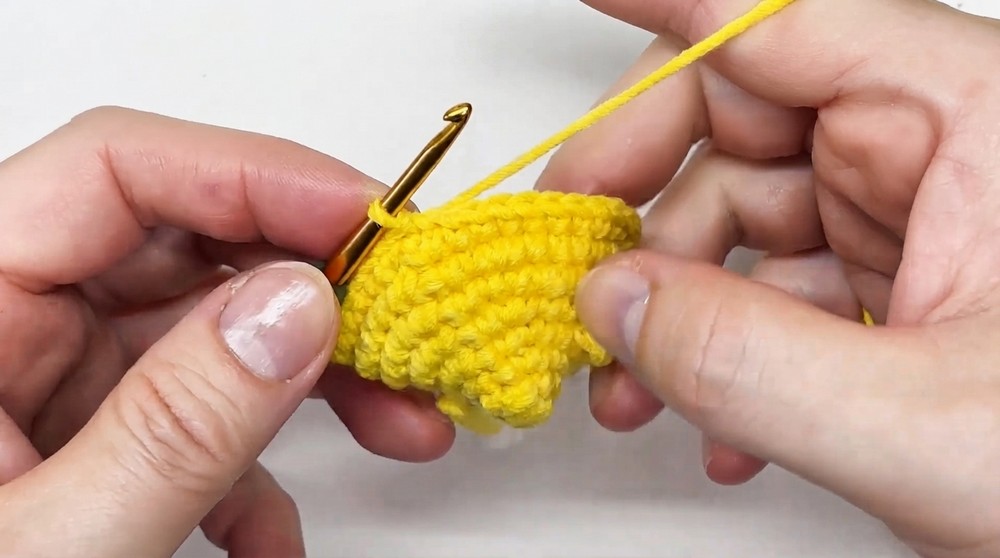
- Work 36 sc per round for 8 rounds to elongate the lemon shape.
- Round 12:
- Work 36 sc per round for 8 rounds to elongate the lemon shape.
- Round 13:
- Work 36 sc per round for 8 rounds to elongate the lemon shape.
- Round 14:
- Work 36 sc per round for 8 rounds to elongate the lemon shape.
- Round 15:
- Work 36 sc per round for 8 rounds to elongate the lemon shape.
- Details:
- Attach safety eyes between rounds 12 and 13 approximately centered on the front.
- Attach arms below the eyes symmetrically.
- Round 16:
- (2 sc, dec) repeat 9 times (27 sts).
- Round 17:
- (3 sc, dec) repeat 6 times (24 sts).
- Round 18:
- (1 sc, dec, 1 sc) repeat 6 times (18 sts).
- Round 19:
- (1 sc, dec) repeat 6 times (12 sts).
- Round 20:
- Work 6 decreases all around (6 sts).
- Round 21:
- Work 6 sc, close with tapestry needle.
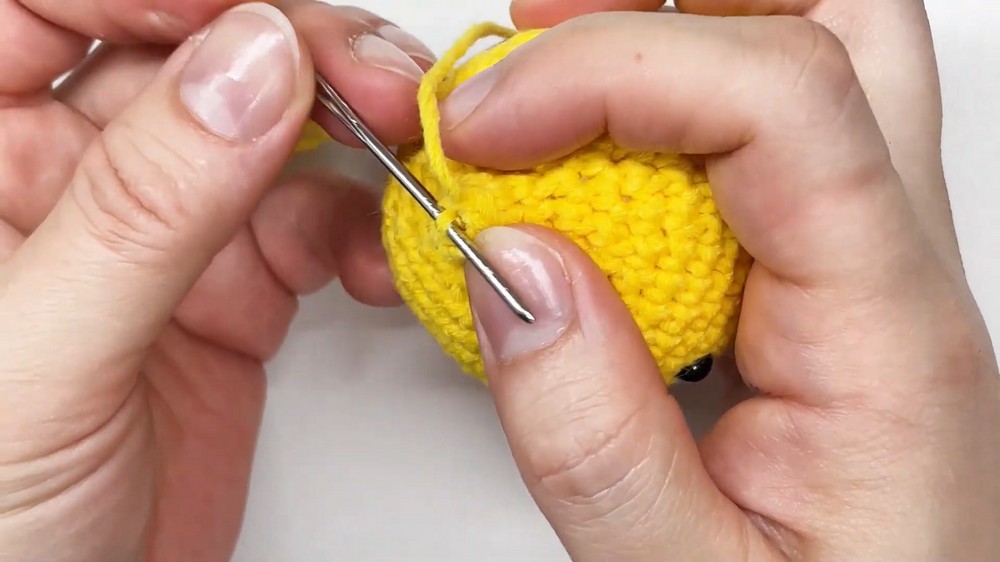
- Work 6 sc, close with tapestry needle.
- Attach Keyring:
- Securely sew or loop the keyring through the top stitches.
4. Leaf & Face
- Leaf:
- Chain 7 stitches.
- Work the following on one side of the chain:
- 1 sc
- 1 HDC
- 3 DC
- 1 HDC
- 1 sc
- Chain 2 at the tip, turn and mirror the stitches on the opposite side of the chain.
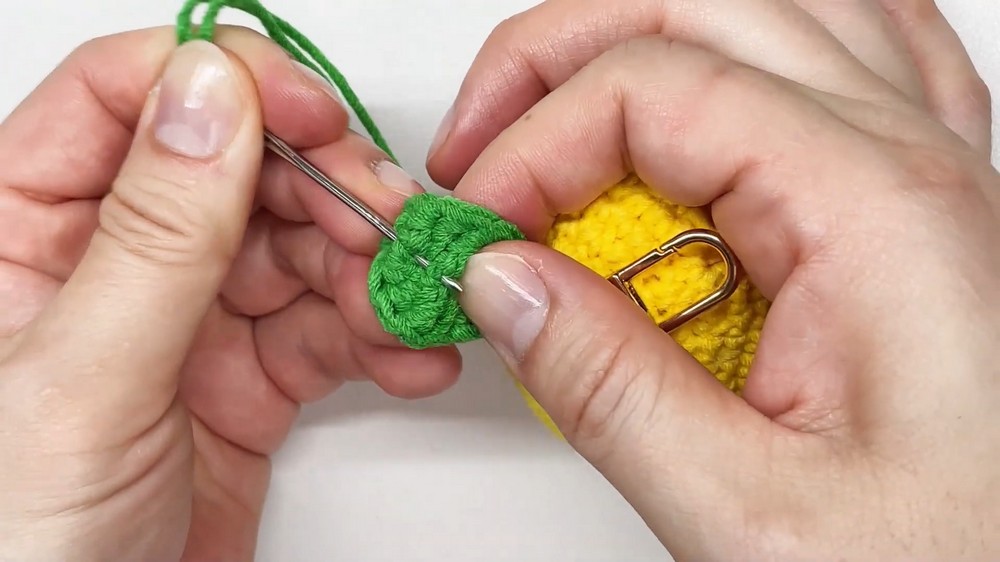
- Assembly:
- Sew the completed leaf piece to the top of the lemon securely.
- Face (Mouth Embroidery):
- Use sewing thread in desired color to embroider a smiling mouth below the eyes.
Assembly & Finished Size
- Stuff the lemon body and limbs firmly but softly as you finish each component.
- Sew arms and legs securely onto the body at indicated points.
- Attach the leaf on top for a cute finishing touch.
- Embroider the face after all parts are joined.
- Attach keyring at the top for a sturdy hold.
Finished Keychain Size:
- Approximately 10–12 cm length including legs
- Approximately 6–7 cm width
Conclusion
This crochet lemon keychain is an enjoyable and manageable project perfect for those who love making small, cute amigurumi toys. The pattern combines foundational crochet techniques such as magic rings, increases, and decreases, with creative finishing touches including safety eyes and embroidery for personality. Whether as a gift, a personal keychain, or a vibrant bag charm, this lemon brings a splash of sweetness wherever it goes. For best results, maintain consistent tension and stitch count throughout, and don’t rush the finishing steps for a polished look.
