Start your crochet journey with this free crochet mesh cardigan pattern, an easy, stylish project that’s comfortable to wear and fun for beginners to create.
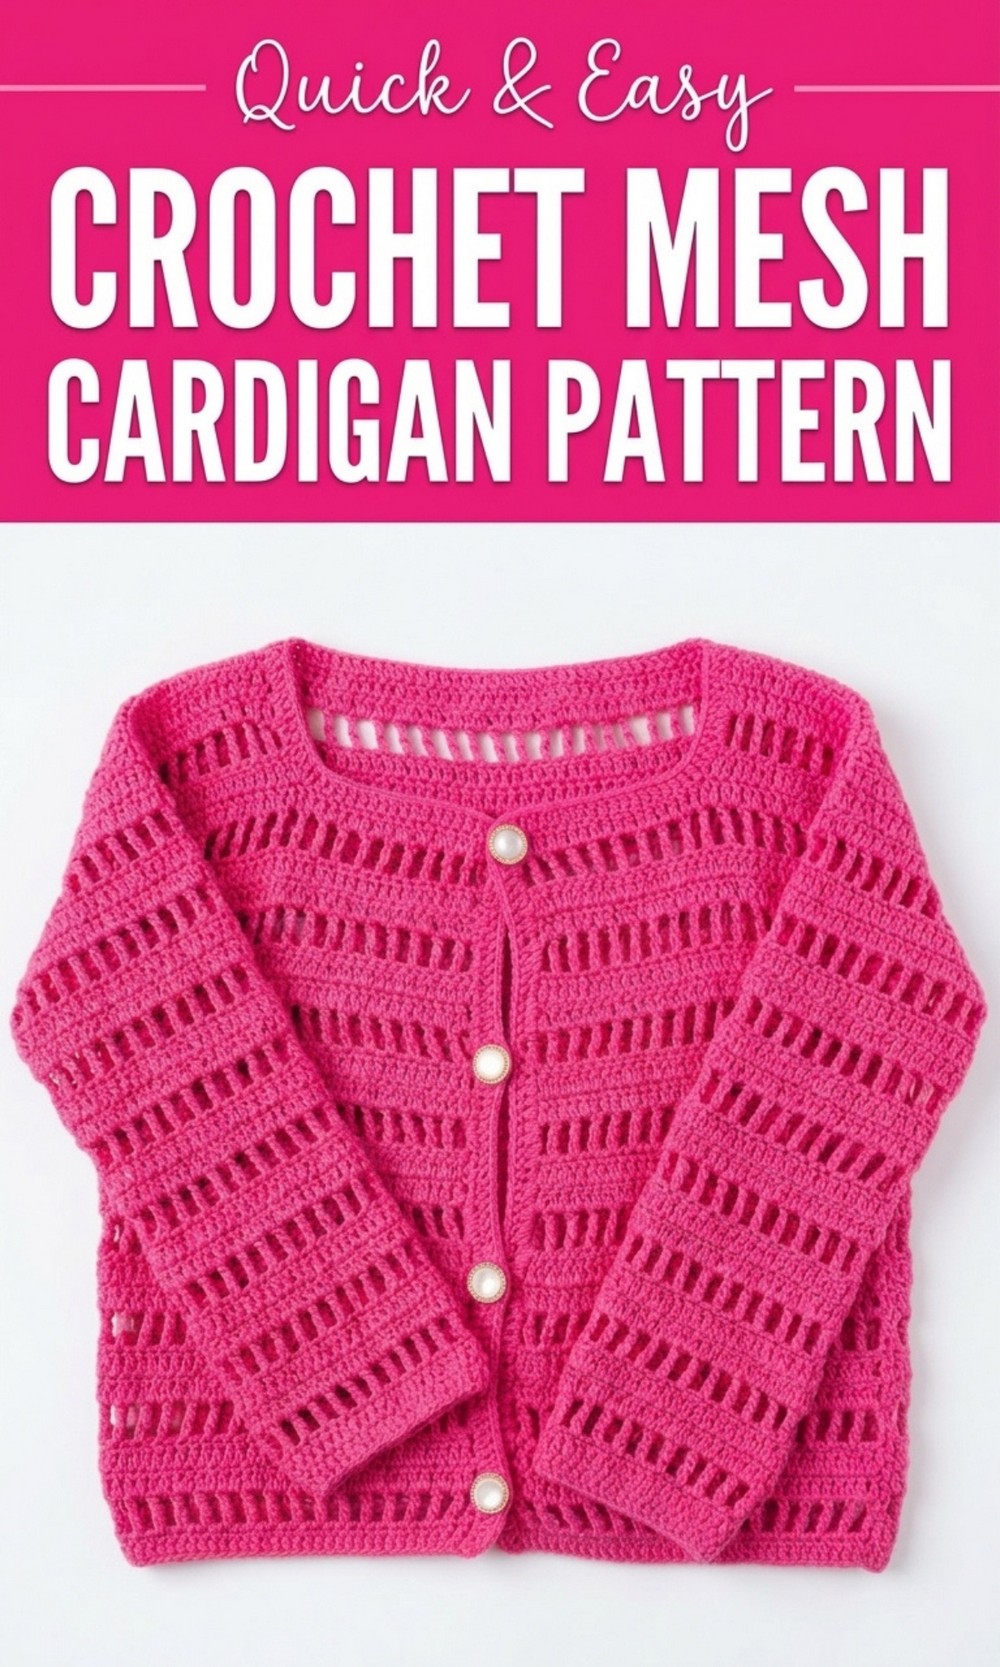
Your Go To Free Crochet Mesh Cardigan Pattern for Summer
The Free Crochet Mesh Cardigan Pattern is a simple and beautiful way to create a lightweight and airy cardigan perfect for any season. This cardigan is soft, stylish, and easy to make, even if you’re a beginner in crocheting. Its unique mesh design gives it a breezy and comfortable feel, making it perfect for layering over outfits or adding an elegant touch to your wardrobe.
This pattern is customizable, meaning you can make it in any size or color to suit your style. It uses basic crochet stitches like double crochet and chains, making it easy to follow. 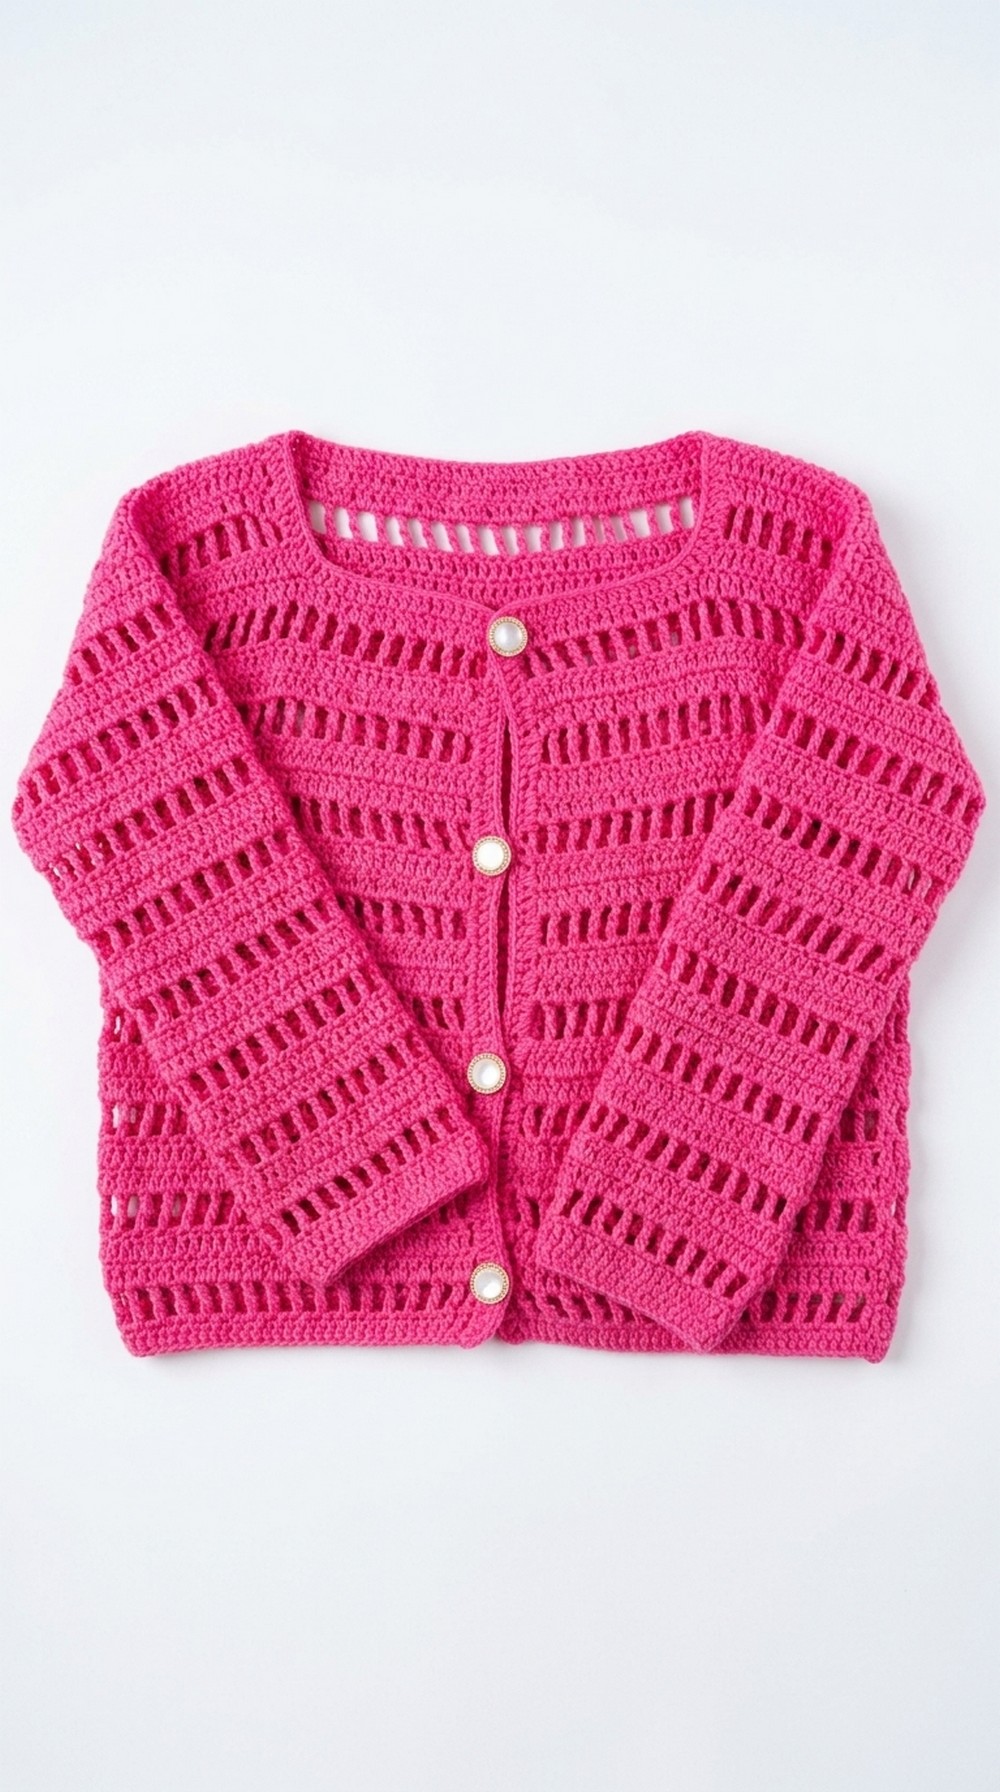 With a few buttons added, it becomes practical and charming for everyday use. Whether you want to make a gift or a special outfit for yourself, this cardigan is a great choice. It is fun to make and leaves you with a gorgeous piece you’ll love to wear.
Crochet Mesh Cardigan Pattern
Materials Required
- Yarn: 500g of acrylic yarn, Bright Pink (or more for larger sizes)
- Hook Size: 3 mm crochet hook
- Notions: Buttons for closures
- Other Tools: Measuring tape, scissors, yarn needle for weaving ends
Gauge
Gauge is not explicitly mentioned in the video. Based on the transcription, it’s recommended to start with small swatches to determine tension and adjust hook or yarn size as needed. For reference:
- Gauge Example: 4″ x 4″ square = 20 stitches x 20 rows in double crochet
Finished Sizes
The cardigan size depends on personal measurements. For reference, this pattern allows adjustments for small, medium, large, and extra large sizes. Be sure to measure your bust and length to determine accurate sizing. The back panel and front panel size adjustments are covered below.
Pattern Notes
- Skill Level: Intermediate beginner
- Sizing Adjustments: To increase or decrease the cardigan size, adjust the foundation chain length during each panel’s creation. Always add three extra chains at the end of the foundation row to maintain structure.
- Customization Ideas:
- Use different colors for a striped effect.
- Add decorative edging for a finished look.
- Select fancy or statement buttons to personalize the closure.
- Special Techniques:
- Basic stitches include slip knot, chain (ch), double crochet (dc), and triple crochet (tr).
- Increasing: Work two dc into a single stitch to widen panels.
- Button Placement: Use evenly spaced gaps along the edge rows for buttonholes.
Step by Step Instructions
Back Panel
- Foundation Row:
- Make a slip knot and prepare a chain of your desired length to match your size.
- Add three extra chains to the total count for accurate panel dimensions.
- Example: If your panel requires a chain length of 50 stitches, work 53 chains.
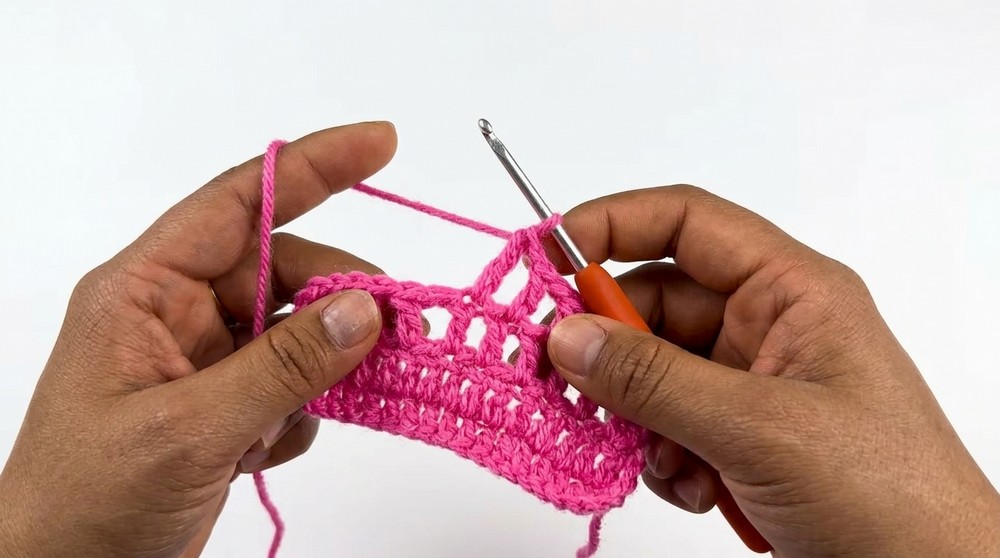
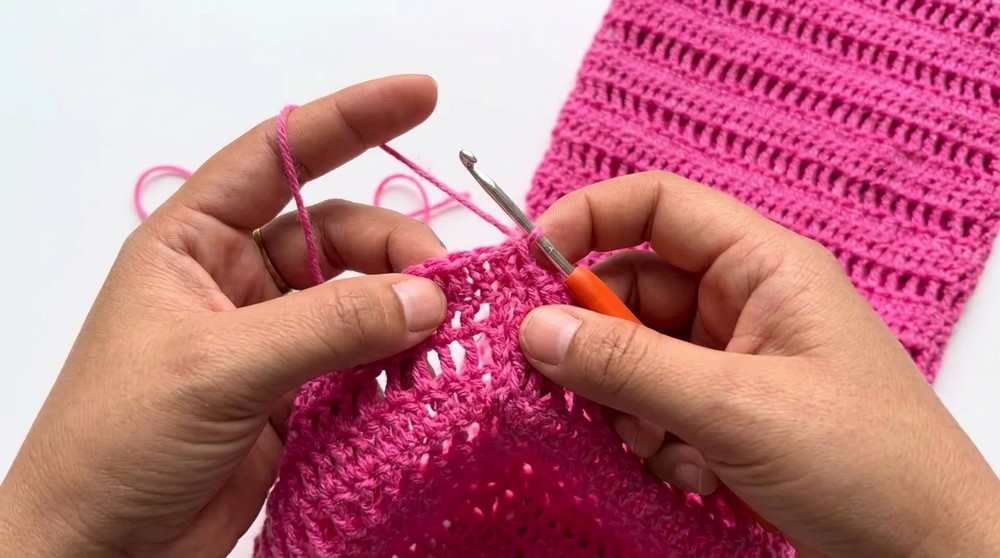
- Row 1 (Double Crochet):
- Skip the first three chains, then insert the hook in the fourth chain from the hook and pull yarn through.
- Yarn over, pull through two loops; yarn over again, and pull through the last two loops.
- Continue working double crochet (dc) stitches across the foundation row.
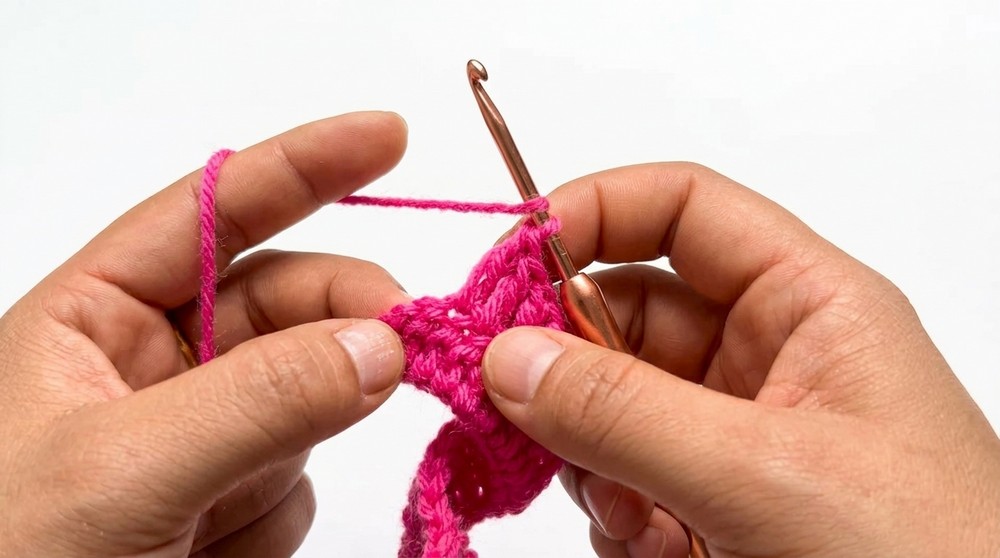
- Subsequent Rows:
- At the end of each row, chain three for turning. Skip the first stitch and begin double crochet into the second stitch.
- Continue this process until the back panel matches your desired length.
Front Panels
- Foundation Row:
- Divide the total width measurement of the cardigan into two equal parts for each front panel.
- Prepare chains for each front panel based on measurements, adding three extra chains as in the back panel.
- Neck Shaping:
- Work rectangular front panels up to the desired length where neck shaping begins.
- For shaping the neck, gradually reduce the chains worked in each row. Leave half the width unworked, creating a slanted neckline.
- Subsequent Rows:
- Continue working rows while decreasing at the neckline edge until the panel reaches the needed length.
- Ensure symmetry between the two front panels.
Sleeves
- Foundation Row:
- Start with a chain row to match the circumference of your arm, ensuring a comfortable fit.
- Add three extra chains for the turning row.
- Increases for Arm Movement:
- For the first few rows, work regular double crochet stitches, maintaining straight edges.
- Begin increasing for arm mobility by working two double crochets into one stitch at the edges every second or third row.
- Continue to Desired Length:
- Work row by row, ensuring the sleeve length matches your arm measurement.
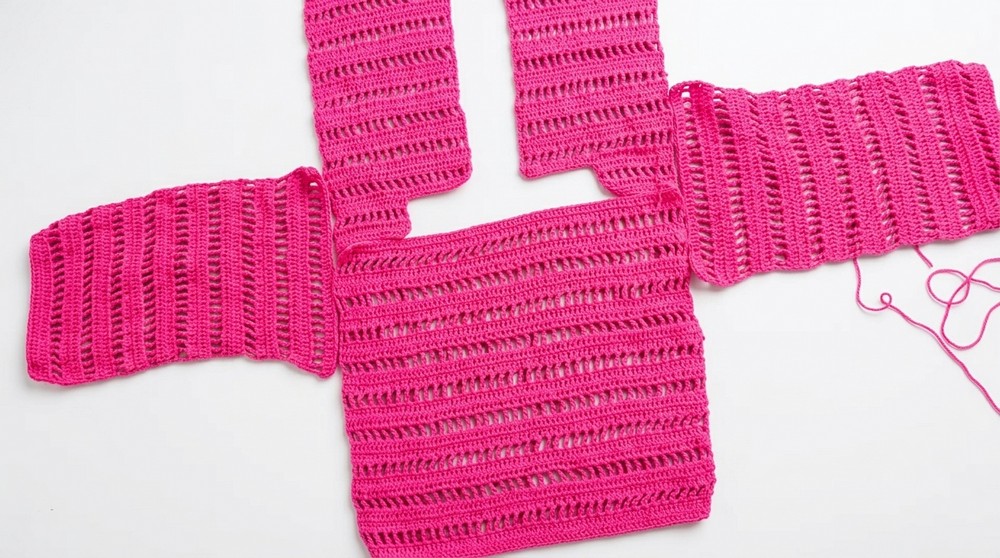
Assembly
- Stitching Panels Together:
- Join the panels using a favoured seam stitch such as single crochet or slip stitch.
- Begin with shoulder seams, followed by attaching the sleeves to the body panels.
- Edging (Optional):
- For a polished look, work a single crochet or decorative edging stitch around the cardigan’s neckline, hemline, and cuffs.
- For a polished look, work a single crochet or decorative edging stitch around the cardigan’s neckline, hemline, and cuffs.
Adding Buttons
- Buttonholes: Work two chain stitches at regular intervals along the front edge to create buttonholes. Space them evenly based on your button size.
- Button Placement: Stitch buttons tightly to the corresponding side, ensuring alignment with buttonholes.
Customization Tips
- Colors: Use variegated yarn for a textured look or alternate yarn shades for stripes.
- Edging: Add scalloped edging or picot stitches for a more decorative finish.
- Shaping: Adjust the sleeve length and body length to suit individual preferences.
- Yarn Choice: Opt for lightweight cotton for summer wear or wool for colder seasons.
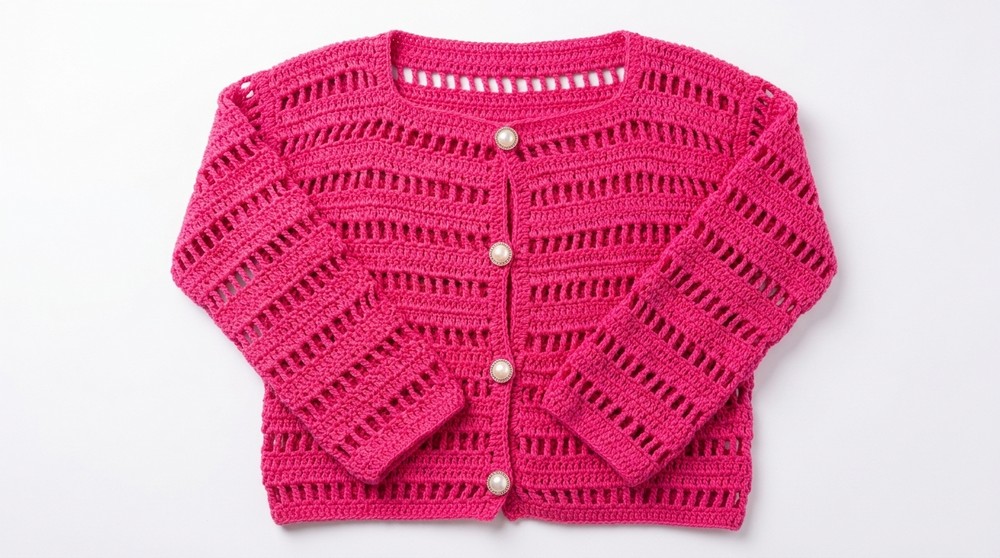
Conclusion and Final Remarks
Your finished cardigan will feature a comfortable fit with thoughtful neck shaping, durable sleeves, and a stylish button closure. As seen in the video, the neat rows of double crochet and unique neckline design result in a polished and wearable garment.
Make sure to keep track of stitches and rows while working to avoid accidental size alterations. When assembling the panels, align edges carefully to prevent unevenness.