Whip up an irresistibly charming crochet hen amigurumi Pattern, perfect for bringing smiles and joy to kids with its delightful handmade appeal.

Free Crochet Free Crochet Hen Amigurumi Pattern That’s Too Cute to Resist
Meet your newest crochet buddy – an adorable little hen that’s bursting with charm. This Free Crochet Hen Amigurumi Pattern is super fun, easy to follow, and perfect for beginners or seasoned crocheters. With its round, plump body, tiny beak, wavy crest, and floppy tail feathers, this hen is as cute as it gets. It’s not just a toy; it’s a decoration, a gift, or even your new handmade mascot.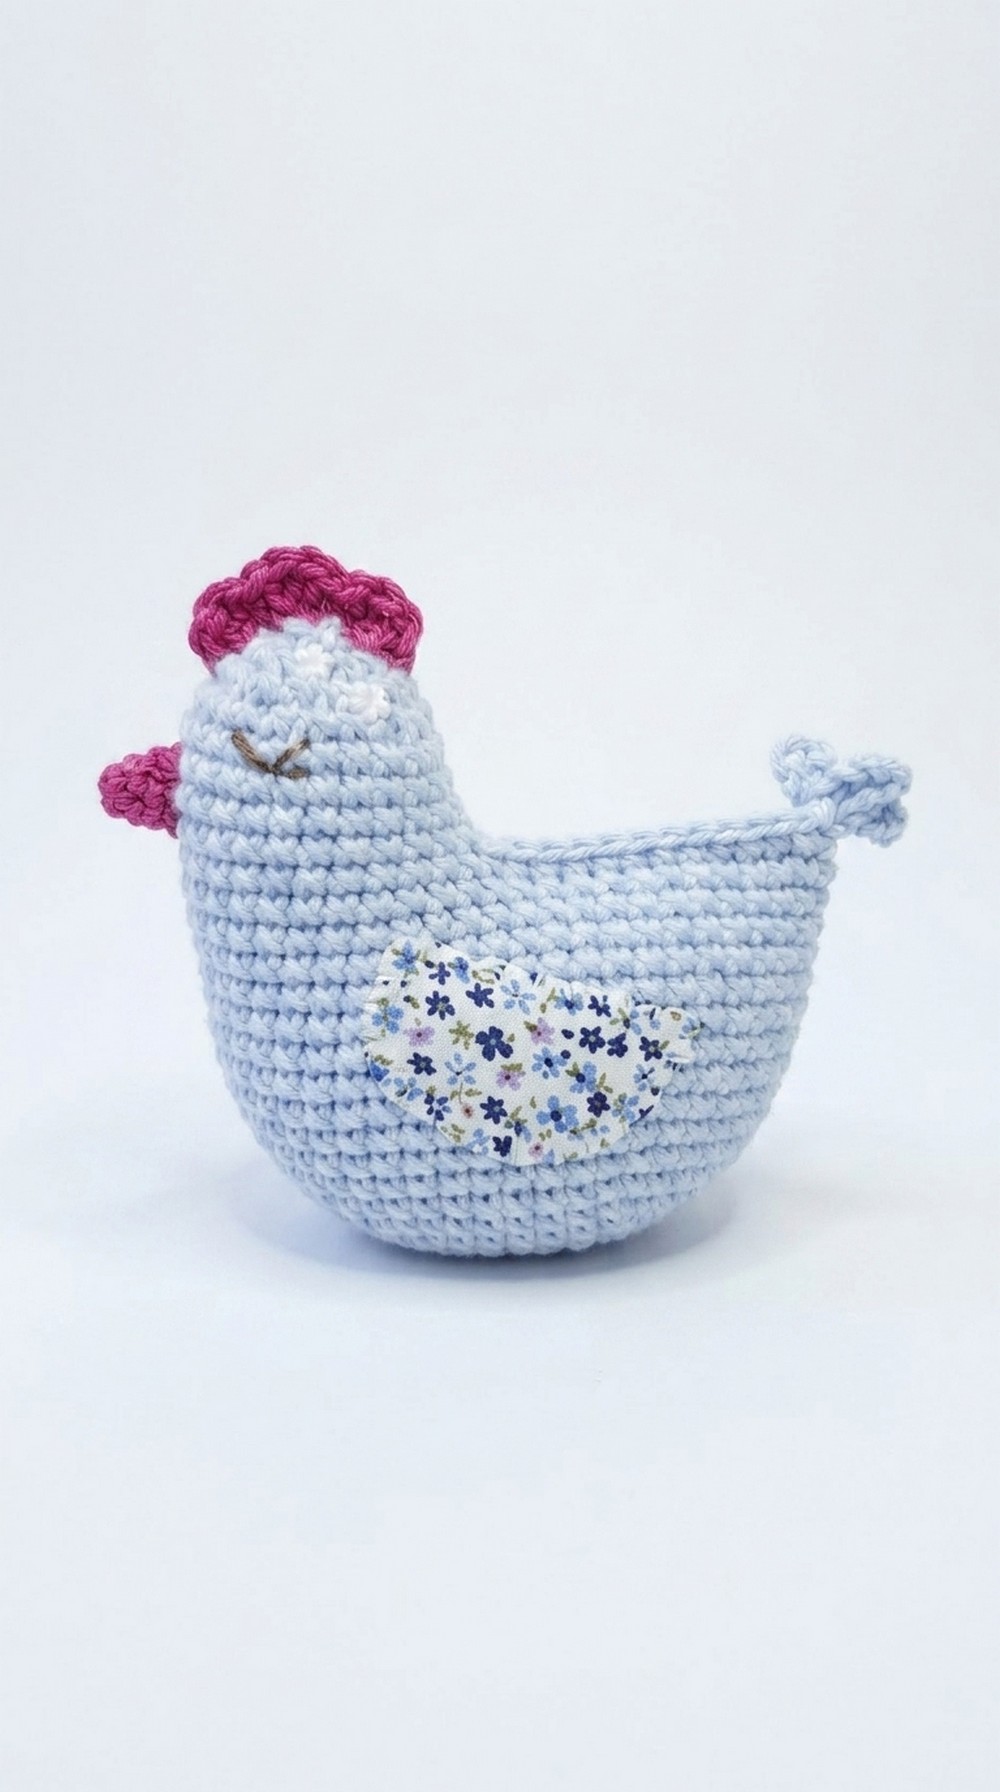
Get creative and add your personal touch with colorful yarns, tiny flowers, or even fabric wings to make it uniquely yours. Whether for your home, a loved one, or just to bring a smile, this crochet project is sure to be a crowd pleaser. So grab your hook and some yarn – your charming crochet hen is waiting to come to life.
Crochet Hen Amigurumi Pattern
Materials Needed:
- Acrylic yarn (two colors: one for the body and one for accent features)
- Brown embroidery thread (for the eyes)
- Fiberfill stuffing
- 3 mm crochet hook
- Scissors
- Tapestry needle (yarn needle)
- Stitch markers
- Optional: Tweezer, fabric scraps (for wings), lighter to seal fabric edges
Pattern Instructions
Step 1: Body (Rounds)
Round 1: Create a magic ring. Crochet 6 single crochets (SC) into the ring. Pull tightly to close the loop. (6 sts)
Round 2: Make 6 increases (2 SC in each stitch). You’ll end up with 12 single crochets. (12 sts)
Round 3: Alternate 1 SC, 1 increase; repeat this sequence six times. This gives you 18 single crochets at the end of the round. (18 sts)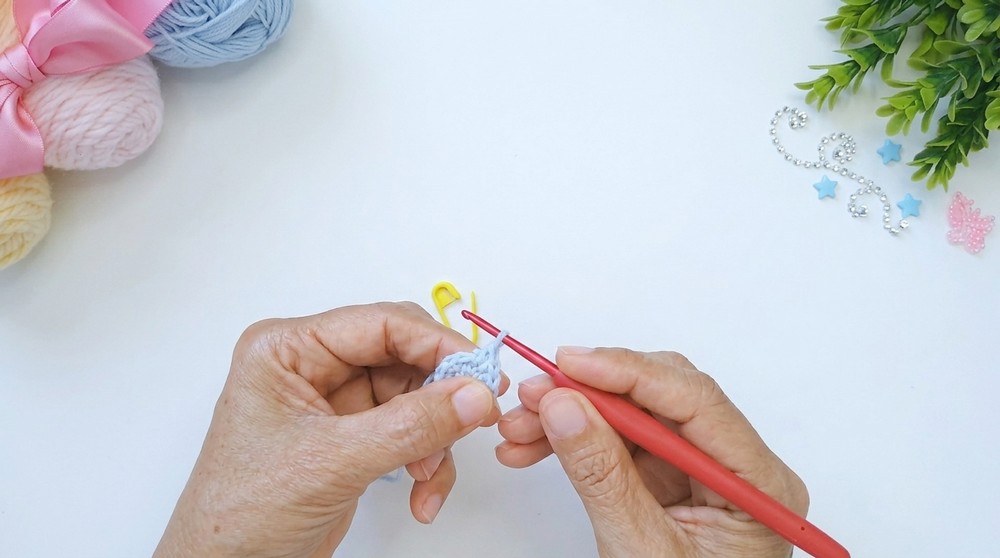
Round 4: Alternate 2 SC, 1 increase; repeat six times. Result = 24 single crochets. (24 sts)
Round 5: Alternate 3 SC, 1 increase; repeat six times. Result = 30 single crochets. (30 sts)
Round 6: Alternate 4 SC, 1 increase; repeat six times. Result = 36 single crochets. (36 sts)
Round 7: Alternate 5 SC, 1 increase; repeat six times. Result = 42 single crochets. (42 sts)
Round 8: Alternate 6 SC, 1 increase; repeat six times. Result = 48 single crochets. (48 sts)
Rounds 9–20: Work 48 single crochets in each round, with no increases or decreases. This forms the main body.
Step 1 Tip: Cut excess yarn tails as you crochet each round to keep your work neat and avoid tangling fibers.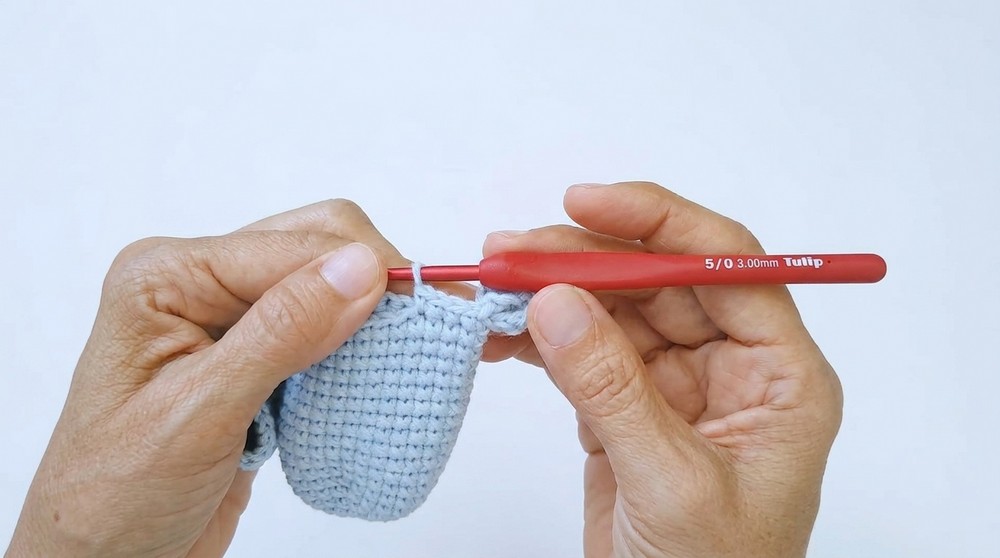
Step 2: Tail
- Remove stitch marker. At the edge of the last stitch in the body, crochet 6 chains.
- Slip stitch into the first stitch and repeat for a total of 3 loops (tail feathers) that form the tail. Attach the last feather with a single crochet to the base of the body.
Step 3: Closing & Joining Top
To join the top opening, work 11 SC across both sides of the top to seam it together. After joining, ensure 24 stitches remain around the top for the neck area.
Step 4: Head
Rounds 1–5: Crochet 24 single crochets per round across the top, without increases or decreases, to shape the gallinita’s head. This creates a proportional height.
Step 4 Tip: Begin stuffing the body before finishing Round 5. Leave a gap at the bottom and gradually add stuffing as you continue working upward.
Decreases for the Head:
- Round 6: Alternate 2 SC, 1 decrease. Repeat six times for 18 single crochets.
- Round 7: Alternate 1 SC, 1 decrease. Repeat six times for 12 single crochets.
- Round 8: Work 6 decreases. Finish off the head and leave a short yarn tail.
When finished, use the tapestry needle to close the remaining hole at the top of the head by working into the front loops of the remaining six stitches.
Step 5: Beak
- Create a magic ring with 5 SC.
- In the next round, work 2 SC, 1 increase, then 2 SC. This results in 6 SC.
- Crochet 1 round of 6 single crochets to complete the triangular shape. Leave a tail for sewing and carefully turn the piece inside out for the final shape.
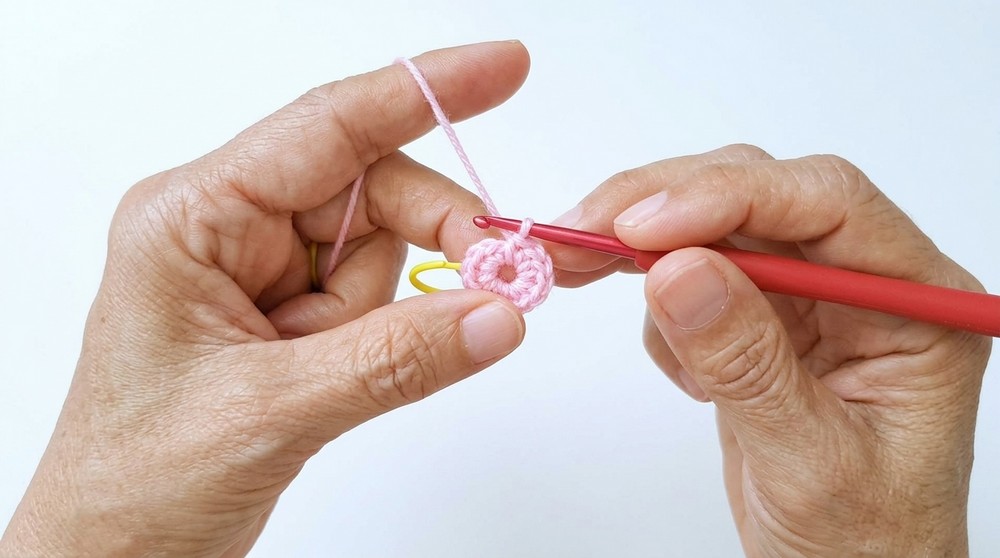
Step 6: Crest
- Crochet 6 chains.
- Skip the first chain and work 3 half double crochets (HDC) into the second chain.
- Slip stitch into the next chain to secure the stitch group.
- Repeat this sequence twice more for a total of three scallops that form the crest.
- Leave a medium length tail for sewing.
Step 7: Wings (Fabric Optional)
- Cut two wing shaped scraps of fabric that match the gallinita’s color scheme.
- Use a lighter along the edges to prevent fraying.
- Sew the wings to the sides of the body using matching thread. Alternatively, crochet wings with matching yarn as desired.
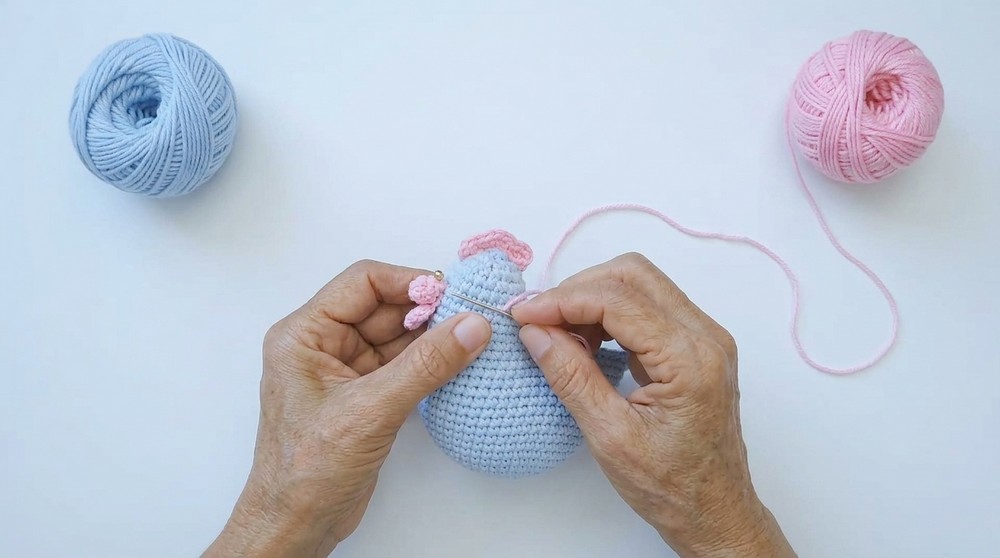
Step 8: Eyes
- Use the brown embroidery thread and tapestry needle.
- Position the eyes by measuring 4 rounds down from the top of the beak and leaving two stitches between the beak and the eyes.
- Create simple diagonal stitches that form the lashes, and repeat for both eyes.
Finishing Touches
- Apply a small amount of fabric glue to secure the tail feathers in a curved position.
- Optional: Add decorative elements like flowers or beads to the gallinita’s tail or head.
Final Words
Congratulations on completing this adorable crochet gallinita. Its charming features and soft textures make it perfect as a gift or a cheerful decoration for any space.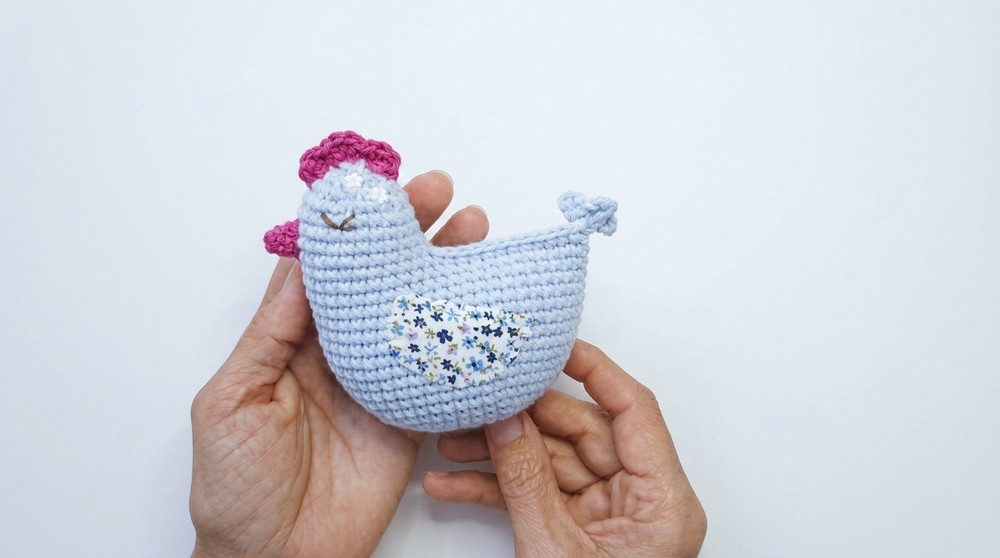
Tips to Maintain the Pattern
- Stuffing: Ensure even distribution of fiberfill for a firm and balanced shape.
- Seaming: Always double check alignment before sewing to avoid uneven features.
- Cleaning: Gently hand wash or wipe the fabric portions to maintain its freshness.
- Personalization: Feel free to add additional decorations such as small bows or patterns for a unique touch.