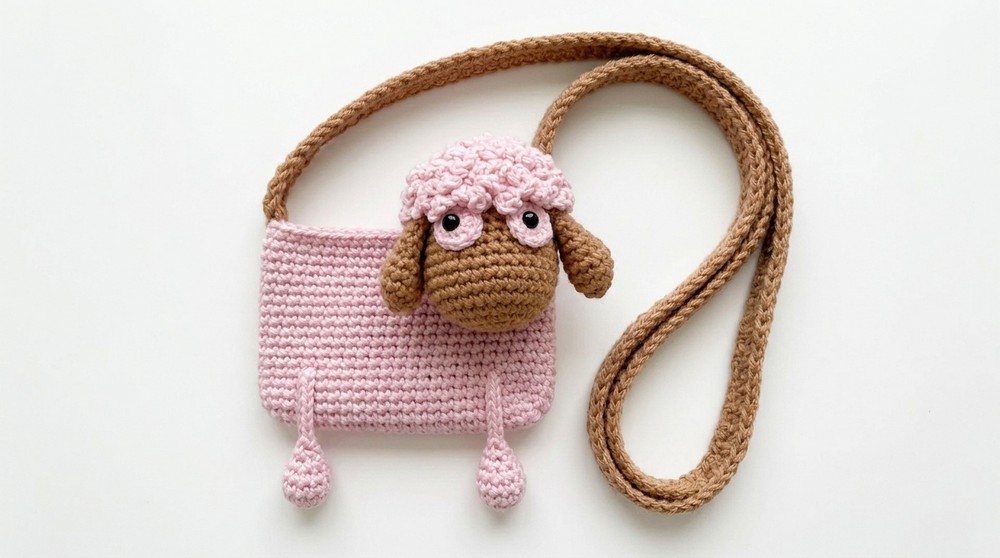
Let your bag shine with cuteness using this free crochet sheep bag pattern that brings soft and fun vibes to your everyday carry with simple and easy steps.
The Perfect Free Crochet Sheep Bag Pattern for Gifting
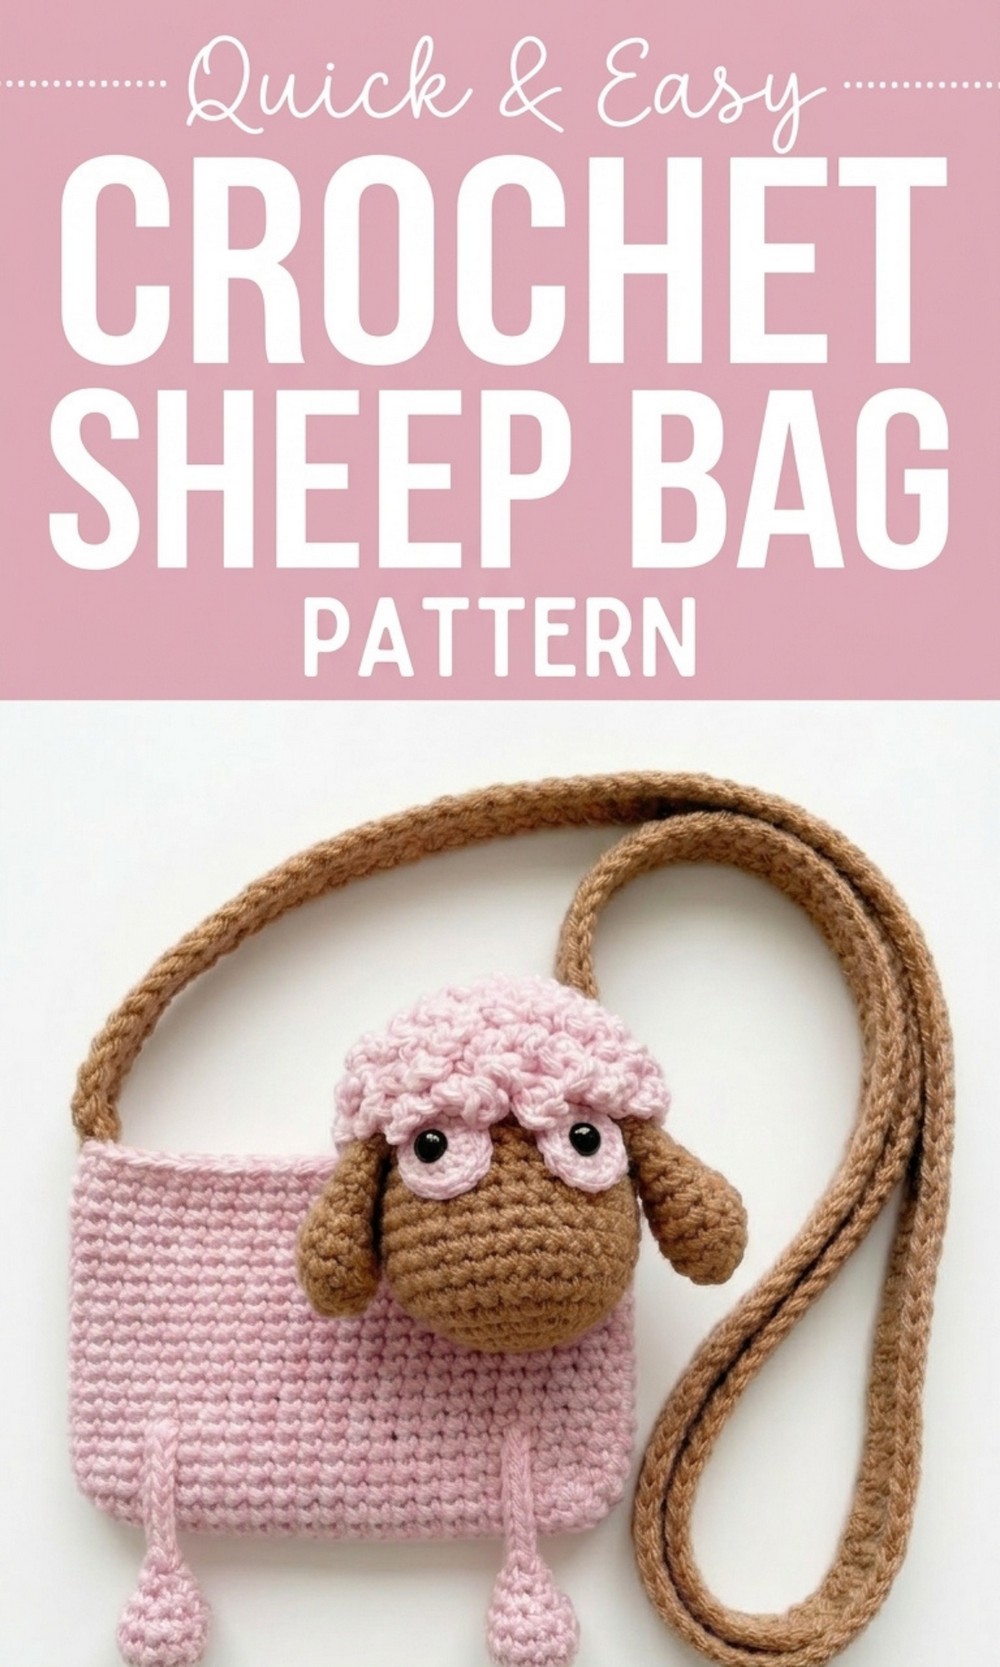
Looking for the cutest crochet project ever? Meet the “Free Crochet Sheep Bag Pattern” – an absolutely adorable bag that looks just like a fluffy little sheep. This fun and easy to follow pattern will have you creating a charming accessory that’s perfect for kids, teens, or anyone who loves playful and unique designs.
With its soft, cozy texture and cheerful details, this bag is not only beautiful but also super functional. It’s the perfect size to carry small essentials like phones, keys, or tiny treasures. The fluffy “wool” design and the sheep’s friendly face make it a joy to look at, while the lightweight handles make it easy to carry everywhere.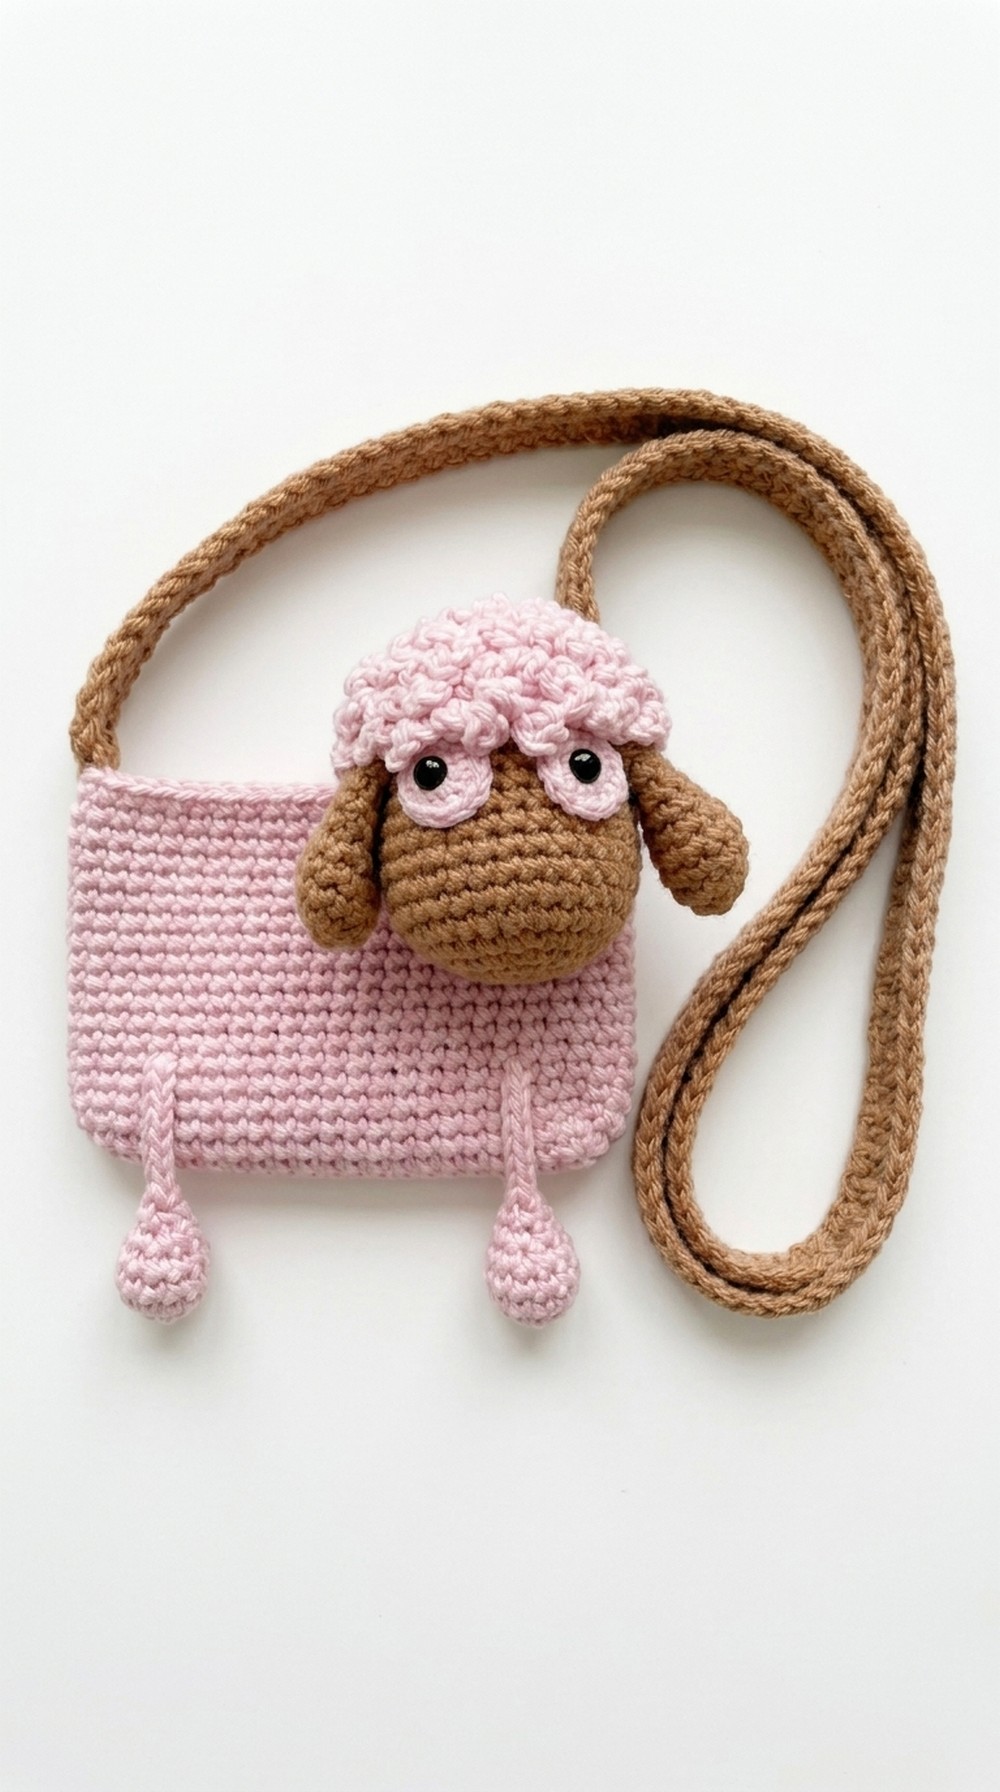 Plus, the cute ears, silly legs, and bouncy “hair” give it a fun and lifelike look that will make it a favorite for both kids and adults. Whether you’re crocheting for fun or making a delightful handmade gift, this sheep bag is sure to win hearts.
Pretty Crochet Sheep Bag Pattern
Materials Required:
- Yarn:
- Rose pink yarn for the body.
- White or lilac yarn for the head and limbs.
- Brown yarn for handles.
- Optional: Macrame yarn for added texture and shine (used for the head’s “furry” effect).
- Crochet Hook: 2.5 mm or as recommended for your chosen yarn.
- Stuffing: Siliconized cotton or polyester fiberfill for the head.
- Needle: Tapestry yarn needle for sewing parts together.
- Scissors.
- Other Accessories:
- Glue on black eyes or round safety eyes.
- Stitch markers or pins for alignment during sewing.
Special Techniques:
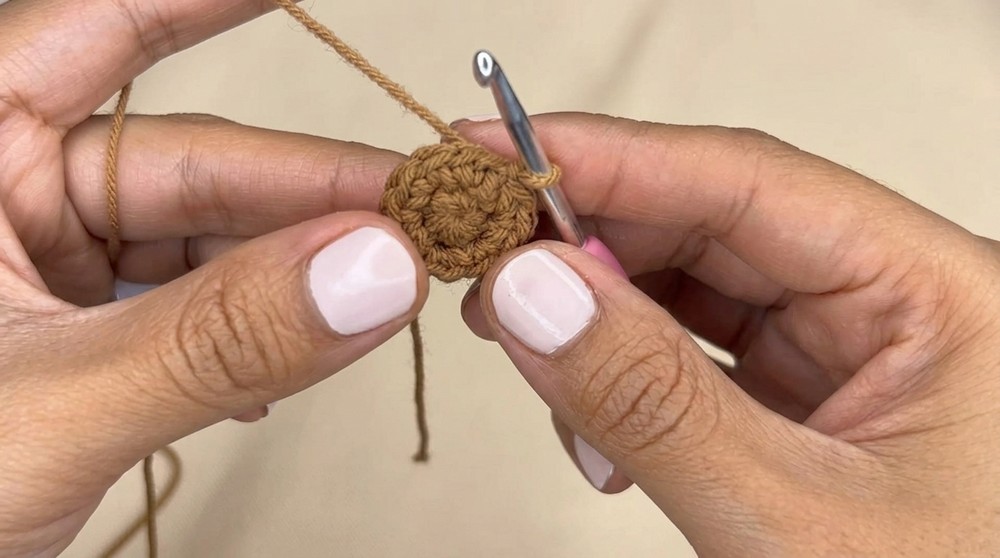
- Magic Ring (MR): Start with a loop of yarn that allows you to pull it tight for a closed circle at the beginning of crochet rounds.
- Increase (Inc): Crochet two stitches in the same stitch.
- Decrease (Dec): Combine two stitches into one (use invisible decreases by working in the front loops).
- Slip Stitch (Sl St): Used to join rounds.
- Back Loop Crochet: Work into the back loop of a stitch to create texture.
Pattern Instructions:
1. Ears
Make two ears for the lamb:
- Start with a Magic Ring.
- Round 1: Work 6 single crochets (sc) into the ring (6 sts). Tighten the loop and secure with a sl st.
- Round 2: Ch 1, increase in each st around (12 sts).
- Round 3: Ch 1, work 1 sc in the next st, Inc in the following st. Repeat around (18 sts).
- Rounds 4 to 5: Ch 1, 1 sc in each st (18 sts).
- Round 6: Ch 1, 1 sc, Dec. Repeat around (12 sts).
- Round 7: Ch 1, 1 sc in each st (12 sts).
- Round 8: Ch 1, 2 sc, Dec. Repeat around (9 sts).
- Round 9: Ch 1, work 9 sc (9 sts). Sl st to fasten off and leave a long tail for sewing.
2. Legs and Limbs
Make four identical legs:
- Round 1: Start with a Magic Ring, work 6 sc into it (6 sts).
- Round 2: Ch 1, work 1 sc, Inc in the next st. Repeat around (9 sts).
- Round 3: Ch 1, 1 sc in each st (9 sts).
- Round 4: Ch 1, 1 sc, Dec. Repeat around (6 sts).
- Round 5: Work 3 decreases (3 sts left). End with a sl st leaving a long tail to sew.
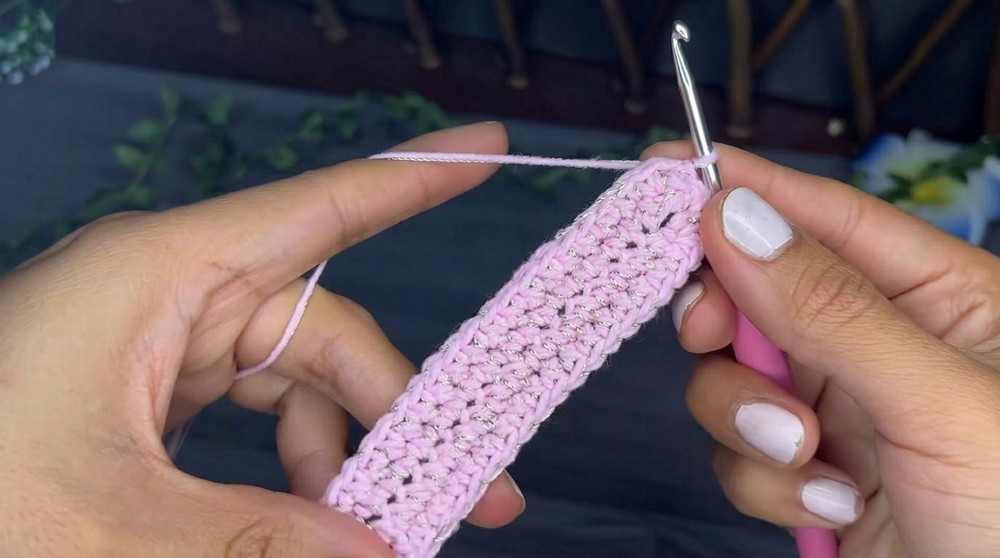
3. Body (Bag Base)
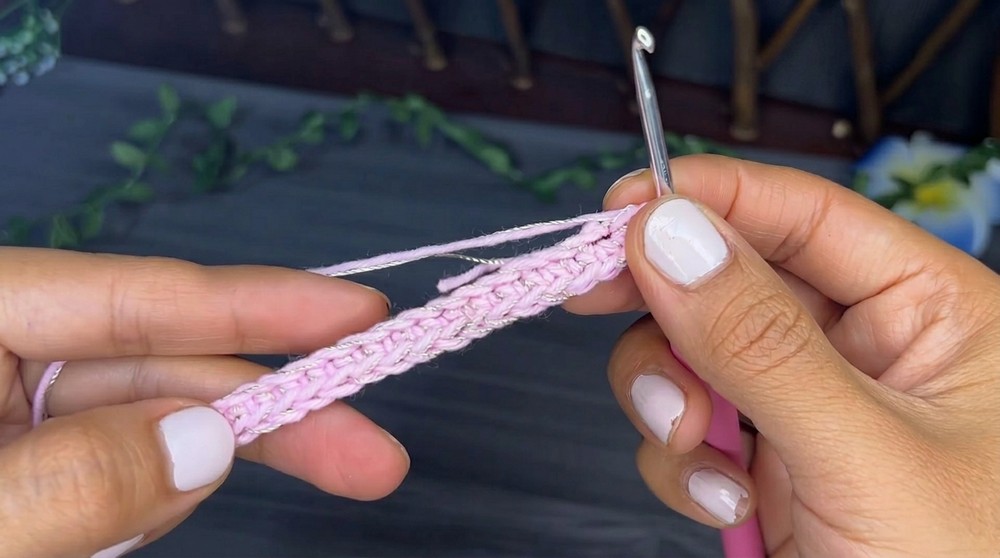
- Foundation Chain: Ch 20.
- Row 1: Work sc in the next 18 chains, 3 sc in the last chain. Turn to the other side of the chain foundation and work 17 sc, 2 sc in the last chain. Join with a sl st (40 sts total).
- Row 2: Ch 1, Inc in the first st, 17 sc, 3 Inc in the next three sts, 17 sc, 2 Inc in the last two sts. Sl st to close (46 sts).
- Rows 3 to 16: Work sc in each st around (46 sts).
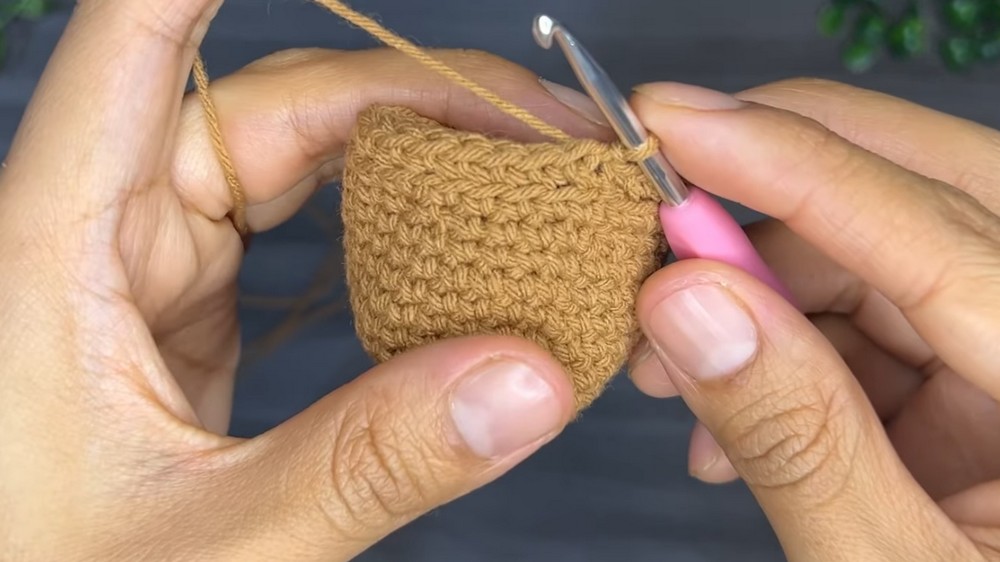
4. Head
- Foundation Chain: Ch 6.
- Round 1: Work sc in the second ch from the hook, then sc 4. Work 3 sc in the last st (turn to the other side), sc 3, 2 sc in the last st. Sl st to close (12 sts).
- Round 2: Ch 1, Inc in the first st, sc 3, 3 Inc, sc 3, 2 Inc (18 sts).
- Round 3: Work 1 sc, 1 Inc for three repetitions, 3 sc, 1 sc, 1 Inc for three repetitions, then 3 sc (24 sts).
- Round 4: Work 2 sc, 1 Inc for three repetitions, 3 Inc, 2 sc, 1 Inc for three repetitions, then 3 sc (30 sts).
- Rounds 5 to 10: Work even (30 sts).
- Round 11: Work 4 sc and 1 Dec around, ending with 25 sts.
- Continue decreasing to shape the sphere until the opening is small. Stuff with fiberfill as you go and close securely.
5. Fluffy Hair
- Attach macrame yarn to the front loops left from Round 12 of the head using a sl st.
- Create loops by chaining 5 and securing into the next loop with a sl st.
- Continue working loops in all stitches to create the lush “fluffy” head texture.
6. Handles
Make two identical handles with the brown yarn:
- Ch 8.
- Work sc in each st back and forth until the desired length (typically 20 cm).
- Secure the handles on either side of the body, ensuring even alignment.
Finishing
- Attach the ears to the head, positioning them symmetrically using the long tails to sew securely.
- Sew the head to the body, ensuring it’s well aligned and stable to prevent wobbling.
- Attach legs to the bottom of the bag, two in front and two at the back, arranging them to provide balance.
- Add safety eyes or glue on eyes to the head, leaving 2 to 3 stitches between them.
- Embroider a small smile or nose with black thread for added charm.
- Hide and trim any loose threads for a polished finish.
Final Words
Congratulations on completing “Nubecita, the Lamb Crochet Bag.” This project is an ideal way to create something functional, cute, and handmade. Each stitch embodies care and attention, making it a piece to cherish or gift.
Tips to Maintain the Pattern
- Washable Care: Use gentle handwashing for the yarn to maintain its texture and shape.
- Adjustments: Feel free to adjust the size of the bag, head, or loops by resizing the chains or rounds.
- Alignment: Use pins or stitch markers when positioning parts to ensure symmetry.
- Experiment: Try different yarn combinations or colors to give Nubecita its unique personality.