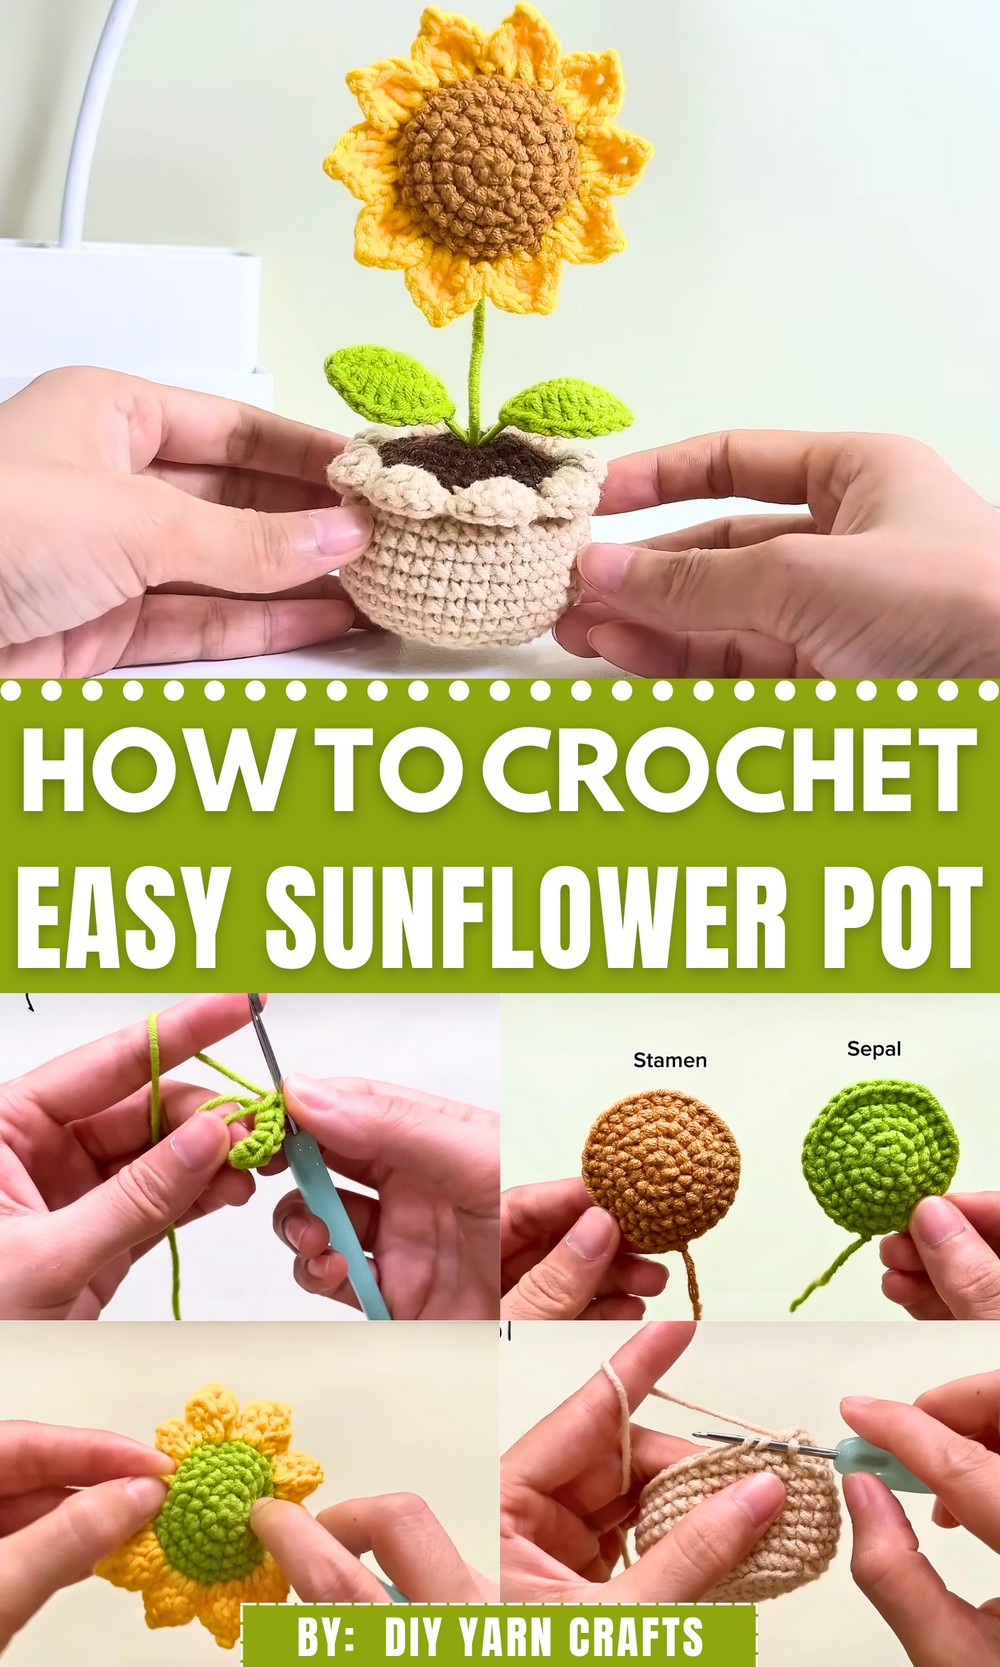
Infuse your space with lasting cheer using this Free Crochet Sunflower Pot Pattern that adds a soft, sunny touch without the need for watering or sunlight.
During colder seasons when fresh blooms fade away, many turn to handmade alternatives that last and uplift through the year. One such charming project involves sunflowers, those cheerful bursts of yellow known to symbolize warmth and resilience. This small yet striking piece captures that spirit in a way that’s both practical and adorable. The free crochet sunflower pot pattern makes it easy to enjoy floral decor that never wilts or fades. With soft yarn petals and a sturdy base, the sunflower pot brings color and comfort into any space, perfect for windowsills, work desks, nursery shelves, or gift baskets.
Free Crochet Sunflower Pot Pattern to Brighten Desks and Windows
This project offers more than visual appeal. It’s lightweight, easy to display, and requires no watering or sunlight—making it ideal for plant lovers with busy schedules or small living areas. Whether given as a thoughtful present or kept as a personal keepsake, this crochet sunflower pot holds lasting charm.
Its versatility suits seasonal decor, spring tablescapes, or everyday cheer. The calming process of stitching each petal and assembling the whole piece also brings its own quiet reward. For those looking to add joy and color without clutter, this handmade sunflower stands as a bright reminder of simple beauty, all within the palm of your hand.

Materials Needed
- Yarn (Green, brown, yellow)
- Crochet hooks
- Safety eyes
- Embroidery thread
- Wire (15 cm piece)
- Stuffing (cotton)
- Glue
Step-by-Step Instructions
Making the Soil:
- Row 1: Create a magic ring and make six single crochets into it. Tighten the loop and make a slip stitch into the first stitch.
- Row 2: Chain one, then make an increase in each stitch (two single crochets in each stitch) totaling six increases. Slip stitch into the first stitch.
- Row 3: Chain one, make a single crochet in the first stitch, then an increase in the next stitch. Repeat this pattern five more times. Slip stitch into the first stitch.
- Row 4: Chain one, make a single crochet in the first two stitches, then an increase in the next stitch. Repeat this pattern five more times. Slip stitch into the first stitch.
- Row 5: Chain one, make a single crochet in the first three stitches, then an increase in the next stitch. Repeat this pattern five more times. Slip stitch into the first stitch, fasten off, and cut the yarn.
Making the Stamen:
- Use brown yarn and follow the same pattern used for the soil.

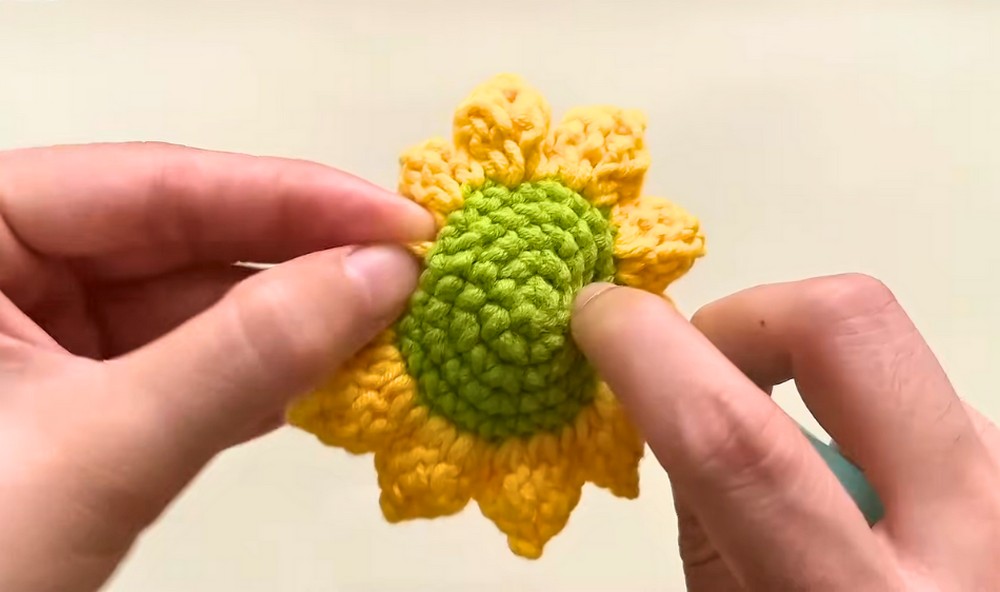
Making the Petals:
- Hold the soil and stamen together, insert your hook into the first stitch of the brown and green parts, and pull yarn through both stitches. Chain two.
- Work a double crochet and a treble crochet into the next stitches of both sides.
- Chain two, then make a slip stitch into the second chain from the hook.
- Repeat the pattern for the remaining petals, leaving a small opening to stuff.
- Make 10 petals in total, then slip stitch into the first stitch and fasten off. Cut the yarn and weave in the ends.
Making the Leaves:
- Make a slip knot and chain eight. Prepare a 15 cm piece of wire and crochet with the wire.
- Insert your hook into the second chain from the hook and make a single crochet, half double crochet, and double crochet in the successive chains.

- Chain two, then work back into the last stitch again with a single crochet.
- Continue to crochet along the chain, covering the wire completely, and fasten off. Cut the yarn and wrap the yarn around the wire, securing it with a knot.
Making the Pot:
- Row 1: Create a magic ring and make eight single crochets into it. Tighten the loop and make a slip stitch into the first stitch.
- Row 2: Chain one, then make an increase in each stitch for a total of eight increases. Slip stitch into the first stitch.
- Row 3: Chain one, single crochet in the first stitch, increase in the next. Repeat seven more times. Slip stitch into the first stitch.
- Row 4: Chain one, single crochet in the first two stitches, then increase in the next. Repeat seven more times. Slip stitch into the first stitch.
- Row 5: Chain one, crochet using the back loops only, single crochet in the first three stitches, then increase using the back loop only. Repeat seven more times. Slip stitch into the first stitch.

- Row 6: Chain one, make 40 single crochets in both loops.
- Rows 7-12: Repeat Row 6 for a total of six rows. Slip stitch into the first stitch.
- Row 13: Chain one, make three single crochets, then a decrease using the next two stitches. Repeat seven more times. Slip stitch into the first stitch.
- Row 14: Chain one, crochet using the front loops only, skip one stitch, make four double crochets in the next stitch. Chain one, skip one stitch, slip stitch into the next stitch. Repeat seven more times. Slip stitch into the first stitch, fasten off, and weave in the ends.
Assemble the Sunflower Pot:
- Insert the flower into the small hole left in the soil, sew the pot and soil together, and stuff it with cotton.
- Apply glue on the wire and wrap the yarn around it to form the branch.
- Insert the branch through the center of the sunflower, continues wrapping yarn around the branch and tying the leaves to it.
- Wrap yarn completely around the branch and secure with glue.
Special Features
- The project includes detailed steps for creating realistic petals, leaves, and a sturdy base.
- Integrated wire adds a flexible structure to the leaves.
- Combining multiple techniques creates a visually appealing and intricate design.
Difficulty Level
This project is suitable for beginners, as each step is clearly demonstrated. Intermediate crocheters can enjoy honing their skills with detailed stitching patterns.
Tutor’s Suggestions
- Ensure each step is completed before moving on to avoid mistakes.
- Use the suggested materials for the best results.
- Adjust the wire carefully to achieve the desired shape and stability.
Uses
- A lovely decorative item for home or office spaces.
- Perfect gift for housewarmings, birthdays, and other special occasions.
Conclusion
This sunflower pot project is a delightful way to practice and expand your crochet skills. With its detailed yet straightforward instructions, you can create a beautiful piece that brings a touch of nature indoors.
Tip
Keep your tension consistent throughout to ensure the finished product has a uniform appearance.