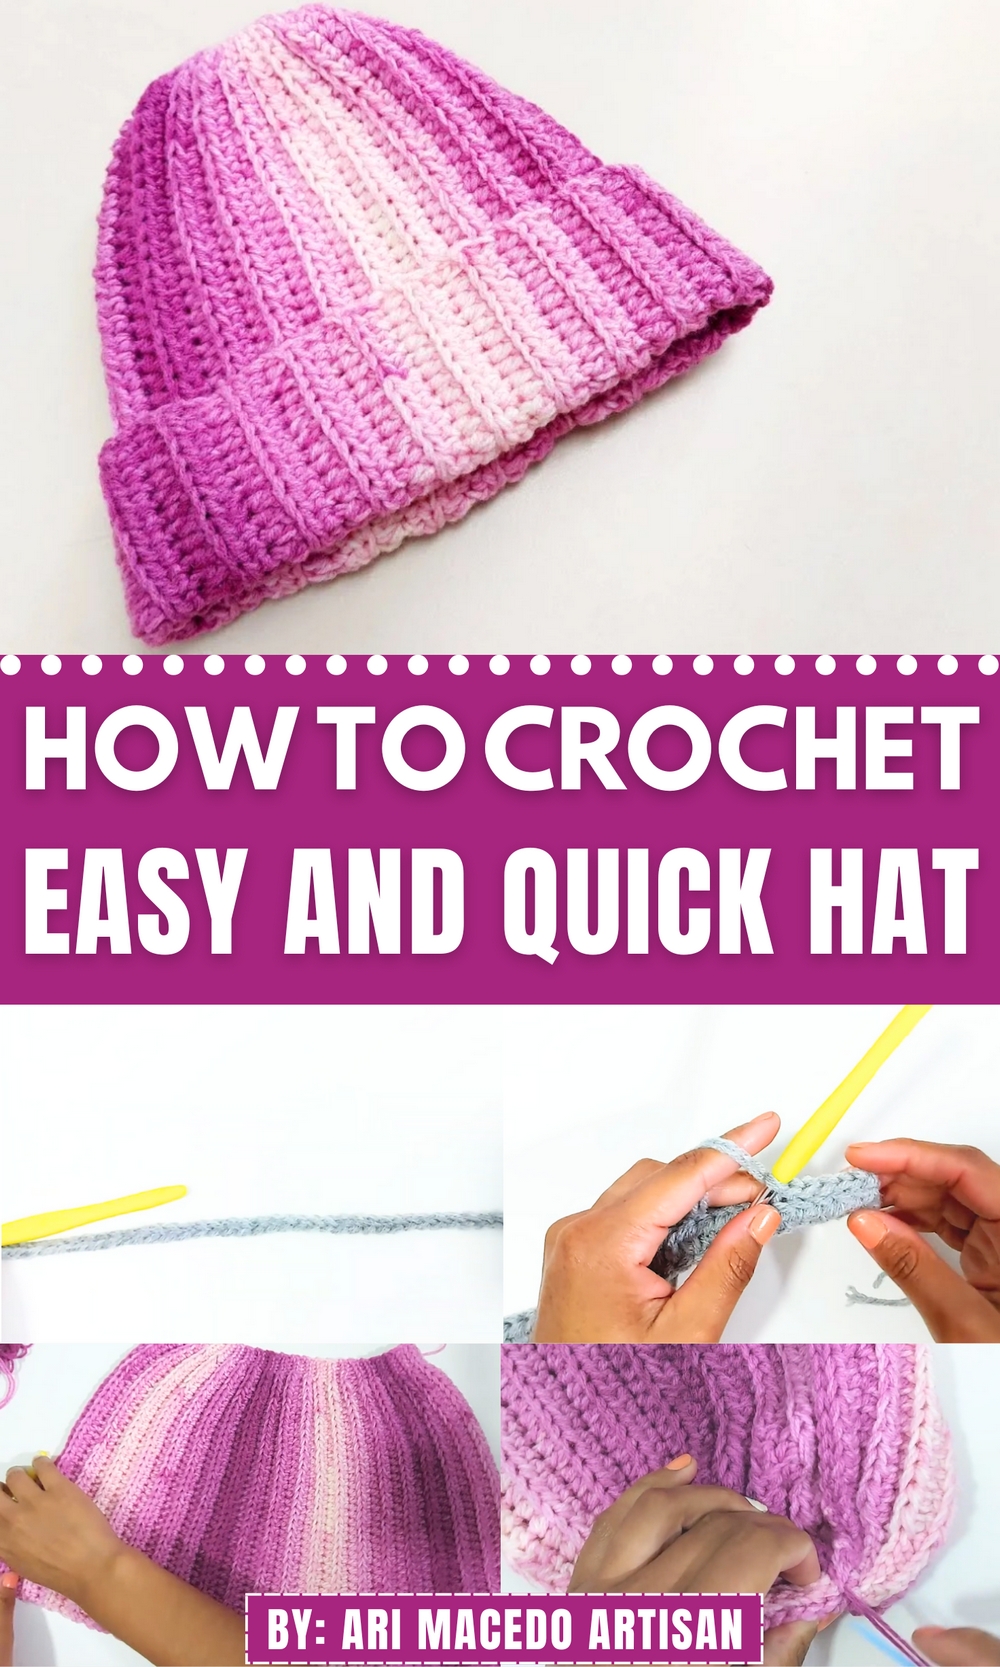
Shield chilly days in comfort and charm using this Free Crochet Wool Hat Pattern that offers cozy texture, timeless style, and a snug winter fit.
During long winter walks through frosty mornings, the simplest protection often becomes the most cherished. A warm wool hat, snug around the ears and soft to the touch, is more than just seasonal wear—it’s daily comfort that brings both warmth and charm to cold-weather routines. This piece serves exactly that purpose: it offers insulation, ease, and timeless style all in one.
How This Crochet Wool Hat Pattern Keeps You Stylish & Warm
The Free Crochet Wool Hat Pattern introduces a textured and neatly ribbed build, starting from the brim and worked upward in seamless rounds. The initial stitches form a snug, stretchy edge that fits securely without pressure, making it both practical and gentle for extended wear. As the rounds build up, a rhythmic pattern forms, offering both visual appeal and cozy thickness. At the crown, subtle shaping allows for a smooth, gathered finish, neat and symmetrical.
This hat works well as a daily winter essential, suitable for both casual wear and gifting. Whether you’re heading outdoors or staying in a chilly space, it becomes a reliable companion. In all its simplicity, it stands out for its comfort, texture, and reusability—easily washable and durable enough to last through many seasons without losing shape or softness.

Special Features of the Hat
- Unique Texture: The structured rib-like texture of the hat is achieved using slip stitches and back-loops only, which gives a beautiful and subtle relief pattern.
- Stretchy Fit: The design ensures a snug and comfortable fit.
- Customizable Size: The number of stitches and rows can be adjusted to create hats for all ages.
- Optional Decorations: A pompom can be added for a playful touch.
- Reversibility: The hat has a clean and polished look on both sides, allowing it to be used with or without a fold.
Level of Difficulty
- Beginner to Intermediate:
While basic crochet skills such as chain stitching, slip stitching, and half-double crochet are needed, the step-by-step explanation makes this tutorial accessible even for beginners familiar with the foundational techniques. More experienced crocheters will find it easy and quick to complete.
Materials Needed
- Yarn: 360 meters of Batik wool (100 grams) in color 9504. Other wool brands such as Lama or Lê can also be used, preferably with a similar texture.
- Note: If the yarn is thin, it is recommended to use double yarn by pulling the yarn from both the inner and outer ends of the skein.
- Crochet Hook: 5.5 mm hook.
- Accessories:
- Scissors
- Finishing/tapestry needle
- Measuring tape
Step-by-Step Instructions
1. Begin with the Base of the Hat
- Create an initial loop to begin your chain.
 Crochet a long foundation chain, approximately 30 cm in length:
- For this adult-sized hat, 45 chain stitches were used (total length ~32-33 cm).
- Add 2 chains for height.
- Start the first row by crocheting half-double crochet (HDC) stitches. Begin in the 4th chain from the hook and continue across.

2. Adding Slip Stitches for Shape Stability
- At the start of the second row:
- Chain 1 and turn your work.
- Work 5 slip stitches (into the back loop) after starting. These will help shape the crown of the hat later.
- Resume half-double crochet stitches across, always working in the back loop for the textured effect.
3. Continue the Pattern
- Alternate Rows:
- At the start of even rows, work slip stitches (always 5 at the start, into the back loops). After the slip stitches, work half-double crochet across.
- At the start of odd rows, chain 2 and begin working half-double crochet across the entire row.
- Count stitches regularly to ensure accuracy. For example, in this pattern:
- 45 chains = 5 slip stitches + 40 half-double crochet stitches in each row. Don’t skip any stitches!
4. Repeat Rows to Achieve Desired Width
- Continue alternating the rows (back-and-forth) until the piece achieves the correct width. For this design:
- Width: 54 cm (~40 rows).
- Adjust according to the head circumference required for your project.

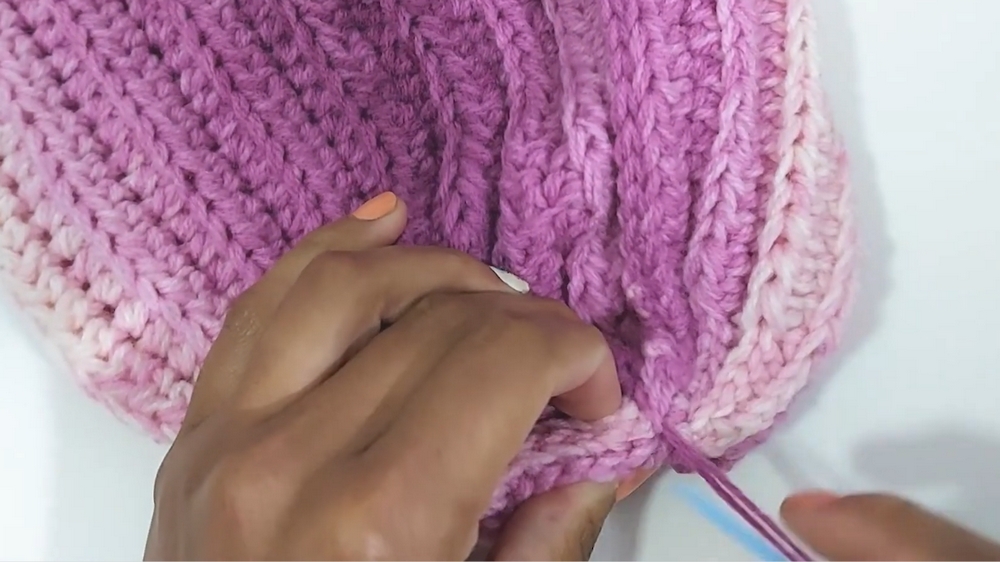
5. Seam the Hat
- Turn to the Wrong Side: Fold the project with the “wrong side” facing outward.
- Use the slip stitch method to seam the edges together:
- Take the back loops of stitches from both sides of the seam and work slip stitches to join them evenly.
- This ensures a clean, flat seam.
6. Closing the Top
- Use a tapestry needle with a piece of yarn to weave through the top edge (the wider edge).
- Pull the yarn snug to cinch the top closed. Secure it with tight knots.
- Add additional sewing across the gathered top to ensure it is fully closed.
7. Finishing Touches
- Use the tapestry needle to weave in loose ends on the inside of the hat.
- For decoration, add a pompom or any other embellishments of your choice.
Tutor’s Suggestions
- Yarn Texture Matters: If your yarn is thick, you can work with a single strand. For thinner yarn, double up for better structure.
- Count Stitches: Regularly count your stitches at the end of each row to avoid mistakes. Any extras will distort the symmetry of the hat.
- Experiment with Colors: While the tutorial uses a patterned wool, you can use solid or gradient colors for different looks.
- Try a Fold: Adding a fold at the base of the hat enhances its look and snugness.
Uses of the Hat
- Everyday Wear: Perfect for winter or chilly weather.
- Gifts: Personalized and unique handmade gift for loved ones.
- Accessories: Can be paired with scarves, gloves, and other winter gear to complete your look.
Pro Tip
For a polished and professional finish, always block your hat after it’s complete. Wet it slightly, reshape it gently, and allow it to air dry. This ensures that the stitches settle neatly, and the hat holds its shape perfectly.
Conclusion
This step-by-step tutorial teaches a simple yet stylish way to crochet a wool hat. With minimal materials and effort, you can create a cozy and elegant hat suited to your taste. Accessible to crocheters of different skill levels, this project emphasizes both functionality and aesthetic appeal. If you follow the instructions and tips provided, you’ll have a handmade creation to cherish or gift.