Add a fun and charming twist to your hairstyle with this free crochet cherry hair clip pattern, featuring easy steps to make a soft and adorable accessory at home.
Charming Free Crochet Cherry Hair Clip Pattern Everyone Loves
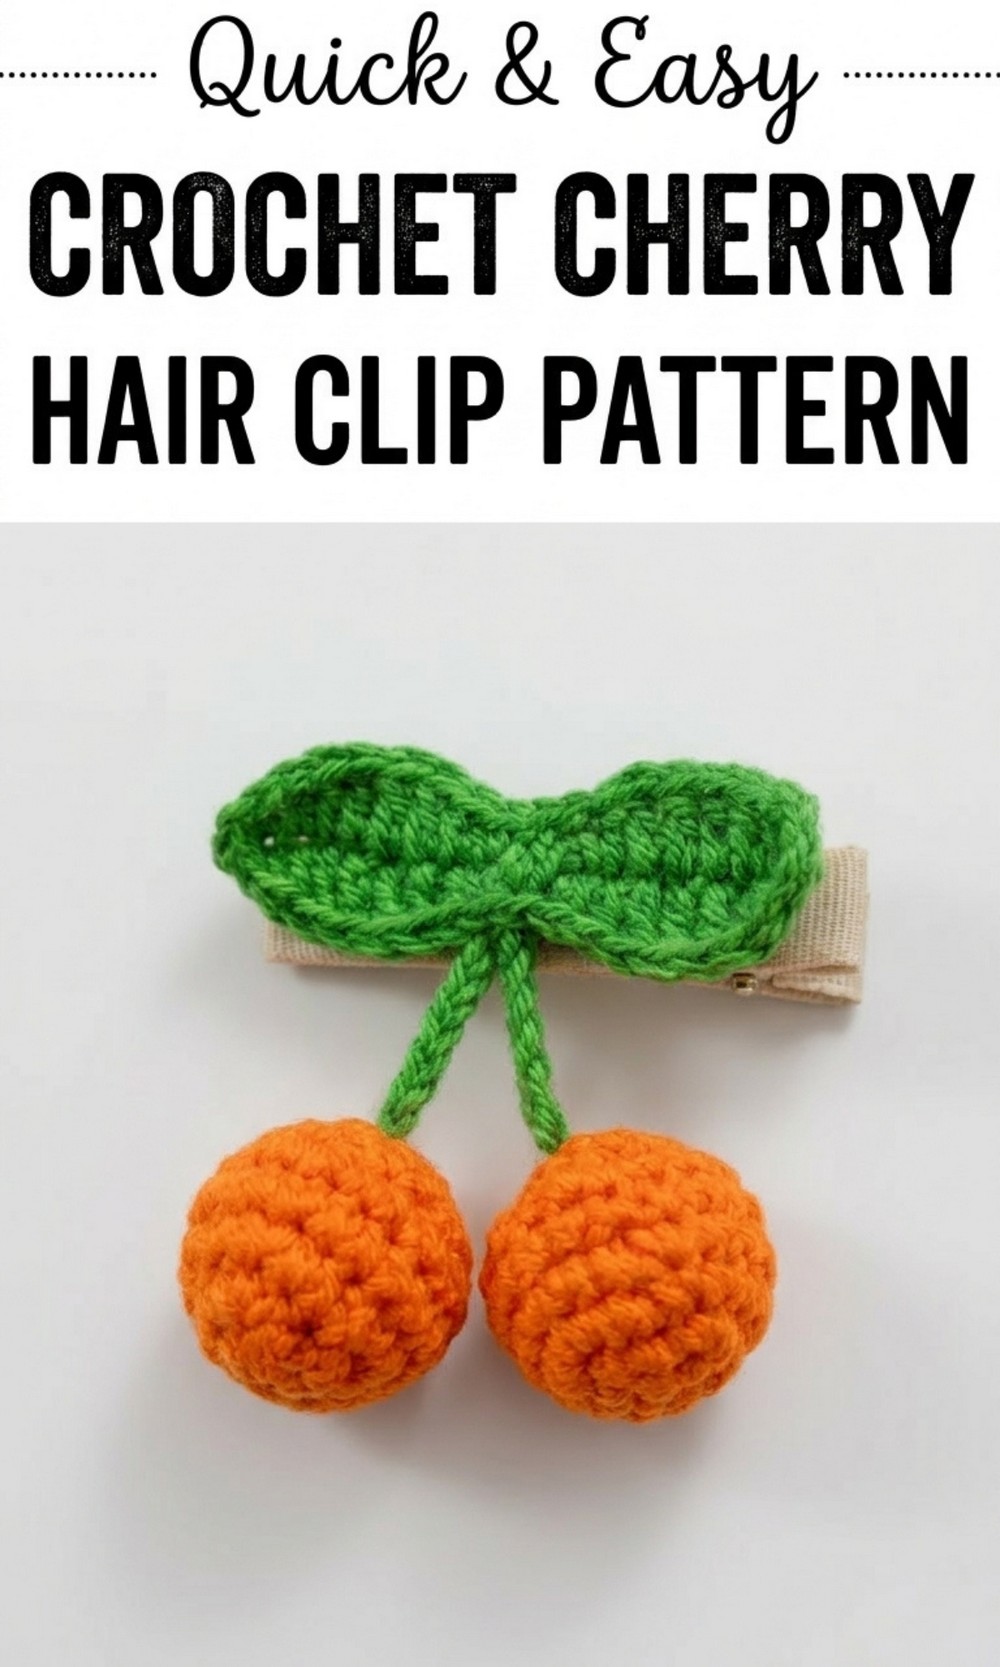
A delightful pop of charm for your hair! The “Free Crochet Cherry Hair Clip Pattern” offers a simple and creative way to crochet a vibrant accessory that stands out. With two bright red cherries paired with small green leaves, this clip adds a playful and refreshing touch to any hairstyle. 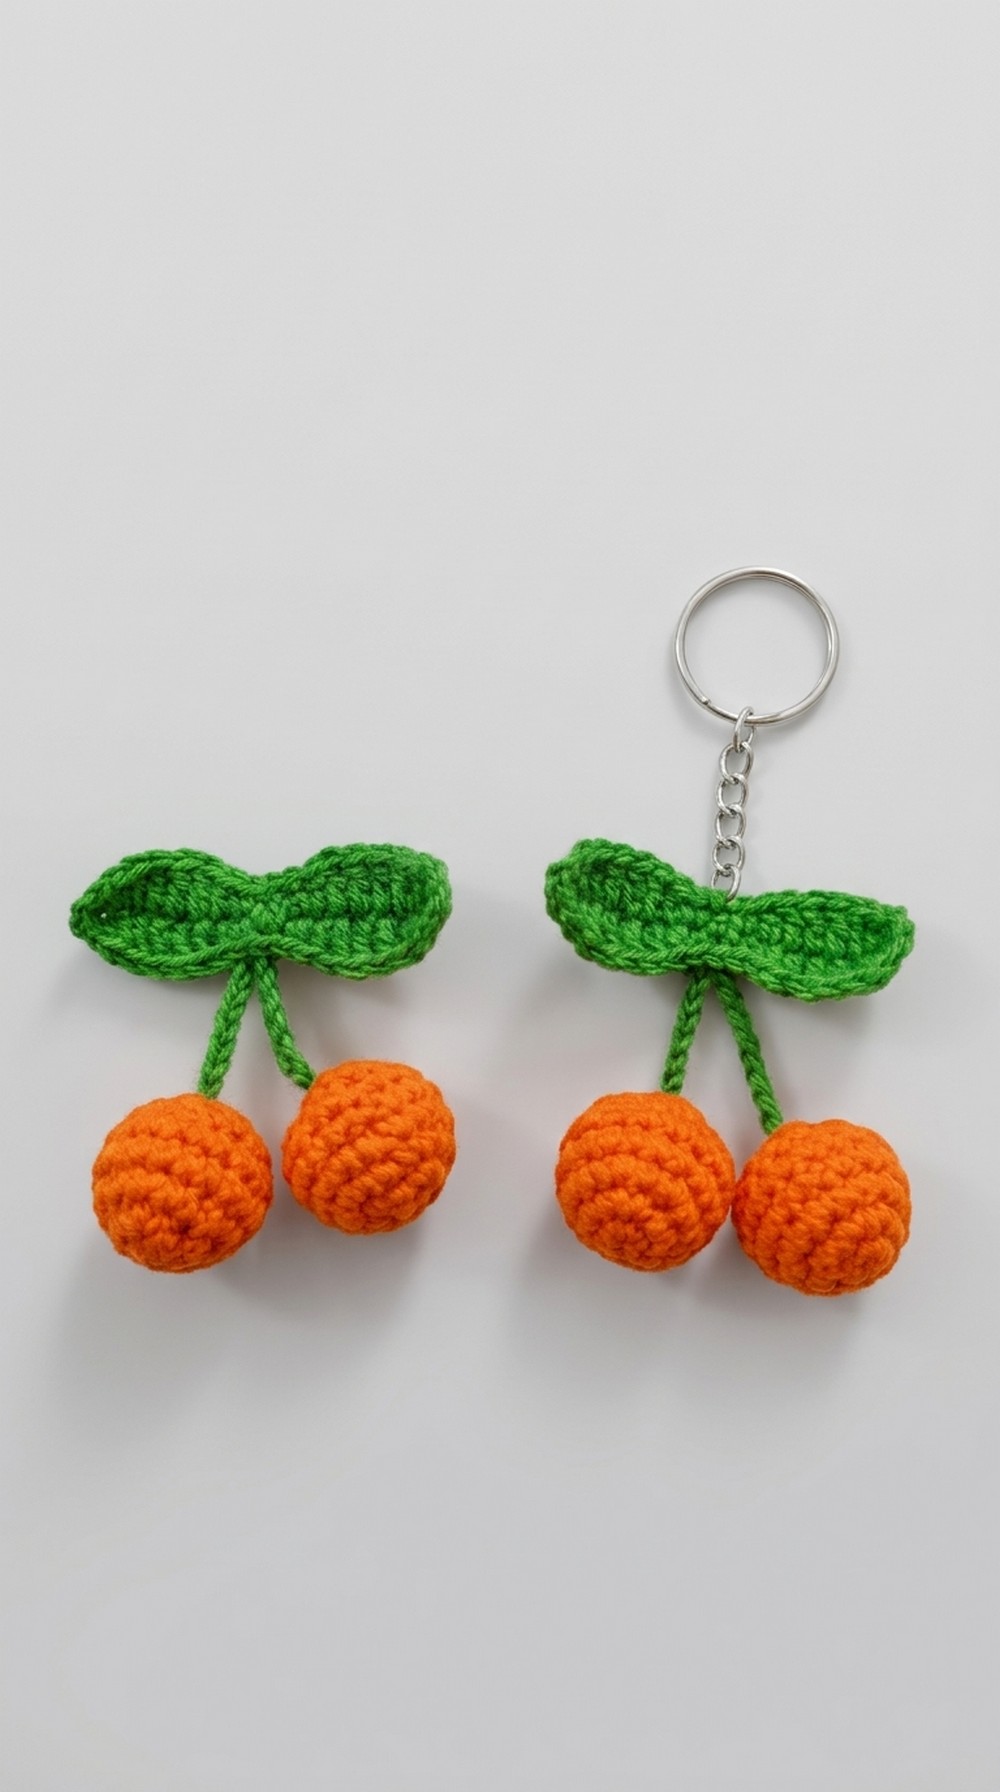
Perfect for casual outings, special occasions, or as a thoughtful gift, this lightweight and comfortable design is both cheerful and practical. Using straightforward crochet techniques like single crochet and the magic ring, this project is accessible even for beginners. Bring a splash of joy to your style with this fun and unique hair clip.
Crochet Cherry Hair Clip Pattern
Materials Required:
- Yarn:
- Red yarn for cherries
- Green yarn for leaves and string
- Crochet Hook: Size 2.5 mm
- Fiber Filling: For stuffing the cherries
- Tapestry Needle: For sewing and hiding ends
- Scissors: For cutting yarn
- Glue (Optional): For attaching the clip (hot glue gun or fabric glue recommended)
- Hair Clip Base: To attach to the cherry
- Keychain Ring: For making the cherry keychain
Techniques Used:
- Magic Ring
- Single Crochet (sc)
- Double Crochet (dc)
- Half Double Crochet (hdc)
- Slip Stitch (sl st)
- Increasing Stitch: Crochet two single crochets in the same stitch
- Decreasing Stitch: Combine two stitches into one
Pattern Instructions
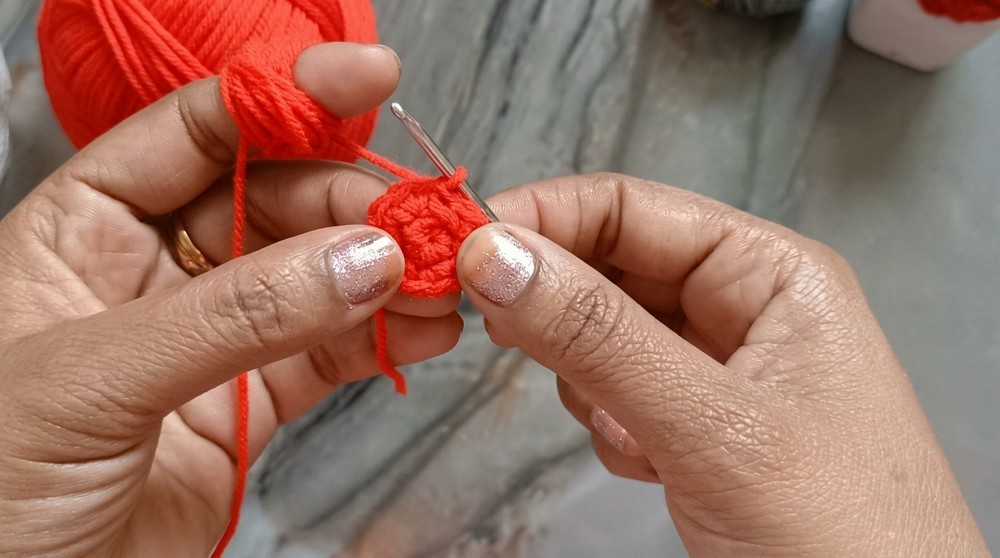
Part 1: Making the Cherry
- Start with the Red Yarn:
- Create a magic ring and secure it.
- Chain 1.
- Round 1:
- Work 6 single crochets (sc) into the magic ring.
- Pull the ring tight and join the round with a slip stitch (sl st).
- Round 2:
- Chain 1.
- Work 2 sc into each stitch around (total 12 stitches).
- Join with a sl st.
- Round 3:
- Chain 1.
- Alternate between 1 sc in the first stitch and 2 sc in the next stitch (increase).
- Repeat until the round is complete (total 18 stitches).
- Join with a sl st.
- Round 4:
- Chain 1.
- Work 1 sc in each stitch around to maintain the shape.
- Join with a sl st.
- Round 5:
- Chain 1.
- Start decreasing: Work 1 single crochet decrease (sc2tog) in the first two stitches and 1 sc in the next stitch.
- Alternate this pattern around (1 decrease, 1 sc).
- Join with a sl st.
- Stuff the Cherry:
- Using fiber filling, carefully stuff the cherry to ensure it holds a round shape.

- Using fiber filling, carefully stuff the cherry to ensure it holds a round shape.
- Round 6 (Final):
- Chain 1.
- Continue decreasing: Work decreases (sc2tog) until the opening is closed.
- Join with a sl st and cut the yarn, leaving a long tail for sewing.
- Finishing the Cherry:
- Use the tapestry needle to weave the tail through the final stitches for a smooth finish. Repeat this process to create a second cherry.
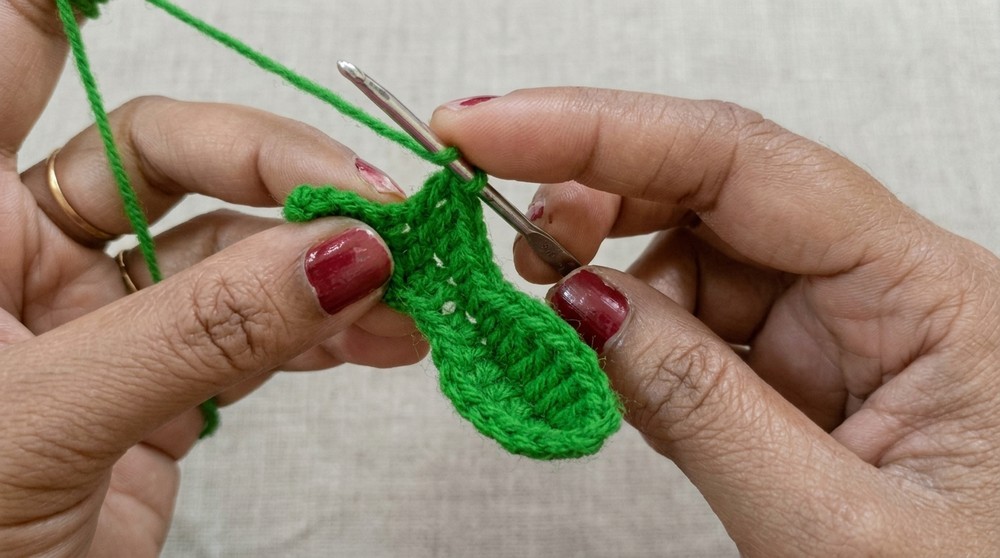
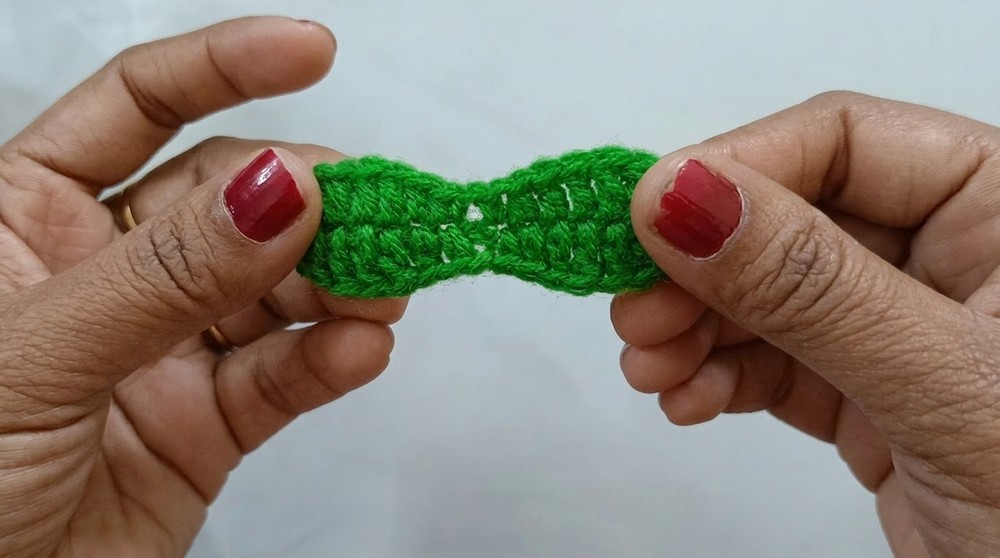
Part 2: Making the Leaf
- Start with Green Yarn:
- Create a slip knot and chain 18.
- Row 1:
- Skip the first chain and work:
- 1 sc in the second chain.
- 1 hdc in the next chain.
- 1 dc in each of the next 4 chains.
- 1 hdc in the next chain.
- 1 sc in the next chain.
- Skip the first chain and work:
- Row 2 (Other Side of the Chain):
- Chain 1.
- Turn and work back along the other side of the chain:
- 1 sc in the next chain.
- 1 hdc in the following chain.
- 1 dc in each of the next 4 chains.
- 1 hdc in the next chain.
- 1 sc in the next chain.
- Finishing the Leaf:
- Chain 1 and sl st at the center to close the row.
- Leave a long tail and cut the yarn.
- Weave the ends securely using a tapestry needle.
Part 3: Making the String
- Start with Green Yarn:
- Create a slip knot and chain 30 (you may adjust the number of chains for your desired length).
- Finishing the String:
- Chain 1. Cut the yarn and pull the thread tight.
- Tie knots at both ends for durability.
Part 4: Assembling the Cherry and Leaf
- Attach the String to the Cherries:
- Use the tapestry needle to sew the string ends to the top of both cherries securely.
- Attach the Leaf to the String:
- Thread the string through the point where the leaf overlaps.
- Securely tie the leaf in place with a knot.
Part 5: Adding Hair Clip or Keychain
- For Hair Clip:
- Use glue to attach the cherries and leaf ensemble to the hair clip base. Let it dry entirely before use.
- For Keychain:
- Secure the cherries, leaf, and string to the keychain ring using a tapestry needle or by tying tightly. Ensure it’s stable for regular use.

- Secure the cherries, leaf, and string to the keychain ring using a tapestry needle or by tying tightly. Ensure it’s stable for regular use.
Final Words
Your crochet “Cherry with Leaf” accessories are now complete, These handmade treasures are perfect as gifts or as personal accessories. With their delightful design, they’ll charm anyone who sees them.
Tips for Maintaining the Pattern
- Choose High Quality Yarn: This ensures durability and a polished final look.
- Use Tight Stitches: To prevent fiber filling from showing through the stitches, crochet with a firm tension.
- Wash Gently: If the cherries or leaves require cleaning, hand wash them gently in cold water and air dry to retain their shape.
- Experiment with Colors: Try different shades of yarn to create unique variations.