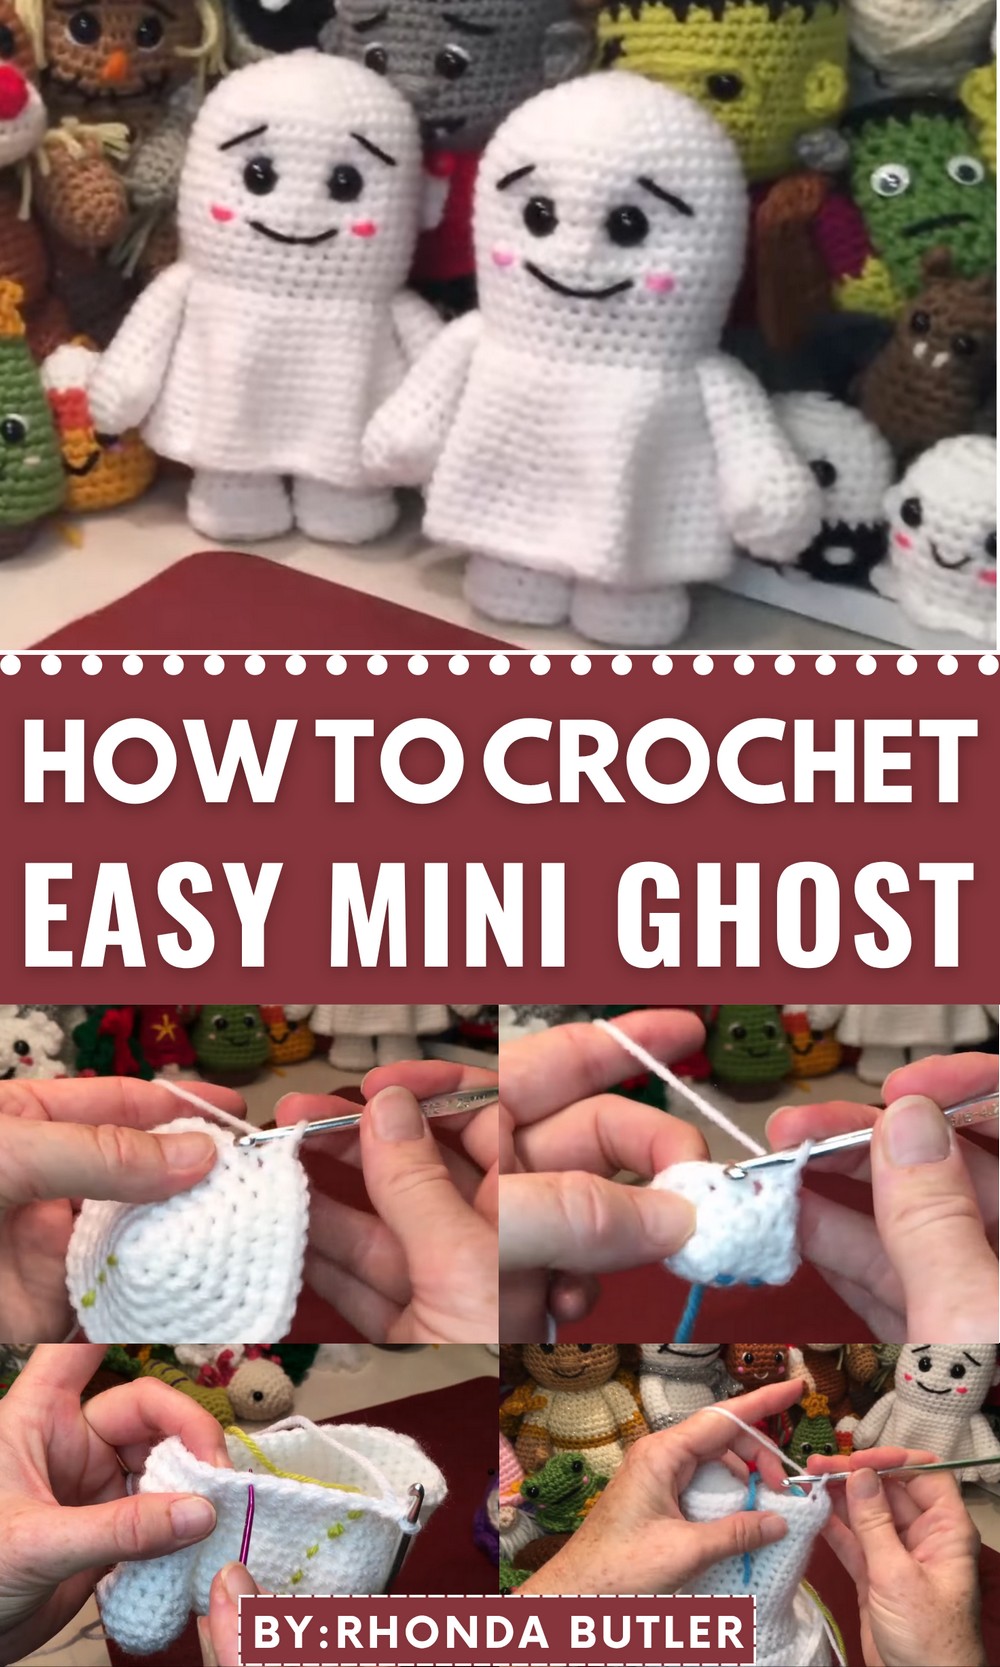
Spook up your décor with the Free Crochet Mini Ghost Pattern, creating cute, playful ghosts that add charm and a festive touch to any Halloween space.
As autumn evenings grow cooler and shadows stretch longer, small decorative touches can transform ordinary spaces into festive displays full of personality and charm. The Crochet Mini Ghost Pattern adds playful elegance to seasonal décor, capturing the whimsical spirit of Halloween in a compact, endearing form. These miniature ghosts are versatile, they can hang from door knobs, dangle from rearview mirrors, accent gift packages, or enhance table settings and mantels with subtle thematic charm.
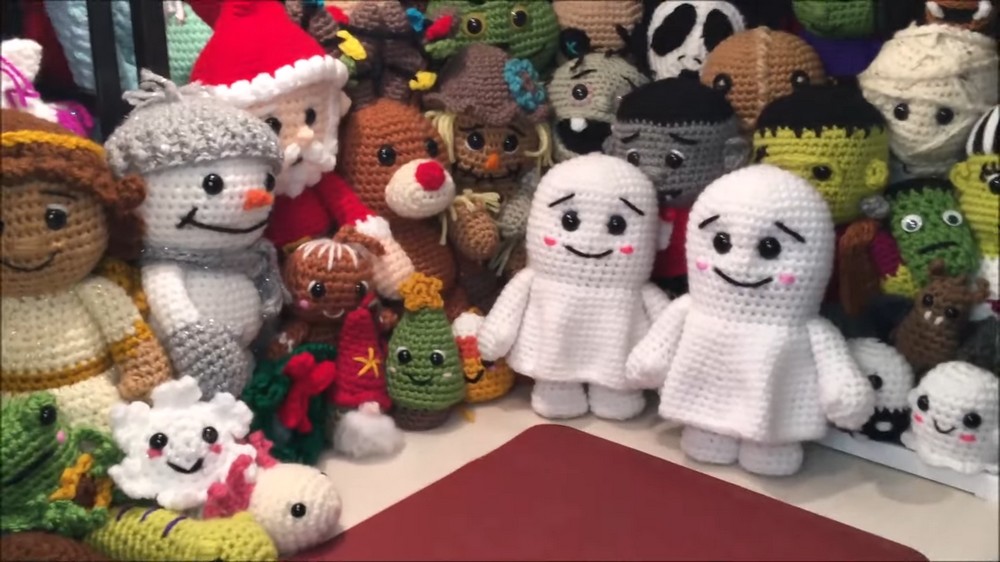
Boom Crochet Mini Ghost Pattern to turn Your Decor
The textured stitching creates a soft, visually appealing surface, adding depth and interest that draws attention without overwhelming the space. Lightweight yet durable, each figure holds its shape and character, making it suitable for repeated seasonal displays or as a thoughtful, unique gift for friends and family. Bringing this design to life also provides a mindful and rewarding experience, engaging focus, dexterity, and creativity while producing a tangible result that delights the eye.
Beyond decoration, these mini ghosts infuse spaces with personality and warmth, adding playful charm and festive energy wherever they appear. Combining visual appeal, practical versatility, and the quiet satisfaction of creating something special, these figures are more than ornaments, they embody the fun, imaginative spirit of the season, enhancing homes with elegance, whimsy, and joyful detail.
Materials Needed
- Yarn: No. 4 medium-weight yarn in white for the ghost, plus scraps of black (mouth and eyebrows) and pink (cheeks).
- Crochet Hook: 4.25 mm hook (works well with medium-weight yarn).
- Safety Eyes: 14 mm safety eyes for the ghost’s face.
- Stuffing: Fiberfill for stuffing arms, body, and legs.
- Yarn Needle: For stitching details and weaving in loose ends.
- Stitch Marker: Useful for tracking rows.
- Scissors: To cut excess yarn.
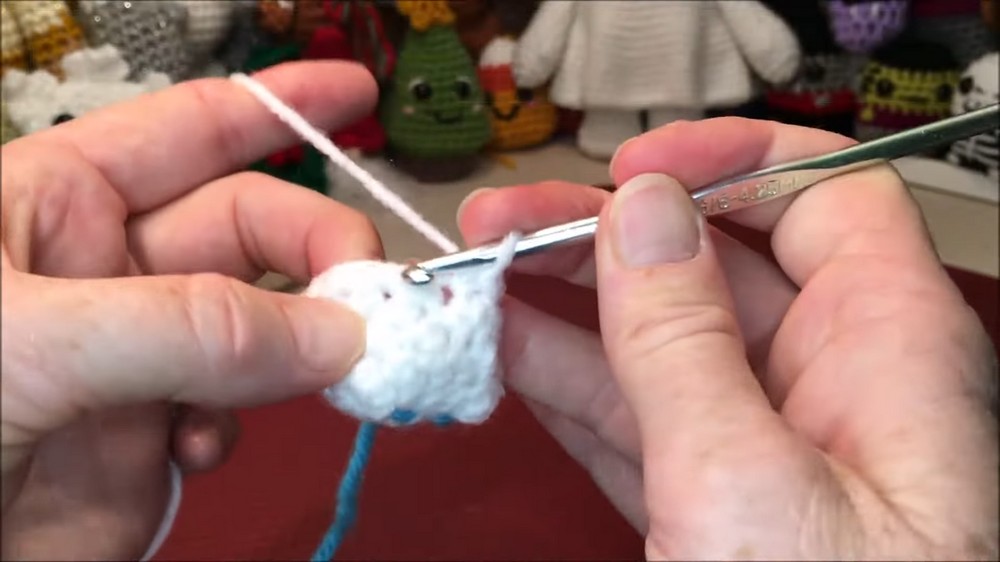
Step-by-Step Instructions for Making the Cute Little Ghost
Part 1: Begin with the Arms
- Create a slip knot to start and chain 1 (does not count as a stitch).
- Row 1: Make 6 single crochets into a magic ring. Pull the tail to close.
- Row 2: Increase every stitch (2 single crochets in each stitch) for a total of 12 stitches.
- Rows 3–4: Work 12 single crochets in each round.
- Row 5: Create a double crochet cluster of 3:
- Yarn over, pull up a loop, draw through the first two loops (repeat 3 times in the same stitch).
- Yarn over and pull through all loops on the hook.
- Continue making 11 single crochets around.
- Row 6: Work 2 single crochets, 1 decrease to reduce to 9 stitches total.
- Rows 7–12: Make 9 single crochets per round. Leave the thumb placement noted for arm symmetry.
- Stuff the arms lightly (firm stuffing in the hand, light in the arm) to ensure natural flexibility.
- Close the top by folding in half and working 4 single crochets across both sides. Leave a tail for attaching.
Repeat these steps for the second arm.
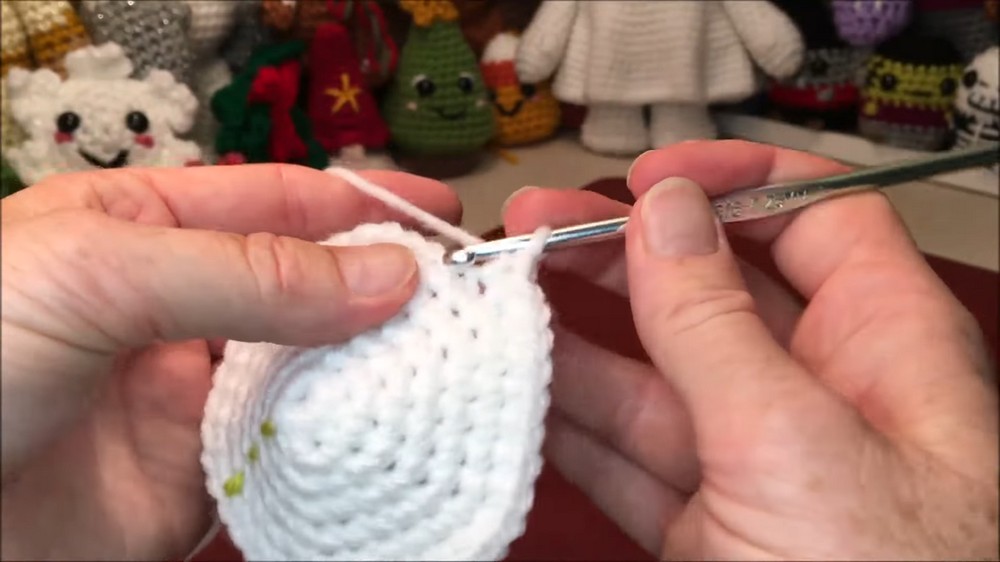
Part 2: Crocheting the Head
- Start the head with 8 single crochets into a magic ring (Row 1). Close the ring.
- Rows 2–7: Gradually increase stitches (e.g., Row 2 alternates 1 single crochet, 1 increase; Row 7 involves 5 single crochets, 1 increase).
- Final stitch count will be 42 stitches.
- Rows 8–13: Work 42 single crochets per round to form a rounded head.
- Add 14 mm safety eyes between Rows 11 and 12:
- Count rows down and position the eyes symmetrically using the arms for alignment. Secure eyes with backs.
Part 3: Attaching the Arms and Creating the Sheet Drape
- Row 19: Attach arms directly during crochet:
- Start with 7 single crochets, then attach the first arm using 4 single crochets through both the arm and head stitches. Continue with 14 single crochets around the back, attach the second arm in the same manner, and finish with 7 single crochets.
- Start with 7 single crochets, then attach the first arm using 4 single crochets through both the arm and head stitches. Continue with 14 single crochets around the back, attach the second arm in the same manner, and finish with 7 single crochets.
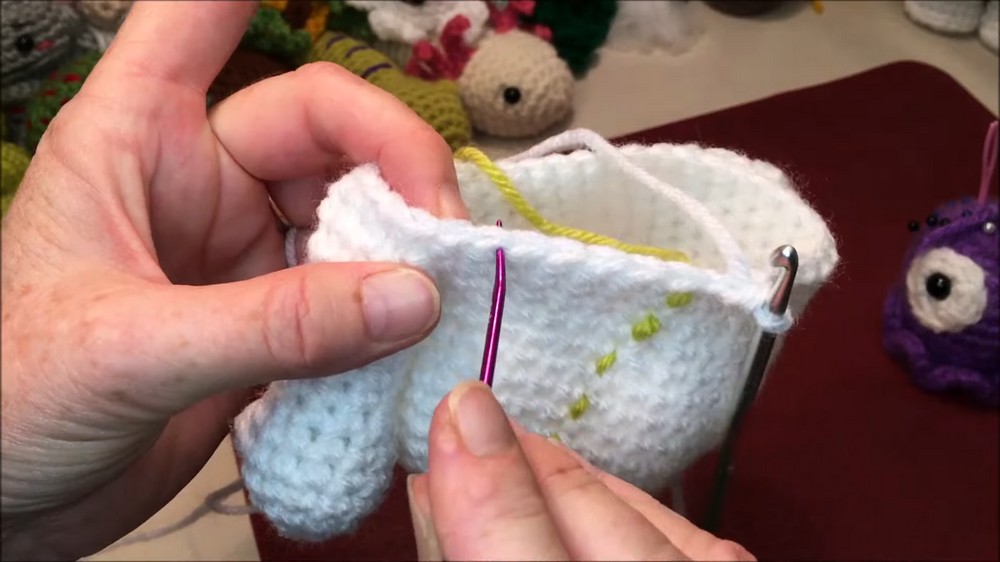
- Row 20 (Sheet Drape): Work 36 single crochets in front loops only. This leaves the back loops open for later use in the body.
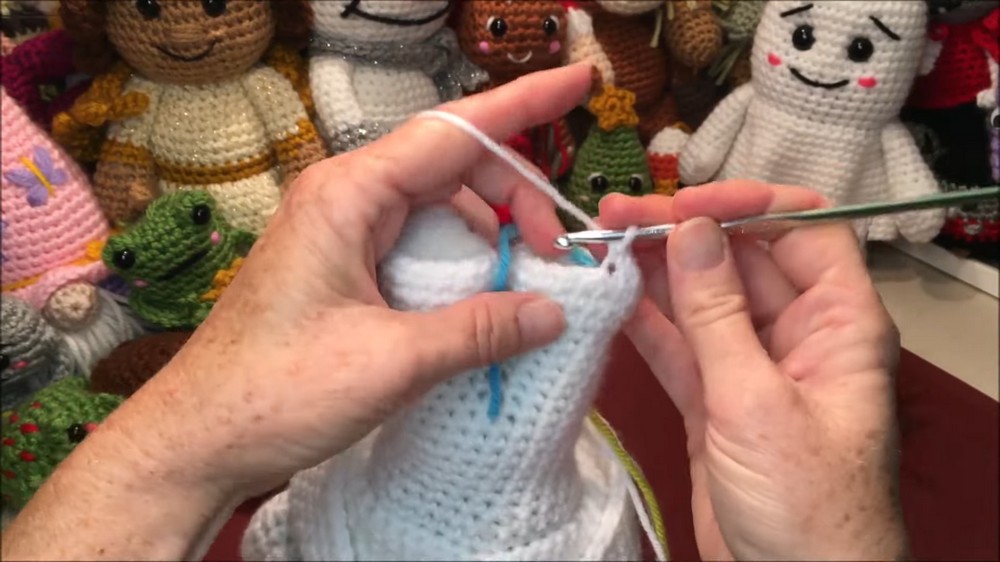
Part 4: Transition to the Body
- Add white yarn to the back loops from Row 20 to begin the ghost’s body.
- Row 1 (Body): Make 36 single crochets in back loops only.
- Decrease rounds gradually to narrow the shape:
- Row 2: 4 single crochets, 1 decrease to total 30 stitches.
- Row 3: 3 single crochets, 1 decrease to total 24 stitches.
Part 5: Adding the Legs and Finishing the Body
- Divide the bottom stitches into two groups of 12 (front and back). Flatten the body and mark 12 stitches for each leg.
- Legs:
- Begin leg rows with 12 single crochets and gradually increase to 18 stitches in later rows.
- Optionally, switch colors to create “pants” and “shoes” for the ghost.
- Close each leg by working in back loops only to create a flat bottom. Finish with decreases and weave ends.
Part 6: Adding Details
- Mouth: Using black scrap yarn, embroider the mouth 3 rows below the eyes:
- Create a curved smile by gently pulling stitches downward during embroidery.
- Eyebrows:
- Embroider short slanted lines above each eye using black yarn to create expressive features (angry, mischievous, or happy expressions based on placement).
- Cheeks:
- Use pink yarn to add rosy cheeks. Wrap yarn around stitches next to the corners of the mouth two to three times.
Special Features
- No-Sew Pattern: The ghost is crocheted as a seamless project with components joined during the stitching process.
- Drape Effect: The “ghost sheet” is cleverly created using the front and back loop technique.
- Customizable Details: You can personalize the ghost’s expressions by adjusting the eyebrows, mouth shape, and even outfit colors for pants or shoes.
Level of Difficulty
- Beginner to Intermediate: While the basic stitches are beginner-friendly (single crochet, increase, decrease), intermediate crocheters will find the no-sew method and detailed shaping techniques slightly more challenging.
Tutor’s Suggestions
- Use Stitch Markers: Mark rows and sections carefully (especially for arms, legs, and body parts) to avoid losing count.
- Stuff Gradually: Fill stuffing lightly as you go to avoid affecting the shape and flexibility.
- Follow the Embroidery Tips: For detailed features like the mouth and eyebrows, dig yarn into the stuffing to avoid messy lines showing through the fabric.
Uses
- Halloween Decor: Perfect for seasonal décor—display on tables, shelves, or as part of a spooky centerpiece.
- Handmade Gift: Ideal for giveaways or a fun, personalized gift to children or friends.
- Custom Toy: With optional outfit color changes, transform the ghost into a character with “clothes” for kids to enjoy.
Tip
When adding details like eyes and embroidery, take your time to ensure symmetrical placement and neat finishes. Use pins to map out positions beforehand for better results.
Conclusion
The Cute Little Ghost Tutorial is a creative and exciting crochet project, allowing you to craft a seamless and personalized decorative figure for Halloween or any other occasion. With detailed instructions, helpful on-screen pattern guidance, and tips on making adorable features, this project is a delight for any crocheter.