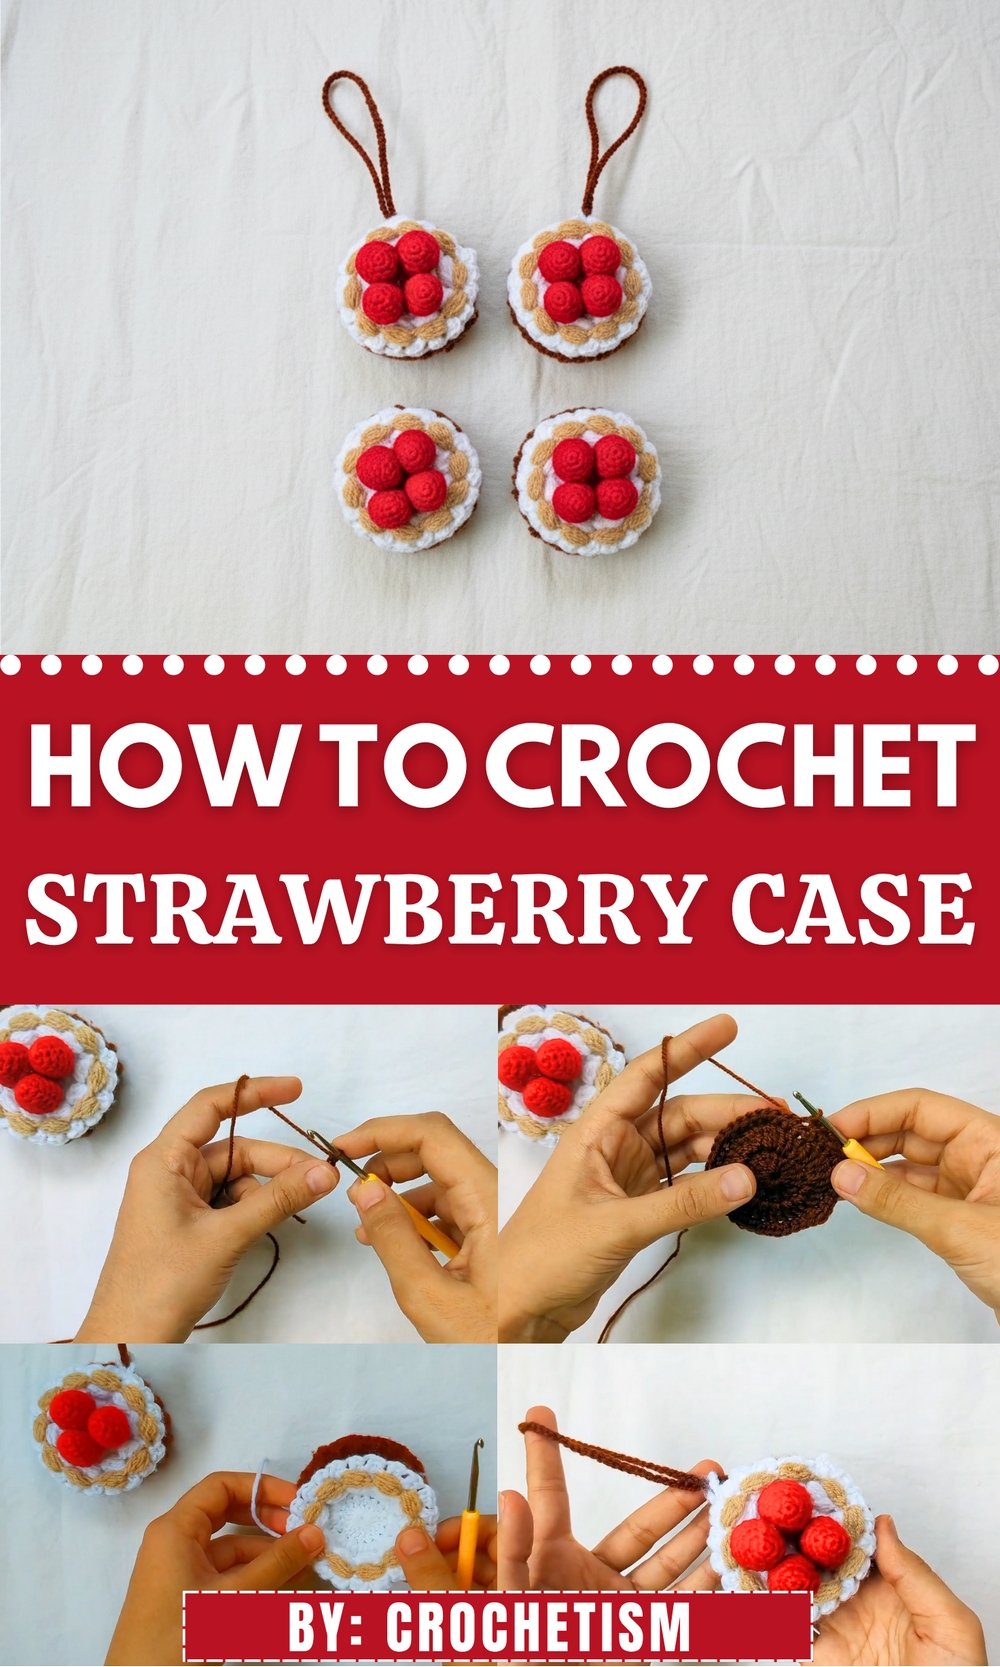
Delight in handmade charm with the Free Crochet Strawberry Tart Case Pattern, a cute accessory perfect for décor, gifts, or playful kitchen accents.
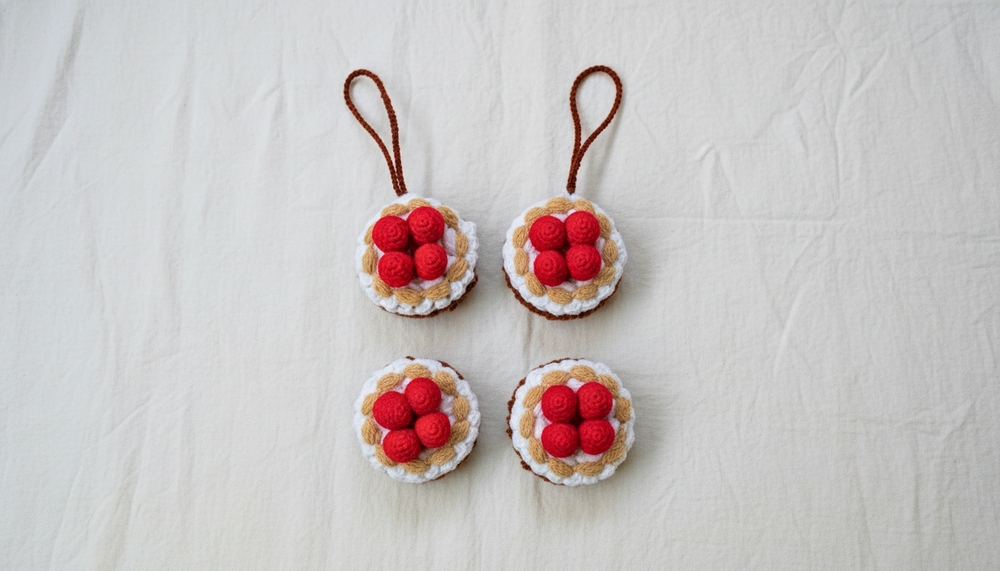
The charm of handmade treasures lies in their ability to bring simple joy to everyday objects. This crochet strawberry tart case embodies that sentiment perfectly, with its delightful blend of practicality and playfulness. The structured base, built through meticulous rounds of double and single crochets, forms the sturdy foundation to keep items like AirPods securely nestled inside.
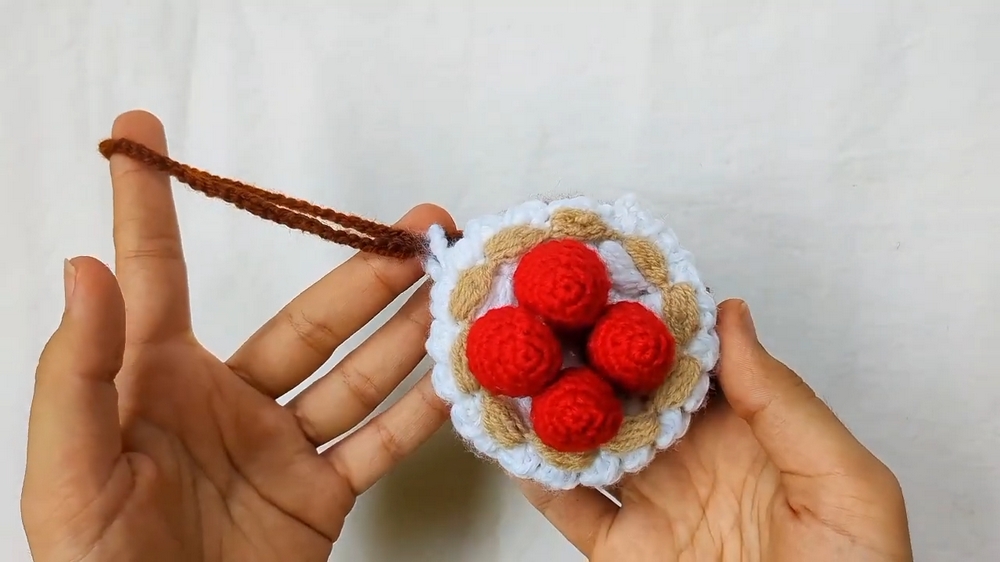
Mini Crochet Strawberry Tart Case Pattern Perfect for Gifts
The whimsical cream layer, created using clusters of double crochets, adds a textured, decorative flourish, while the green ruffles offer a lively and soft finishing touch. The process, though tailored for those with intermediate crochet experience, features a satisfying rhythm of familiar stitches paired with clear steps for assembly.
Crochet Pattern for Compact Strawberry AirPods Case
1. Materials Required
Yarn
- Red: Main body of the case and strawberries.
- White/Cream: Decorative cream and ruffles.
- Green: Optional for strawberry leaves and accents.
Suggested Fiber: Acrylic or cotton yarn that is tightly spun for durability.
Hook
- 2.0 mm crochet hook
Notions
- Stitch markers
- Hot glue gun (to attach strawberries and accents to the case)
- Scissors
- Tapestry needle (for weaving in ends)
- Optional: Stuffing for strawberries
2. Gauge
Gauge is less critical for this project, but ensure stitches are tight enough to create durable structure and prevent stretching while used as a case.
3. Finished Size
Approximately compact to fit an AirPods case snugly, depending on yarn tension and hook size.
4. Special Techniques
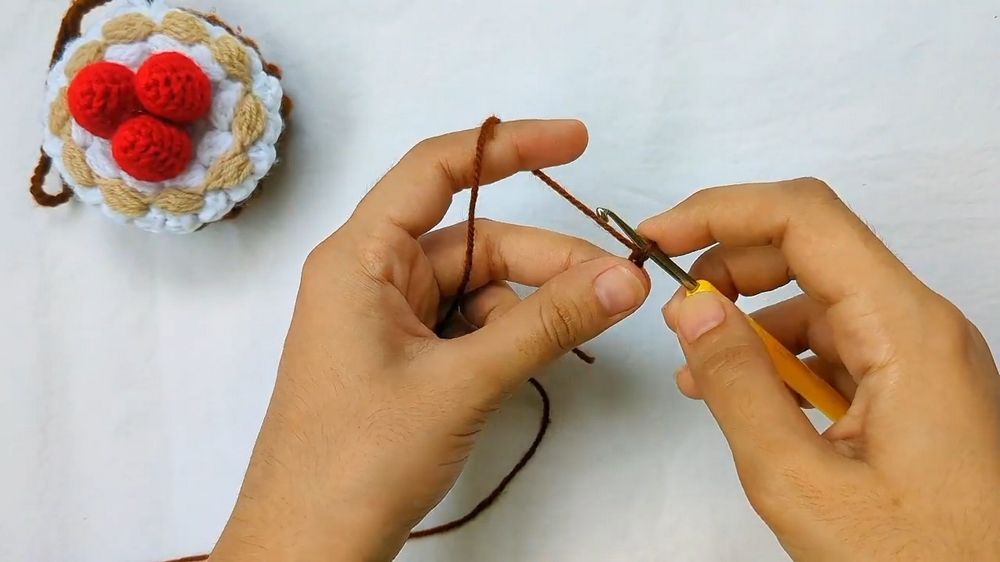
Magic Ring
- Wrap yarn around your fingers to form a ring.
- Insert hook into the center and pull up a loop.
- Chain 1 to secure the loop, then crochet the specified number of stitches into the ring.
- Pull the tail to close the ring tightly.
Front Post (& Back Loop Only Stitches):
To add texture:
- Front Post: Insert hook around the post of a stitch (going from front to back and out again). Yarn over and complete the stitch in the usual way.
- Back Loop Only: Insert hook into the back loop of the stitch and crochet as instructed.
5. Pattern Instructions (US Terms)
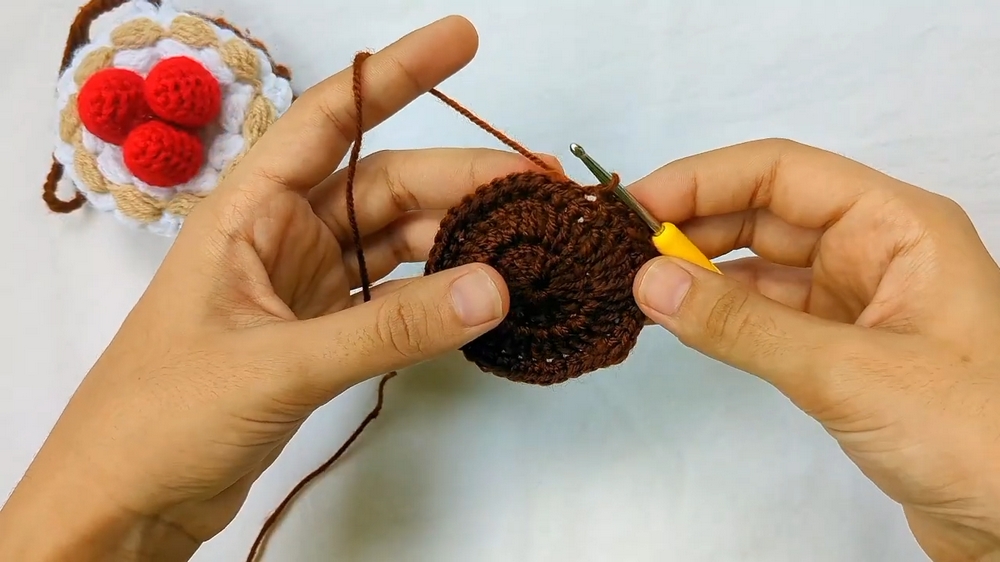
5.1. Main Case Body
Round 1:
- Begin with a magic ring.
- Ch 2, then work 16 dc into the magic ring.
- Pull the yarn tail to close the ring tightly.
- Sl st into the first dc.
(16 sts)
Round 2:
- Ch 2, then inc in each st (work 2 dc into every stitch) around.
- Sl st into the first dc.
(32 sts)
Round 3:
- Ch 1.
- Work in the following sequence around: 3 sc, 1 inc (2 sc in a single st).
- Sl st into the back loop only of the first sc.
(40 sts)
Round 4:
- Ch 2.
- Work 1 dc in BLO (back loop only) in each stitch around.
- Sl st into the first dc.
(40 sts)
Rounds 5–6:
- Work in alternating texture:
- Front Post Double Crochet (FPDC) into one stitch, followed by normal dc into the next stitch.
- Repeat this sequence all around for two rounds.
- Sl st into the first dc at the end of Row 6.
5.2. Cream Accents
Round 7 – Single Crochet Texture:
- Ch 1.
- Alternate 1 front post sc with 1 normal sc all around.
- Sl st into the first sc.
Round 8 – Chain Handle:
- Ch 60, then sl st into the same stitch from which the chain began.
- Ch 1 and cut the yarn.
- Pull out the loop and weave in all ends.
5.3. Decorative Cream Rows
Repeat Rows 1–3 of Core Pattern:
- Work the case bottom part in red as before (Rows 1–3).
Row 4:
- Work single crochet all around, ensuring that the wrong side faces outward.
At the last stitch, insert the hook and change to white yarn for decorative cream.
Cream Ruffle Pattern:
- Attach white yarn:
- Ch 2, then work 4 dc together (cluster) into space.
- Skip 3 stitches, then sl st into the next st.
- Repeat:
- Ch 2, work 4 dc together, skip 3 sts, and sl st into the next stitch.
- Repeat the pattern around.
- Ch 1 and cut the yarn.
- Optional: Add another cream row in the second increase row to create layered depth.
5.4. Ruffles
Ruffle Pattern:
- Ch 2 and leave 8 sts from the cream row for initial setup.
- Work hdc inc (2 hdc in the same st) into the same stitch.
- Repeat hdc inc and sl st into next st for a total of 12 repetitions.
Layered Ruffles:
- Add ruffles over the white panel using a similar pattern as above.
- Finish with ch 8, sl st into the same st.
Ch 1, cut the yarn, and weave in ends.
5.5. Small Strawberries
Strawberry Base:
- Magic ring: Work 4 sc.
- Sl st into the first sc.
Round 1:
- Ch 1, then work sc inc (2 sc in one st) all around.
- Sl st into the first sc.
Round 2:
- Alternate 1 sc, 1 inc (2 sc) all around.
- Sl st into the first sc.
Round 3:
- Sc in each st all around.
- Sl st.
Round 4:
- 2 sc, 1 dec (invisible dec using outer loops only). Repeat all around.
- Sl st.
Stuffing & Closing:
- Stuff the strawberry with cotton/polyfiberfill.
- Use decreases to close the strawberry.
- Weave through the remaining stitches, pull tight, and FO.
Optional Leaves:
- Add green yarn to the top and create small surface stitches for foliage.
5.6. Assembly
- Attach Strawberries:
- Use hot glue gun or sew strawberries onto the AirPods case wherever desired.
- Position Cream Layers and Ruffles:
- Arrange cream and ruffles symmetrically around the top.
- If adding multiple layers, ensure consistent spacing.
6. Customization Ideas
- Colors:
- Swap colors to match themes like pink strawberries or chocolate drizzle.
- Details:
- Use embroidery thread to add seeds to strawberries or subtle accents to the ruffles.
- Alternate Uses:
- Resize the pattern slightly larger for storing small items beyond AirPods, such as jewelry or cosmetics.
7. Conclusion and Remarks
This compact, decorative strawberry AirPods case combines function and flair, offering protection with visual charm. The layered ruffles, strawberries, and cream accents provide multiple dimensions to the project. While best suited for intermediate crocheters, anyone familiar with magic rings and front/post stitches can relish crafting this unique item.
Final Tips
- Tight Tension: Ensure a firm texture to provide durability as a case.
- Secure Attachments: Use glue sparingly and focus on sewing pieces for longevity.
- Experiment Boldly: Try varying the number of ruffles, strawberries, or even turning it into a tiny tote.