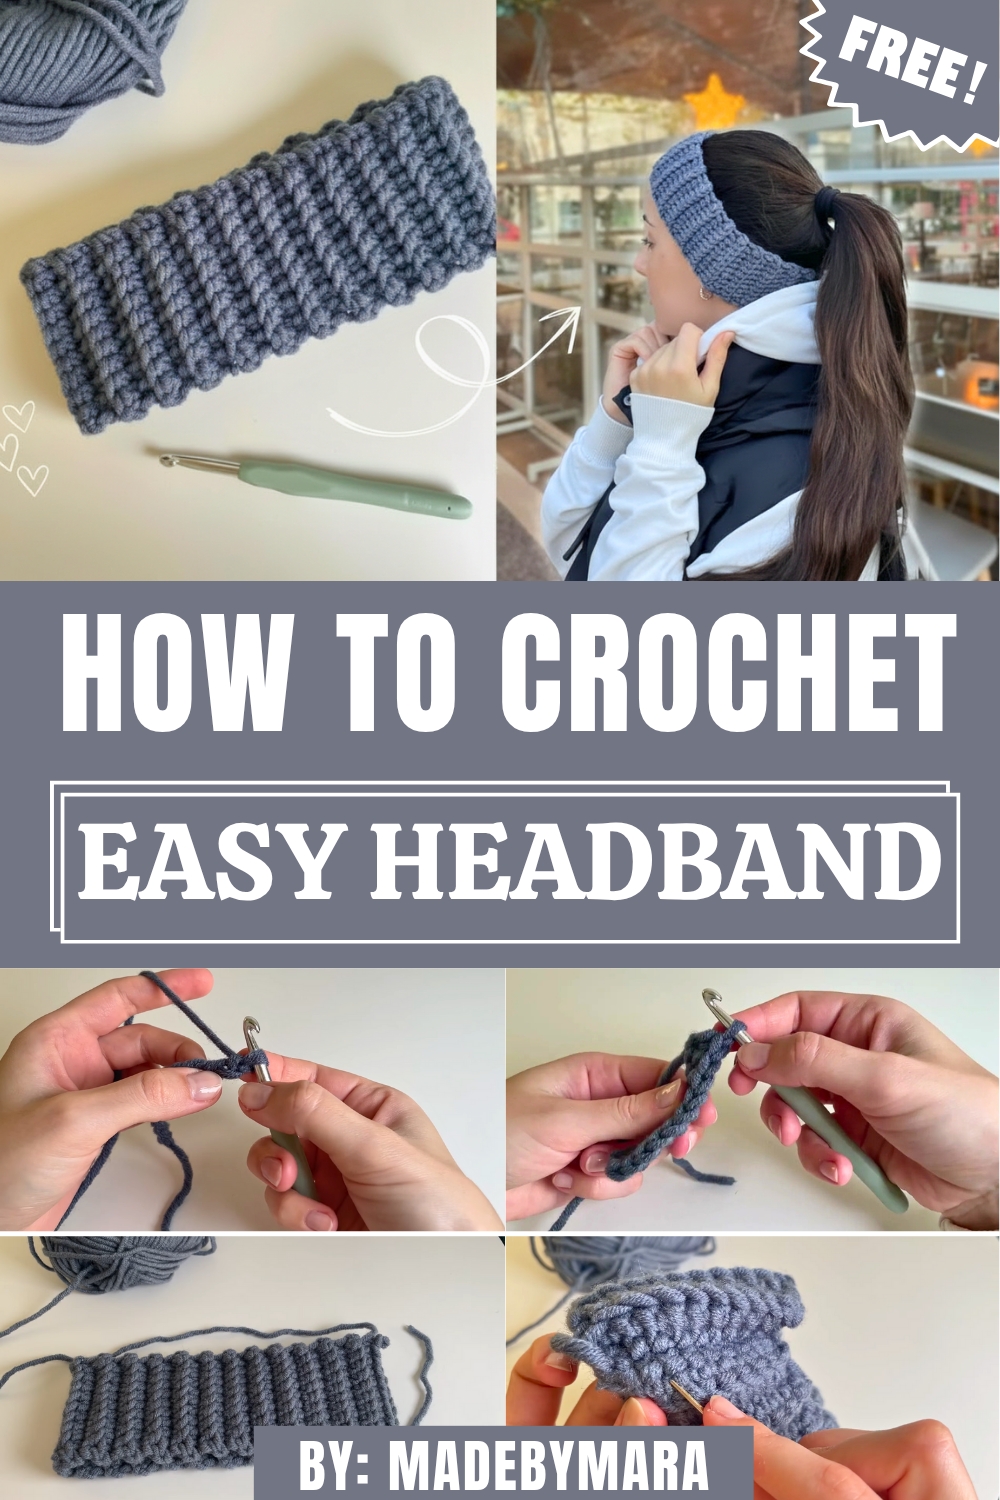
Stay stylish and cozy with the Free Crochet Headband Pattern, a trendy handmade accessory that adds warmth, texture, and charm to any outfit.
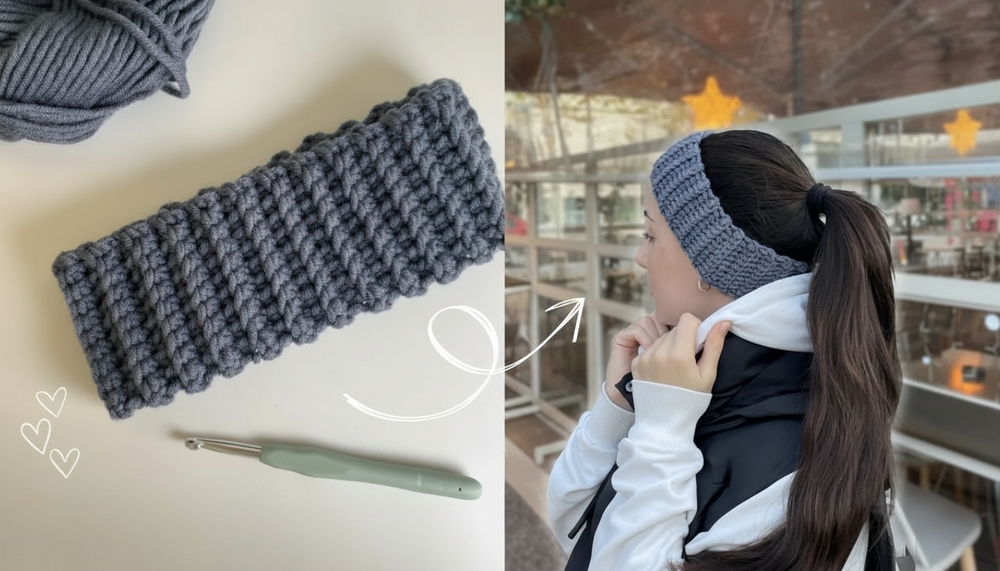
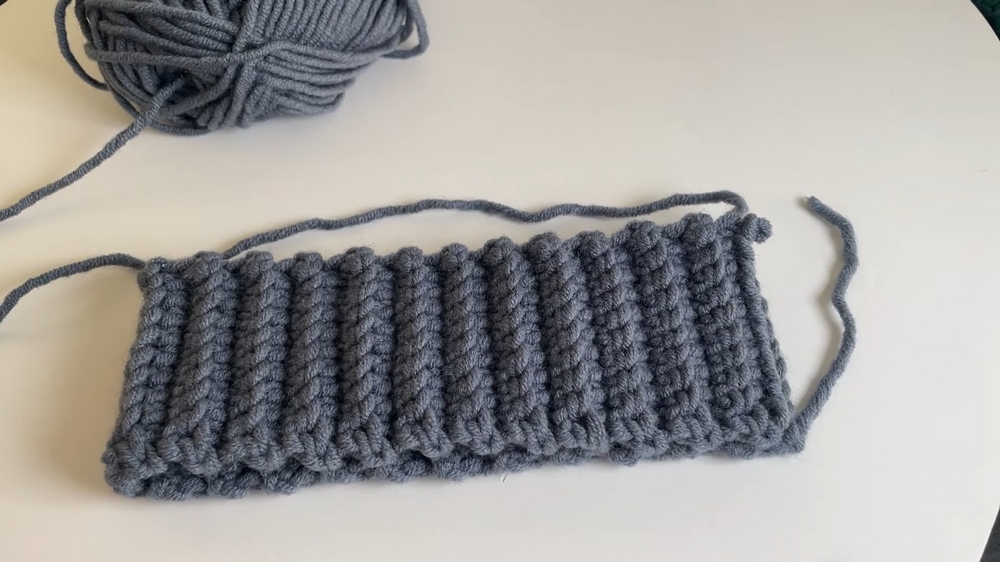
On a chilly morning, there’s nothing quite like slipping on an accessory that feels both cozy and stylish. This crochet headband offers just that, a practical solution to keep your hair tidy while adding a subtle touch of elegance to your outfit. Easy to make and beginner-friendly, it uses basic materials including bulky yarn, a size six crochet hook, scissors, and a yarn needle. Its textured ridged appearance, achieved by working stitches into the back loop only, lends a unique finish that stands out without being overly intricate.
How To Crochet Headband Pattern Adds Personality to Your Look
The lightweight, portable nature of this project makes it not only a quick creative outlet but also perfect for crocheting on the go. Easy to make and beginner-friendly, it uses basic materials including bulky yarn, a size six crochet hook, scissors, and a yarn needle.
Adjust the width and length to match your preferred fit, ensuring it sits snugly on your head. The headband’s measured dimensions in the tutorial—approximately 21 centimeters long and 7.5-8 centimeters wide—can serve as a helpful reference.
Ridged Headband Crochet Pattern
1. Materials List
- Yarn: Bulky yarn (weight category 5) in the color of your choice. The example uses approximately 40–50 grams. Adjust quantity based on the project size.
- Hook: Size 6 mm crochet hook (or size suitable for your yarn and gauge).
- Additional Tools:
- Scissors
- Yarn needle (for weaving in ends)
2. Skill Level
Beginner to Intermediate: Suitable for crocheters familiar with the following skills:
- Chain stitching
- Single crochet
- Slip stitching
- Working in back loops only for texture
3. Key Abbreviations (US Terminology)
- ch – chain
- sc – single crochet
- sl st – slip stitch
- BLO – back loop only
- st(s) – stitch(es)
All stitches are worked in US crochet terminology.
4. Special Notes
- Turning Chain (ch 1): The turning chain does not count as a stitch. Skip it and always work into the next st.
- Back loop only (BLO): To achieve the ribbed texture, insert the hook under the back loop (the loop farthest from you) rather than working under both loops.
- Customizing Size: The headband can be adjusted to fit any head size by increasing or decreasing the starting chain (headband width) and the total rows (headband length).
5. Pattern Instructions
5.1. Begin with Foundation Row
- Slip Knot & Chain:
- Start by making a slip knot.
- Ch 11 (or desired number for your preferred headband width).
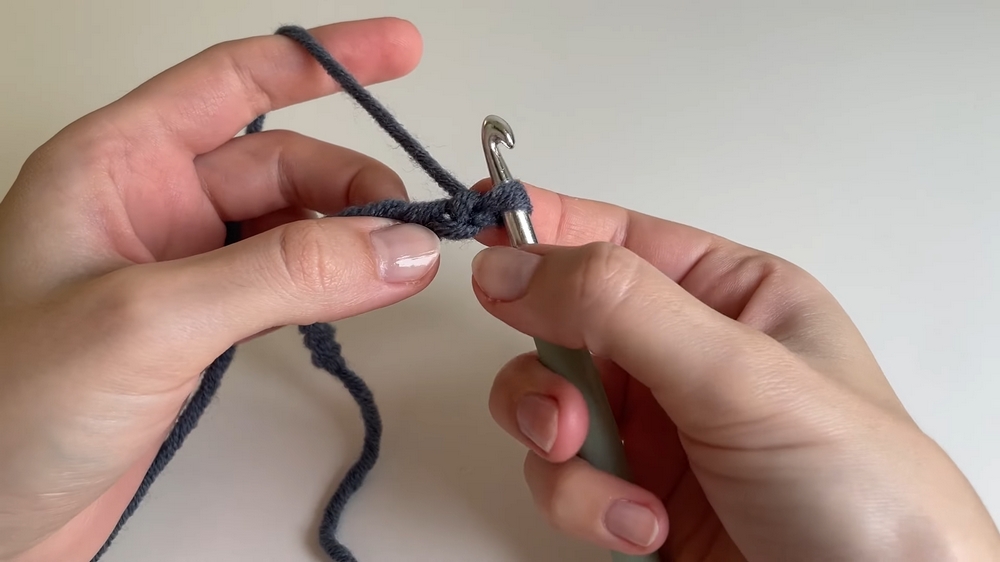
- Row 1 (Foundation Row):
- Begin in the second ch from the hook (not the one the hook is in).
- Sc into the second chain and across. You should have 10 sc at the end of the row (number of chains – 1).
5.2. Main Body of the Headband
- Row 2:
- Ch 1, turn your work.
- Insert the hook into the back loop only (BLO) of the first stitch (skip the turning chain). Sc into the BLO. Repeat BLO sc across the row. You should have 10 sc.
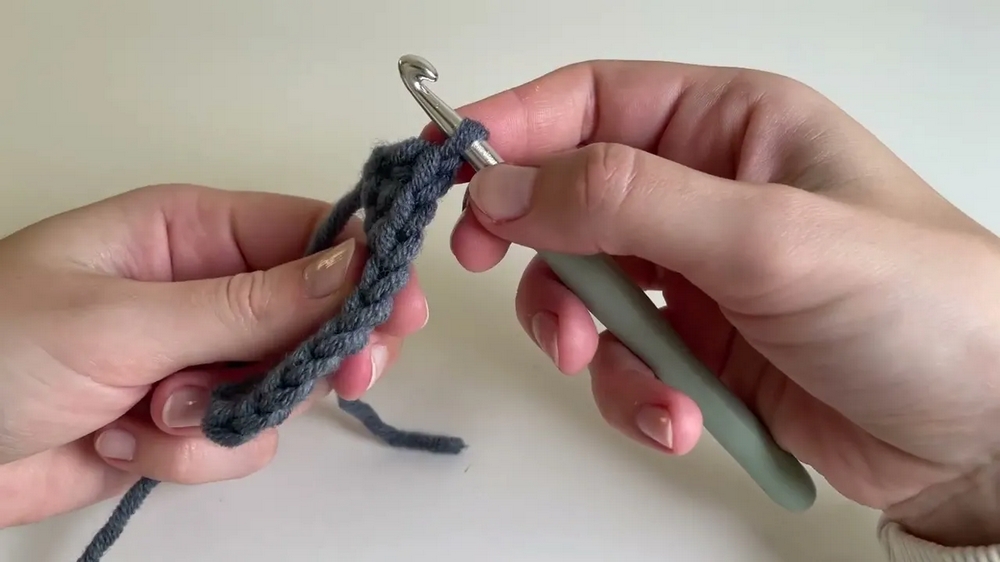
- Row 3 (and Beyond):
- Repeat Row 2, continuing to work BLO sc in each stitch across.
- Always ch 1 and turn at the end of each row.
- Continue Repeating Rows:
- Work in rows of BLO sc until the headband length fits comfortably around your head when slightly stretched.
- Tip: Keep the band snug, as the stitches will stretch slightly with wear.
5.3. Joining the Headband
- Join Ends (Slip Stitch Seam):
- Fold the headband in half, aligning the short edges.
- Hold both edges together; ensure the right side (ribbed texture) is facing out.
- Insert your hook through the back loop of the nearest edge and the corresponding stitch of the far edge.
- Sl st across, working stitch by stitch to join the edges seamlessly.
- Finish the Seam:
- Chain 1, cut the yarn, and pull the tail through the loop to secure.
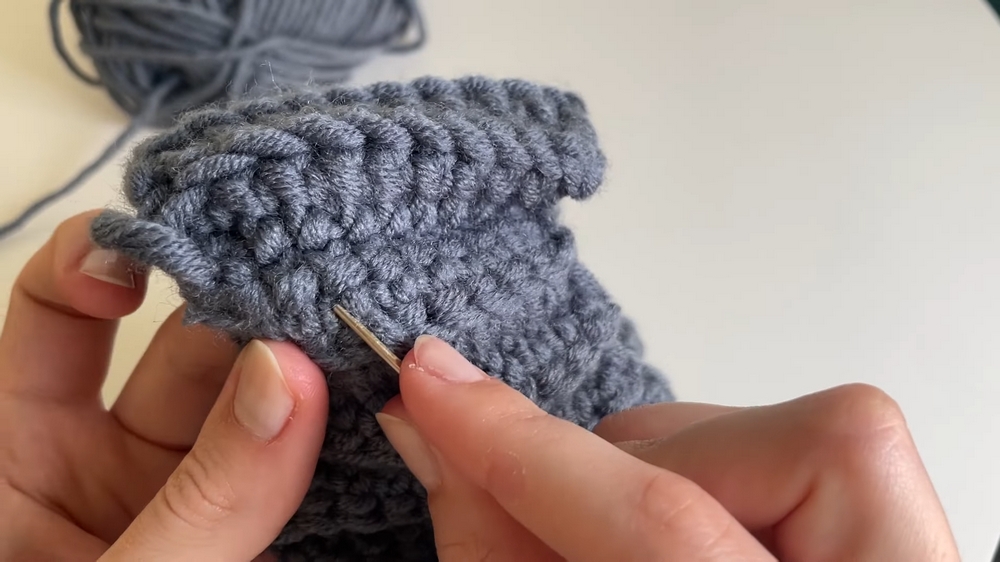
5.4. Weave in Ends
- Weave in Yarn Tails:
- Thread the yarn needle and weave the starting and finishing tails into the seam or ridged texture of the stitches.
- Hide all ends securely by going back and forth in multiple directions.
6. Finished Dimensions
- Example size:
- Width: Approximately 7.5–8 cm (3 inches).
- Length (circumference): Approximately 42 cm (16.5 inches), suitable for most adult heads.
Ensure your headband stretches snugly around your head but is not overly loose.
7. Tips for Best Results
- Check Headband Fit:
- Stretch the headband slightly around your head before joining; ensure it’s snug without gaps but not overly tight.
- Counting Stitches:
- Keep track of stitch counts throughout to ensure consistency (e.g., always have 10 sc in each row for this size).
- Don’t accidentally skip the last stitch on the edges!
- Texture Adjustment:
- If a thicker or chunkier texture is desired, opt for a bulkier yarn and larger hook size (e.g., hook sizes 7–8 mm).
8. Customization Ideas
- Add a bow or embellishment: Create a decorative bow or small applique to attach to the front of your headband.
- Change the ribbing size: Increase the starting chain for a taller headband or decrease for a thinner design.
- Contrast edging: Use a contrasting color to add an accent slip stitch border around the edge of the headband.
- Color blocking: Alternate colors every 3–4 rows for a striped or color-blocked look.
9. Conclusion
This simple yet textured crochet headband is a versatile and stylish project, allowing for various customizations to suit individual preferences. The ribbed texture is achieved by working in back loops and gives a stretchy, comfortable fit, making it perfect for cold-weather wear or as a handmade gift.
Pattern Accuracy Note:
The original tutorial includes an accurate number of chains/stitches and specific row instructions, ensuring no corrections were necessary.
Final Thoughts:
- Enjoy experimenting with yarn weights and colors.
- It’s a great stash-busting project for leftover yarn.
- Wash finished items gently to maintain shape and texture.