
Stitch a lovely neck accessory with this Crochet Lace Scarf Free Pattern, using airy rows and neat edges for a fresh look with dresses, shirts, and jackets.
Crochet is such a wonderful thing, and thanks to the talented Вязание спицами и крючком с Мариной, many people can enjoy learning new projects through her clear and inspiring tutorials. One of her beautiful designs is the Crochet Lace Scarf, a delicate and elegant accessory that adds a touch of handmade charm to any outfit.
Free Crochet Lace Scarf Pattern For Special Occasions
The Crochet Lace Scarf is a lightweight piece, perfect for all seasons, especially spring and fall when you want something pretty yet not too heavy. While the exact finished size can vary depending on yarn and hook used, it’s generally long enough to wrap comfortably around your neck or drape stylishly over your shoulders. Its main feature is the intricate lace pattern, which looks impressive but is surprisingly approachable for those with basic crochet skills.
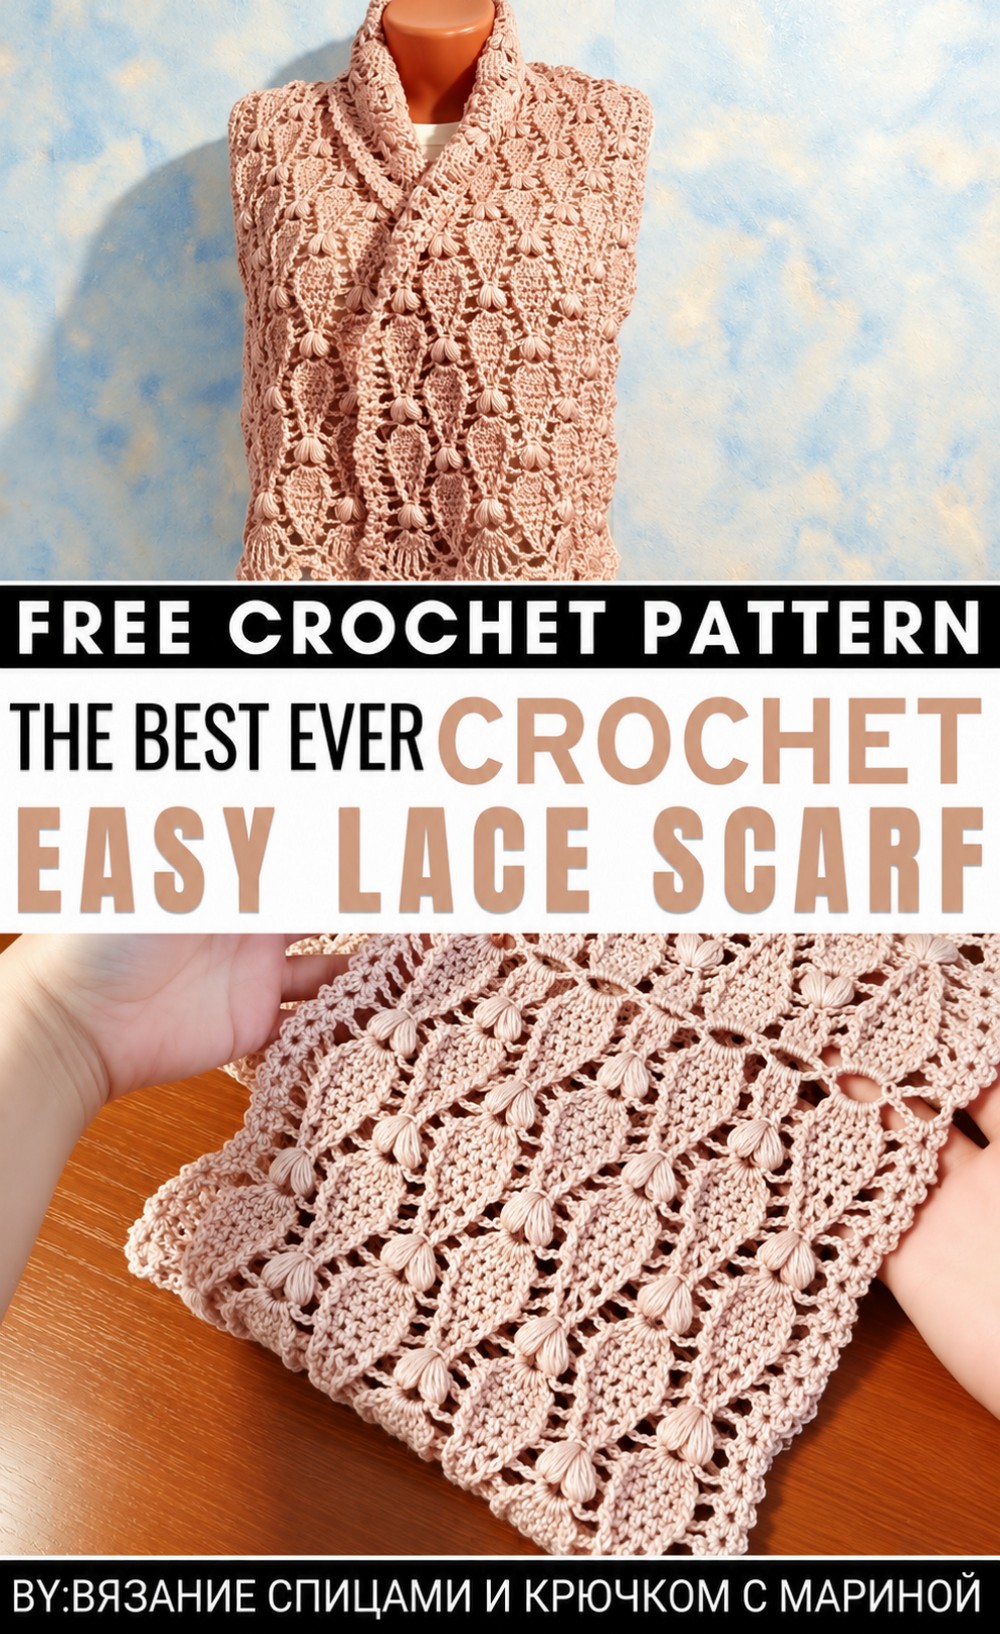 This scarf is a great project because it introduces you to working with lace stitches—such as chains, double crochets, and sometimes clusters—helping you build your confidence while creating something lovely. The steps typically involve repeating a series of stitches to form the openwork design, making it meditative and enjoyable to work on. Plus, it’s versatile; wear it casually or dress it up for special occasions.
If you’re looking for a satisfying and elegant crochet project, this scarf is definitely worth trying. Embrace creativity and warmth—dive into the stitches and write your own story with this free pattern, uniquely crocheted by your hands.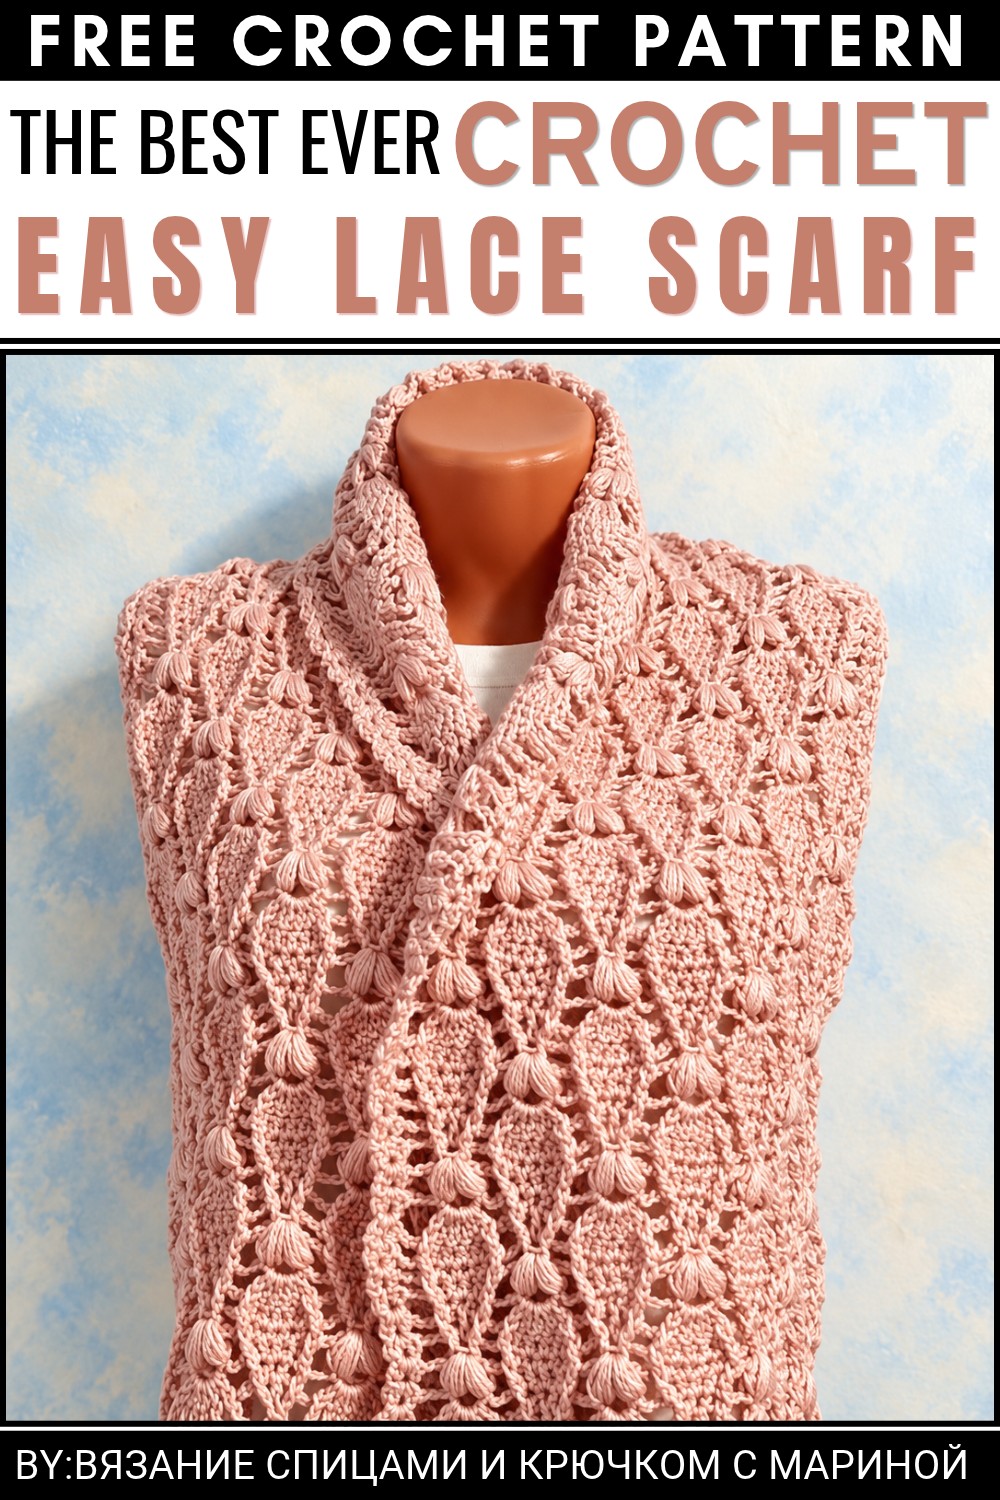
Lace Scarf Crochet Pattern (Four-Row Repeat)
Pattern Overview
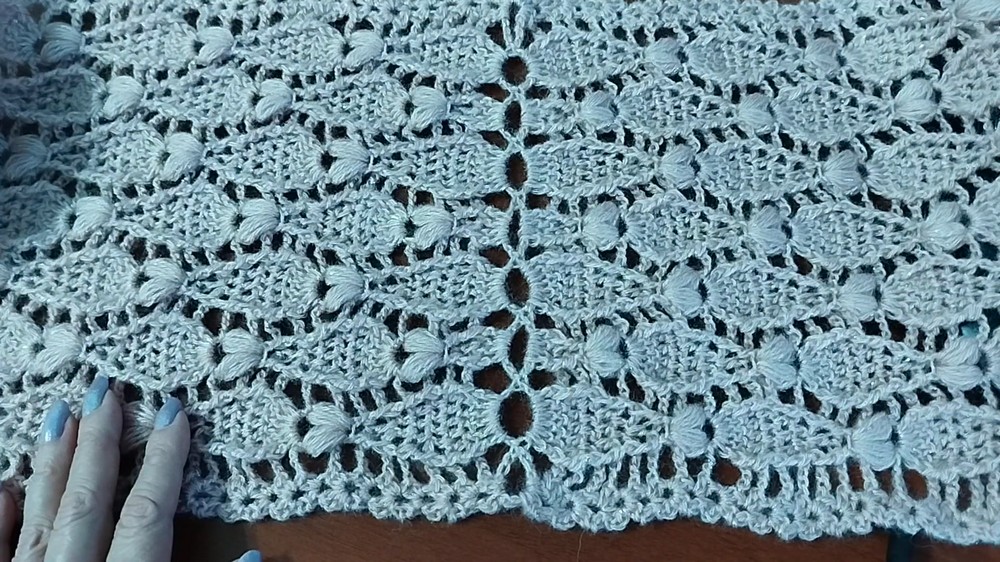
This lace scarf is worked using a striking four-row pattern repeat, creating an elegant, airy effect. The construction begins with a series of interconnected chain rings, followed by alternating blocks of half-double crochet, double crochet, front- and back-post stitches, and puff stitches for delicate texture. The scarf is designed with Alize Angora Gold Simli yarn and a 3.5mm crochet hook. The finishing features arches and a picot border, giving the scarf a soft, decorative edge.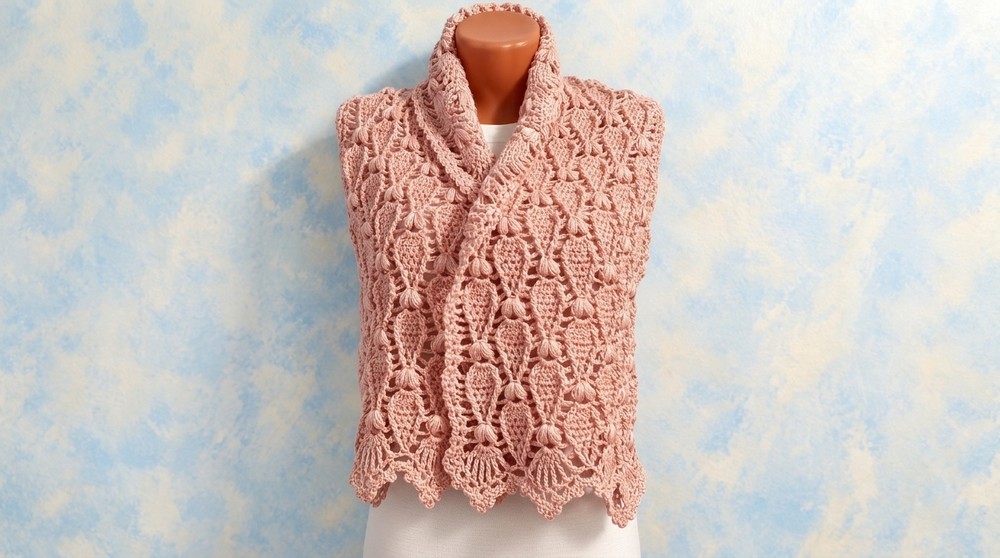
Quick Details
- Yarn: Alize Angora Gold Simli (lace/fingering weight)
- Hook: 3.5 mm
- Shape: Long rectangle
- Initial Chain Rings: Odd number (example base: 9 rings)
- Repeats: Four-row sequence for main body
Important Tips
- The number of foundation rings must be odd for the pattern to be balanced.
- Use consistent tension, especially for chain loops and puff stitches.
- Take care with stitch placement for front- and back-post stitches to maintain texture.
- Puff stitches require a gentle touch to keep the lace delicate.
- Block the finished scarf to maximize the airy effect and set the picot edging.
Skill Level
Easy to Intermediate. You should be comfortable with chains, double crochet, half-double crochet, treble crochet, front- and back-post stitches, puff stitches, single crochet, slip stitch, and working in chain spaces.
Materials
- Yarn: Alize Angora Gold Simli (lace weight, one skein or as needed)
- Hook: 3.5 mm
- Scissors
- Yarn needle
Measurements
- The finished scarf length and width depend on the number of pattern repeats and your starting ring count.
- Begin with 9 chain rings for a base scarf. Adjust length as desired by extending repeats.
Gauge
- Gauge is not critical for this project due to the lace and airy texture. Sample gauge: approximately 3 rings = 5 cm (2 inches) wide.
- Check after a few repeats; adjust hook size for desired openness.
Abbreviations
| Abbreviation | Meaning |
|---|---|
| ch | chain |
| sl st | slip stitch |
| sc | single crochet |
| hdc | half-double crochet |
| dc | double crochet |
| tr | treble crochet (3 yarn overs unless noted) |
| fp tr | front post treble crochet |
| bp st | back post stitch |
| puff | puff stitch |
| sp | space |
| rep | repeat |
Special Stitches
- Treble Crochet (tr): Yarn over 3 times, insert hook, yarn over and pull up a loop, [yarn over, pull through 2 loops] four times.
- Front Post Treble Crochet (fp tr): As tr, but insert hook around the post of the indicated stitch from front.
- Back Post Stitch (bp st): As dc or tr, but insert hook around the post of the indicated stitch from back.
- Puff Stitch: Yarn over, insert hook into stitch, yarn over and pull up a loop (keep loose), repeat 4–5 times in same stitch (as desired), yarn over and pull through all loops.
- Picot: Chain 3, slip stitch in first chain.
Step-by-Step Instructions
Foundation Rings
Foundation:
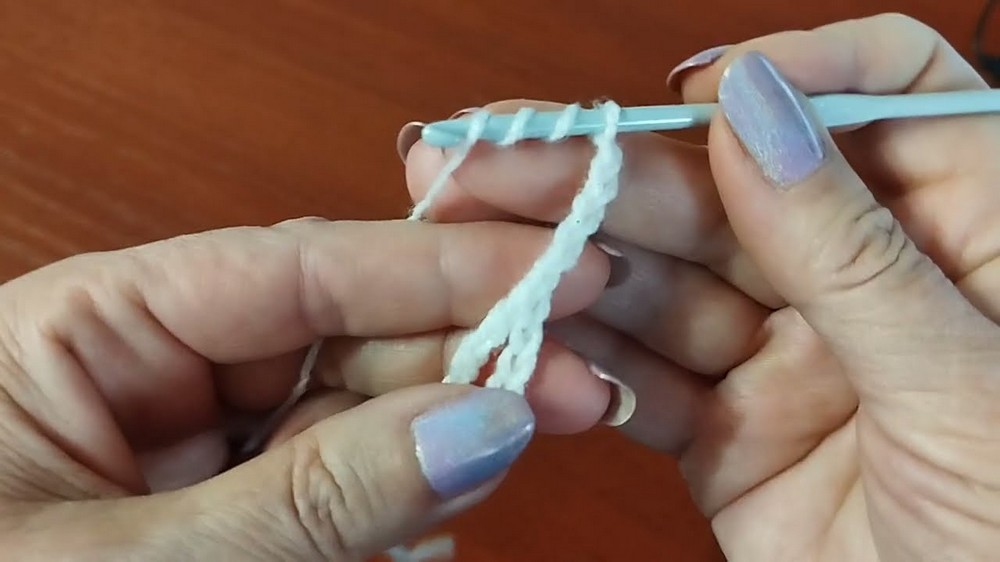
- Ch 5.
- Work a tr (3 yarn overs) into the first ch to form a ring.
- Ch 5, work a tr into the top two loops of the previous ring (noted in video).
- Repeat until you have 9 rings (or any odd number as desired).
Row 1: Establishing Main Pattern
- Begin with a block:
- 4 hdc, separated by 2 ch (block stretches across the first ring/segment).
- Next, alternate:
- In the following ring: 6 dc
- Ch 3, move to next ring, 4 dc
- Ch 3, next ring, 6 dc
- Continue alternating 6 dc and 4 dc, separated by 3 ch until the row is complete.
Row 2: Fan Segments and Post Texture
- Work hdc blocks directly over previous hdc blocks.
- For each fan segment:
- Work a fp tr (front post treble) over the first and last stitch of every fan segment.
- Work hdc in the tops of the center stitches of each fan.
- Repeat across the row.
Row 3: Reverse Post and Blocks
- Work bp st (back post stitch) over previous row’s posts to maintain the pattern on the reverse side.
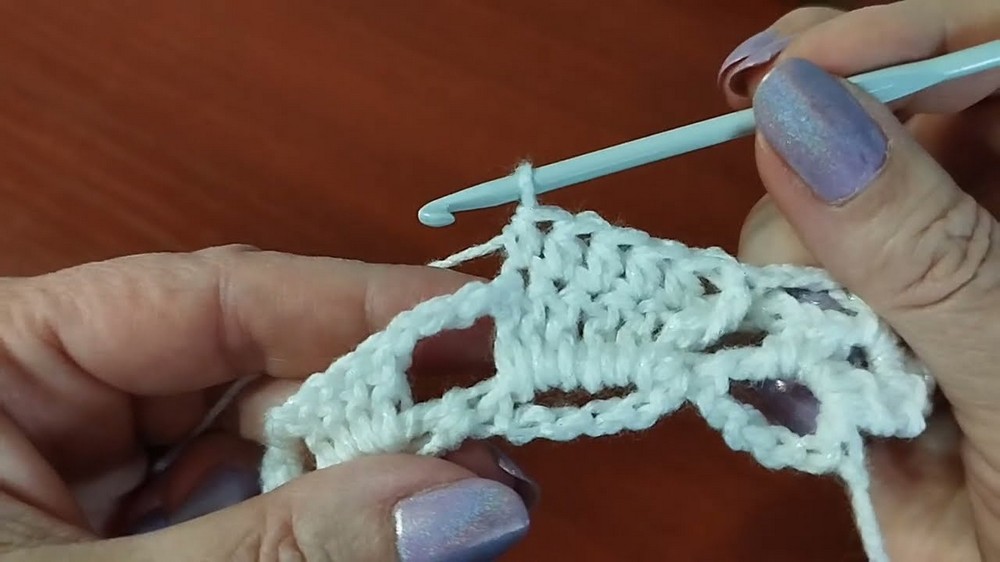
- Work 4 hdc in the spaces between stitches of the previous row, maintaining the block as in Row 1.
Row 4: Puff Stitch Rows
- Into the top of the combined stitch segment from previous row:
- Work 2 puff stitches, separated by 3 chains.
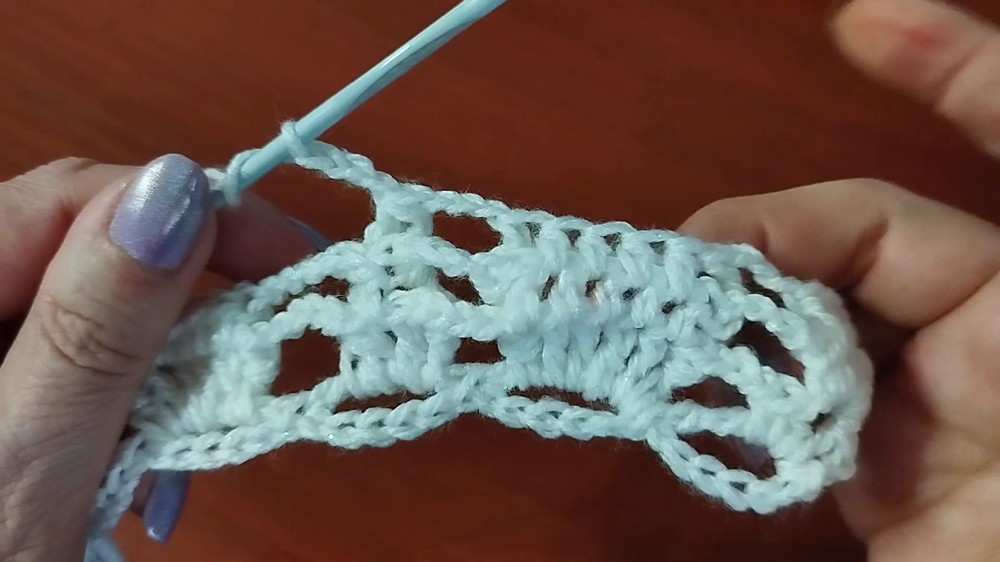
- Work 2 puff stitches, separated by 3 chains.
- Continue across the row, placing puff stitches in each segment.
Pattern Repeat
- Repeat Rows 1–4 throughout the length of your scarf.
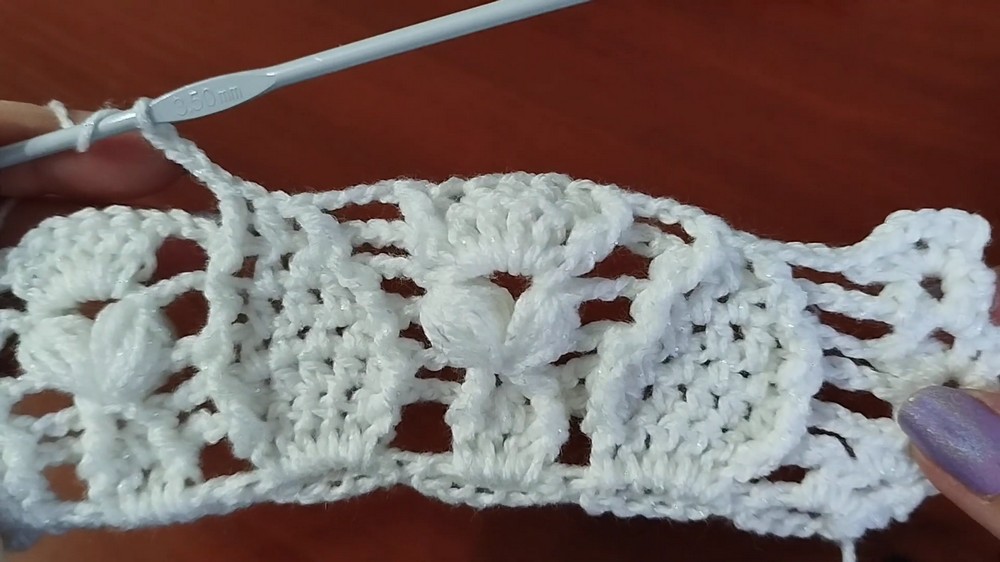
- The four-row pattern creates the alternating lace texture and motifs.
Finishing and Assembly
Transition Ending
- When desired scarf length is reached, work a final row:
- Use fp tr (front post trebles), with only 2 yarn overs per stitch unlike earlier rows.
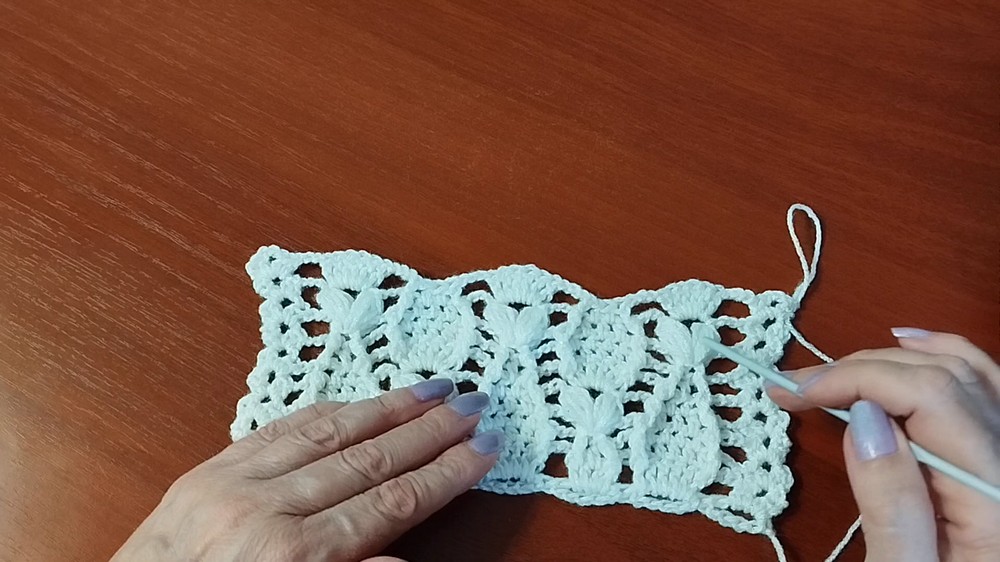
- Separate each fp tr with 1 chain.
- Use fp tr (front post trebles), with only 2 yarn overs per stitch unlike earlier rows.
Arches
- Create decorative arches as a transition border:
- Ch 3, anchor with sc into the top of the previous row’s stitches.
- Repeat arching pattern across the scarf edge.
Picot Border
- Working into each arch:
- Ch 3, sl st into the first ch (forms a picot).
- Secure picot into the arch with a sc.
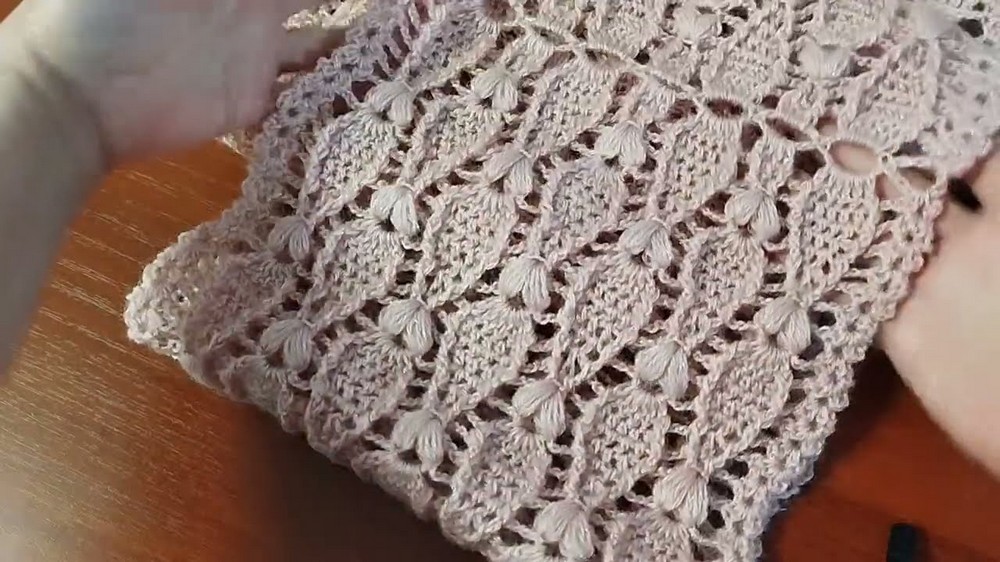
- For the central arch:
- Work three picots:
- First picot: Ch 3, sl st in first ch.
- Second picot: Ch 4, sl st in first ch.
- Third picot: Ch 3, sl st in first ch.
- Anchor each with sc for a decorative effect.
- Work three picots:
Assembly
- Weave in all ends with a yarn needle.
- Gently block your scarf to open the lace and settle the shape.
- The picot edge and arches will soften beautifully with steaming/blocking.
Final Notes
- This scarf is highly customizable: start with any odd number of rings for your desired width.
- The four-row repeat builds texture and lace, highlighted by the finishing arches and picot borders.
- Work rows slowly to keep posts and puff stitches well-defined.
- Try this pattern with solid yarn or a gentle metallic thread for elegance.
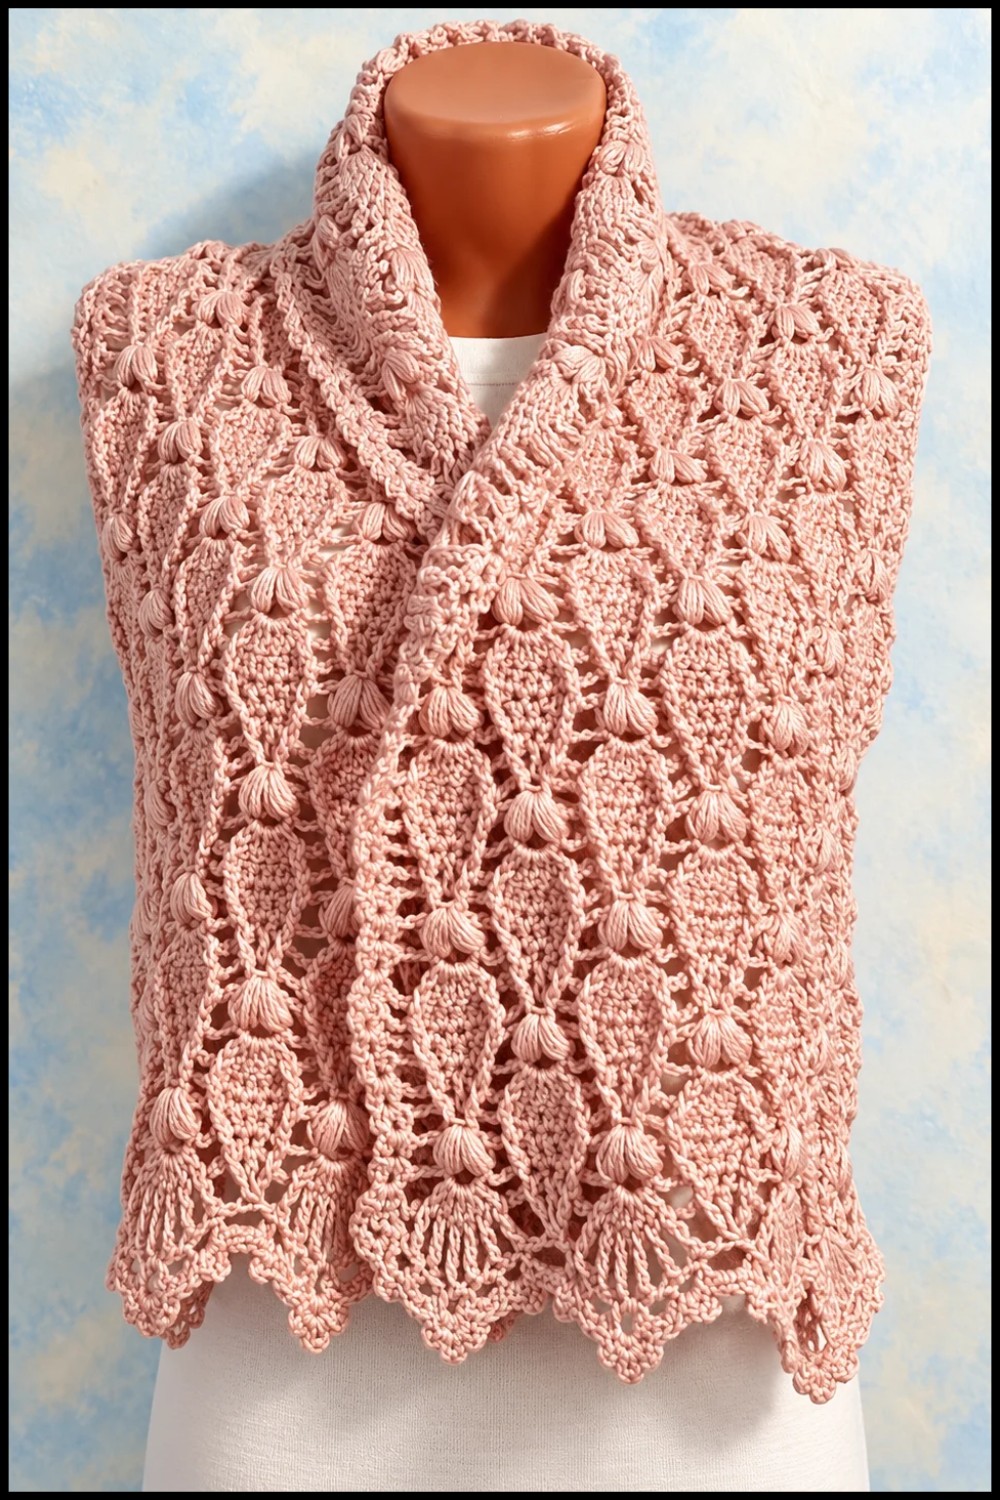
Summary of Pattern Sequence:
- Foundation Rings: Ch 5 + tr (3 yarn overs) into ring, repeated for odd number.
- Row 1: hdc block; alternate 6 dc and 4 dc, ch 3 between groups.
- Row 2: hdc blocks, fp tr at ends of fans, hdc in center.
- Row 3: bp st over previous posts, 4 hdc in spaces.
- Row 4: Puff stitches in top of segments, 3 ch between.
- Finishing: fp tr (2 yarn overs), 1 ch between; arches; picot border with 3 picots in center arch.
Blocking your scarf brings out its lace beauty and ensures the picot border lays flat. Adjust length, width, and repeats as you prefer.
