
Keep your little one cozy with this Crochet Baby Hat Free Pattern, featuring neat stitches and a soft finish for everyday wear and lovely baby shower gifts.
Babies need clothes that feel soft against their skin, especially around their heads. The Crochet Baby Hat is a sweet handmade accessory that can be a useful part of a baby’s clothing collection. Its gentle fit and soft yarn feel suitable for little ones, while the crochet stitches give it a pretty appearance. Кристина Богданова shares this lovely idea for anyone who wants to crochet something special for a baby.
Cozy Crochet Baby Hat Free Pattern For Winter Wear
The hat has a rounded top that fits over the baby’s head, with a lower edge that sits gently around the forehead. Depending on the design, the stitches may form a smooth surface or a more noticeable texture. You can choose cream, pale yellow, light blue, or peach yarn for a simple look.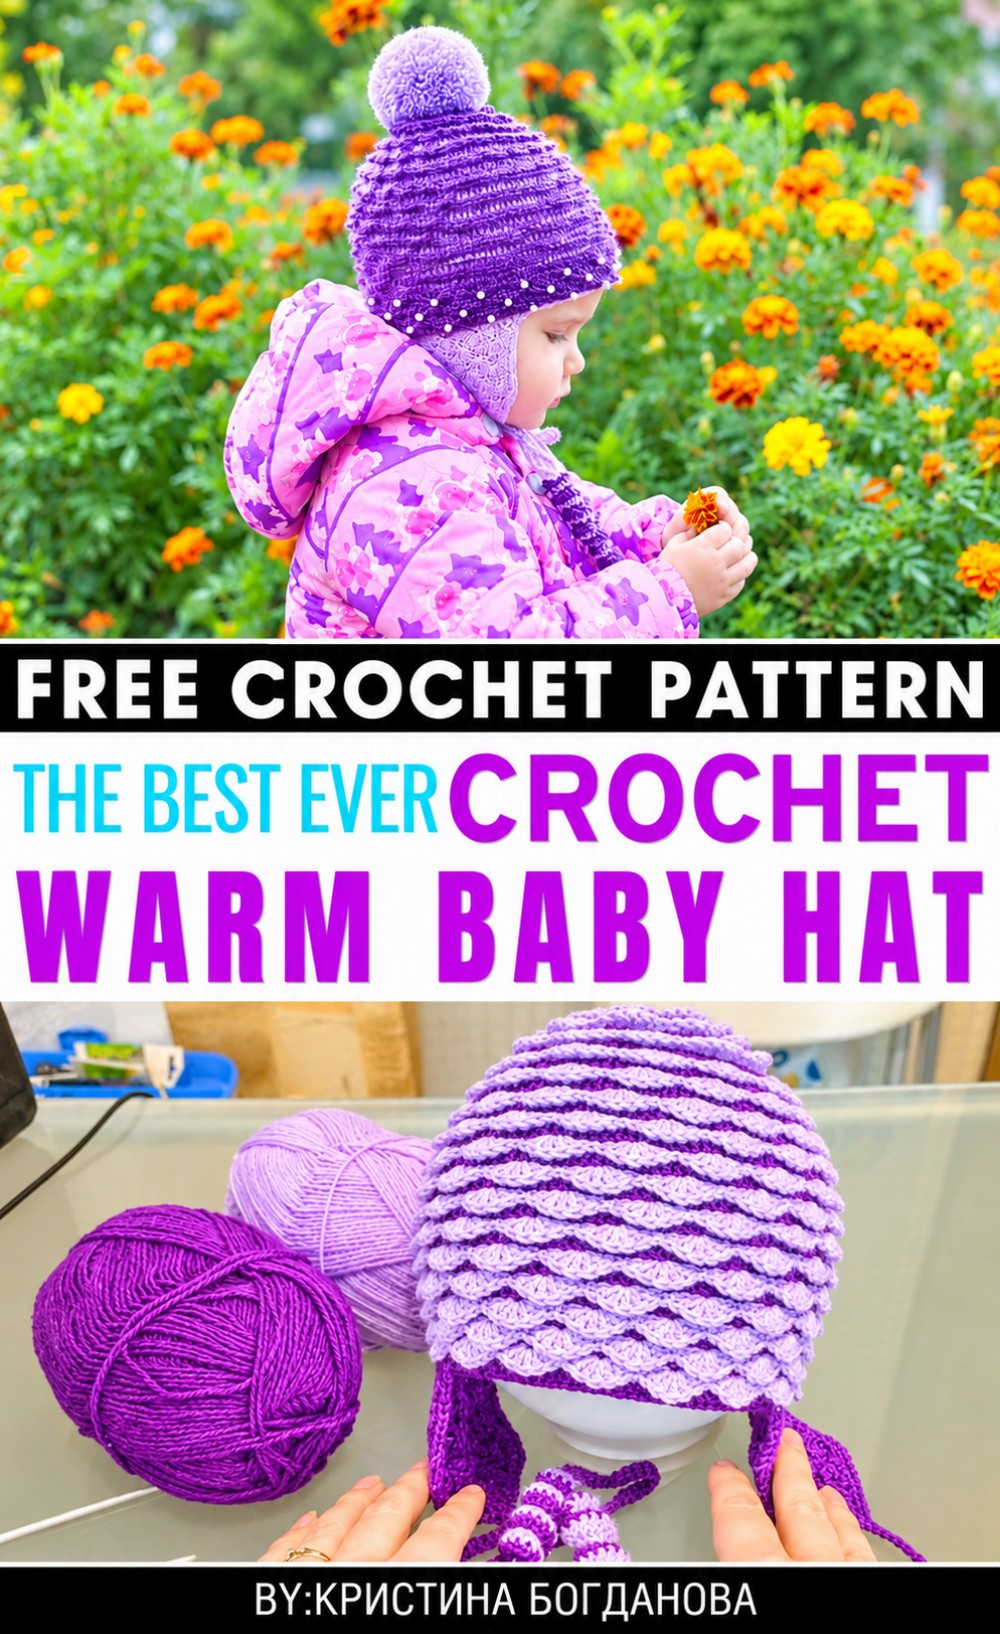 Before starting, measure the baby’s head or follow the size guide in the tutorial. Begin with the required stitches and work through the rounds until the hat reaches the correct size. Choose soft, baby-friendly yarn and avoid any tight or rough edges.
This hat can be part of a baby’s everyday outfit, worn during a family visit, or given as a handmade baby shower present. You can also prepare one in a color that matches a little cardigan or blanket.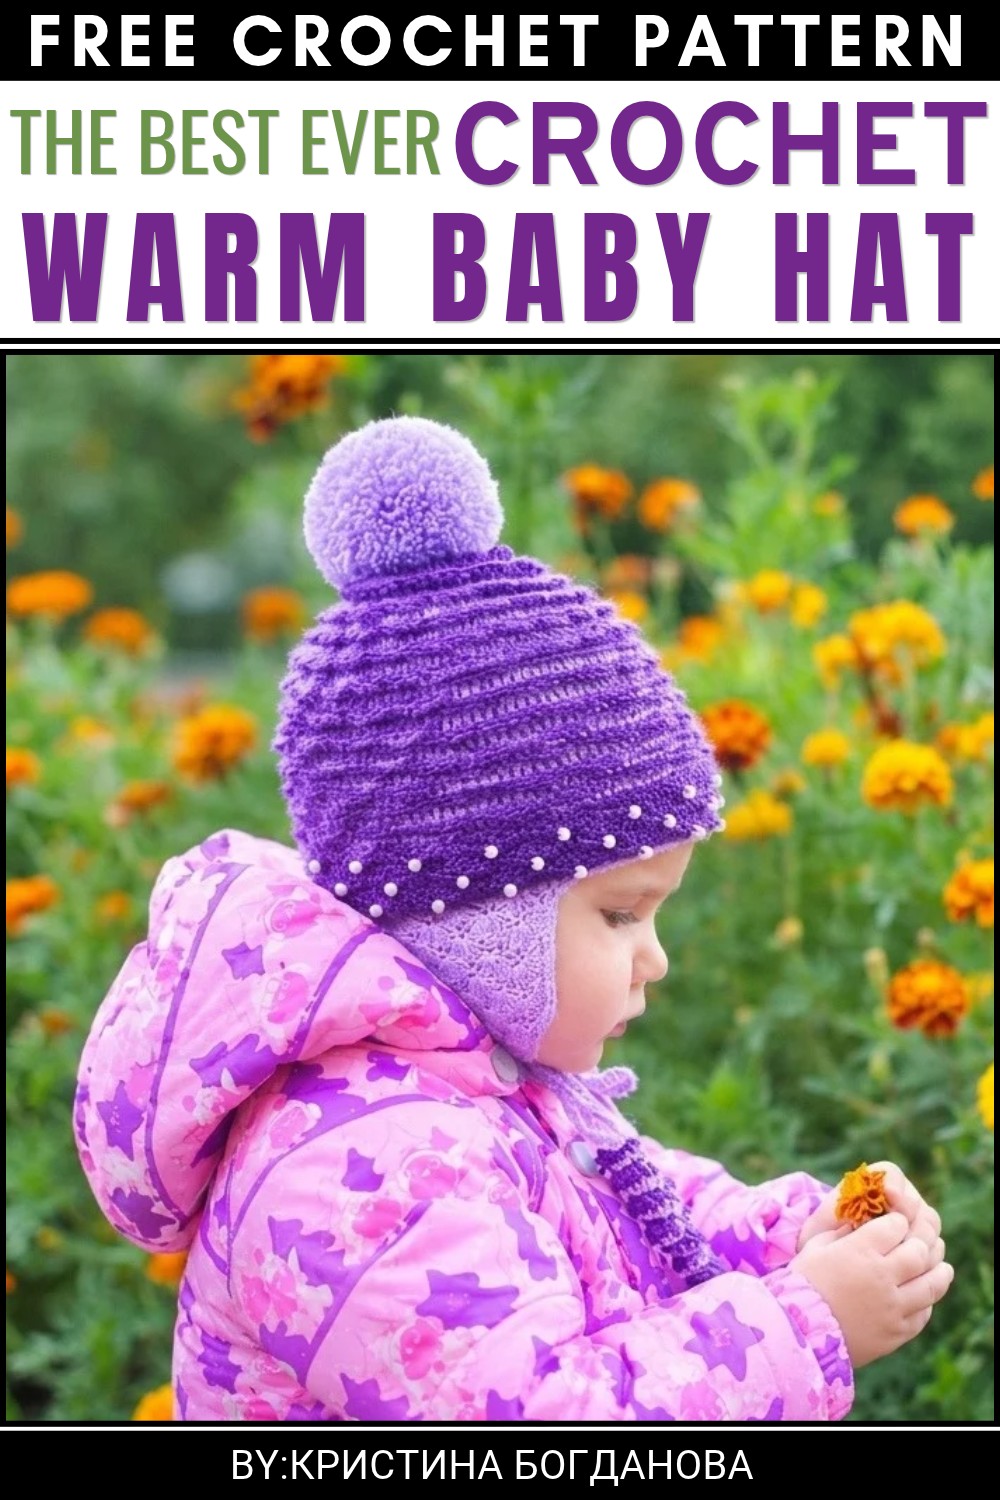 Comfort and safety matter more than decoration for baby clothing. Keep the hat free from loose buttons, long ties, and small parts, and remove it before the baby sleeps.
About the Pattern
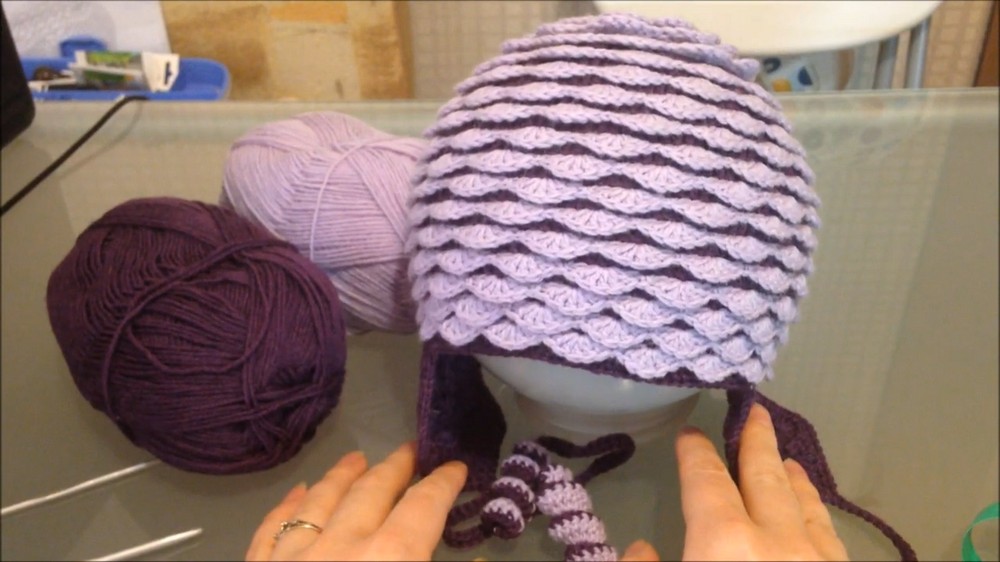
The Pinecone Style Hat is a playful, textured cap constructed in a continuous spiral. It combines a classic hat crown with ruffled “pinecone” shells, earflaps worked in shell clusters, curly spiral ties, and an optional beaded finish. Each design phase contributes to the hat’s cozy fit and distinctive look suitable for all ages.
Pattern at a Glance
- Construction: Spiral crown, straight body, shell/ruffle edging, earflaps, spiral ties, (optional) beading
- Techniques: Spiral crochet, double crochet increases, slip-stitch surface chain, shell stitch, cluster decrease, spiral ties, basic beading
- Customization: Adjust shell, hat, and earflap dimensions as suited for the wearer
Important Notes
- The spiral method means no seam is formed; always use a stitch marker to note the start of your rounds.
- Changing hooks for different sections helps create crisp ruffles and maintain hat structure.
- This pattern requires working into stitches and spaces with precision to achieve the best pinecone texture and even edges.
- Earflaps and ties are mirrored for symmetry.
Difficulty Level
Intermediate: Involves spiral work, changing hooks, shells, and decorative spirals. Prior comfort with double crochet, shells, and slip stitch surface chain is recommended.
Supplies Needed
- Worsted or DK weight yarn (main color and a contrasting yarn for ruffles/shells)
- Crochet hooks in three sizes: 3.0 mm (main), 2.5 mm (shells), 4.0 mm (surface chain)
- Yarn needle, scissors, and stitch marker
- Optional: Small pearl beads, beading needle
- Steam iron for blocking (optional)
Size & Measurements
- Hat crown: Increases to approximately 14 cm in diameter.
- Hat height: Approximately 17–19 cm (after body rounds).
- Earflap length: 7–9 rows of shells or as desired.
- Ties: About 55 chains in length, plus 15 chains for spiral tip.
- One adult size; easily adjusted by increasing or reducing rounds.
Gauge & Stitch Details
- Gauge: After crown increases, piece measures 14 cm across.
- Main stitch: Double crochet (dc) in spirals, shell made of 5 dc, half-double and single crochets for edge smoothing.
Crochet Abbreviations
- MR: Magic Ring
- ch: chain
- sc: single crochet
- hdc: half-double crochet
- dc: double crochet
- sl st: slip stitch
- st(s): stitch(es)
- rep: repeat
Special Stitch Guide
- Magic Ring (MR): Form a sliding loop, work stitches into loop, cinch closed.
- Shell: 5 dc in same stitch or space.
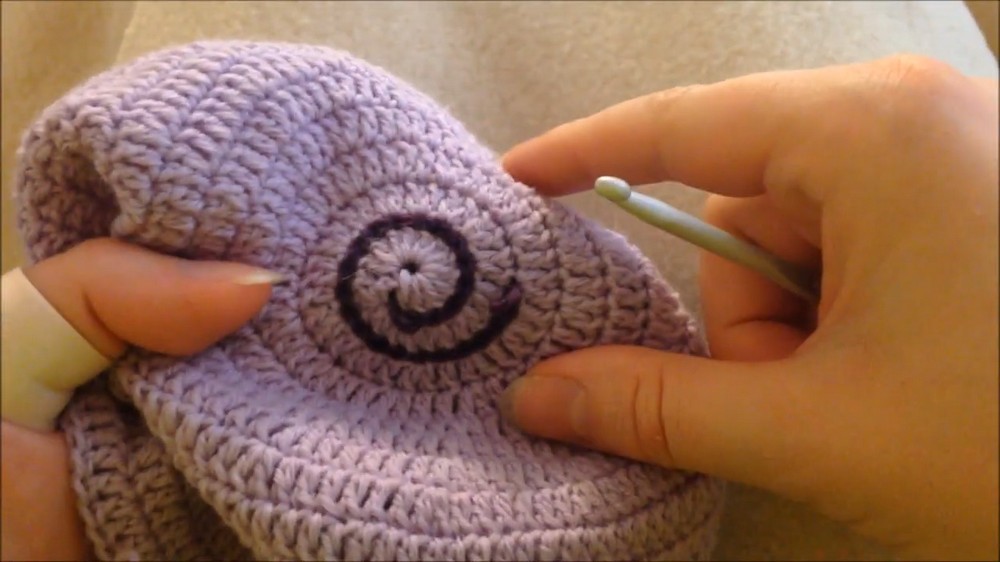
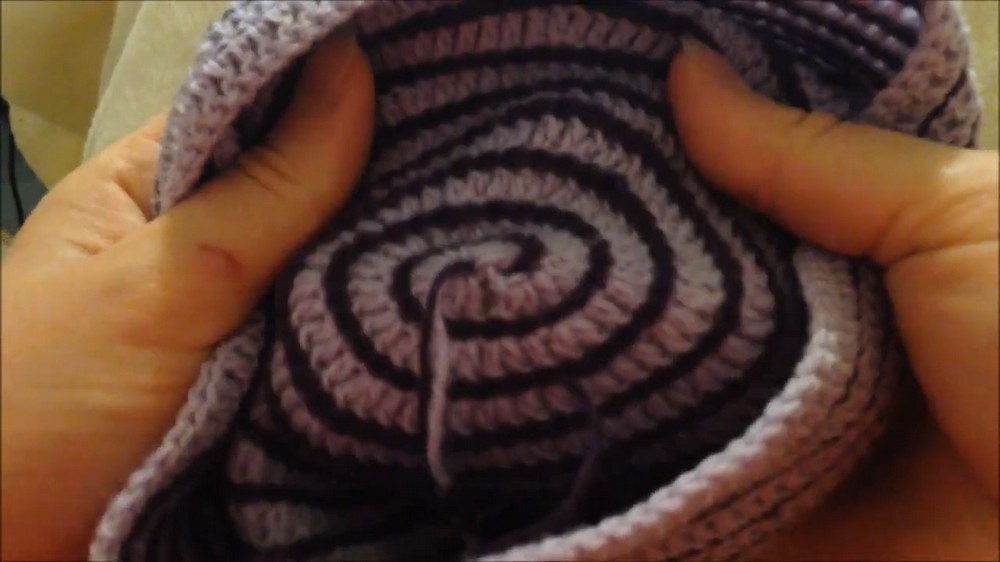
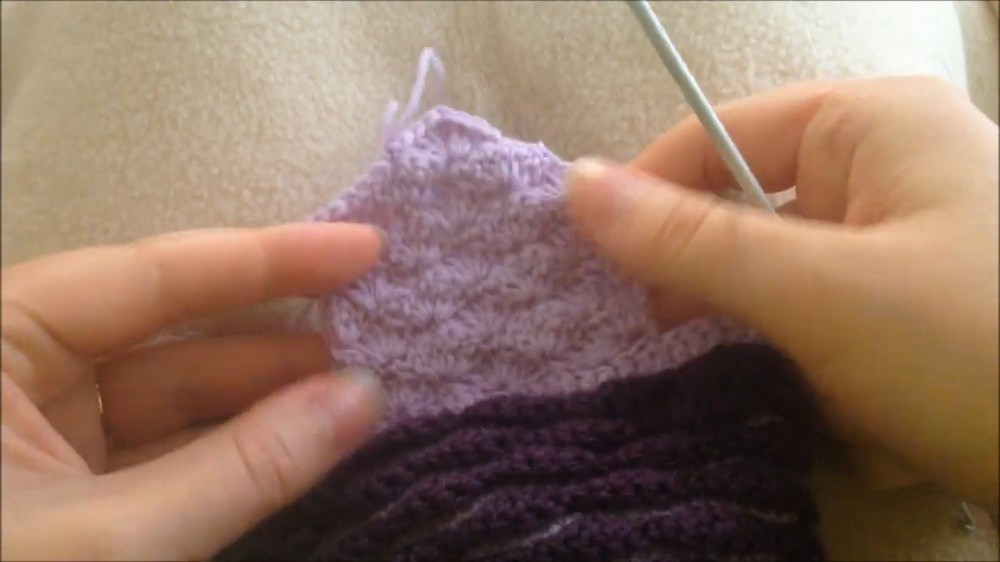
- Surface Chain (“Tambour”): Insert hook under hat stitches, pull yarn through, pull through again to form chain on surface.
- Spiral Tie: Work 3 dc into each chain across a chain foundation to produce a curl.
- Beaded Single Crochet: Slide bead up to hook, complete a single crochet enclosing the bead.
Complete Crochet Pattern
Crown Construction (Spiral Method)
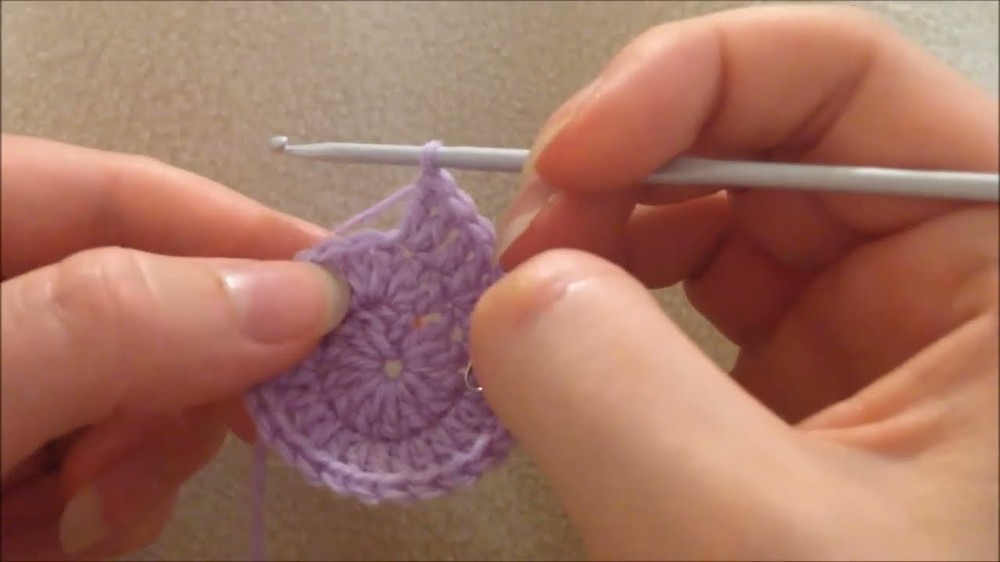
Round 1
- Start with a magic ring (MR).
- Work 13 dc into MR.
- Mark the first stitch with marker. Do not join; continue in spiral.
Round 2
- 2 dc in each stitch around (total 26 dc at round’s end).
Round 3
- 1 dc in first st, 2 dc in next st; rep around.
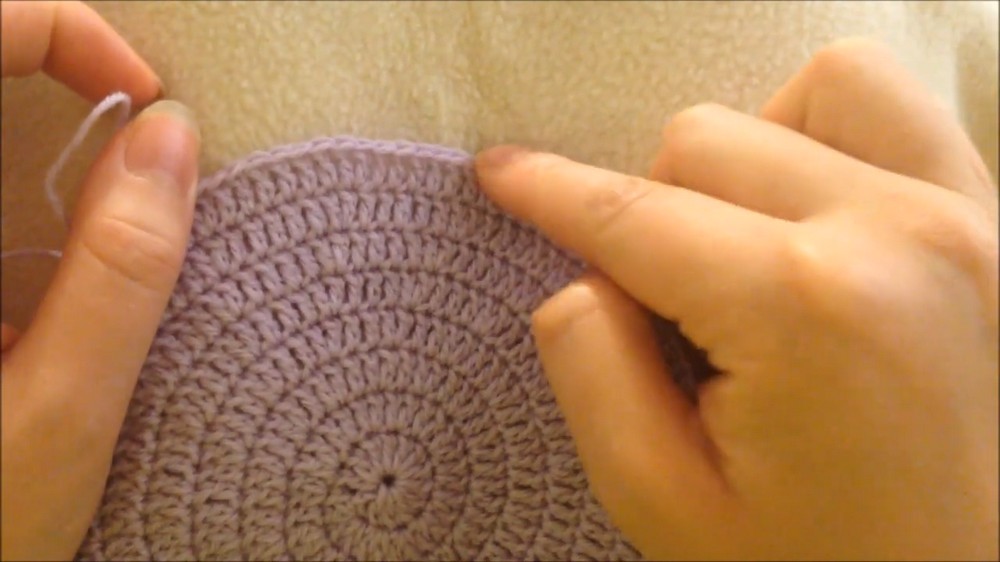
Further Rounds (Increase for Crown)
- Continue spiraling with standard increase method:
- For each new round, add 1 more single dc between increases (e.g., 1 dc in next 2 sts, 2 dc in next st, then 1 dc in next 3 sts, 2 dc in next, etc.).
- Work until crown is roughly 14 cm in diameter.
Main Body of Hat
Rounds 1–10/11
- Work 1 dc in each stitch with no increases for 10–11 rounds (adjust as needed for desired height).
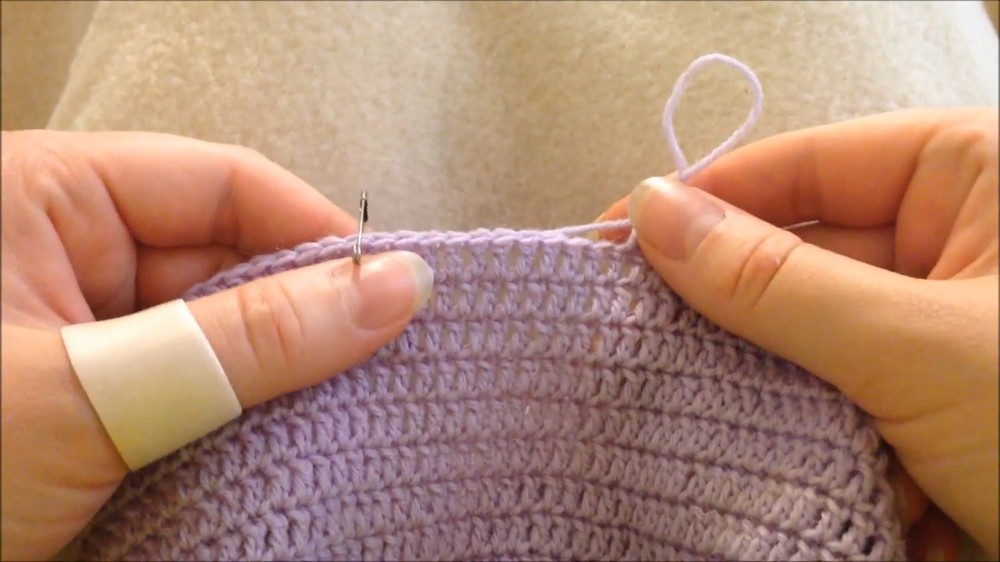
Edge Smoothing Round
- Work 5 hdc in next 5 stitches, then 5 sc in next 5 stitches to smooth last row and even out height.
Shell Edging (“Pinecone” Ruffle Texture)
Surface Chain (Using 4mm hook)
- Insert hook under the body stitches of the hat, pull up a loop, and pull through to create a surface chain (“tambour” or slip stitch surface chain) encircling the hat.
Shells (Using 2.5mm hook and contrasting yarn)
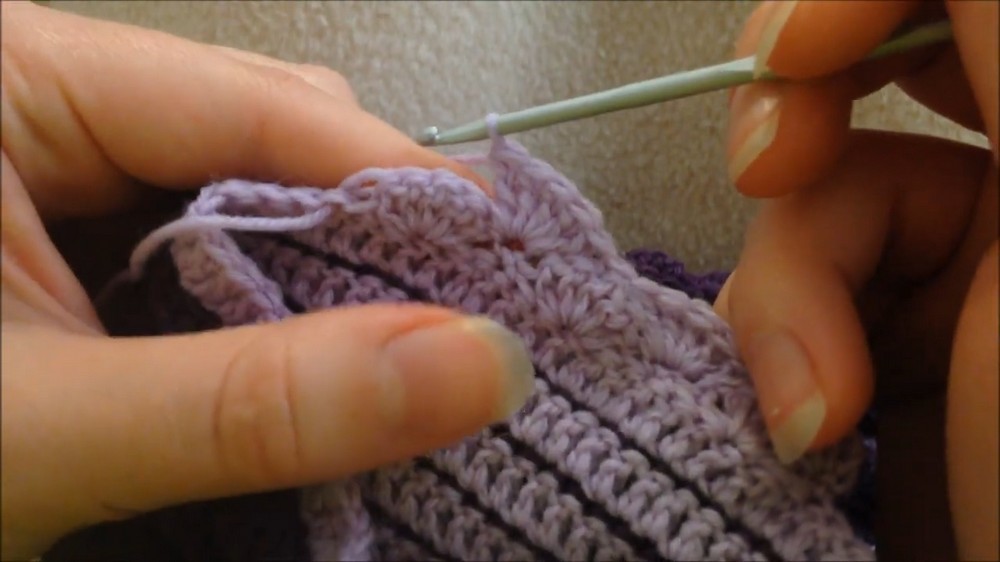
Foundation Row
- Attach yarn. Ch 3, sc in every other st around to create arches.
Shell Ruffles
- Into each arch: work 5 dc.
- In main body, skip two stitches between shells to maintain proper tension and drape. Continue around.
Earflaps
Working the Earflaps
- With 2.5mm hook, work in rows. Begin at chosen position, pick up and work across 3 shell clusters (turning after each row).
- After each row, decrease shell clusters to shape the earflap (7–9 total rows suggested).
- For shaping: reduce dc stitches per shell in later rows to taper the earflap to a point.
Ties/Spirals
At Tip of Each Earflap:
- Ch 70 (55 chains for tie length, 15 for spiral end).
- Starting in second ch from hook, 3 dc in each of the next 15 chains to form spiral curl.
- Then, sl st in each chain back down the remaining length to the earflap base.
- Repeat for both earflaps.
Finishing Touches
Optional Beading
- Pre-string small pearls on shell/edge yarn before beginning shells.
- As each shell is formed, use a sc to enclose a bead at shell center.
Blocking and Assembly
- Turn the hat inside out and steam block gently to set the stitches and open the ruffles.
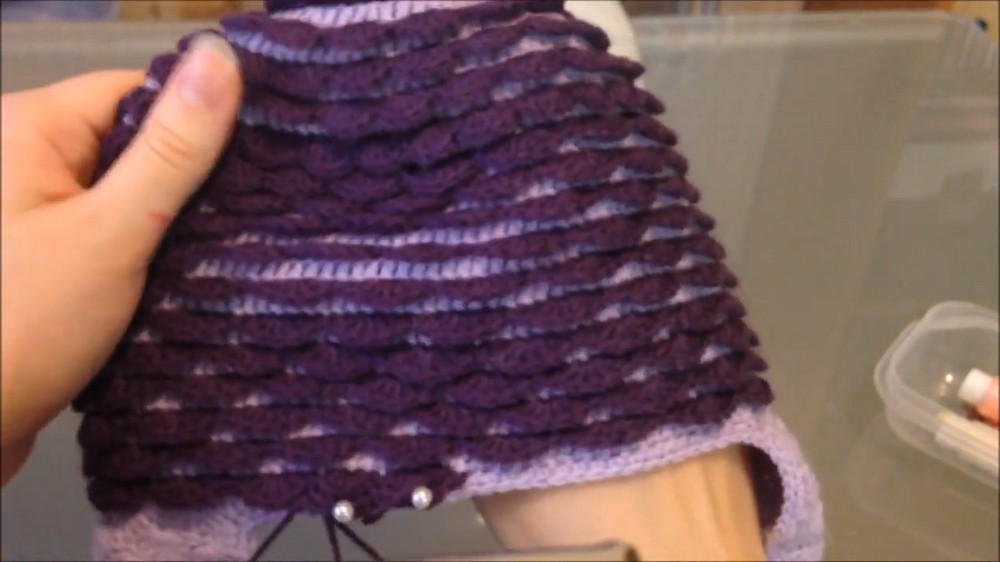
- Using a yarn needle, weave in all loose ends on hat, ruffles, shells, earflaps, and ties.
Assembly & Finished Size Conclusion
Attach both earflaps evenly at either side of the hat base. Ensure both spiral ties hang symmetrically, and shells and beading (if used) are evenly distributed. Edge smoothness, ruffle fullness, and proper blocking are essential for the characteristic pinecone texture.
End product is a plush, multi-textured hat with playful ruffled shells and lively spiral ties, suited for cold weather and a fun accessory statement. The Pinecone Style Hat combines structure, warmth, and whimsical detail using only textural stitches and imaginative finishing. Proper stitch tracking and tension control will reward the maker with a unique layered accessory.
