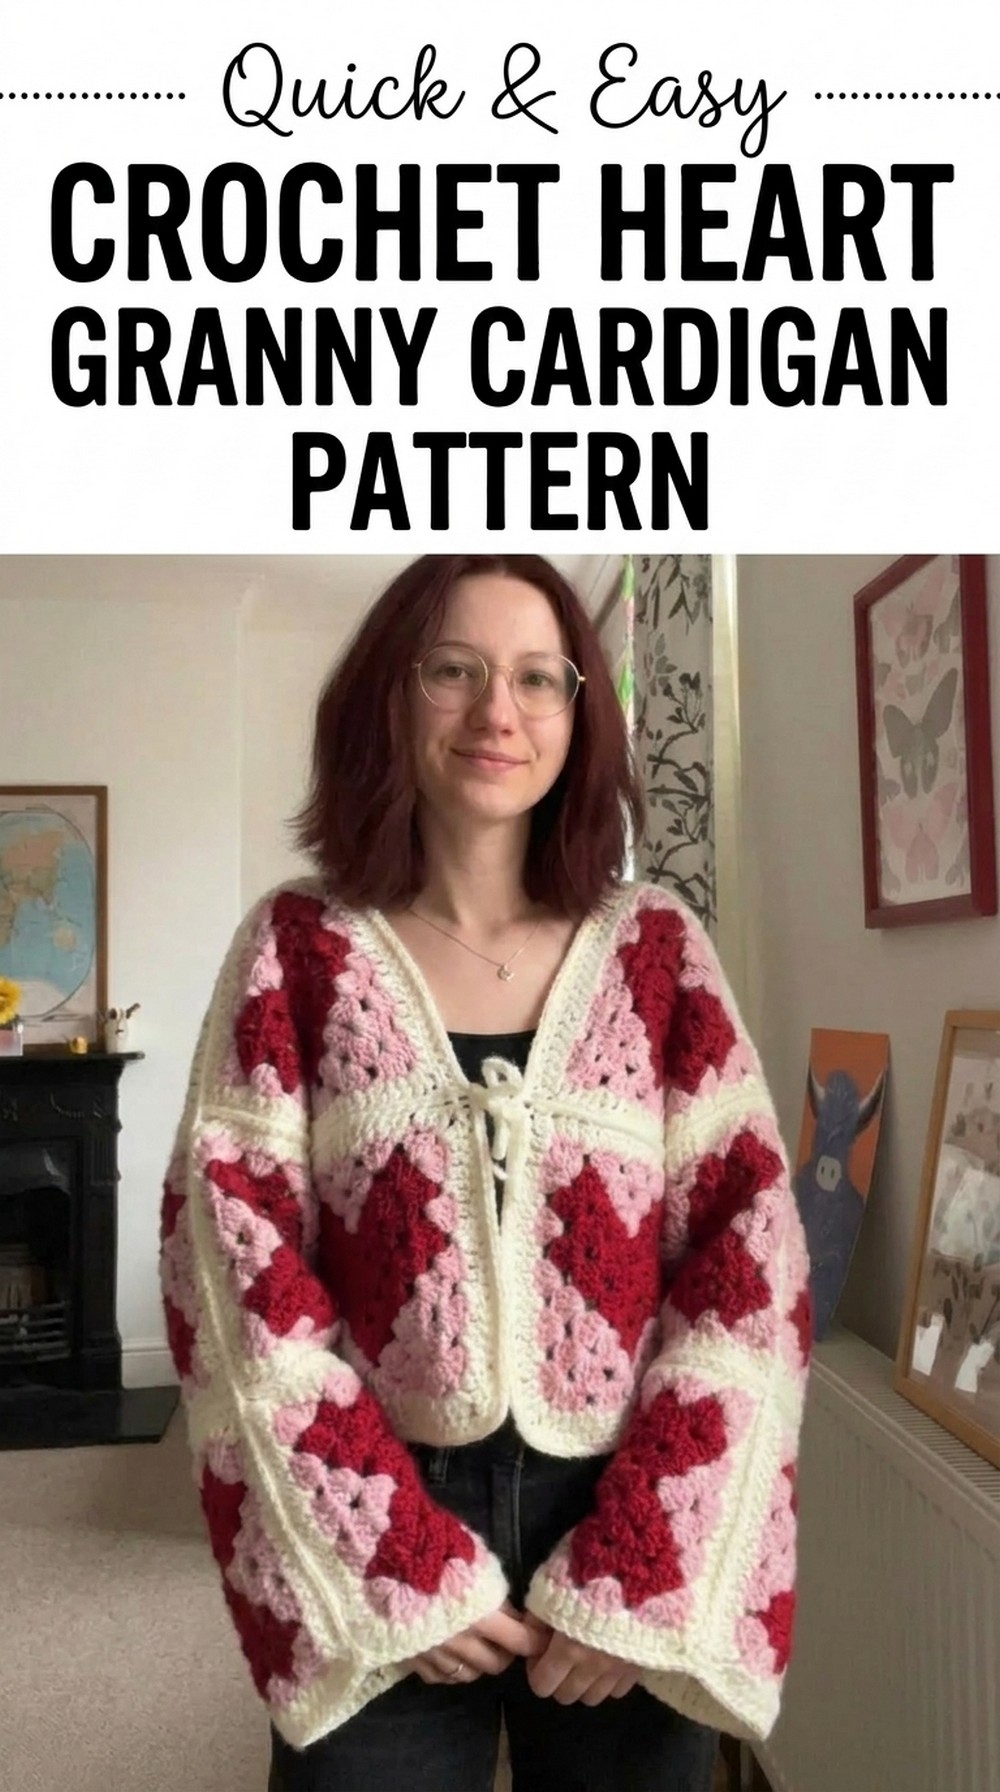
Enjoy the warmth and charm of a Free Crochet Heart Granny Cardigan Pattern that offers comfort and style, turning every wear into a delightful experience.
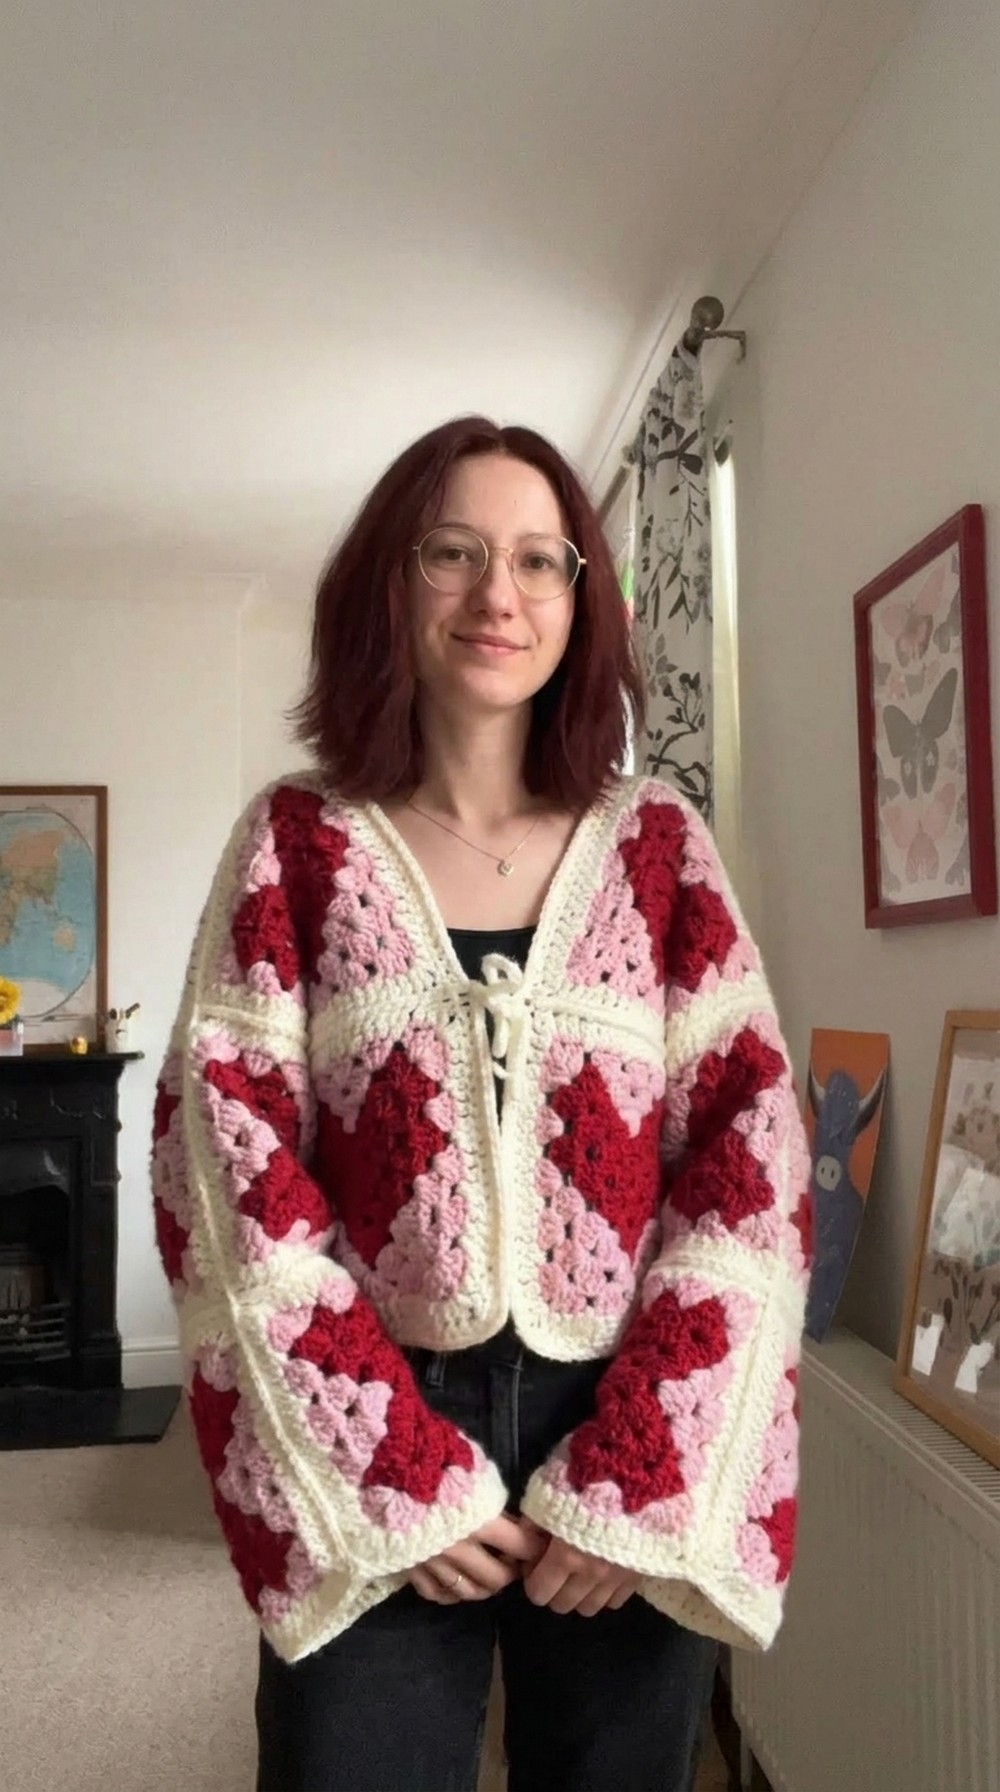
Wrap yourself in a piece of art that speaks the language of love and coziness! The free crochet heart granny cardigan pattern combines the timeless charm of granny squares with adorable heart motifs, creating a cardigan that’s truly eye-catching and full of personality. Its playful design and warm, snug fit make it perfect for chilly days, casual outings, or even as a thoughtful handmade gift.
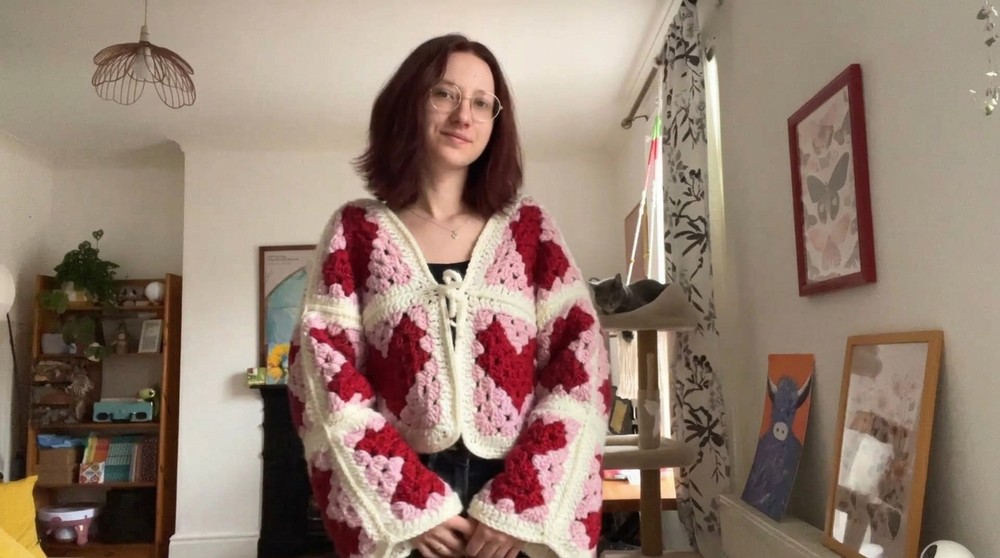
Adorable Free Heart Cardigan to Refresh Your Wardrobe
This cardigan is more than just an outfit—it’s a statement of joy and creativity. Its unique heart details and vibrant style effortlessly add a touch of character to any wardrobe. Whether paired with jeans for a cozy casual look or layered over a dress for a pop of fun, this cardigan brings versatility and elegance to your fashion. Easy to follow and fun to make, this pattern becomes a creative journey, perfect for spreading warmth and love in every stitch.
Step-by-Step Crochet Heart Granny Cardigan
Materials
- Yarn:
- Medium-Worsted Weight Yarn (Size 4): Use two or more colors for the heart granny squares and borders if desired. Cotton or acrylic yarn both work well.
- Approximate Yarn Usage: 400-600g (depending on size and length).
- Hook:
- 4.0 mm or 5.0 mm crochet hook, based on the yarn’s recommendation and your tension.
- Additional Tools:
- Stitch Markers: To mark joining points and layout.
- Tapestry Needle: For weaving in ends.
- Scissors: For trimming yarn.
Gauge
Exact gauge is not critical for granny square projects. Each square should be uniformly sized. In general:
- Gauge for Granny Square: ~4×4 inches per square, but you can adjust to suit your preference.
Pattern Notes
- This cardigan uses 18 granny squares laid out in a specific pattern to construct the front, back, and sleeves.
- Joining Method: Slip stitch is used to join all the squares.
- The cardigan is seamless, with edges finished using single crochet for a clean look.
- The front can optionally include a tie closure at the top.
Skill Level
Beginner to Intermediate – Familiarity with making granny squares, slip stitches, single crochet, and simple joining techniques is required.
Finished Size
The cardigan size depends on the individual dimensions of the granny squares and the layout. Check sizing while crocheting to ensure the final fit matches your preference.
Pattern Instructions
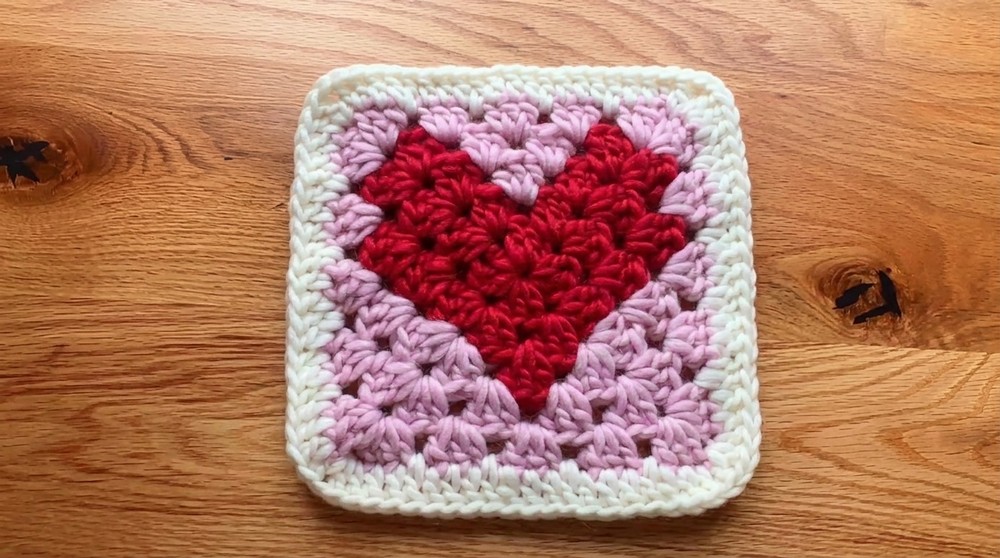
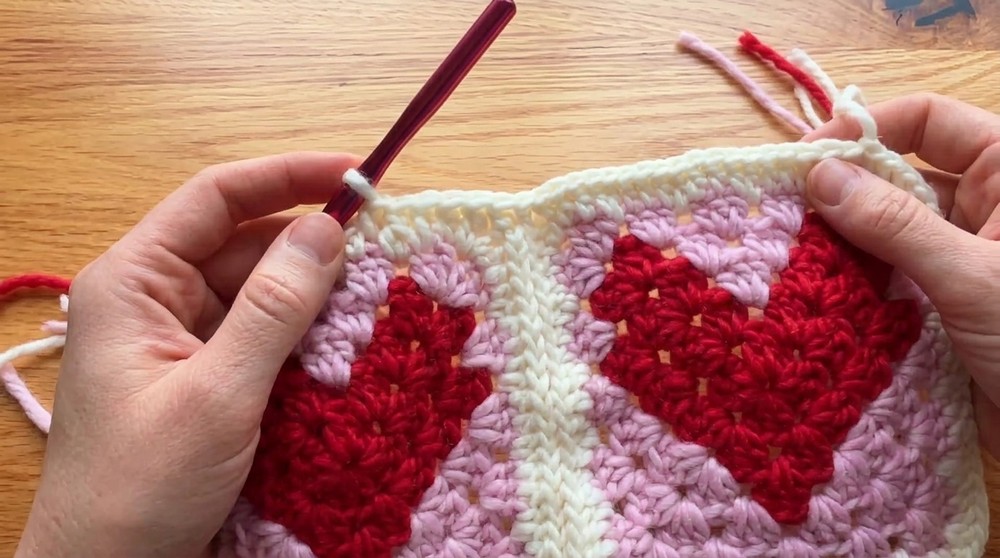
Step 1: Make the Heart Granny Squares
- Create 18 Granny Squares:
- Refer to the linked heart granny square tutorial to make 18 squares in total.
- Ensure all squares are of consistent size.
- Note: Some squares (those for the back) will need to be joined upside down (explained in layout instructions below).
- Customize Colors: Feel free to use contrasting or harmonious colors for different parts of the squares to achieve your desired aesthetic.
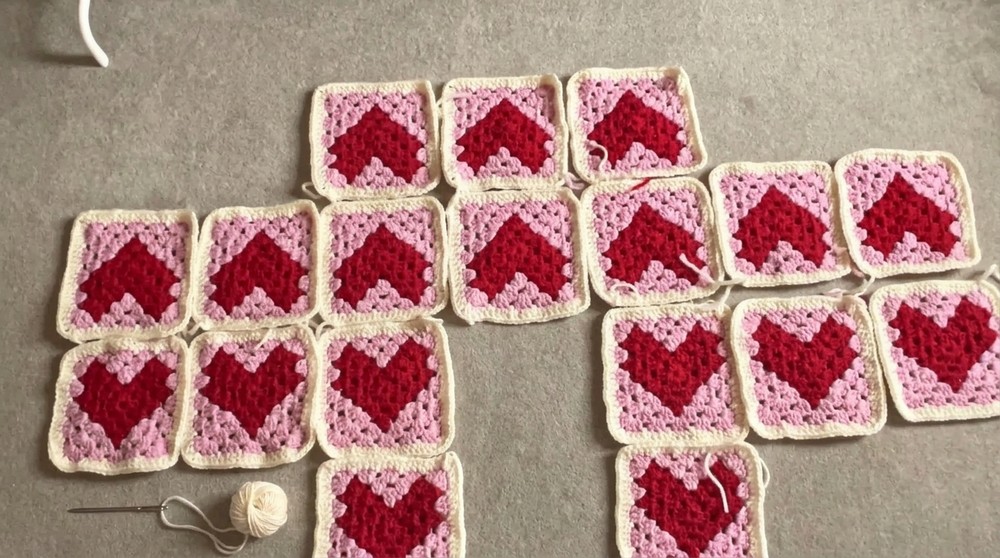
Step 2: Layout the Squares
- Arrange Squares as Follows:
- Back: 6 squares (3×2 layout).
- Front: 4 squares (2 for each side of the opening).
- Sleeves: 4 squares per sleeve (2×2 layout).
Layout Example:
Front Back Front[S][S] [S][S][S] [S][S][S][S] [S][S][S] [S][S]- S = Single Square (Rows = rows of joined rectangles).
- Orientation of Squares:
- Ensure that the hearts at the back face upside down so that when worn, the hearts face the correct way.
- Ensure that the hearts at the back face upside down so that when worn, the hearts face the correct way.
Step 3: Joining the Squares
- Preparation:
- Place squares right sides together (the fronts of the squares).
- Start Join (Slip Stitch Method):
- Insert your hook into the corner stitch of one square (front), then into the matching corner stitch of the adjacent square.
- Slip stitch through both squares:
- Pull yarn through both stitches simultaneously and through the loop on your hook.
- Work Across One Side:
- Continue working slip stitches through each pair of stitches across the square edges.
- Continue working slip stitches through each pair of stitches across the square edges.
- Fasten Off:
- Once you’ve reached the other edge, cut the yarn and fasten off securely.
- Repeat for All Connections:
- Continue joining all squares as per the layout, ensuring seams are tight but not pulling the squares out of shape.
- For Overlapping Crossovers:
- Where four corners meet (from multiple squares crossing over), simply slip stitch through all layers in one spot to secure, then continue joining edges as normal.
Step 4: Assembling the Cardigan
- Fold the Cardigan:
- Once all squares are joined into the rectangular layout, fold the sleeves along the sides.
- Join Sleeves and Sides:
- To close each sleeve, slip stitch along the edges of the 2×2 square layout.
- Slip stitch down the sides of the cardigan (from the armpit to the bottom seam).
Step 5: Finish the Edges
- Single Crochet the Edges:
- Attach yarn at the back neck.
- Work 1 single crochet (sc) into every stitch along the edges of the cardigan, including the neckline, front edges, hemline, and cuffs of the sleeves.
- Add Decreases at the Hemline:
- Every three stitches, single crochet two stitches together (sc2tog) to create subtle shaping at the hem.
- Final Row:
- Work a second row of single crochet (no decreases) along all edges for a polished finish.
- Optional Bow/Tie at the Front:
- Chain 55 (or desired length) for a tie.
- Weave the tie through the gaps at the front opening and tie into a small bow.
Customization Suggestions
- Change Colors: Alternate colors for each section for a playful, vibrant look.
- Add Stripes or Borders: Work additional rows of single crochet in different colors along the edges.
- Lengthen or Shorten Sleeves: Add or remove squares from the sleeve layout to change their length.
- Change Shapes: If you prefer a wider or more cropped cardigan, adjust the number of squares for the back or sides.
Finishing
- Weave in Ends:
- Use the tapestry needle to weave in all loose yarn ends securely.
- Blocking:
- Block the cardigan to shape, especially if your squares or seams appear uneven. Use steam blocking for acrylic yarn and wet blocking for natural fibers.
- Inspect for Loose Seams:
- Check all joins for any loose spots, and re-slip-stitch areas that might need reinforcement.
Conclusion
The Heart Granny Cardigan is both customizable and beginner-friendly. The slip stitch joining eliminates the need for sewing, and its modular design allows for ultimate versatility in sizing, creativity, and color choices. Once finished, the cardigan has a charming and handmade vibe perfect for layering or gifting.
Tips for Success
- Consistent Tension: For evenly sized squares and clean joins, aim for consistent tension throughout the project.
- Count Stitches: Carefully align corners and count stitches when joining squares to avoid uneven edges.
- Choose the Right Yarn: Select a yarn that holds its shape well for a structured yet comfortable cardigan.