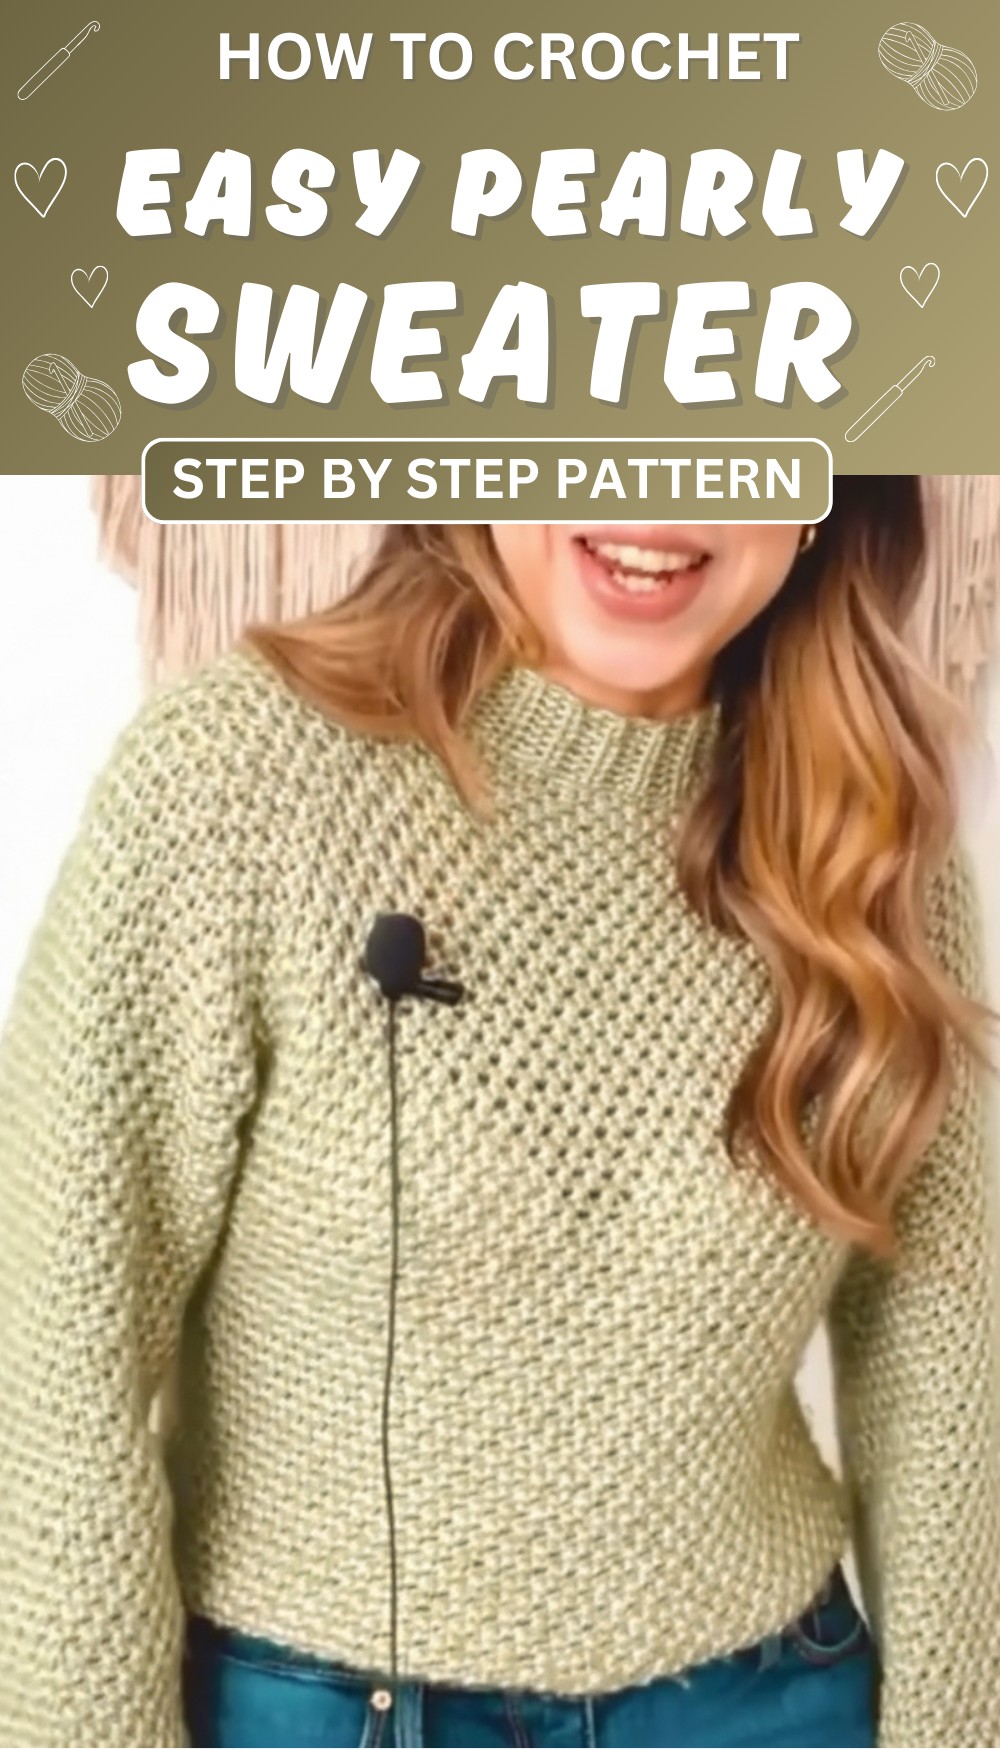
Glow effortlessly with this chic crochet pearly sweater pattern, blending timeless beauty, cozy warmth, and a dash of elegance for any occasion.
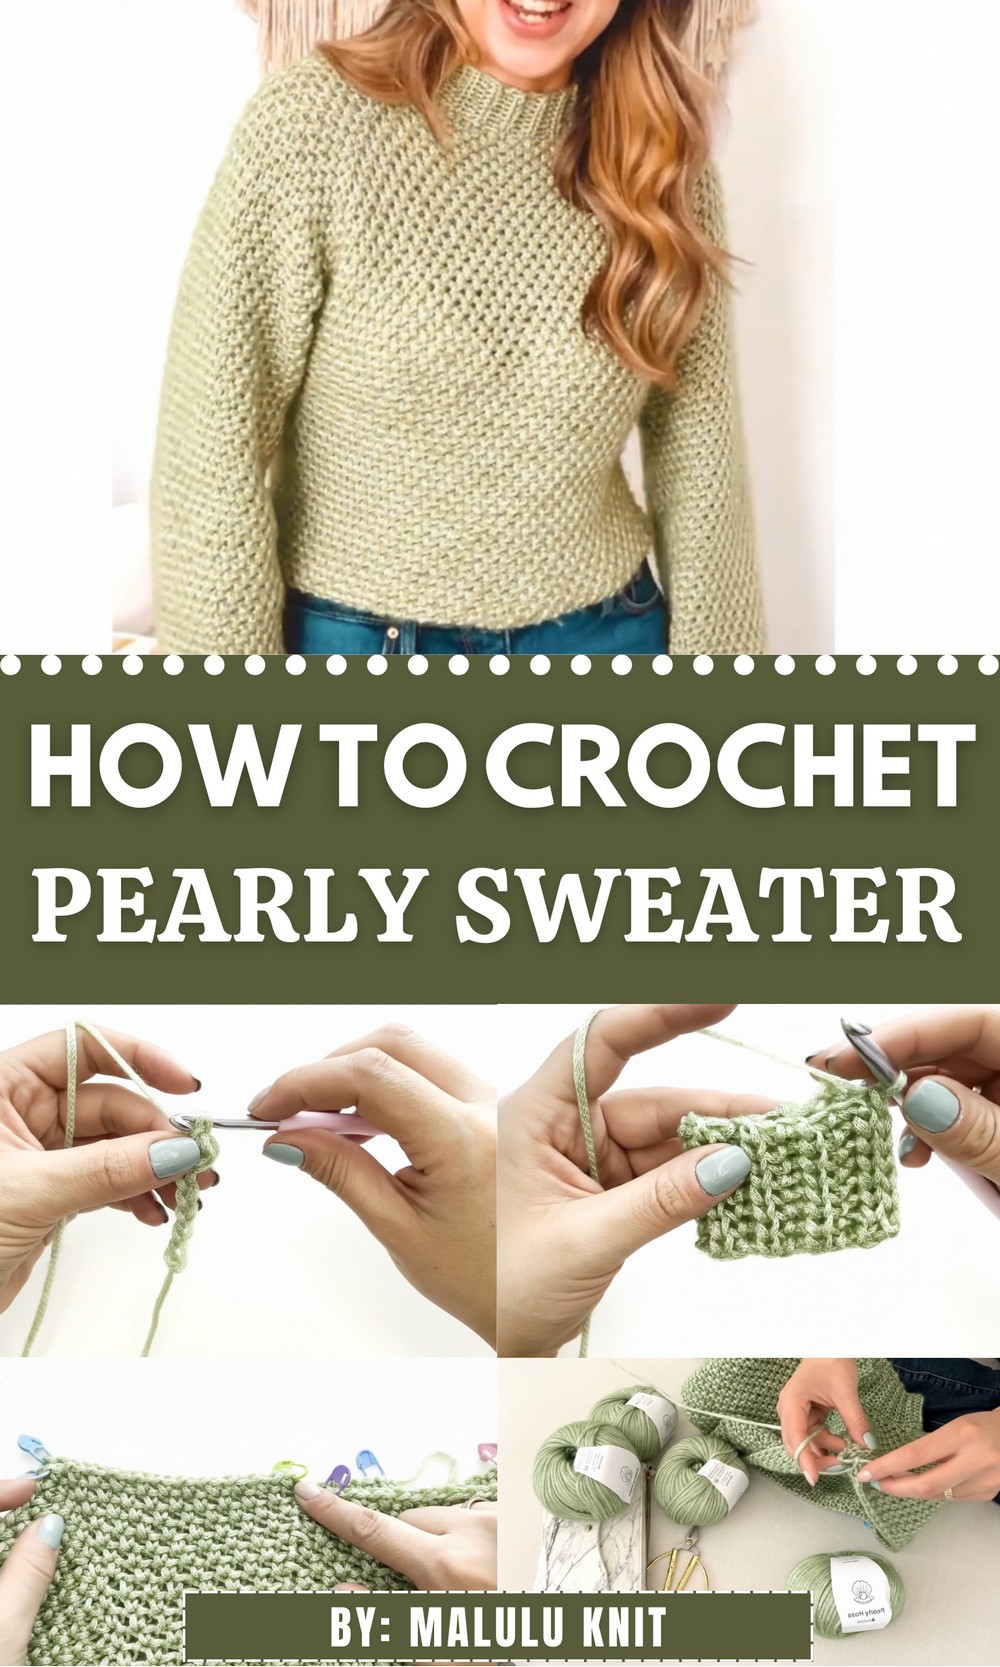
Crochet Beautiful Pearly Sweater Pattern You’ll Adore
Wearing something that not only keeps you cozy but also makes you feel elegant and fancy at the same time. This pearly sweater pattern is designed to do just that! With its delicate pearl-like details and smooth, textured stitch work, it adds a touch of luxury to your everyday outfits. Perfect for cooler weather, this sweater is warm yet lightweight, making it easy to wear for any occasion—from casual meetups to special events.
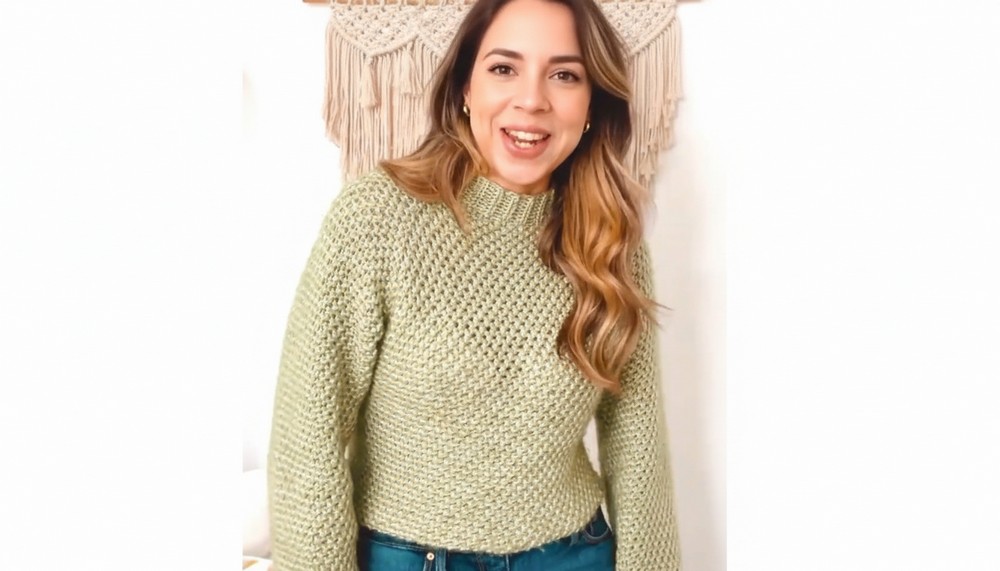
Its soft and graceful design flatters any body type, giving you a timeless, classy look. You can customize it to fit your favorite color palette or add personal touches to make it truly your own. Whether paired with jeans for a relaxed vibe or with a skirt for something dressier, this sweater will always make you stand out. It’s not just a pattern, it’s a beautiful and wearable piece of art.
Pearline Crochet Sweater Pattern
Materials Needed
- Yarn: Hobby Pearline Yarn (approx. 8 skeins of 50g each; 110 meters per skein).
Recommended for 6mm crochet hooks but can be worked with 6.5mm for a looser drape.
- Crochet Hook: 6.5mm for this project.
- Other Tools: Stitch markers (at least 6), scissors.
Step-by-Step Pattern
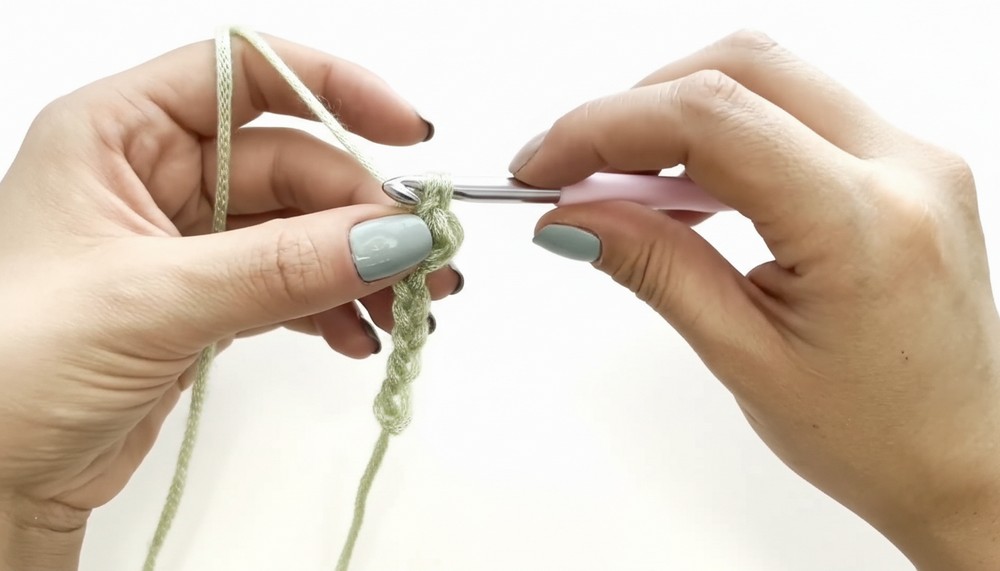
1. Neck
- Foundation Chains:
- Chain the length of your neck measurement.
- For example, an 8-chain base reaches halfway down the neck. If you prefer a turtleneck, increase the number of chains to make the fabric longer.
- Mid-Height Stitch:
- Chain 1, skip the first chain, and work Half Double Crochet (HDC) slipped stitches into the back loops of each chain.
- Yarn over, insert hook into the back loop of the chain, pull up a loop, yarn over again, then pull through all loops on the hook.
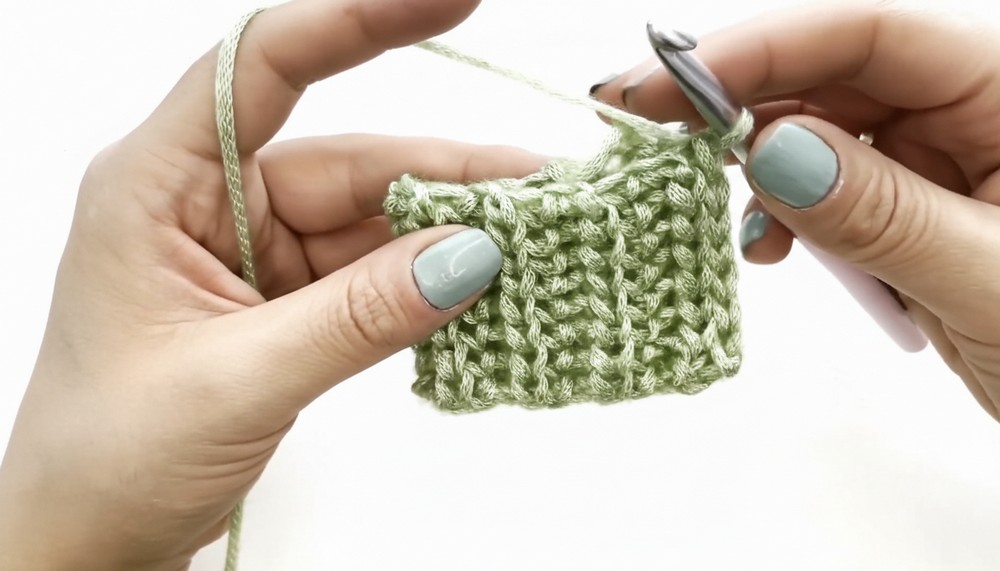
- Yarn over, insert hook into the back loop of the chain, pull up a loop, yarn over again, then pull through all loops on the hook.
- Repeat Rows until the width of the neckband matches your measurement.
- Example: 50 rows = full neck width.
- Chain 1, skip the first chain, and work Half Double Crochet (HDC) slipped stitches into the back loops of each chain.
- Join Neckband:
- Slip Stitch (SS) closure:
- Join ends by working SS into the corresponding loops: back loops on one side and front loops on the other. This creates a neat and flexible finish.
- Slip Stitch (SS) closure:
2. Raglan Setup
- Lift Foundation Stitches:
- At the base of the completed neckband, lift stitches evenly around the neckband circumference.
- Example: 70 stitches for medium thickness yarn and 6.5mm hook.
- At the base of the completed neckband, lift stitches evenly around the neckband circumference.
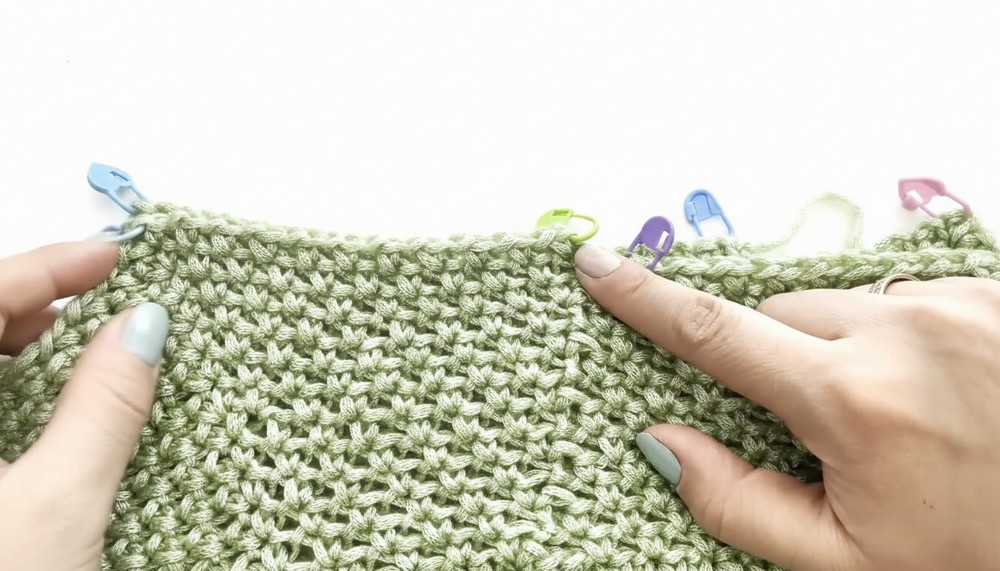
- Divide for Raglan:
Use stitch markers to divide lifted stitches into 4 sections:- Sleeves: Multiply the base stitch count by 2 (e.g., 14 stitches each sleeve).
- Front and Back: Multiply base stitch count by 3 (e.g., 20 stitches each).
Place markers:
- 20 front, 14 sleeve, 20 back, 14 sleeve.
- Points of Increase (Marked Points):
- In each marked stitch (4 in total), work Single Crochet (SC), Chain 1, SC.
- Keep markers in each increase chain stitch.
3. Raglan Body with Increases
- Pattern Setup:
- Begin rounds with a Chain 1, followed by alternating SC in chain spaces and Chain 1 to skip single crochet stitches.
- Every marked chain stitch gets an increase:
- SC, Chain 1, SC into the same stitch.
- Continue Increasing:
- Repeat rounds while making increases at the marked points (sleeves and shoulders).
- Continue until the raglan rectangle fits across the shoulders and down to the armpits.
4. Joining Sleeves and Body
- Form Sleeves:
- Once the raglan rectangle is complete:
- Join corners using Slip Stitch at the sleeve edges while continuing the SC + chain pattern.
- Once the raglan rectangle is complete:
- Body Section:
- Work the front, back, and side sections in the round using the established SC-chain pattern. Adjust the length to your preference.
5. Sleeves
- Foundation for Sleeves:
- Pick up stitches evenly around the sleeve openings and begin working rounds using SC and chain stitches.
- Cuff Options:
- Wide Sleeves: Leave as-is or slightly taper with decreases.
- Fitted Sleeves: Add 4 decreases per round:
- SC, SC, SC, Decrease (work 2 stitches as 1 SC).
6. Waistband
- Cinch the Body (Optional):
- Add a waistband for definition by decreasing SC stitches around the bottom section.
- Lift Chains: Chain to desired waistband width and return with Slip Stitch into single crochet stitches.

Special Features
- Quick Construction: The neck and raglan setup make this project fast and seamless.
- Raglan Design: Works for multiple sizes and fits comfortably on shoulders and armpits.
- Elegant Yarn: Pearline yarn offers a sheen and “cord-like” texture for a striking finished fabric.
Level of Difficulty
Beginner to Intermediate:
This pattern is ideal for beginners with basic knowledge of stitches. The raglan technique is straightforward, and the neckband introduces a simple elastic stitch style.
Tutor’s Suggestions
- Use stitch markers generously during raglan increases to avoid losing track of sections.
- Test the pattern frequently for fit to ensure comfort and proper sizing.
- For thinner yarn, adjust tension or hook size to keep stitch definition.
Uses
- Everyday Wear: Perfect for seasonal transitions.
- Gift Idea: A thoughtful handmade present for family or friends.
- Layered Style: Pair with jeans or leggings for a chic look.
Conclusion
This pearline crochet sweater pattern offers a perfect blend of ease and sophistication. Its elasticity, raglan technique, and customization options make it an enjoyable crochet project with stunning results. Be bold with your color choices and adapt the length, sleeves, or fit to suit your unique style.
Crochet Tip of the Day
When working with shiny or slippery yarns, use gentle tension and avoid pulling too tightly. Smooth yarn requires steadiness for consistent stitch placement.