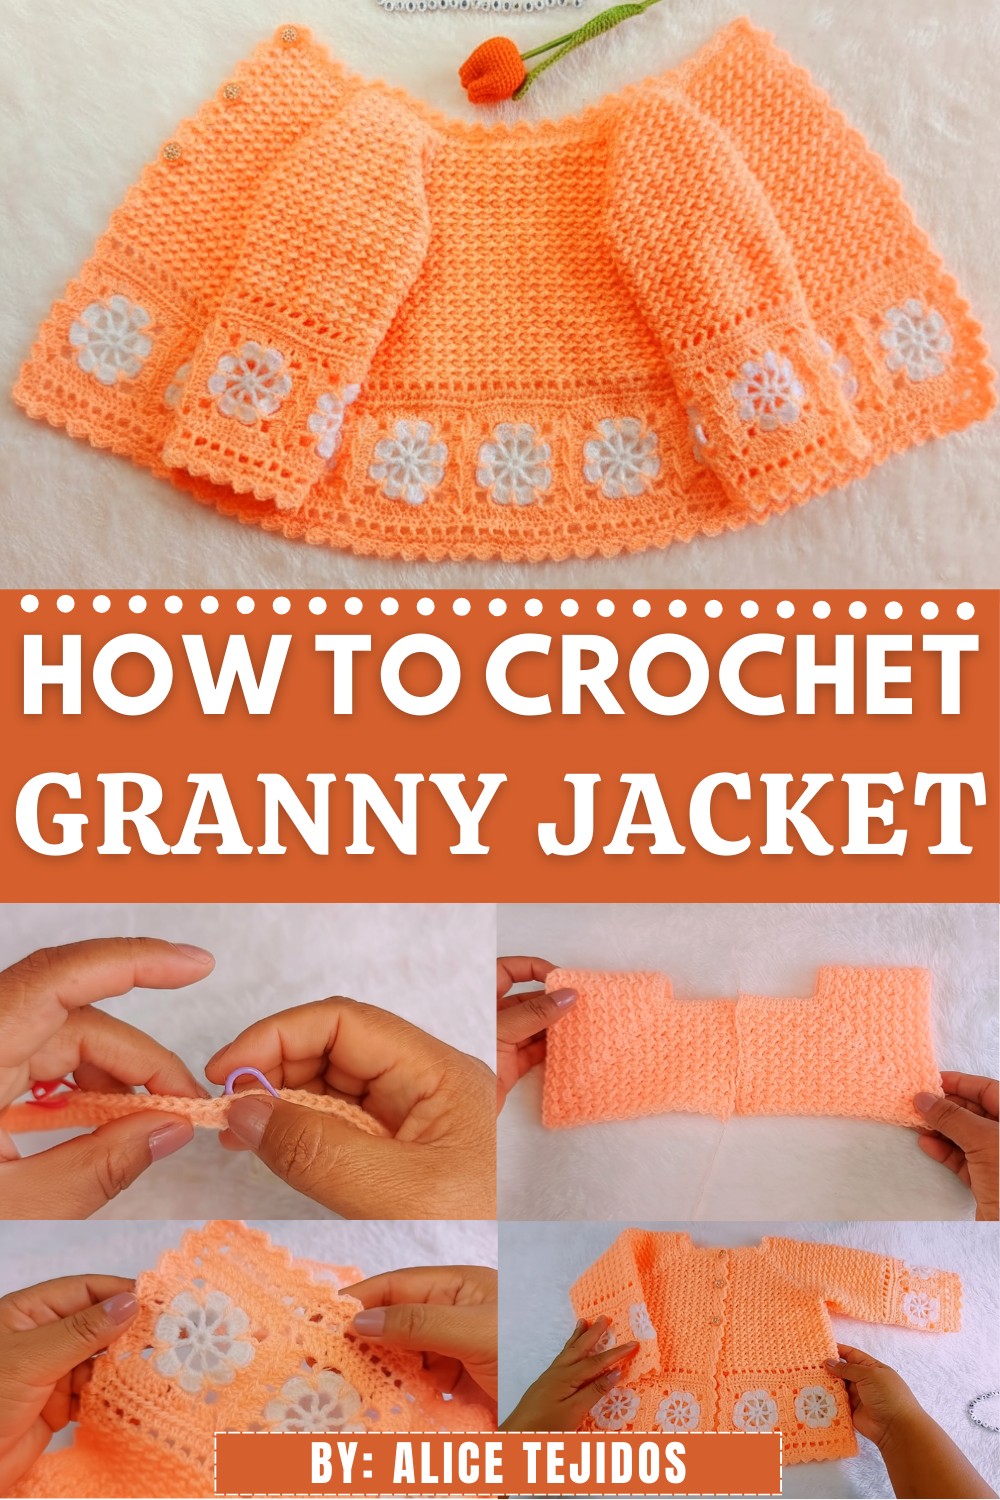
Wear a cozy stylish layer with Crochet Jacket Pattern that lets you create a comfortable fashionable piece perfect for home comfort gifts and everyday outfits.
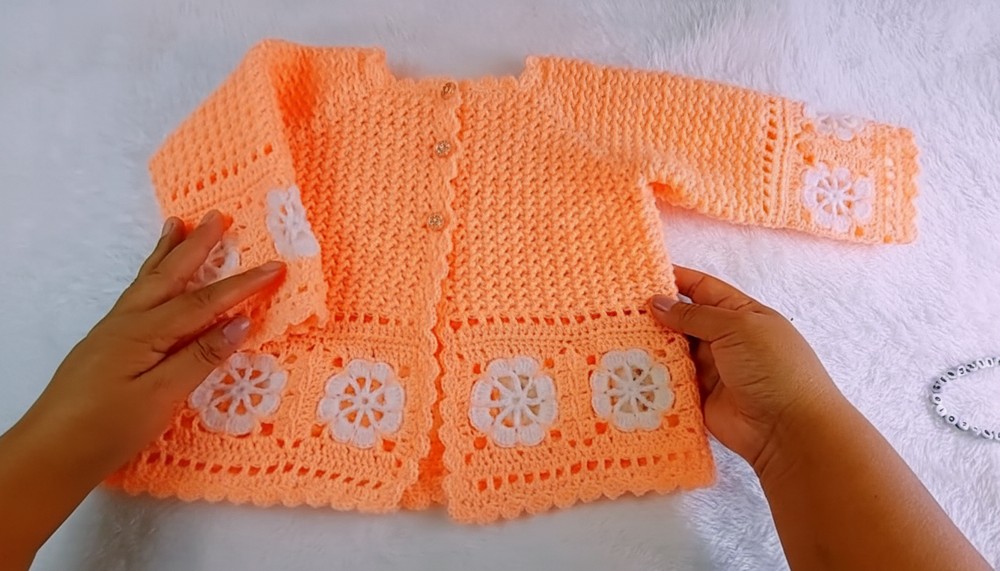
Mornings and evenings don’t have to feel plain when you can wear something soft, cozy, and full of charm that makes you smile. The Crochet Jacket pattern shows a handmade jacket with soft yarn, neat stitches, and a simple yet stylish design with long sleeves and a comfy fit that feels just right.
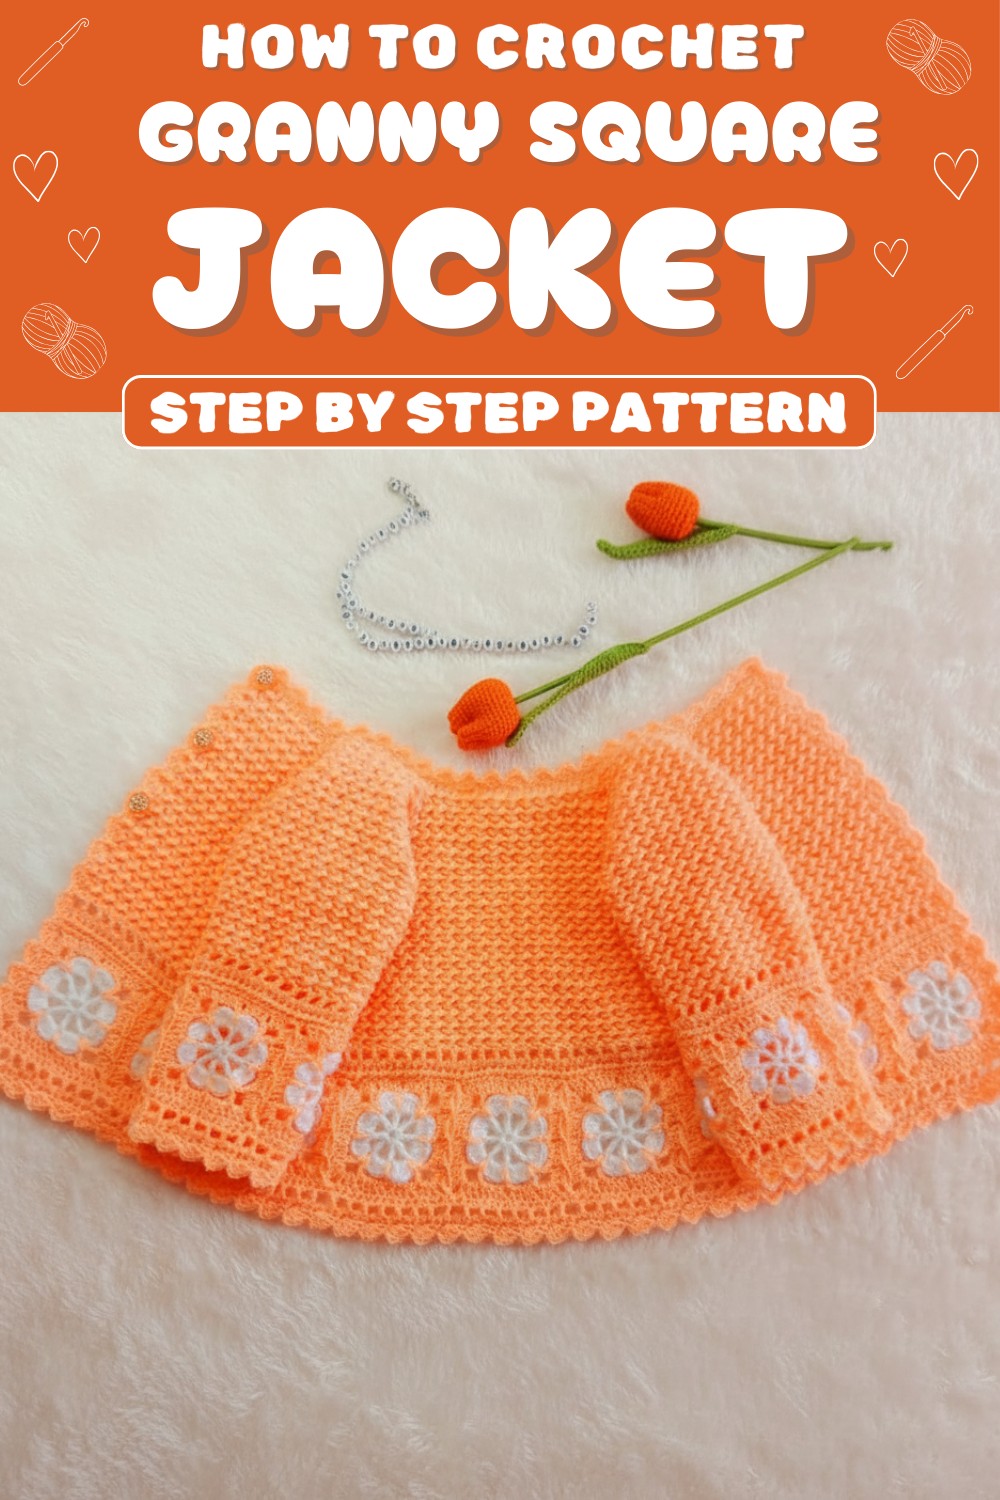
Fast & Stylish Croche Jacket Pattern for All Skill Levels
You can wear it at home, step out in style, layer it over outfits for extra warmth, or even gift it to someone special. Its most unique features are the soft texture, flexible fit, and cheerful handmade look, making it fun, durable, and perfect for adding a cozy, playful touch to any outfit.

Materials Needed:
- Yarn:
- Weight: Size 3 light yarn (approximately 120g).
- Color: Choose any preferred yarn color or mix lighter/pastel tones for a baby-inspired finish.
- Crochet Hook: Size 3 mm.
- Other Supplies:
- Stitch markers.
- Buttons for closure (2–3 small buttons).
- Tapestry needle for sewing pieces together and weaving in ends.
- Scissors.
Skill Level:
Intermediate – Involves working with lace patterns, stitch combinations, granny squares, and some sewing.
Key Abbreviations (US Terminology):
- ch: Chain
- sc: Single Crochet
- slst: Slip Stitch
- hdc: Half Double Crochet
- dc: Double Crochet
- st(s): Stitch(es)
- sp: Space
Pattern Overview and Measurements:
- Final Size: Sized for 6 months, approximately:
- Yoke height: 11 cm / 4.3 in.
- Armhole height: 11 cm / 4.3 in.
- Jacket length: 28 cm / 11 in (including lace borders).
- Sleeve length: 27 cm / 10.5 in (including lace borders).
- Adjustable Sizes:
- For other sizes, refer to the customization options below.
Step-by-Step Pattern
1. Beginning the Yoke (Neckline Foundation):
- Foundation Chain:
- Chain 75 (measuring approx. 32 cm).
- Row 1 (Foundation Row):
- Hdc into the 3rd chain from the hook and continue working hdc into each stitch across.
- You will have 73 hdc in total.
- Measure the Row:
- The finished width of this foundation row should measure approximately 32 cm. Use this as a guide for sizing.
2. Separating Sections (For Fronts, Sleeves, and Back):
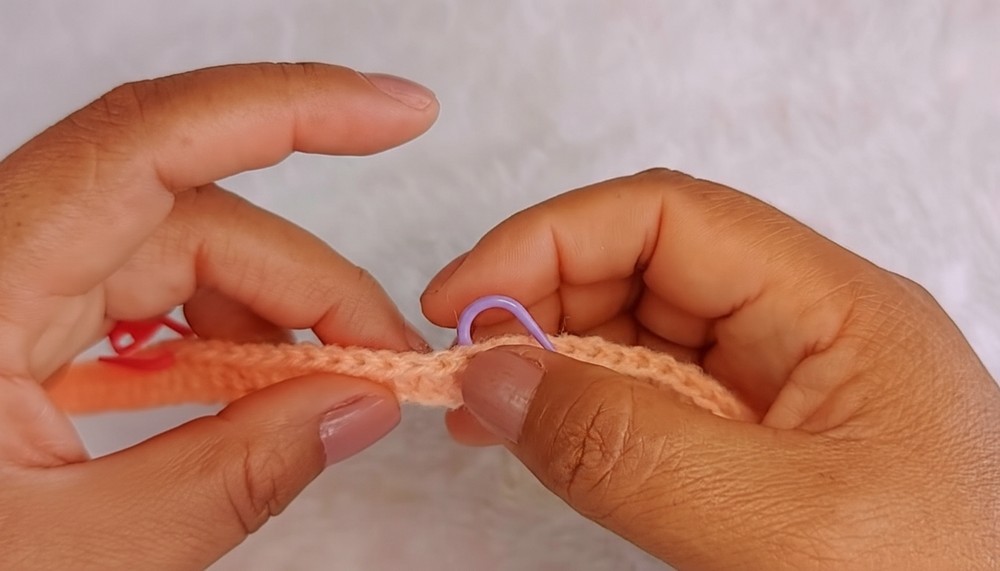
- Divide the yoke into sections using stitch markers:
- Front (Right): 12 sts.
- Sleeve (Right): 13 sts.
- Back: 25 sts.
- Sleeve (Left): 13 sts.
- Front (Left): 12 sts.
Place 1 marker in between sections to separate them.
3. Yoke Pattern:
- Row 2 – Stitch Pattern:
- Ch 2, turn.
- Alternate hdc and slst across:
- Begin with hdc into the first stitch, followed by slst into the next stitch.
- Repeat the pattern (hdc, slst) across the row.
- Begin with hdc into the first stitch, followed by slst into the next stitch.
- At the marker (separating stitches), work a Fan Stitch:
- 3 hdc in the same st (this creates the increase in the yoke).
- Move the stitch marker to the middle hdc of the fan for the next row’s reference.
- Row 3 – Reverse Sequence:
- Ch 1, turn.
- Alternate slst and hdc across:
- Begin with slst into the first stitch, followed by hdc into the next stitch.
- Repeat the pattern (slst, hdc) across the row.
- In the marked stitch from the fan, repeat 3 hdc to create another fan increase.
- Continue Repeating Rows 2 and 3:
- Work this alternating pattern sequence until the yoke measures 11 cm.
- Ensure that the armhole height also measures 11 cm.
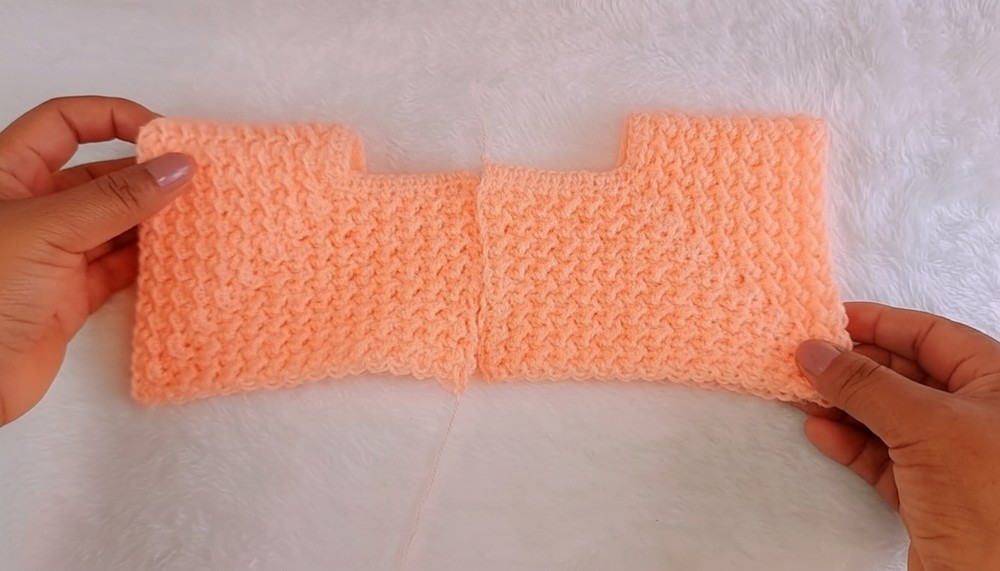
4. Dividing the Body and Sleeves:
- Once the yoke is complete, divide your workspace:
- Work the front, skip sleeve stitches (creating the armholes), and connect the back panel.
- Use ch 3 to connect across the skipped sleeve section for each armhole.
- Body Pattern:
- Continue the established yoke sequence (hdc and slst pattern).
- Work straight rows for the body section until the body measures 18 cm from the shoulder.
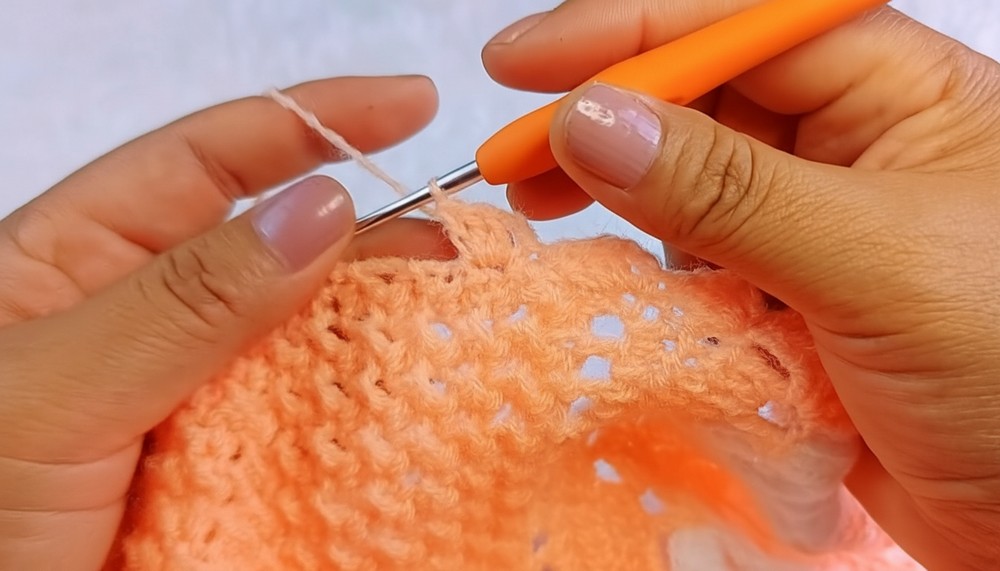
5. Lace Border for Body:
- Lace Row 1:
- Ch 2, turn.
- Work dc, ch 1, skip 1 stitch, and repeat the sequence across the entire width.
- Lace Row 2:
- Ch 2, turn.
- Work hdc into each stitch and chain space from the previous row.
- Repeat Both Rows:
- Alternate Rows 1 and 2 to add a lace edge measuring 10 cm.

- Alternate Rows 1 and 2 to add a lace edge measuring 10 cm.
6. Sleeves:
- Attach Yarn at Armhole:
- Using the center stitch of the armhole, rejoin the yarn with a slst.
- Sleeve Rounds:
- Repeat the pattern sequence (hdc, slst) used in the body for the sleeves.
- Work straight rounds until the sleeve measures 17 cm.
- Shaping and Decreasing:
- To shape the sleeves, make 6 decreases evenly over the rows, spaced approximately every 6 rows.
- Add Lace to Sleeves:
- Repeat the lace border pattern, measuring 10 cm to match the body lace.
- Sew Sleeves:
- Fold the sleeve and sew the edges together using a tapestry needle, working on the wrong side.
7. Adding Granny Squares:
- Refer to a granny square tutorial (link provided in the original transcription).
- Make 9 granny squares and join them as a strip using single crochet stitches.
- Attach this strip directly to the bottom lace edge using single crochet stitches for a clean finish.
Tips for Success:
- Use Stitch Markers: Placing markers for the fan increases in the yoke ensures you’ll maintain even shaping.
- Count Your Stitches: Frequently check your stitch count to avoid errors. Adjust increases or decreases as necessary.
- Block Your Work: Gently block the finished jacket to even out the lace and granny square sections.
Customization Options:
Color Variations:
- Use pastel tones (pink, lavender, mint green, or baby blue) for a classic baby look.
- Choose brighter or multicolored yarns for a playful design.
Size Adjustments:
- Refer to the yoke measurements: Add or remove chain multiples (e.g., increase/decrease by groups of 6) for larger or smaller sizes.
- Adjust the number of rows for the body or sleeves.
Conclusion:
This sweet baby jacket is versatile and can be customized to suit any season or style! The lace borders add elegance, while the granny square strip provides an adorable focal point. With practice and precision, this jacket becomes a treasured garment for any little one.
Final Remarks:
We hope you enjoyed this pattern! If you experiment with sizes, colors, or patterns, feel free to share your work and inspire other crocheters.