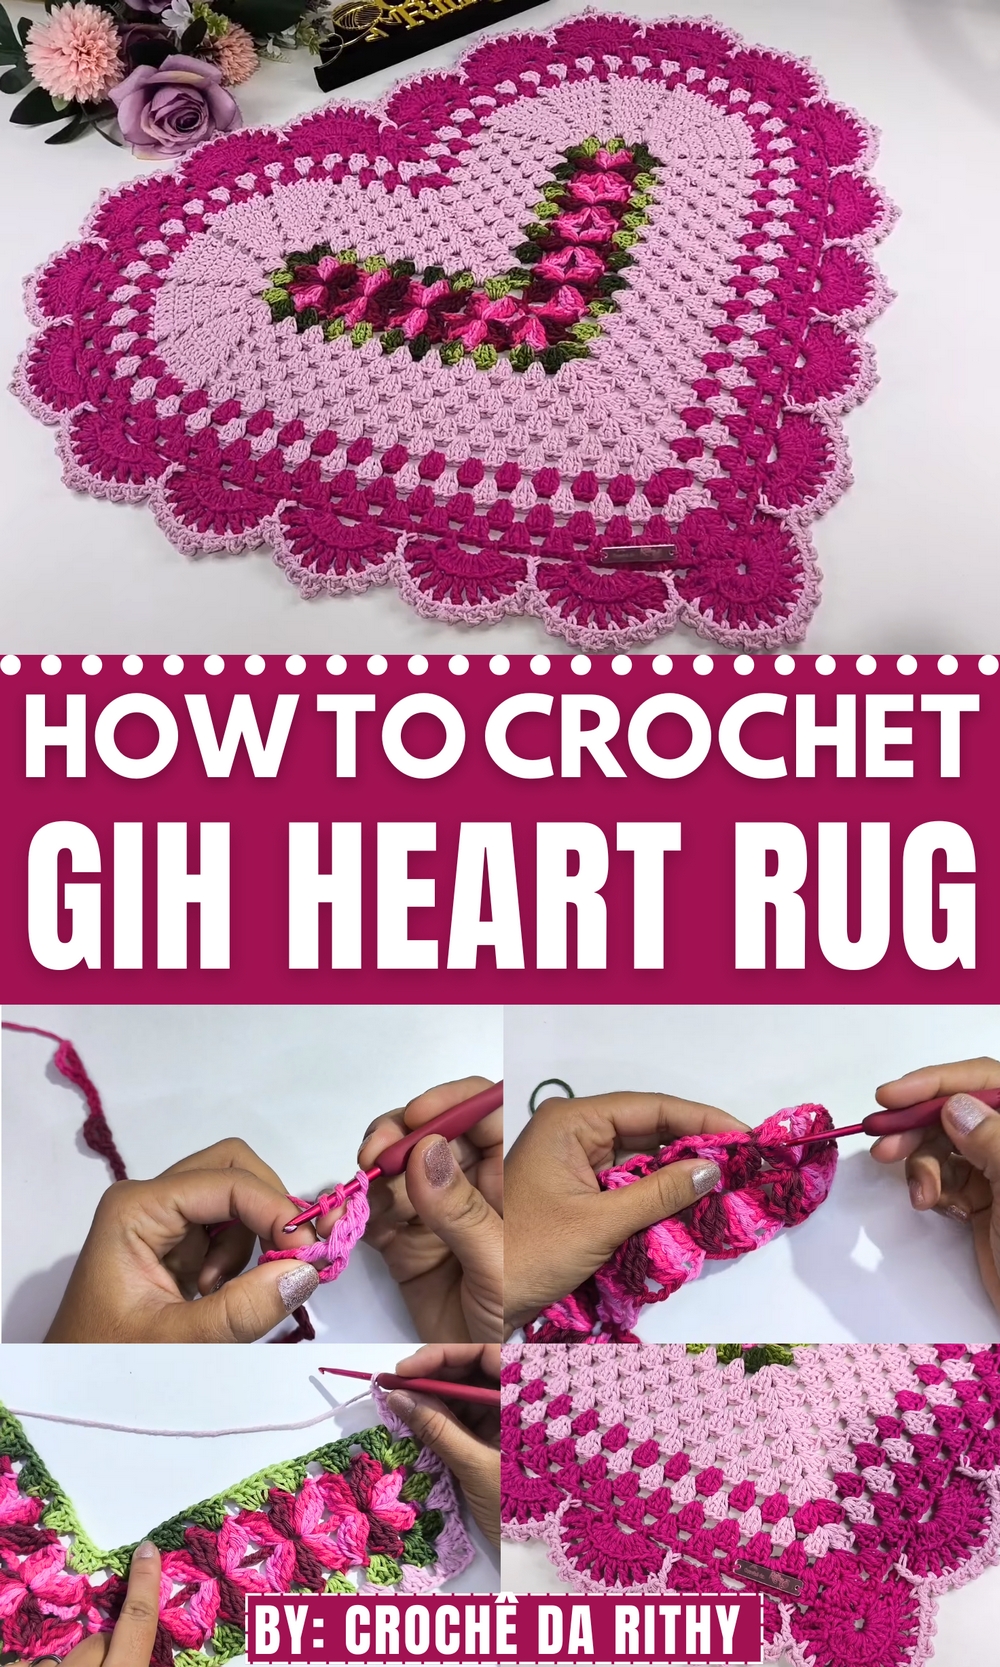
Warm up any space instantly with the Free Crochet Gih Heart Rug Pattern that adds cozy charm, softness, and a sweet handmade feel underfoot.
The art of crochet has long been renowned for its ability to turn ordinary threads into heartfelt creations. Among these timeless treasures, the Gih Heart Rug stands as a touching tribute and a symbol of warmth and affection. Originating as a heartfelt homage to a cherished member, this rug beautifully intertwines the artist’s skill with the universal symbol of love a heart. With its charming asymmetry and delicate curves, the Gih Heart Rug is not just an accessory for your home but a centerpiece that draws admiration and instantly brightens any space with vibrant colors and intricate patterns.
Unique Crochet Gih Heart Rug Pattern with Endearing Style

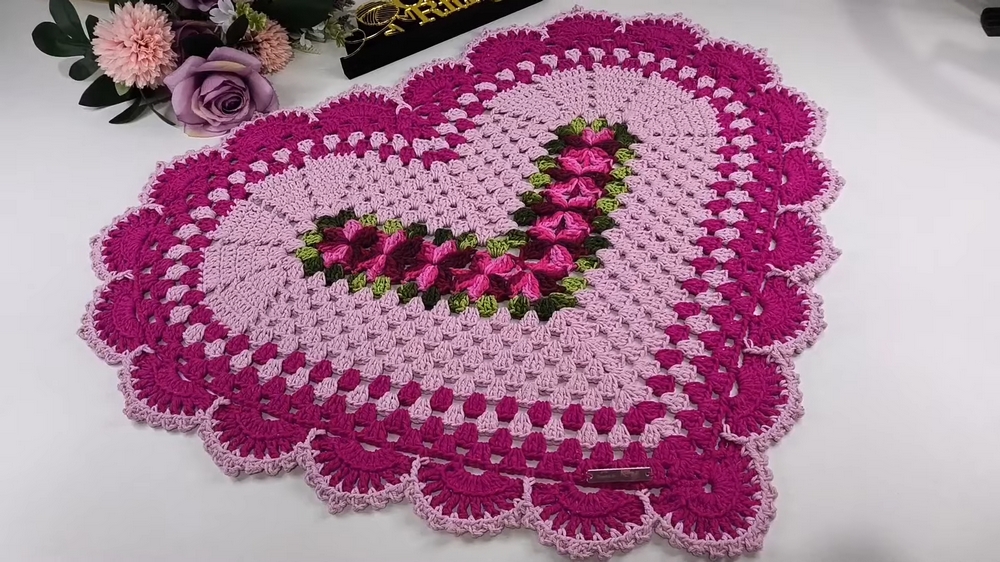
Measuring approximately 68 cm wide by 61 cm long (though the size can be tailored based on your personal stitching tension), this rug is versatile and functional. It can be used as a decorative floorpiece by your bedside or as a delightful accent in your living room. Its aesthetic combination of bromeliad, avocado green, pink, and baby pink yarns showcases an eye-catching interplay of soft shades that bring harmony and warmth to any interior. Not merely confined to decor, its soft texture and durability make it a comforting addition to spaces where your feet seek comfort.
What truly sets the Gih Heart Rug apart is its ability to represent both simplicity and sophistication in its design. Beyond the practical benefits, each stitch carries the potential to weave both sentiment and purpose into your space. Its softness underfoot, the brilliant color coordination, and the love-inspired shape combine in a way that makes this rug as meaningful as it is beautiful. With its allure, the Gih Heart Rug becomes not just an accessory but an enduring expression of care and artistry.
Adorable Crochet Gih Heart Rug Pattern
Skill Level
Intermediate to Advanced
Finished Dimensions
- Approximate Size: 68 cm x 61 cm
- Weight: ~359 grams
Materials Needed
- Yarn:
- Barroco bromeliad multicolored yarn: For the primary rug petals.
- Avocado green (Pires yarn): For inner details.
- Baby pink and pink (Pires yarn): For highlights and borders.
(Alternative: Use any size 6 yarn that matches your desired color palette.)
- Crochet Hook: 3.5 mm Tulip crochet hook.
- Scissors: For cutting yarn tails.
- Yarn Needle: For weaving in ends.
- Optional: Stitch markers to assist with tracking sections, especially corners.
Key Special Techniques
- Double Treble Crochet (dtr):
- Yarn over twice, insert the hook into the stitch or space, yo, and pull through.
- Yo, pull through 2 loops, repeat this twice, leaving the last loop on the hook during petal formation.
- Popcorn Picot with 3- and 5-Chain Details:
- Forms a 3D finishing touch for the rug’s border.
- No Chain Between Space Transitions:
- In petal and block sections, avoid added chains in transitions unless specified to prevent gaping.
Abbreviations (US Terminology)
- ch: Chain
- sc: Single Crochet
- dc: Double Crochet
- dtr: Double Treble Crochet
- sl st: Slip Stitch
- st: Stitch
- yo: Yarn Over
Step-by-Step Crochet Pattern
Step 1: Rug Base Foundation
- Slip Knot and Chains
- Start with a slip knot on your hook.
- Chain 4.
- Join Chains
- Form a loop by inserting the hook into the first chain made.
- Work a double crochet (dc) into the first chain, leaving a small space.

- Forming the Rings
- Chain 8. Count back 4 chains, yo, and make another double crochet in the chain.
- Repeat this process to create a total of 9 rings.
- Note: Always create an odd number of rings for symmetry (e.g., 9, 11, 13, etc.). For a larger rug, increase the rings in pairs.
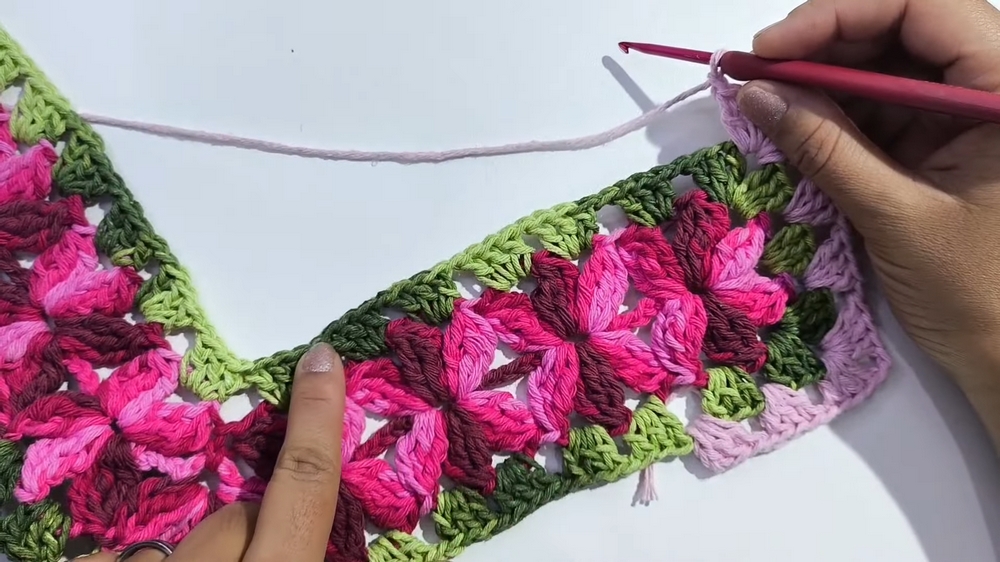
Step 2: Petal Formation
- Begin Petals
- Chain 3, then make double treble crochet (dtr) stitches into the first ring, each separated by 3 chains.
- For each dtr, leave the last loop on the hook; complete all stitches at the same time by pulling through all loops with one motion.

- Cluster Petals
- Form 3 petals per ring using the method above.
- Transition to the next ring without chaining between rings.
- Special Modifications for the Heart Curve
- In the 4th ring, create 2 petals only and leave the middle as a marker for the heart shape.
- Add a single crochet stitch in the next space to form the indentation of the heart at the top.
- Complete the Row
- Continue as before, filling each ring with 3 petals except for the designated spaces with 2 petals.
Step 3: Green Border
- Attach Green Yarn
- Start in the second petal space. Secure the yarn with a sl st.
- Block Formations
- Work 3 dc clusters, each separated by ch 1, around the rug base.
- In the curve edges, form fan shapes:
- Work 3 dc, ch 2, 3 dc into the corners.
- Work 3 dc, ch 2, 3 dc into the corners.
- Transition into the Curve
- In curved areas, form blocks and connect points without chaining between clusters, emphasizing tight tension to maintain shape.
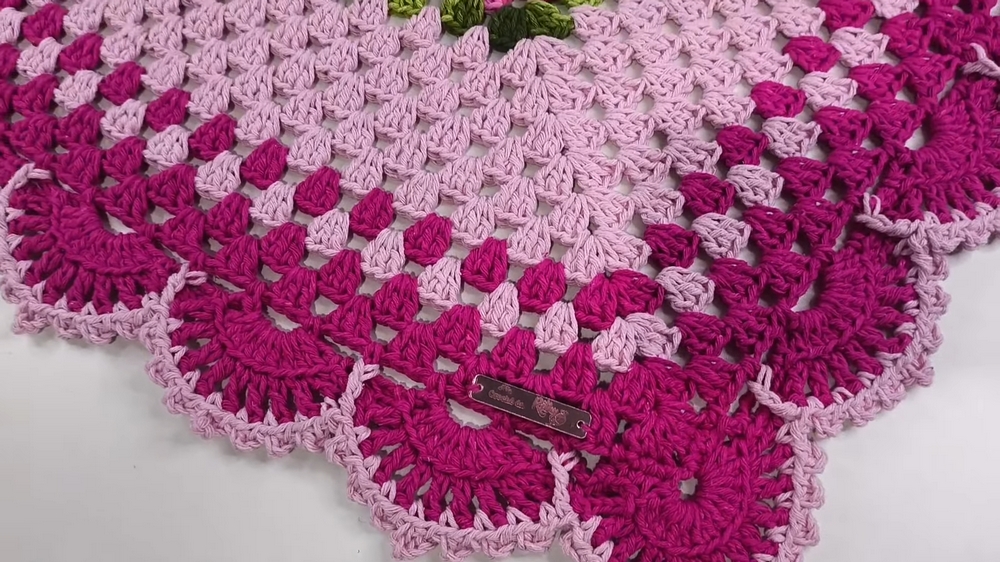
Step 4: Adding Baby Pink Rows
- Pink Outline
- Tie baby pink yarn to any corner.
- Work 3 dc clusters separated by ch 1 across all straight rows.
- Adjust for Oval Shapes:
- In curved sections:
- Work 4 dc, ch 2 instead of the standard 3 dc clusters.
- Create 5 repetitions of these larger blocks for the curve.
Step 5: Edging with Picot Finish
- Attach Pink Yarn for Border Details:
- Begin with sc in any corner.
- Picot Borders:
- Alternate 3-ch picots (5 repetitions) with spaced 5-ch picots for a balanced visual effect.
- Repeat this around the rug, extending the heart’s shape naturally.
- Final Touch Middle Section:
- Add a double treble crochet for the center dent of the heart.
- Work around this special section symmetrically.
Finishing the Rug
- Tie Off:
- After the final row, cut the yarn, leaving a small tail for security.
- Weave in all ends using a yarn needle.
- Blocking the Rug:
- Wet block the rug to help it relax and set into the heart shape precisely.
- Pin the edges for accurate symmetry.
Final Words
Congratulations! Your Heart-Shaped Rug is completed – a versatile piece that can decorate your home or be gifted. Its delicate yet durable design comes from strategic layering and accents like picots and petals.
Tips for Project Success:
- Tension is Crucial: In curved areas, keep stitches consistent and tight to avoid puckering or fraying.
- Symmetry Matters: Always mirror modifications on both sides of the heart for balance.
- Experiment with Colors: Play with contrasting or gradient color schemes to enhance the design.