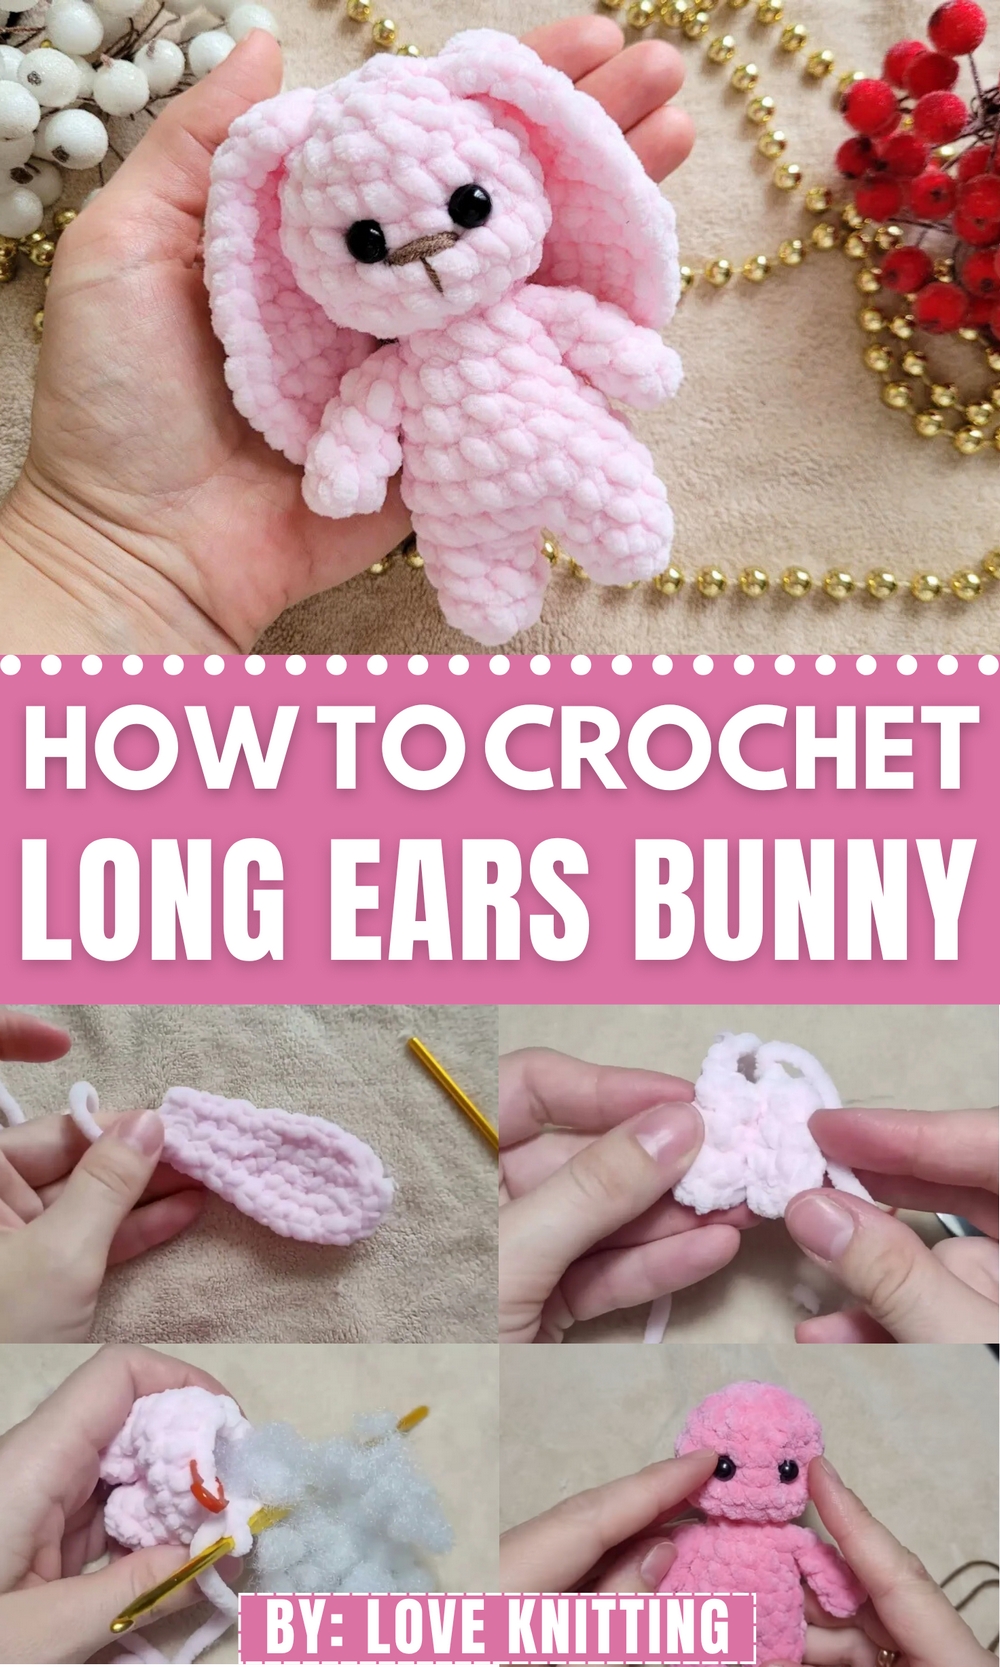
Cuddle into charm with this Free Crochet Long Ears Bunny Pattern, ideal for heartfelt gifts, cozy décor accents, and timeless handmade keepsakes.
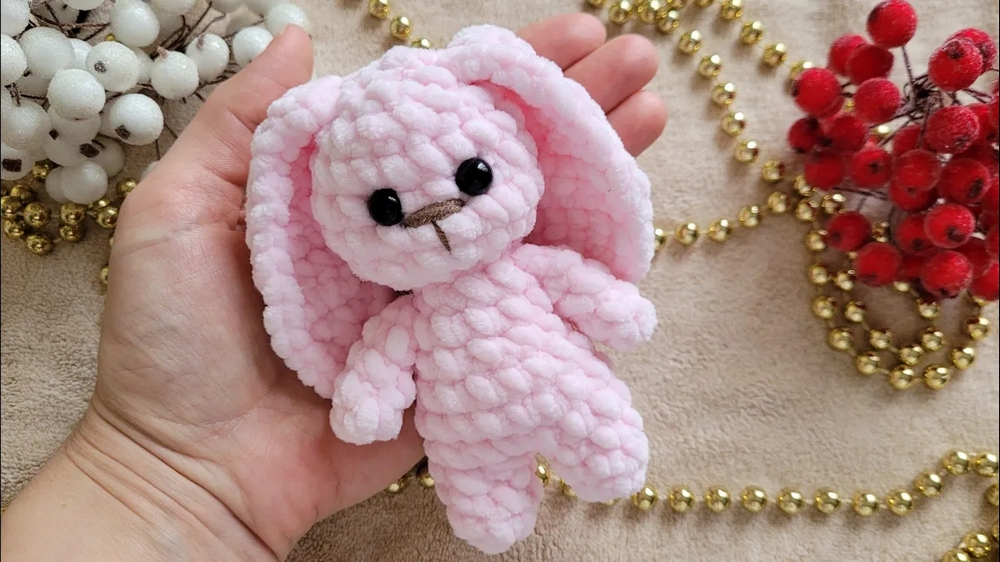
On a quiet afternoon, a small handmade bunny can become more than just a toy, it can be a comforting friend for a child, a charming nursery decoration, or a thoughtful keepsake. The gentle charm of a long-eared bunny brings warmth to any setting, its soft features and elongated ears adding a whimsical appeal. With the Free Crochet Long Ears Bunny Pattern, you can bring this delightful character to life, tailoring colors and sizes to suit any purpose.
Free Crochet Long Ears Bunny Pattern For Timeless Handmade Gifts

Whether intended as a heartfelt baby shower gift or a cheerful addition to seasonal décor, this bunny offers versatility and timeless appeal. Its floppy ears invite imaginative play, while its huggable shape makes it perfect for snuggles. The project’s adaptable style means you can personalize every detail, from the yarn texture to the embroidered facial expressions, making each bunny unique.
Ideal for those who appreciate handmade charm, it offers a balance of simplicity and beauty that suits both beginners and experienced makers. Once finished, the long-eared bunny can grace shelves, accompany little ones on adventures, or simply rest in a cozy corner, bringing joy to all who see it. This lovable companion is sure to be treasured for years.
Step-by-Step Details
- Materials:
- Plush yarn (100 grams at 120 meters)
- Crochet hook (4 mm)
- Beads for eyes (8 mm each)
- Brown yarn for embroidery
- Polyfill for stuffing
- Needles for sewing details
- Optional: Potato thread for sewing plush yarn details
- Ears
- Begin by chaining 3 air loops and crocheting in rotary rows:
- Row 1: Single crochet into the second and third air loop (2 stitches).
- Row 2: Increase to 4 stitches.
- Continue working additional rows, increasing and decreasing as demonstrated until you shape the ear.
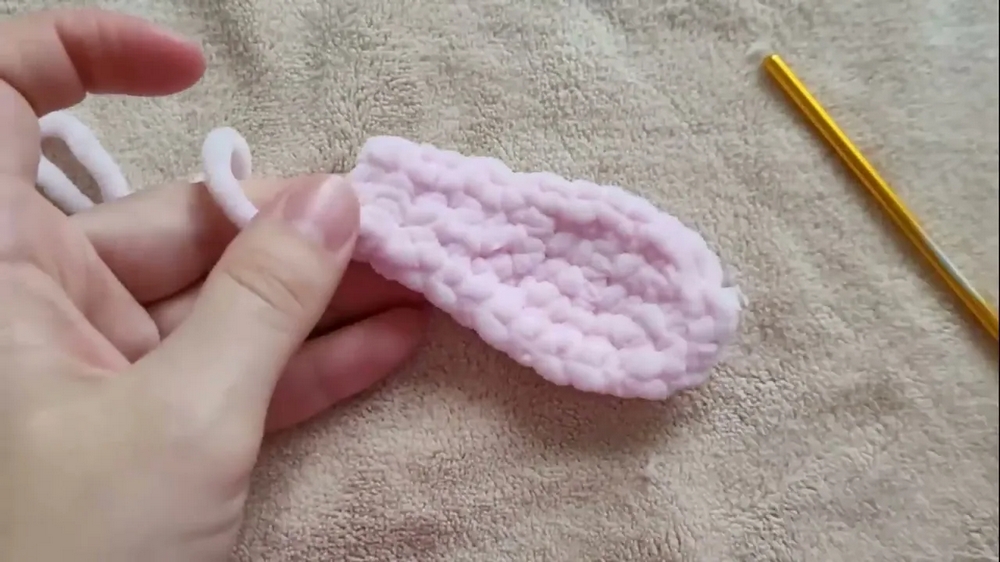
- Circle around the ear with slip stitches to finish and leave a thread for sewing.
- Begin by chaining 3 air loops and crocheting in rotary rows:
- Handles
- Create an amigurumi ring with 5 single crochets:
- Row 1: 5 single crochet stitches.
- Continue rows, maintaining stitches and working decreases to shape the handle.
- Tie off and trim the thread after completing the handles.
- Create an amigurumi ring with 5 single crochets:
- Legs and Torso
- Crochet 2 legs:
- Each leg begins with an amigurumi ring and expands to 6 single crochets.
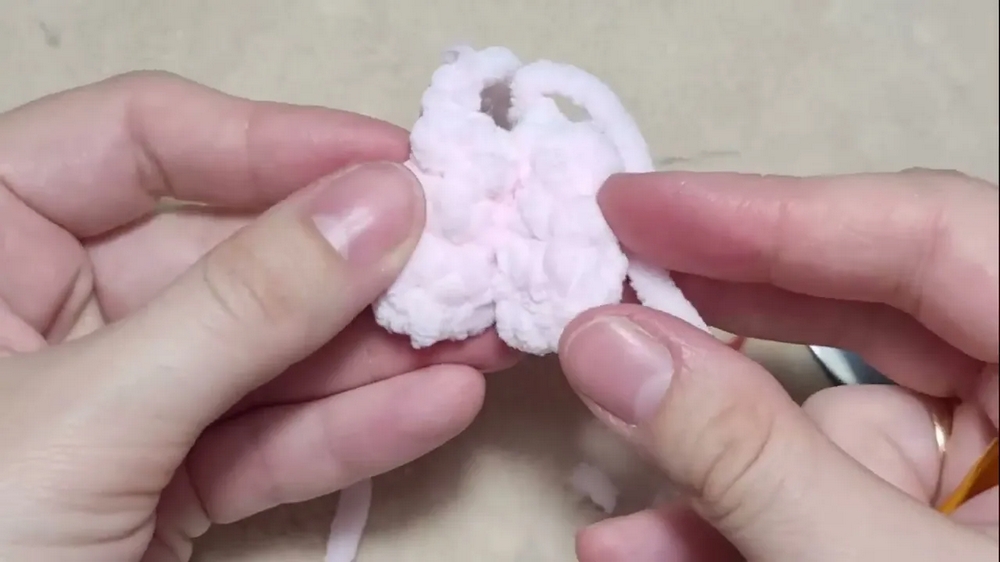
- Add rows to solidify the shape without cutting the thread on one leg to connect to the torso.
- Each leg begins with an amigurumi ring and expands to 6 single crochets.
- Connect legs via increase stitches and crochet the torso in rounds.
- Add filler as you shape the body to ensure evenness.
- Crochet 2 legs:
- Head
- Begin the head at the top of the torso:
- Row 8: Make 6 increases to shape the head (12 stitches total).
- Continue increasing stitches to reach 18 stitches in later rows, then maintain the stitch count.
- Start decreasing rows until the top closes, adding filler as needed to maintain shape.
- Begin the head at the top of the torso:
- Tail
- Crochet a small tail using an amigurumi ring with 5 single stitches and fasten off.
- Sew it on the body using stitch techniques.
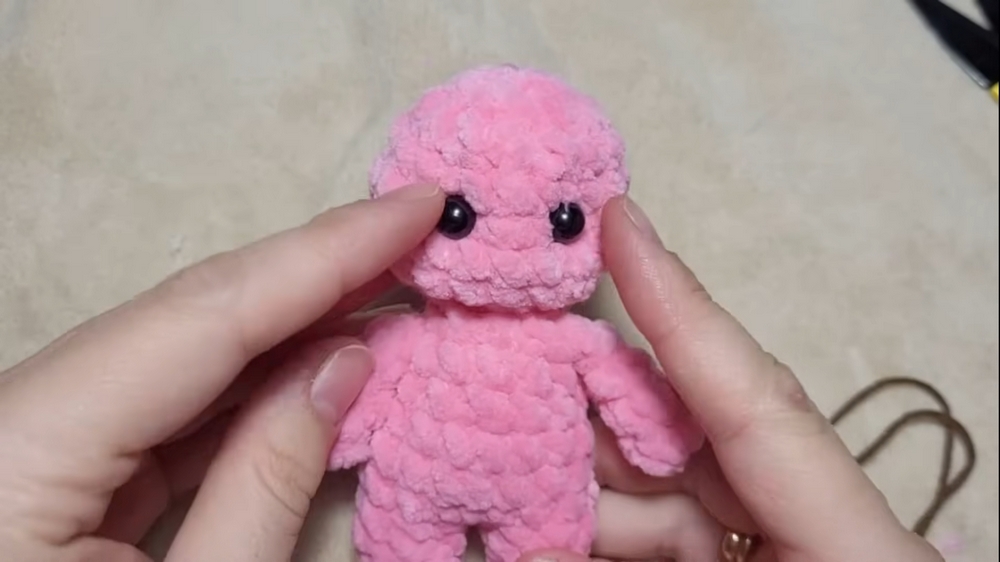
- Eyes and Nose
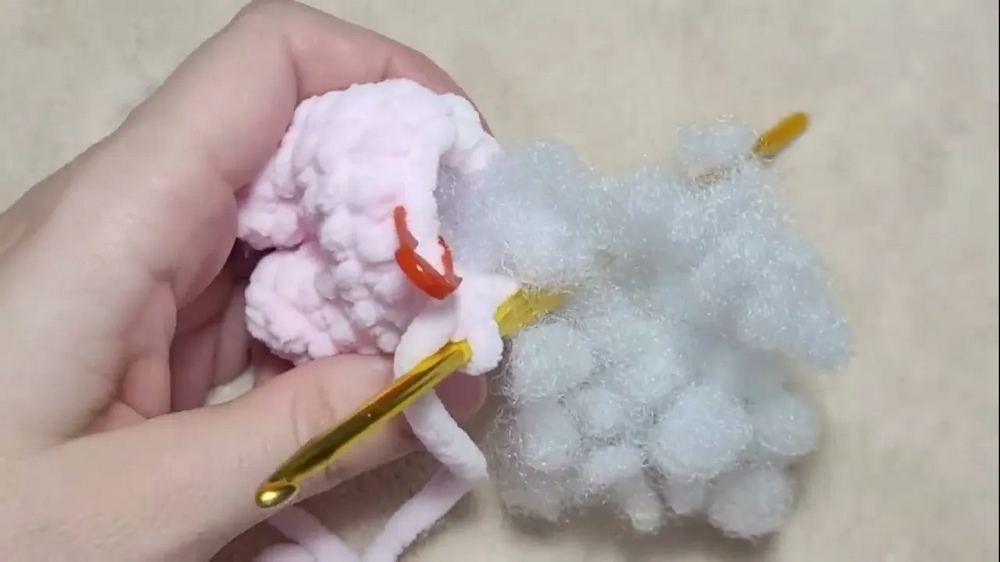
- Attach beads as eyes (sew them securely using detailed techniques to tighten and position).
- Embroider the nose using brown yarn and basic stitches. Tie off and hide threads within the toy.
- Ears Attachment
- Pin ears to position, then sew them securely on the head. If sewing with plush yarn is challenging, use potato thread.
- Pin ears to position, then sew them securely on the head. If sewing with plush yarn is challenging, use potato thread.
Special Features
- Long floppy ears add charm and uniqueness.
- Beaded eyes and embroidered facial features make the bunny lifelike.
- Crafted entirely from soft plush yarn for comfort and durability.
- Compact design allows the bunny to serve as a gift, toy, or display piece.
Level of Difficulty
The project is suitable for beginners to intermediate crocheters. While basic crochet stitches are used (e.g., single crochet, slip stitches, amigurumi techniques), assembling parts (e.g., sewing the ears and facial embroidery) may require careful attention to detail, especially for beginners.
Tutor’s Suggestions
- Use plush yarn for softness and appeal, but switch to standard thread if plush yarn is difficult when sewing.
- Stuff the bunny gradually to avoid unevenness.
- Use pins for positioning details like ears before sewing.
- Be patient when working on facial features for balanced and symmetrical results.
Uses
This plush baby bunny can be used as:
- Gift: Ideal for children, newborns, or special occasions like baby showers.
- Decor: Adds a cozy aesthetic to nursery rooms or hobby displays.
- Toy: A fun and lovable companion for kids.
Tip
For better durability, sew all parts securely, especially the ears and beads for the eyes. Use small sharp pins to position parts accurately before stitching.
Conclusion
The plush baby bunny crochet tutorial is a delightful and straightforward project that allows crocheters of all levels to produce a high-quality handmade toy. Its soft texture combined with charming features ensures it becomes a cherished item for gifting or personal enjoyment. With patience and attention to detail, you’ll crochet a bunny that brings joy for years to come.