
Try this adorable Crochet Cow Amigurumi with easy instructions to create a unique and lovable toy that makes a great gift decoration or cuddly companion.
A little while ago, I worked on a fun crochet project that turned out to be really charming. The Crochet Cow Amigurumi is a small, soft toy shaped like a cute cow with black and white spots. It features a round body, a pink nose, two tiny horns, and ears in different colors, adding extra character.
Fun Crochet Cow Amigurumi Free Pattern For Farmes
The tight crochet stitches make the toy feel smooth and slightly firm. It’s perfect as a decorative piece for a shelf, a child’s room, or even a desk, and it also serves as a sweet, handmade gift.
The tutorial for this project comes from the YouTube channel Sueños en Hilo, which offers clear and helpful step-by-step instructions. Their videos make it easy for beginners to follow along and complete the Crochet Cow Amigurumi with confidence. They explain how to crochet each body part, stuff them properly, and assemble everything securely.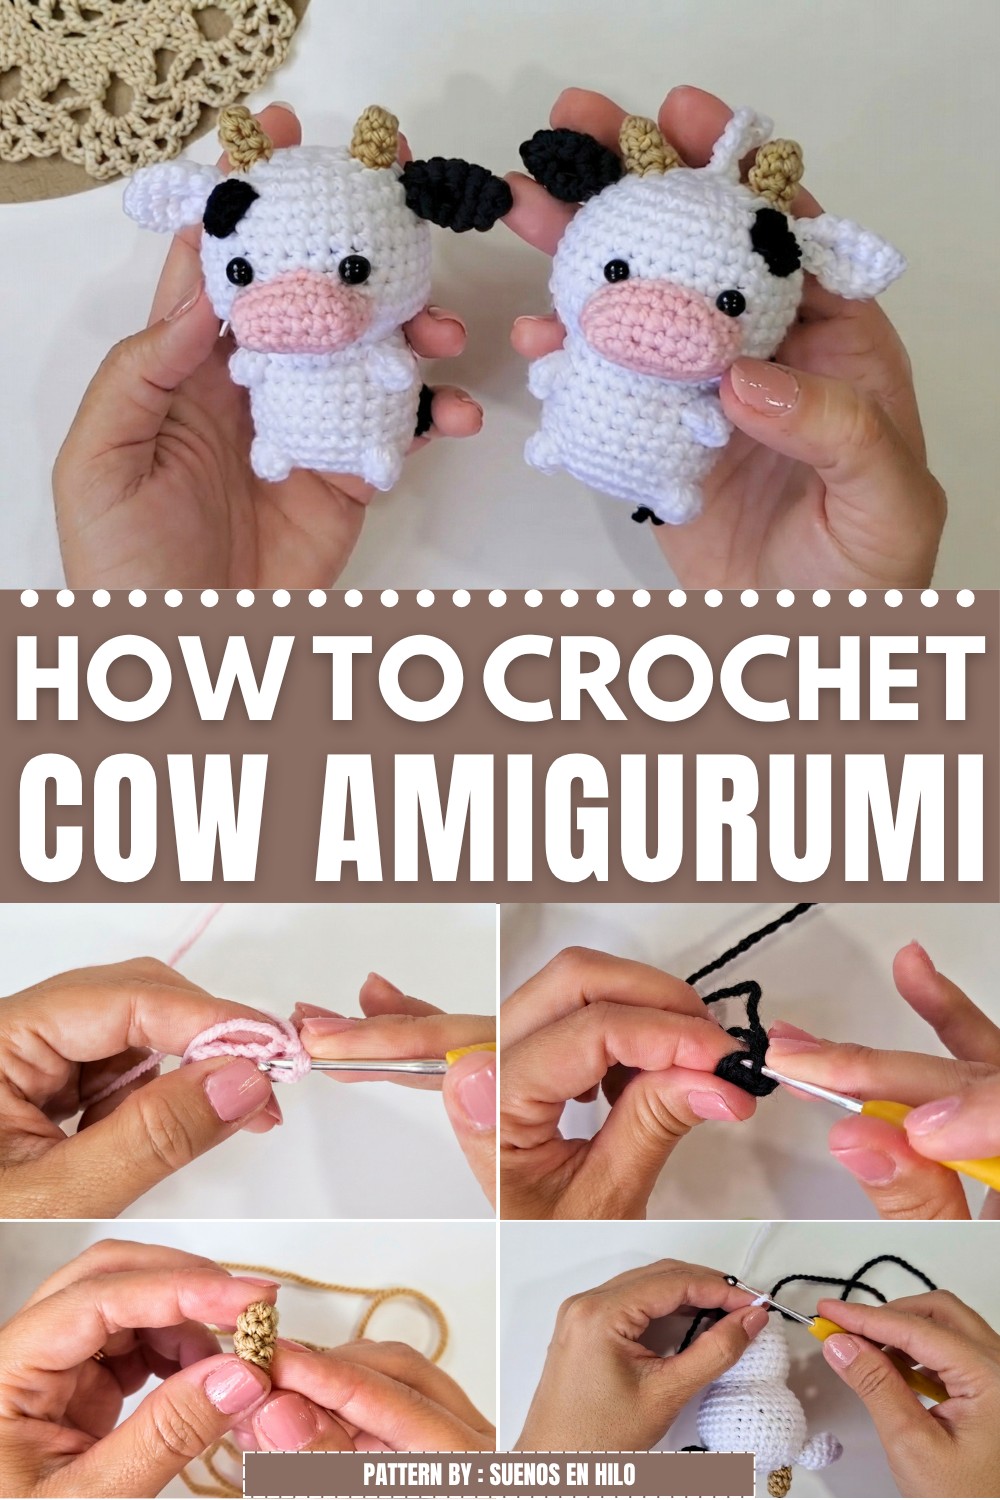
This Crochet Cow Amigurumi is not only adorable but also versatile. It can be used as a soft toy for children, a cheerful home or office decoration, or even a keychain if made smaller. Additionally, it makes a thoughtful gift for friends and family.
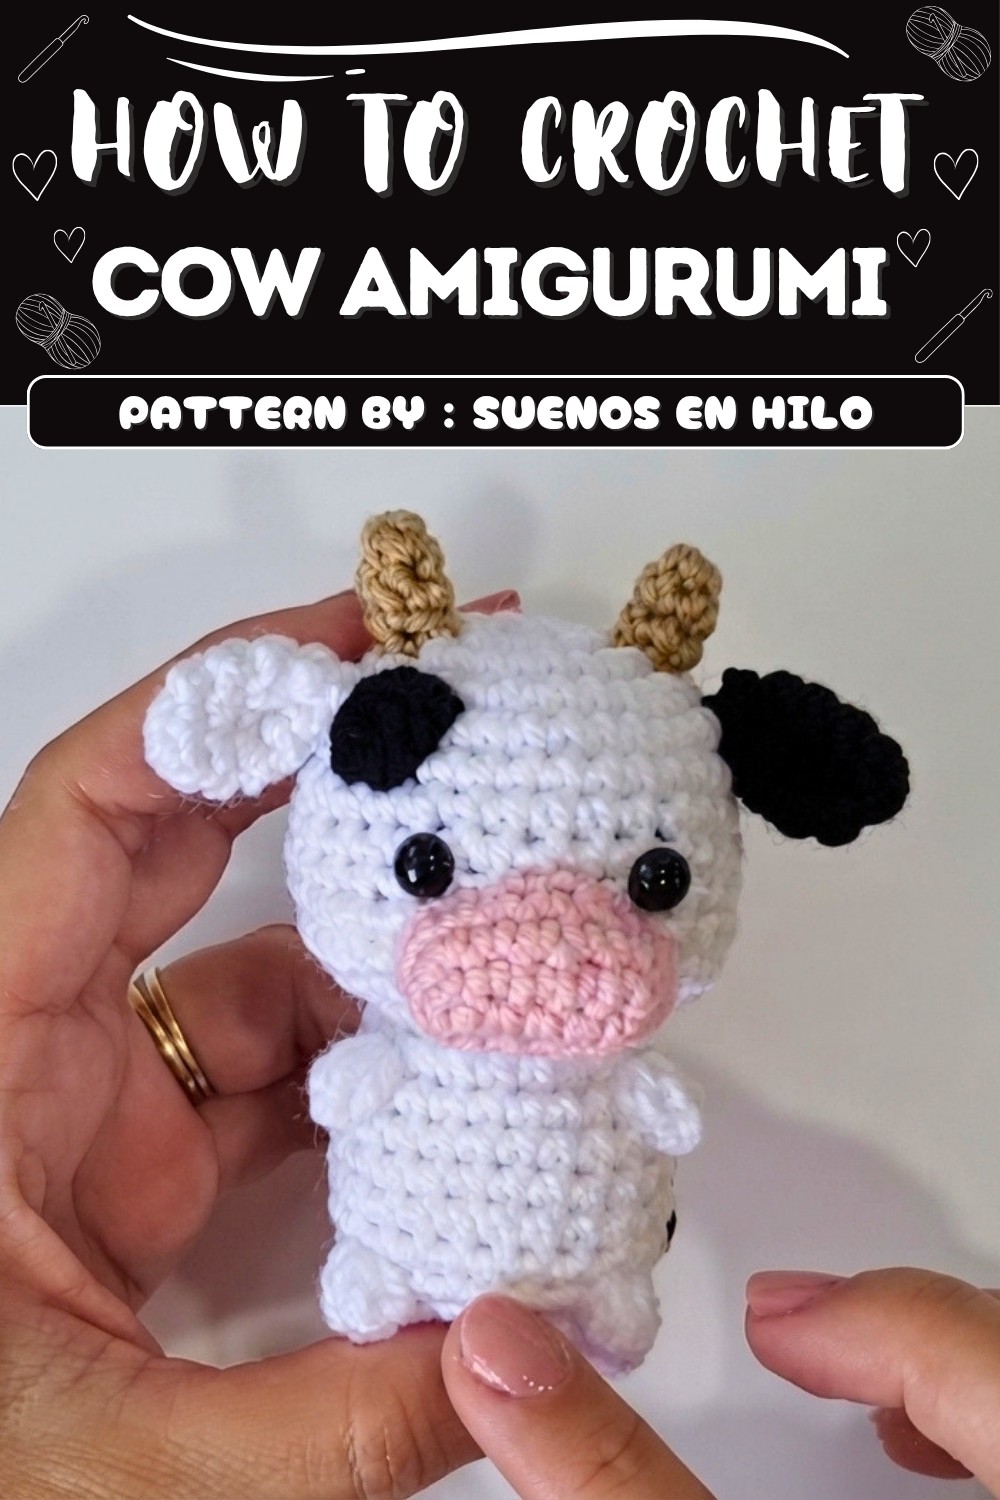
Its compact size and firm texture make it easy to carry around or place anywhere, and the charming details give it a lot of personality. Overall, it’s a delightful craft that brings joy wherever it goes.
Little Cow Amigurumi Keychain Crochet Pattern
In the previous video, we made a cute little piglet keychain. Today, I’ll show you how to crochet its charming companion: a tiny cow. This small amigurumi is built on the same easy-to-follow base as the piglet, making it quick and beginner-friendly. Let’s get started!
Pattern Basic Points
- Body Construction:
Uses the same base pattern as the piglet—head, body, and legs are all worked as a continuous piece. - Snout, ears, tail, horns, and spots:
Each is worked separately and sewn onto the main body. - Keychain Feature:
A hanging chain allows you to attach a keyring or use it as a pendant. - Safety Eyes:
Added between rounds for secure, expressive features. - Colorwork:
Simple color changes add personality: classic white, black, pink, and dark beige.
Special Notes
- Use a stitch marker to keep track of your rounds.
- Stuff parts lightly as you go to ensure smooth shaping.
- Placement of safety eyes, ears, and features affects the cow’s personality.
- The “spot” shapes are irregular and can be customized in size/number.
- Sew each piece securely for durability as a keychain or pendant.
- Adjust yarn colors for different cow breeds or playful style.
Skill Level
Beginner to Advanced Beginner
The pattern uses single crochet, increasing, decreasing, basic sewing, chain, slip stitch, and the magic ring.
Materials
- Yarn:
- White (main body)
- Pink (snout)
- Black (spot/ear)
- Dark beige (horns)
- Hook: 2.5mm
- Stuffing: Synthetic/polyester fiberfill
- Safety Eyes: 7mm (6–8mm acceptable)
- Yarn needle
- Stitch marker
- Scissors
- Keyring (optional)
Measurements / Sizing
Approximate finished size: 7–9 cm tall, depending on yarn and tension
- Can easily be made larger or smaller by adjusting yarn and hook size
Gauge (and Stitch Pattern if Applicable)
- Gauge is not strictly necessary; aim for tight, even stitches to contain stuffing.
- Primary stitch: single crochet (sc) in rounds.
Stitch Abbreviations
- ch: chain
- sc: single crochet
- inc: increase (2 sc in same st)
- dec: decrease (sc 2 together)
- sl st: slip stitch
- MR: magic ring/circle
- st(s): stitch(es)
Special Stitches
- Magic Ring (MR): Form an adjustable loop to begin working in the round.
- Invisible Join (for closing seams): Sew through front loops of last round to pull closed neatly.
Crochet Pattern
BODY, HEAD, AND LEGS
Note:
Work the exact same base body as shown in the piglet video/pattern. (If needed, refer to the piglet pattern provided—head, body, and legs worked continuously in the round, with safety eyes placed between rounds 8 and 9). When the base body is complete and stuffed, proceed to cow-specific details below.
COW SNOUT (Pink)
- Chain 6.
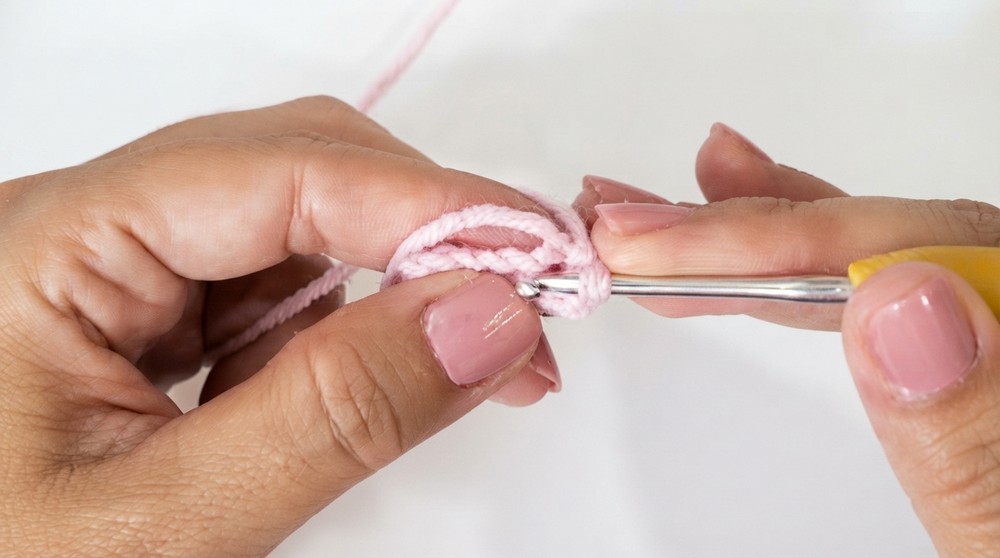 Starting in the second ch from hook:
- 4 sc along the chain.
- In the last chain:
- 3 sc (to create a rounded edge).
- Continue on the opposite side of chain:
- 3 sc along.
- In the final chain (original starting chain):
- 2 sc (increase).
- (Total: 12 sc)
- Next round:
- inc in first stitch. Place stitch marker.
- 3 sc.
- inc.
- 7 sc.
- (Total: 14 sc)
- Next round:
- 1 sc in each st around (14 sc).
- Leave a long tail for sewing. Fasten off.
- Secure with invisible join if desired.
EARS (Make 2: one white, one black for contrast)
- MR, 6 sc in ring.
- Next round:
- 1 sc, 1 sc, inc — repeat.
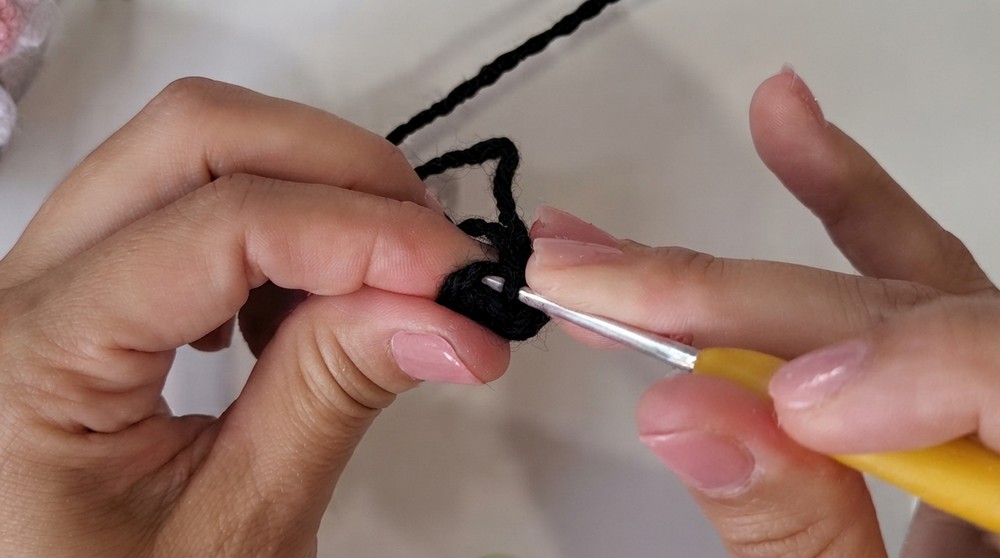
- (Total: 8 sc)
- 1 sc, 1 sc, inc — repeat.
- Next round:
- 3 sc, inc — repeat.
- (Total: 10 sc)
- Next round:
- 1 sc in each st around.
- (Total: 10 sc)
- Final round:
- 3 sc, dec — repeat.
- (Total: 8 sc)
- Leave a tail for sewing. Flatten for shape.
SPOTS (Black, Make 2–3, shape randomly)
For small spots:
- ch 3.
- In first ch: 2 sc.
- Ch 1, turn, 2 sc in same spot again.
- Draw tight, weave and leave end for attaching.
Make several spots in various sizes or shape as desired.
HORNS (Dark beige, Make 2)
- MR, 5 sc in ring.
- Rounds 2–3:
- Sc in each st around (5 sc per round).
- (Total: 3 rounds incl. starting MR round)
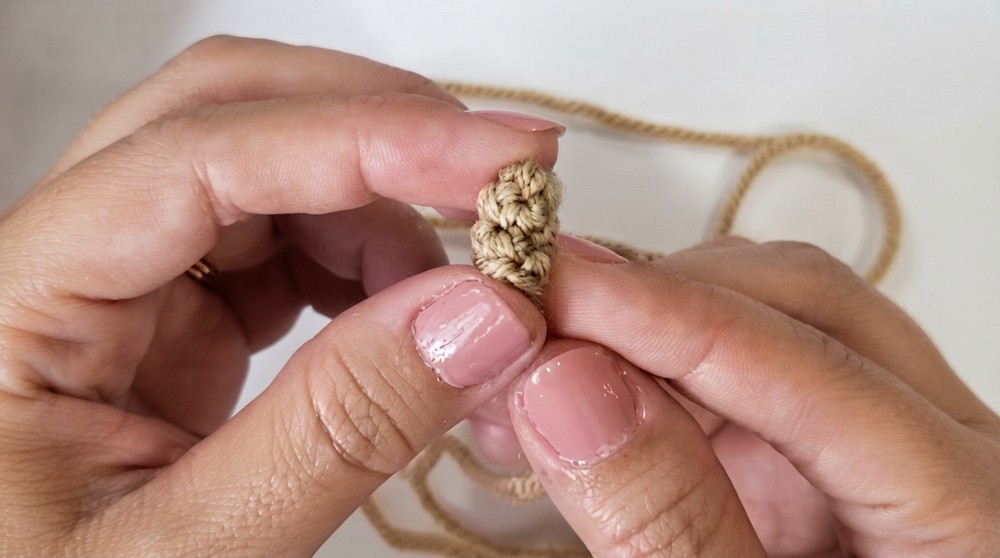
- Fasten off; leave long tail for sewing.
TAIL
- Find back center, attach white yarn.
- ch 5.
- Starting from 2nd ch from hook: 4 sl st back down chain.
- Sl st to body to secure. Fasten off, leave short tail, secure with needle.
- For tip:
- Insert needle through last chain, pull black yarn through.
- Tie a knot for the dark tip. Trim.
ASSEMBLY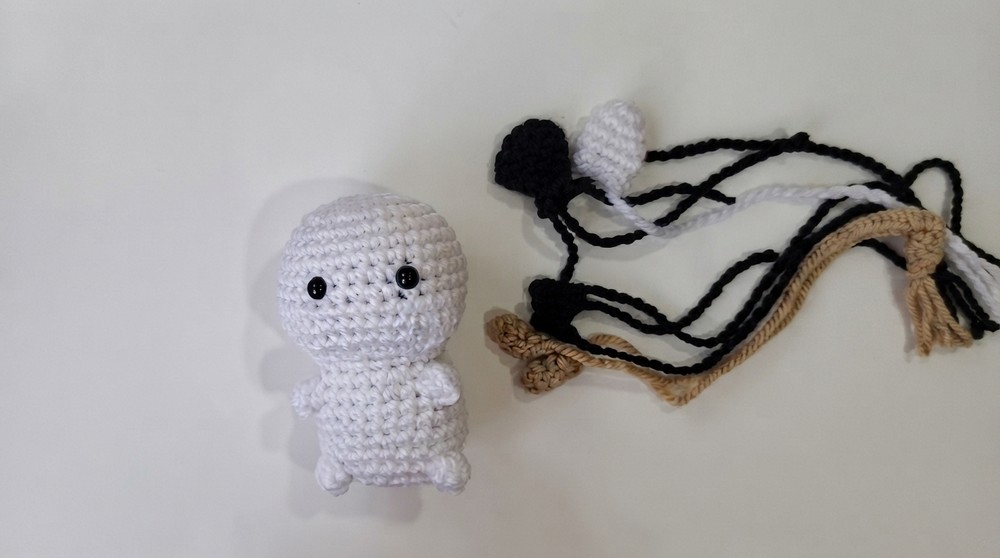
- Snout:
- Add small amount of stuffing and shape.
- Pin centered on face, below eyes, and sew all around.
- Ears:
- Flatten, sew on either side of top of the head (fold slightly forward for character).
- Horns:
- Sew just in front of and beside each ear.
- Spots:
- Place irregularly on face/body; sew securely.
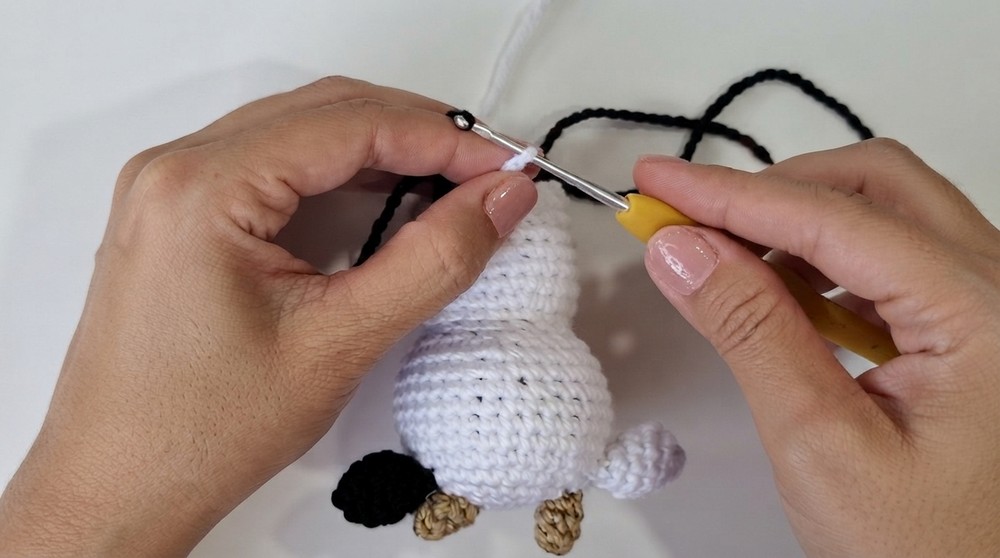
- Place irregularly on face/body; sew securely.
- Tail:
- Attach to center-lower back, knot black end for realism.
- Pendant Chain:
- Insert needle through top center/magic ring.
- Attach white yarn, ch 25 (or desired length for keychain loop), cut, and secure.
- Attach or thread keyring if desired.
- Final Touches:
- Check stuffing, add shaping as needed.
- Compare safety eye sizes for finished look (6mm and 7mm used in samples).
Assembly & Finished Size
- Approximate size: 7–9 cm tall, plus loop
- Keychain chain and ring add additional length.
- With compact stuffing, the cow stands firm and durable—suitable for keys, backpacks, or gifts.
Conclusion and Ending Words
Your mini amigurumi cow is complete—a perfect companion for your little pig or other animal friends. By combining simple, clear steps and playful colorwork, you’ve created a whimsical piece full of personality. Experiment with different spot placements or ear colors for unique cows every time. Enjoy and share your project, and stay tuned for more “Dreams in Thread” amigurumi creations.
