
Start your festive season with a charming Crochet Santa Claus Keychain that adds a handmade touch and joyful spirit to your holiday decorations and gifts.
Looking for a cute and festive accessory to brighten your holiday season? The Crochet Santa Claus Keychain created by Ochy Crochet is just the thing. This small, handmade Santa is full of charm with its bright red hat, fluffy white beard, and jolly smile. It brings a touch of holiday magic wherever you attach it, whether on your keys, backpack, or even as a decoration on your Christmas tree.
Free Crochet Santa Claus Keychain Pattern Featuring for Beginners
This keychain stands out because of its cheerful design and cozy feel. Its warm colors and friendly face make it perfect for kids and adults alike. The compact size means you can carry a little holiday spirit with you wherever you go. It’s also a thoughtful and fun gift for friends, family, or anyone who loves handmade crafts.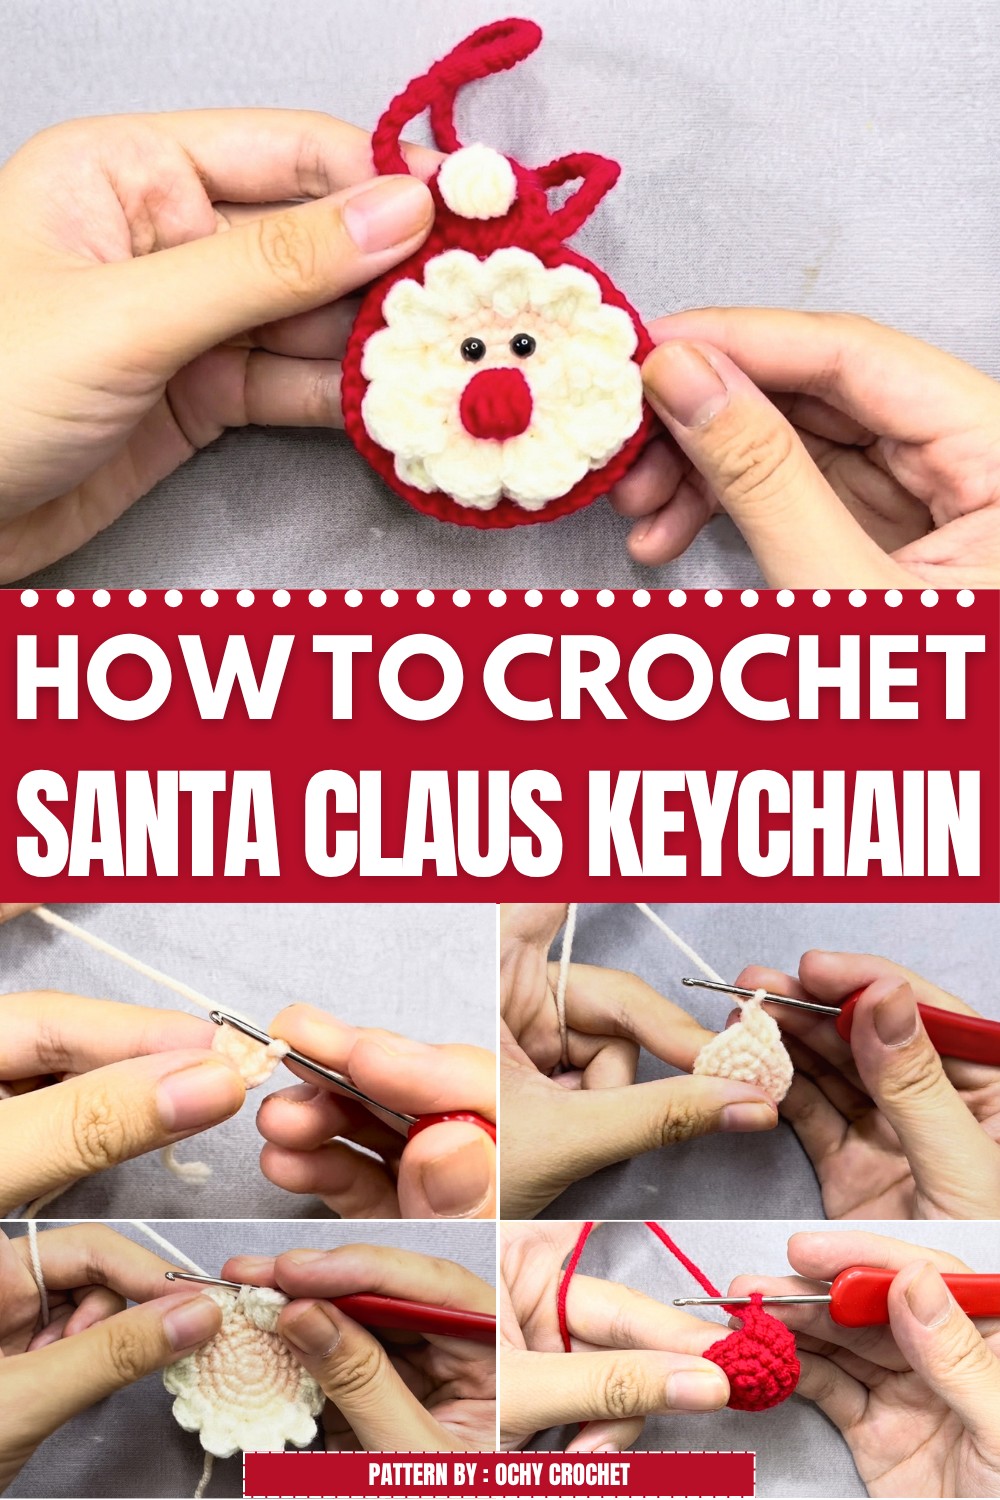
Ochy Crochet’s work on this adorable Santa keychain shows great attention to detail, making the finished piece both eye-catching and full of personality. It’s a joyous way to add a personal touch to everyday items and celebrate the festive season with style.
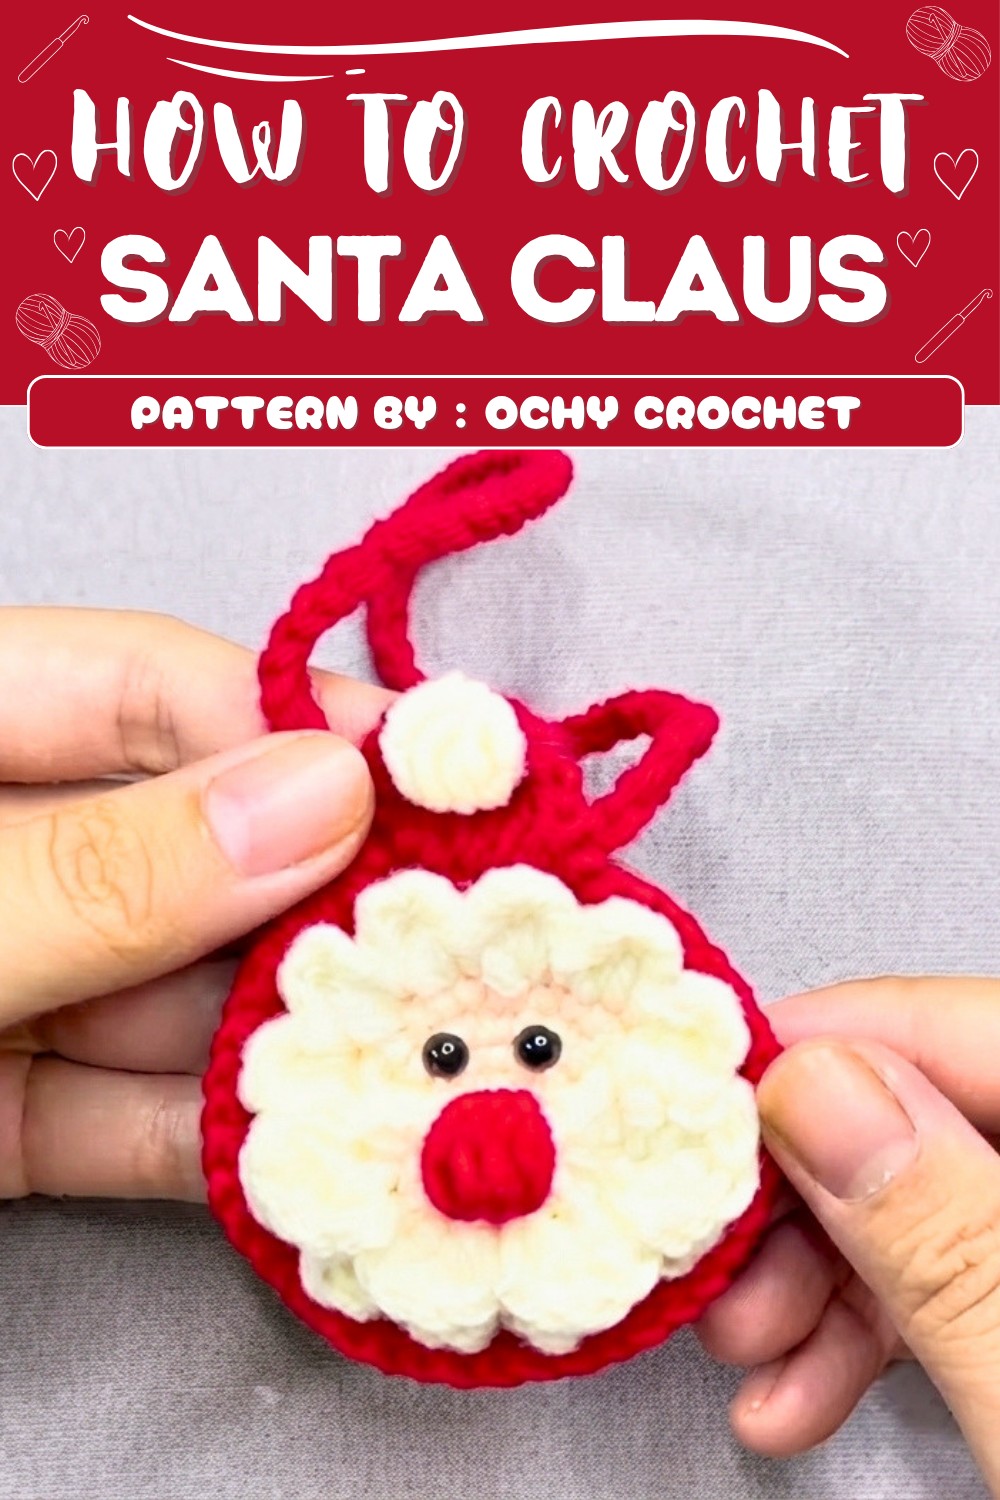
If you’re interested in making your own Crochet Santa Claus Keychain, there is a free pattern available to guide you step by step. It’s perfect for beginners or anyone who enjoys creating cute and festive crochet projects. Give your keys or bag a holiday makeover and bring some joy to your day with this delightful little Santa!
Santa Claus Keychain Crochet Pattern
Get into the festive spirit with this adorable, beginner-friendly Santa Claus keychain! Using basic crochet stitches and easy construction, this keychain is a quick gift or addition to your holiday decorations. Each step is clear and concise, from forming Santa’s round body to adding his fluffy beard and cheerful nose. Follow along for a delightful amigurumi project you can finish in an evening.
Quick Overview Of Pattern
- Worked in the round: Both front and back pieces are crocheted in flat rounds, then joined.
- Textured Santa Edge: A bobble-trim creates the illusion of Santa’s hat and beard.
- Layered Assembly: Build Santa’s face, beard, and features with small, well-coordinated pieces.
- Hand-sewn or glued assembly: Pieces can be attached using a glue gun or yarn needle.
- Customizable: Adjust color and size for your own touch, or add extra embellishments.
Notes
- This project is worked in joined rounds for neat edges.
- Change colors smoothly by switching yarn in the final loop of the last stitch of a round.
- Keep a consistent stitch tension for an even and tidy result.
- Use a glue gun for fast assembly, or felt free to hand-sew details for extra security.
- Weave in all ends thoroughly, especially because the project is handled as a keychain.
Skill Level
Beginner to Advanced Beginner
Familiarity with creating amigurumi (magic ring, sc, inc) and basic assembly is all you need. The decorative edge uses simple clusters that are easy to master.
Materials
- Yarn: 4-ply or sport-weight cotton in red, white, peach/beige (skin tone), and a small amount of red (nose)
- Hook: 1.75 mm crochet hook
- Stuffing: Polyester fiberfill or similar
- Scissors
- Tapestry needle (for weaving and/or sewing, optional if gluing)
- Hot glue gun and glue sticks
- Keychain ring or standard split ring
Measurements / Sizing
- Finished Size (without ring): About 6–7 cm (2.5″) diameter/height
- Keychain Loop: +2–3 cm (for attachment)
- Perfect for keys, bags, or as a holiday ornament.
Gauge (and Stitch Pattern)
- Gauge is not critical; crochet tightly enough to prevent stuffing from showing.
- All main pieces are worked in single crochet unless otherwise noted.
Stitch Abbreviations
- ch – chain
- sl st – slip stitch
- sc – single crochet
- hdc – half double crochet
- dc – double crochet
- inc – increase (2 sc in same stitch)
- rep – repeat
- st(s) – stitch(es)
- MR – magic ring/circle
Special Stitches
- Magic Ring (MR): Wrap yarn into a ring, insert hook, pull up a loop, ch 1, then work stitches into ring, pulling ring tight.
- Cluster (for trim and beard): Yarn over, insert hook, pull up a loop, yarn over, pull through two loops repeat a set number of times; finally, yarn over and pull through all loops.
- Bobble Stitch (nose): Yarn over, insert in ring, yarn over, pull through two; repeat for total indicated, then yarn over and pull through all.
Crochet Guide
FRONT PART (Santa’s Face & Beard/Trim)
- Row 1:
- Create MR, 6 sc into ring. Pull to tighten. (6 sts)
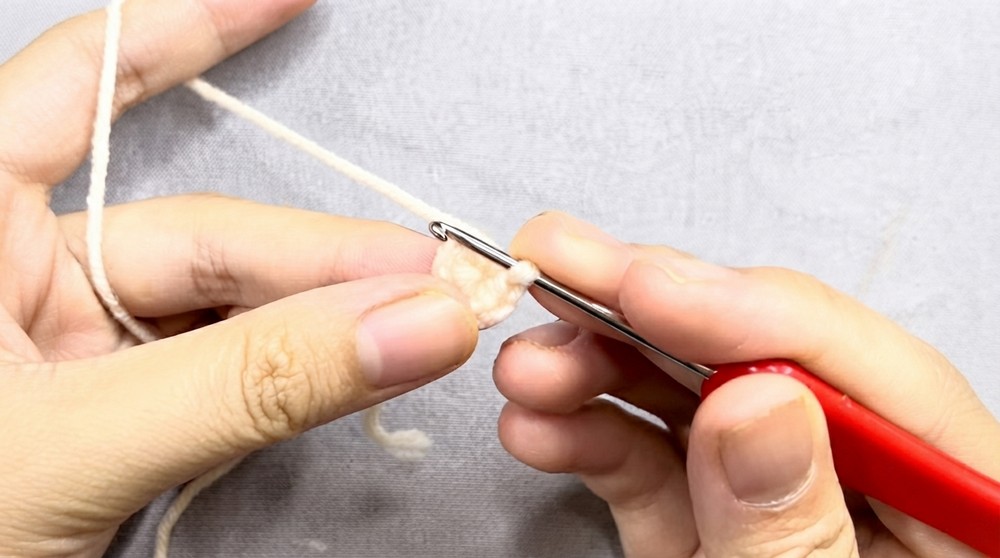
- Create MR, 6 sc into ring. Pull to tighten. (6 sts)
- Row 2:
- Inc in each stitch around. (12 sc)
- Row 3:
- [1 sc, inc]; rep around. (18 sc)
- Row 4:
- [1 sc, inc, 1 sc]; rep around. (24 sc)
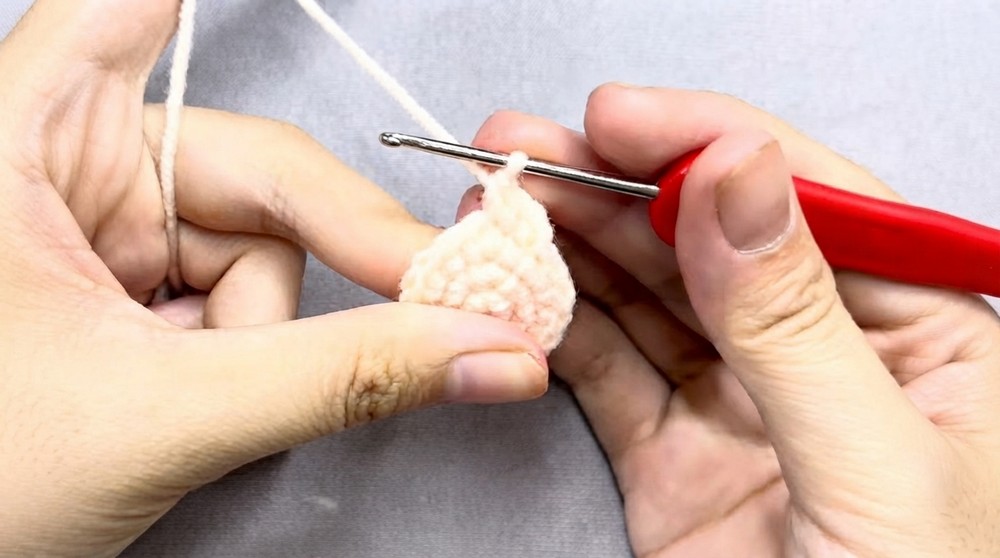
- Change to white at the last loop of final stitch.
- [1 sc, inc, 1 sc]; rep around. (24 sc)
- Row 5 (Beard/Trim):
- Ch 2, in same st: 1 hdc, 2 dc, 1 hdc.
- Sl st in next st to anchor cluster.
- Repeat this “trim cluster” (ch 2, 1 hdc, 2 dc, 1 hdc in one st, sl st in next st) a total of 12 times around.
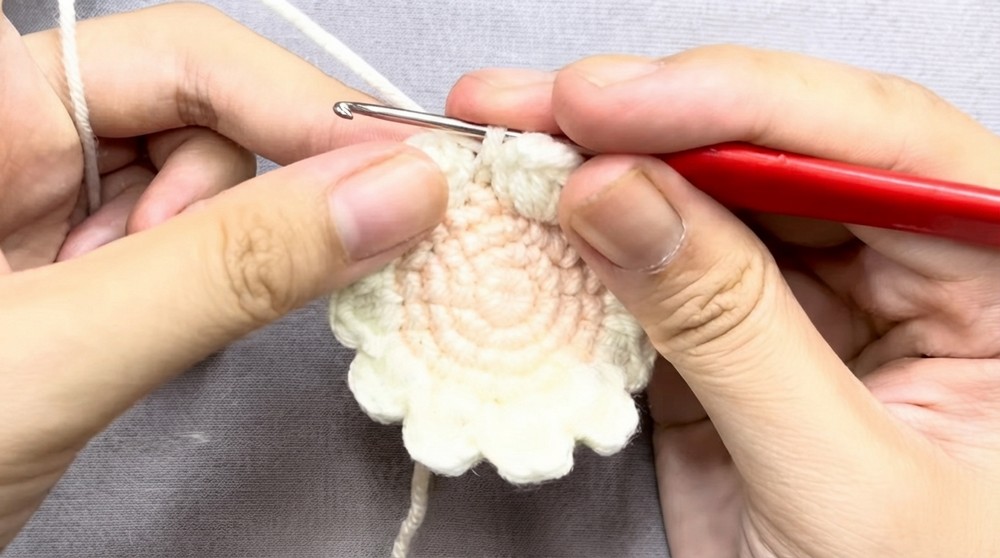
- Fasten off and weave in ends.
BACK PART (Santa’s Head Back)
- Row 1:
- MR, 6 sc into ring. (6 sts)
- Row 2:
- Inc in each stitch around. (12 sc)
- Row 3:
- [1 sc, inc]; rep around. (18 sc)
- Row 4:
- [1 sc, inc, 1 sc]; rep around. (24 sc)
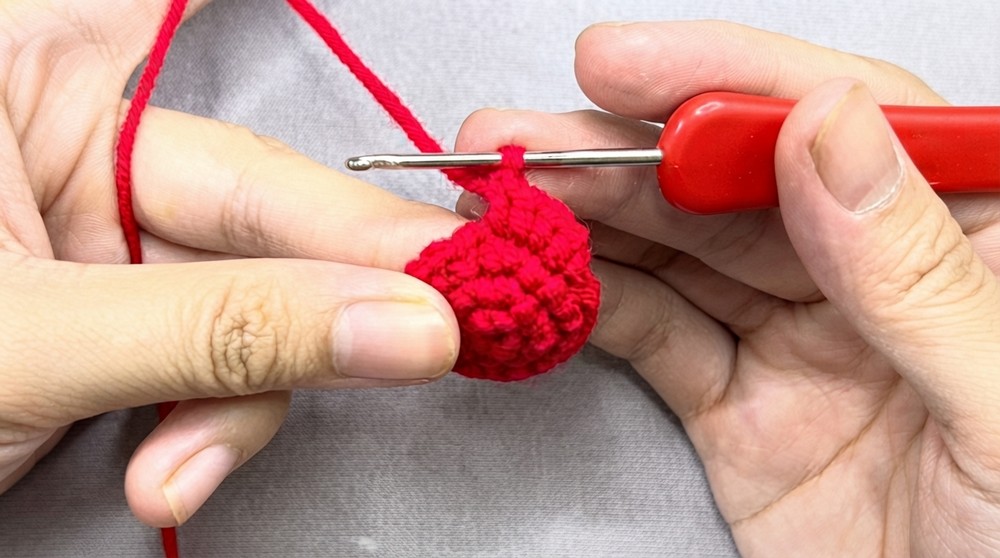
- [1 sc, inc, 1 sc]; rep around. (24 sc)
- Row 5:
- [3 sc, inc]; rep around. (30 sc)
- Row 6:
- [2 sc, inc, 2 sc]; rep around. (36 sc)
- Row 7:
- [5 sc, inc]; rep around. (42 sc)
- Detail/Edging:
- Ch 3, then work 5 dc into same st, ch 3, and sl st in next st for a decorative fold/hat feature near crown of Santa’s head.
BEARD (Worked Flat, then Curved & Added)
- Row 1: With white:
- Ch 9.
- Starting in the 8th chain from hook:
- 6 sc (across the chain),
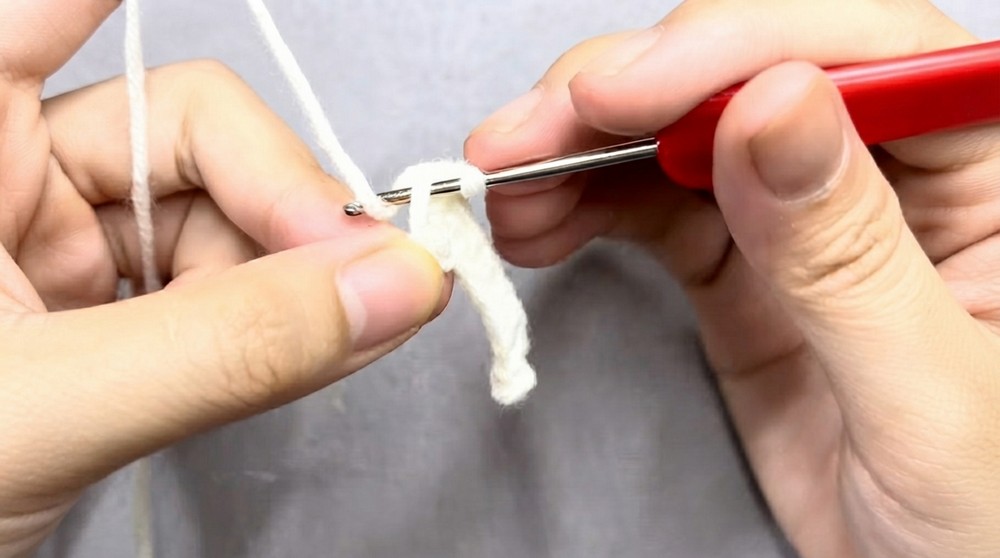
- 3 sc in last st (to turn the end),
- 6 sc back along the opposite side of chain,
- 2 sc in last st.
- 6 sc (across the chain),
- Row 2:
- Ch 2, turn.
- 4 hdc in one st, sl st next.
- Repeat these “hdc cluster” segments four times for fluffy texture, spacing clusters evenly along beard’s width.
- Fasten off.
NOSE
- With red yarn:
- MR, ch 2.
- Prepare a bobble (5-stitch cluster): (Yarn over, insert hook, yarn over, pull up a loop, yarn over, pull through two loops) repeat 5 times (total of 5 “unfinished dc”), then yarn over and pull through all loops.
- Cut and secure, leaving a tail for sewing.
- Make a second in white for hat pom-pom (optional).
Assembly & Finished Size
- Attach Back and Front: Match up the circles (align stitches). Stuff lightly as you close, then stitch or glue securely around edge.
- Affix Beard: Shape and glue or sew beard onto lower face, using the clusters to mimic Santa’s mustache and beard ruff.
- Sew/Glu Nose: Center nose above beard on the face.
- Place Decorative Detail: Add the decorative trimming/white hat pom or fold at top center.
- Attach Keychain: Sew or glue a folded loop on Santa’s head or directly attach a ring.
- Final Embellishments: Embroider/surface-stitch eyes if desired, or attach small beads.
- Finished Size:
- Approx. 6–7 cm tall (not including loop/ring).
- Firm and lightweight, perfect for use as a keychain or Christmas ornament.
Conclusion and Ending Words
Through basic increases and playful clusters, you’ve made a happy, textured mini Santa ready to spread Christmas cheer everywhere you go. Personalize him with embroidery or sequins, or create a family of colorful Santas to gift, sell or decorate.
