
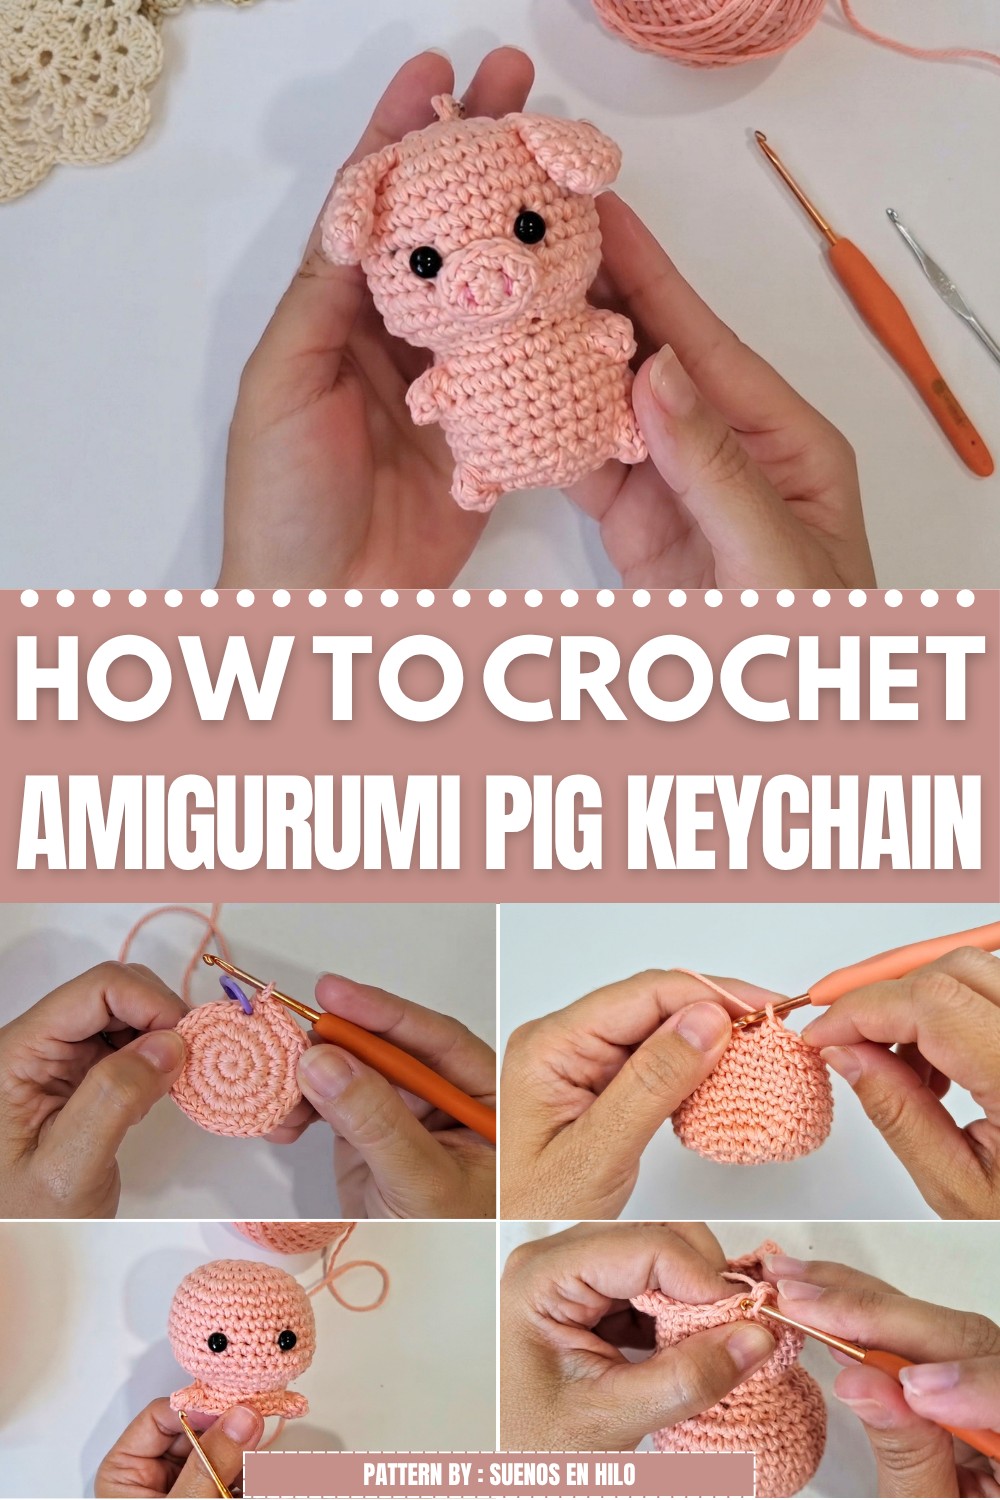
Hang your keys with a soft and adorable Crochet Amigurumi Pig Keychain that adds charm and a playful touch to your everyday accessories or thoughtful gifts.
Decorate your bag with a cute, small accessory that brings a smile. The Crochet Amigurumi Pig Keychain is a soft, handmade toy made with yarn and crochet stitches. It’s perfect for anyone who loves charming little items that add personality to everyday things.
Easy Crochet Amigurumi Pig Keychain Free Pattern Featuring a Soft Plush Style
This pig keychain features a round body, tiny ears, and a small snout, all crafted from soft yarn that feels smooth to the touch. The size is just right to fit easily in your hand or pocket, making it a practical and fun item to carry around.
Pattern Credit:
This written pattern is based on the original YouTube tutorial by Suenos en hilo. Full credit goes to this creator for the original design and video tutorial. Remember to visit the Suenos en hilo channel to watch the complete video (Link is below) and support their amazing work.
 This project is suitable for people who know the basics of crochet, such as single crochet and working in rounds. Beginners who are ready to try these stitches will find it a good way to practice. You’ll need simple materials like yarn, a crochet hook, stuffing to fill the pig, and a keychain ring to finish it off.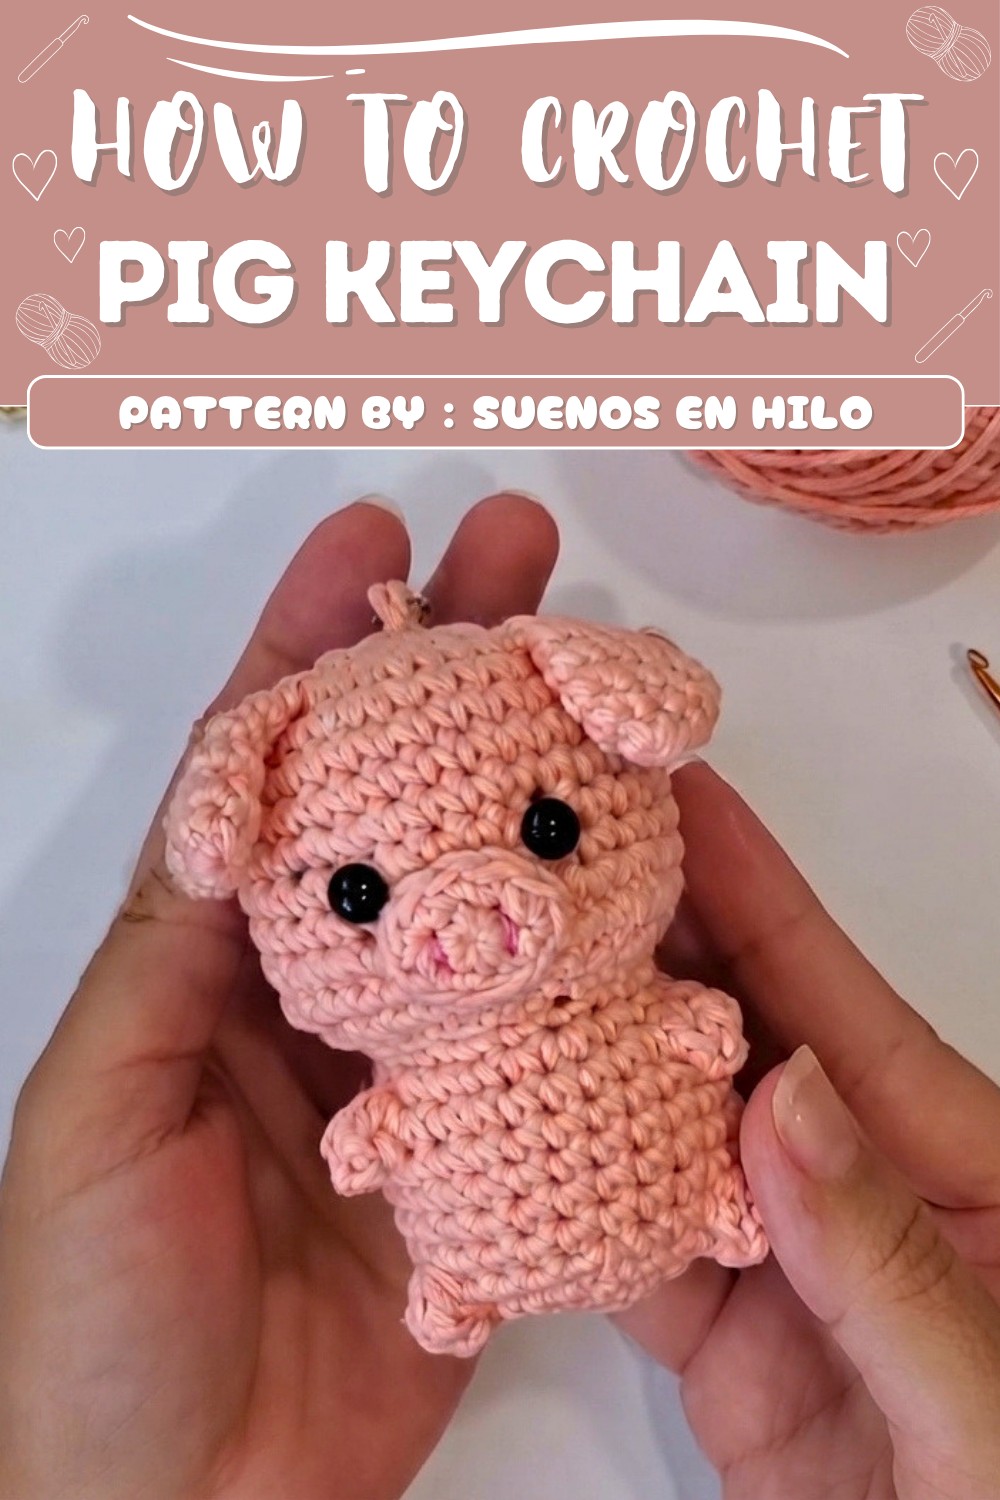
Working on this pig keychain is enjoyable and relaxing, resulting in a cute and useful object. It’s an ideal project for those looking for something small, quick to finish, and full of character.
Little Piglet Crochet Keychain Pattern
This charming project is quick and easy, measuring approximately 8 cm when done. The head, body, and legs are worked in one piece, with the snout, ears, and tail made separately and then attached. Using simple stitches, this is the perfect amigurumi for beginners or those looking for a cute and fast handmade gift.
Pattern Basic Points
- Head, body, and legs: All crocheted in one seamless piece for easy construction and smooth shape.
- Ears, snout, and tail: Created individually and sewn on.
- Popcorn stitch: Used for making the arms and legs to add dimension.
- Safety eyes: Inserted between specific rounds for secure attachment.
- Stuffing: Inserted during the construction for shape and firmness.
- Keychain ring: Sewn securely to the head for durability.
Special Notes
- Mark the beginning of each round to keep your stitch count accurate.
- Stuff the head fully for a defined face, and softly stuff the body for a nice balance.
- Adjust the location of arms and legs as needed to align with cheeks and maintain symmetry.
- Take care when sewing features; use fine, contrasting yarn for snout lines for added detail.
- You can swap yarn types; switching to chenille makes the piglet larger but follows the same pattern.
Skill Level
Beginner to Intermediate
Required skills: magic ring, single crochet, increases, decreases, popcorn stitch, basic sewing, and embroidery for face details.
Materials
- Yarn: Salmon or pink color (cotton or acrylic recommended)
- Contrast (darker pink/orange) yarn: For snout embroidery lines and eyebrows
- Crochet Hook: 3 mm
- Safety Eyes: 7 mm or 8 mm size
- Embroidery Needle: For sewing and detail work
- Synthetic Fiberfill: For stuffing
- Scissors
- Keychain Ring: Optional
Measurements / Sizing
- Approximate finished size: 8 cm tall with cotton yarn and a 3 mm hook
- With chenille yarn, finished size can be up to 14 cm.
Gauge (and Stitch Pattern)
- Gauge is not crucial; tight stitches are important to prevent stuffing from showing.
- All pieces are worked in single crochet (sc) and rounds, except for popcorn stitch limbs.
Stitch Abbreviations
- MR: Magic ring
- ch: Chain
- sc: Single crochet
- inc: Increase (2 sc in one stitch)
- dec: Decrease (sc 2 together)
- st(s): Stitch(es)
- sl st: Slip stitch
- pop st: Popcorn stitch
Special Stitches
- Popcorn Stitch (used for arms and legs): Crochet 4 double crochet (dc) into the same stitch, remove hook, insert hook into first dc, pull loop of fourth dc through first, ch 1 to close.
- Magic Ring: Loop yarn around your fingers, work the required number of stitches into the center, then pull closed.
Crochet Instructions
HEAD, BODY & LEGS (All-in-One Piece)
- Round 1:
- MR, crochet 8 sc into ring. (8 sts)
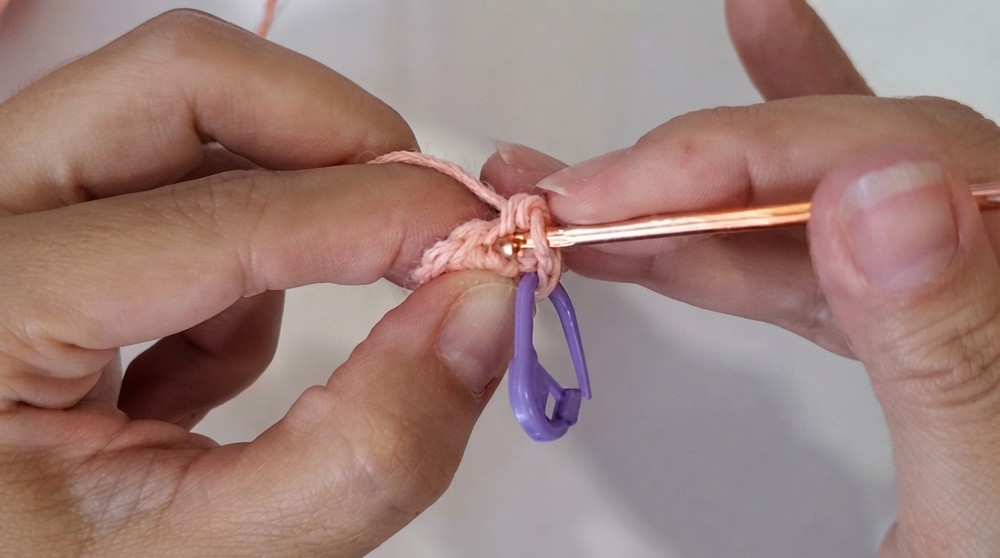
- MR, crochet 8 sc into ring. (8 sts)
- Round 2:
- Inc in each stitch. (16 sts)
- Round 3:
- [1 sc, inc] around. (24 sts)
- Round 4:
- [2 sc, inc] around. (32 sts)
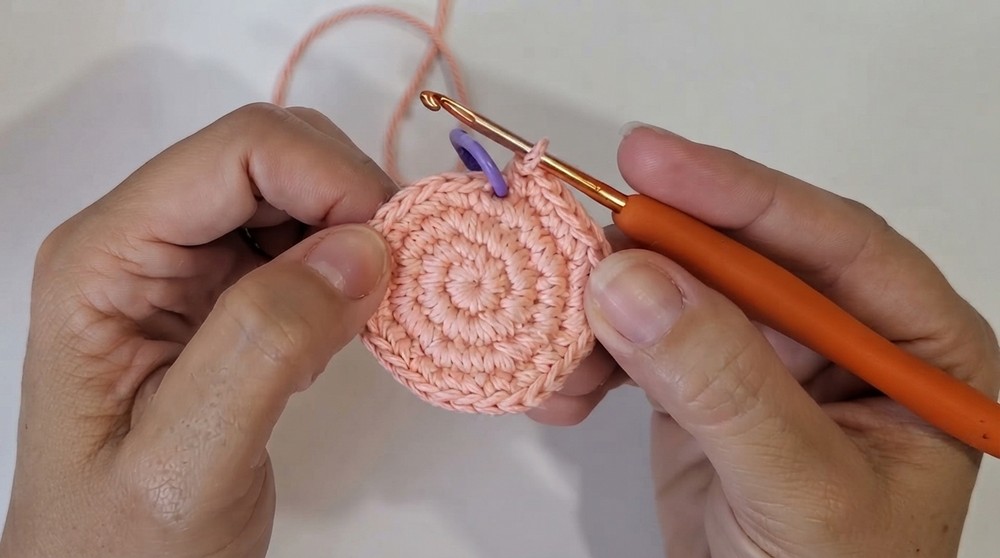
- [2 sc, inc] around. (32 sts)
- Rounds 5–9:
- Sc in each stitch (5 rounds; 32 sc each round).
- Round 10:
- Sc 10, 3 inc, 6 sc, 3 inc, 10 sc. (38 sts)
- Round 11:
- Sc in each stitch around. (38 sts)
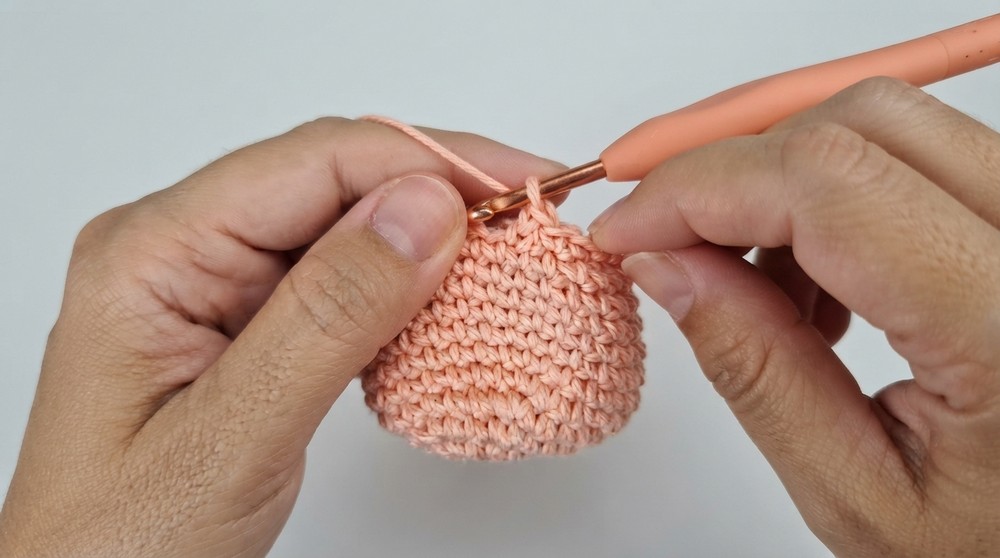
- Sc in each stitch around. (38 sts)
- Round 12:
- Sc 10, 3 dec, 6 sc, 3 dec, 10 sc. (32 sts)
- Insert Safety Eyes Now:
- Using the increases in round 10 as markers for the cheeks, place safety eyes between rounds 8 and 9, spaced 6 stitches apart.
- Round 13:
- dec every stitch (16 dec). (16 sts)
- Round 14:
- [3 sc, inc] around. (20 sts)
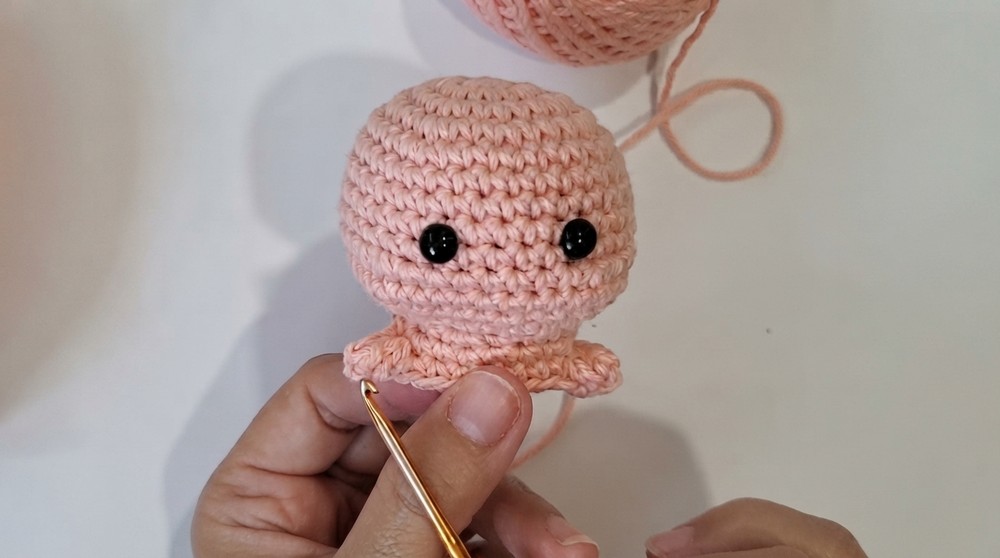
- [3 sc, inc] around. (20 sts)
- Round 15:
- Repeat [3 sc, inc] five times. (25 sts)
- Stuff the head well and the body lightly; make sure the eyes are facing forward.
- Round 16 – ARMS:
- Sc 8, (pop st) (4 dc in one st, join, ch 1 to close), sc 8, (pop st), sc 7. (25 sts; popcorn stitches for arms should align with cheeks.)
- Round 17:
- Sc in each stitch, including popcorn chain (25 sts).
- Rounds 18–20:
- Sc around (25 sts, 3 rounds).
- Round 21 – LEGS:
- Sc 9, (pop st), sc 8, (pop st), sc 6.
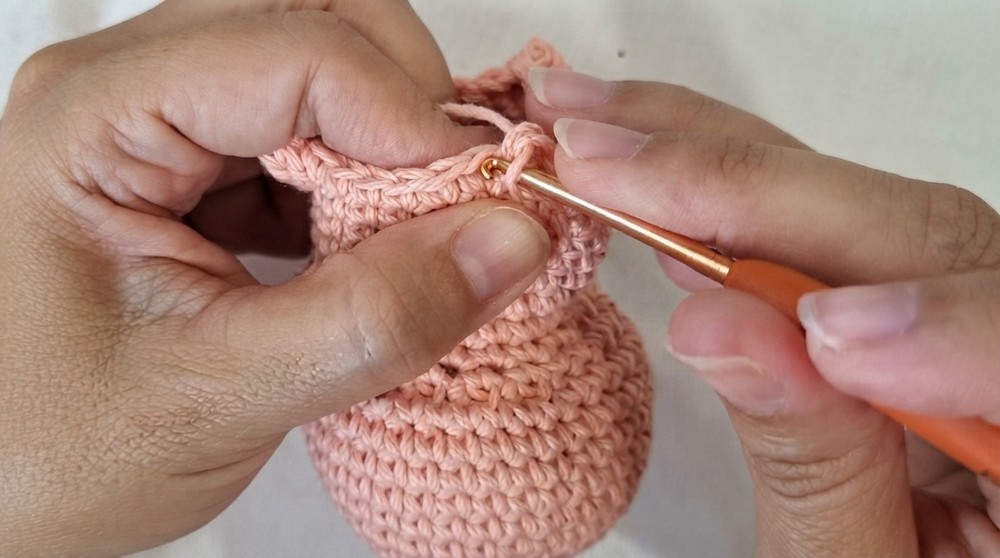
- Sc 9, (pop st), sc 8, (pop st), sc 6.
- Round 22:
- [3 sc, dec] around. (20 sts)
- Stuff the piece well, making sure the cheeks and legs are pronounced and round.
- Round 23:
- 10 dec. (10 sts)
- Finish & Close:
- Cut yarn, leave a long tail.
- Thread yarn through front loops of last round using a needle. Pull tight to close the hole.
- Hide your yarn end inside the pig.
EARS (Make 2):
- Round 1:
- MR, 6 sc into ring.
- Round 2:
- [sc, inc] twice. (8 sts)
- Round 3:
- [3 sc, inc] twice. (10 sts)
- Round 4:
- Sc in each stitch. (10 sts)
- Round 5:
- [4 sc, inc] twice. (12 sts)
- Round 6:
- Join by folding edge in half and sl st or sc 6 across both sides to close flat.
- Leave a long tail for sewing.
SNOUT:
- Round 1:
- MR, 6 sc.
- Round 2:
- [sc, inc] three times. (9 sts)
- Finish:
- Leave a long tail for sewing.
- Snout Embroidery:
- With fine pink or orange yarn, embroider two horizontal lines and two vertical lines in the center of the snout for detail.
TAIL:
- Attach yarn to the center back just above the legs.
- Ch 7, turn, sl st in each ch back for a curly tail effect.
- Cut yarn, secure and weave in the end.
ASSEMBLY & FINISHED SIZE
- Sew snout between the eyes across the round where the eyes were placed. Use pins to hold it in place; the top should align horizontally with the eyes.
- Embroider lines on the snout with a fine, darker yarn.
- Sew ears: Place at a slight forward angle, one on each side of the head. Sew flat sides against the head with a few stitches.
- Tail: Attach to the back and secure the twist with tack stitches.
- Keychain ring: Sewed through the magic ring at the very top of the head for durability.
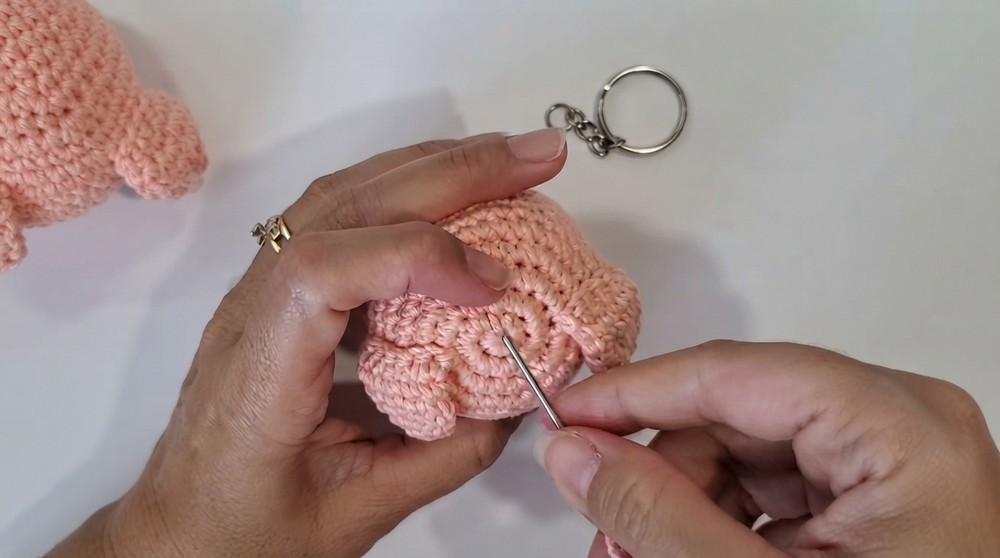
- Final touches: Adjust stuffing, pop out cheeks, and shape piglet as needed.
- Finished size:
- With cotton: About 8 cm tall
- With chenille: Up to 14 cm tall
Conclusion and Ending Words
Your little piglet keychain is now complete! This project introduces fun amigurumi shaping, popcorn stitch limbs, and detailed embroidery, all in a seamless design. By varying yarn types and hook sizes, you can create piglets of different sizes to suit gifts, bag charms, or plush decorations. Enjoy this sweet and simple project—share your creations, spread inspiration, and keep exploring the joyful world of crochet!
