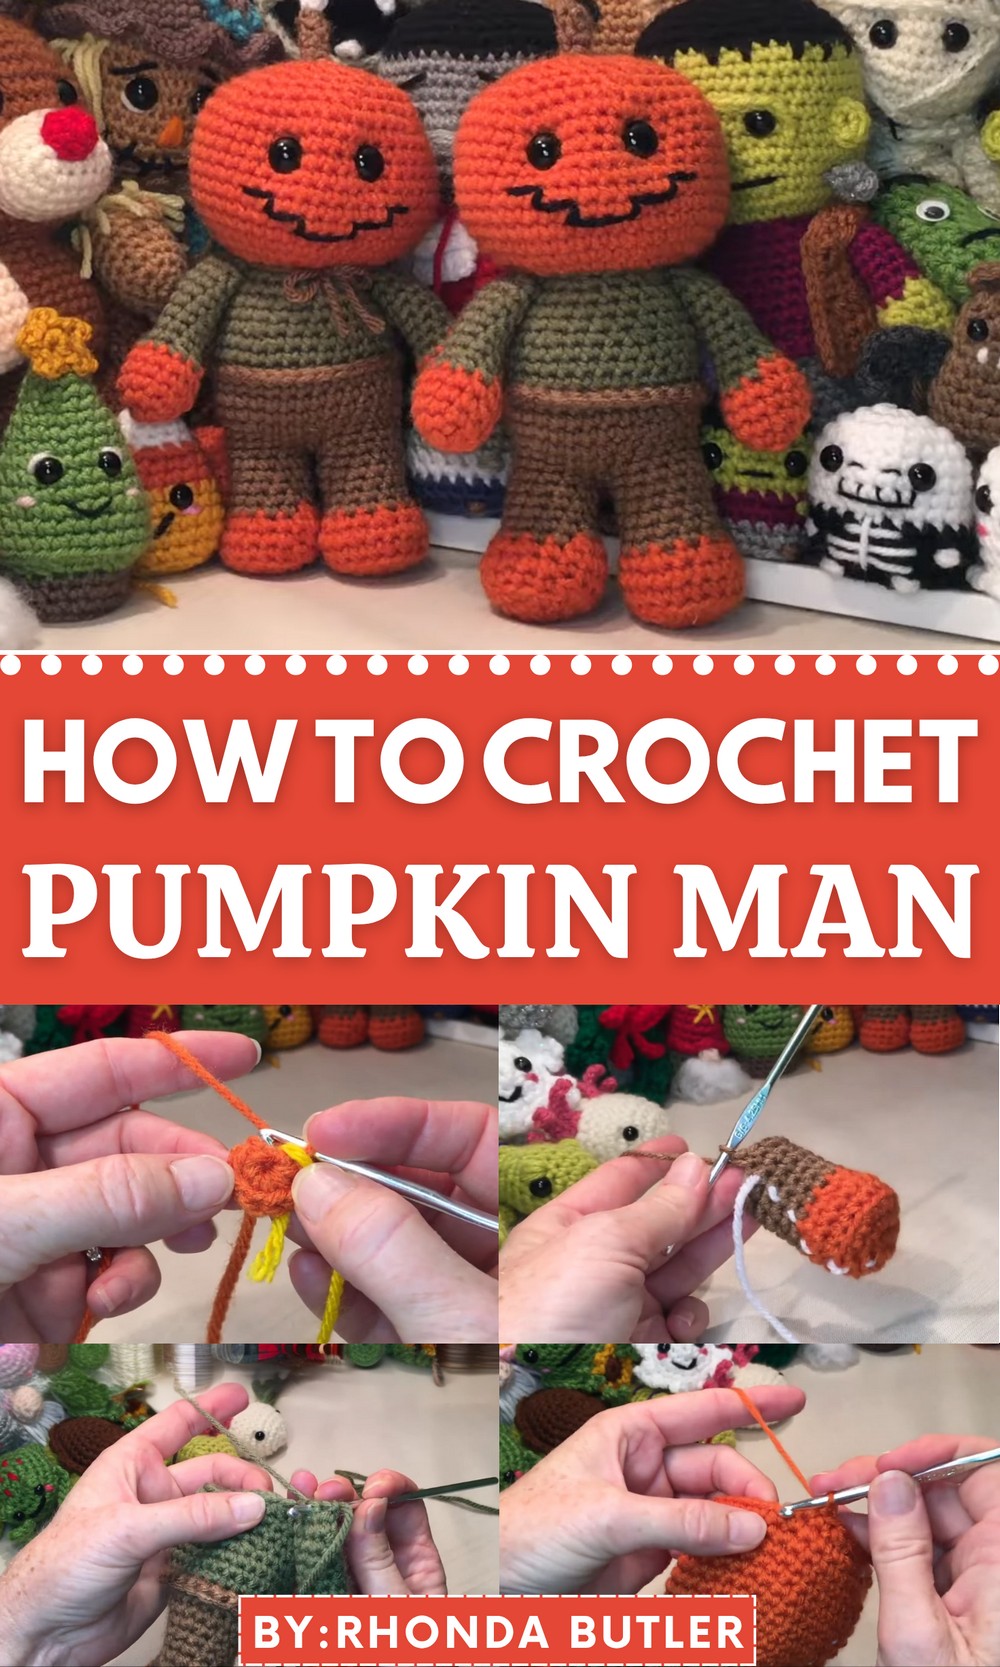
Celebrate autumn with the Free Crochet Pumpkin Man Pattern, creating charming seasonal décor that brings warmth, fun, and festive spirit to any space.
As autumn settles in and the world is painted in shades of gold and amber, seasonal decorations take on a new significance, transforming homes into cozy reflections of the harvest season. The provides a unique way to celebrate this time, offering a handmade figure that embodies both charm and personality. Designed with carefully textured stitches, this crochet pumpkin man brings a three-dimensional elegance to mantels, tabletops, or shelves, instantly elevating seasonal décor.
Trendy Crochet Pumpkin Man Pattern That Pops with Color
Its whimsical features create a playful yet sophisticated accent, while the compact size allows for versatile placement in home displays, centerpieces, or even as part of a larger autumnal arrangement. Beyond visual appeal, the process of crafting this figure engages focus, fine motor skills, and creativity, turning each step into a mindful and rewarding activity. Its lightweight but durable structure ensures long-lasting charm, making it a reusable decoration year after year.
Additionally, it serves as a thoughtful handmade gift for friends and family, offering a personal touch that store-bought ornaments cannot replicate. Combining artistic detail, functional versatility, and the quiet satisfaction of creating something by hand, this pumpkin figure enriches seasonal spaces, inspiring warmth, joy, and a deeper connection to the colors and spirit of autumn.
Materials Needed
- Yarn: No. 4 medium-weight yarn. Suggested colors for the project:
- Arm and leg color.
- Body color (pants and pumpkin).
- Stem color.
- Additional scraps for embroidery details (e.g., black for the mouth).
- Crochet Hook: 4.25mm hook (recommended in the video).
- Safety Eyes: 14mm safety eyes for the pumpkin man’s face.
- Yarn Needle: To help sew and weave tails after finishing elements.
- Small Scissors: For cutting yarn and tails.
- Stuffing: Use fiberfill stuffing to shape the body, arms, and legs.
Step-by-Step Instructions for Making the Pumpkin Man
Part 1: Crocheting the Arms
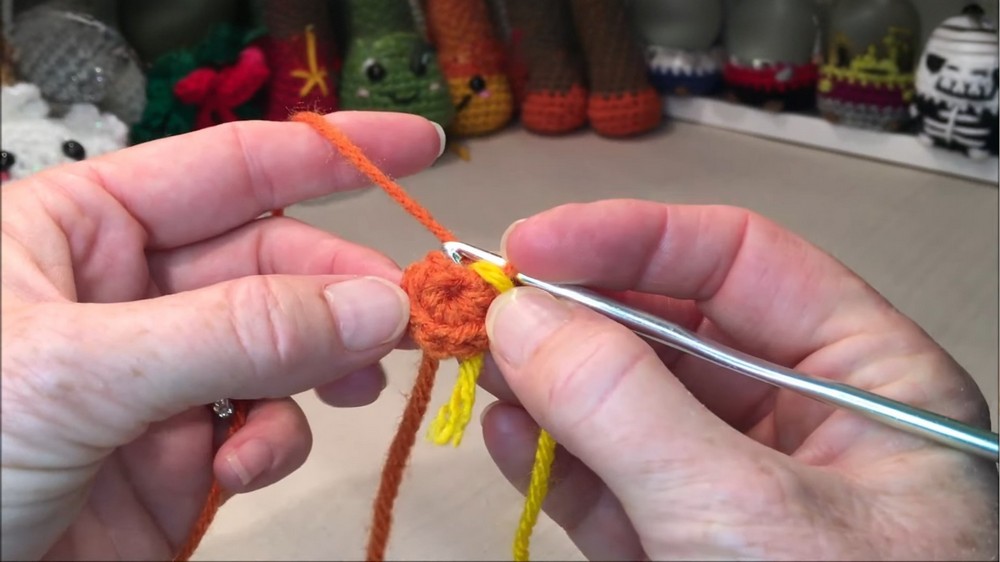
- Creating a Slip Knot and Loop:
- Start by making a slip knot and a loop slightly larger than the hook.
- Insert the hook, chain 1 (this attaches the yarn to the loop and does not count as a stitch).
- Row 1:
- Crochet 6 single crochets into the loop. Close the hole tightly by pulling the tail. Use a stitch marker if needed to mark the first stitch.
- Crochet 6 single crochets into the loop. Close the hole tightly by pulling the tail. Use a stitch marker if needed to mark the first stitch.
- Row 2:
- Make 6 increases (work 2 single crochets in each stitch). This will give a total of 12 stitches for the row.
- Rows 3 to 5:
- Work 12 single crochets per round with no increases. For color changes, switch to the new yarn color by tying it to the old one tightly before pulling through.
- Row 6 (Start of Decrease):
- Work 1 single crochet, 1 decrease in alternating patterns for a total of 8 stitches.
- Rows 7 to 14:
- Work 8 single crochets per round for 8 rows. Stuff the arm after completing it. Be sure to shape lightly by firmly stuffing the hand portion and lightly stuffing the arm to ensure its flexibility to sit naturally.
- Work 8 single crochets per round for 8 rows. Stuff the arm after completing it. Be sure to shape lightly by firmly stuffing the hand portion and lightly stuffing the arm to ensure its flexibility to sit naturally.
- Seam the arm by folding in half and working 3 single crochets across the top. Leave a tail for later attachment and knot securely for better durability.
Part 2: Crocheting the Legs
- Begin with the slip knot and loop. Chain 1 stitch to start.
- Row 1 to 6: Follow a similar pattern to the arm, starting with 6 single crochets into the loop, increasing, and then continuing with rows of single crochets.
- Row 4: Work into the back loops only to create a flat base for the feet. Continue with regular stitches in rows 5 and beyond.
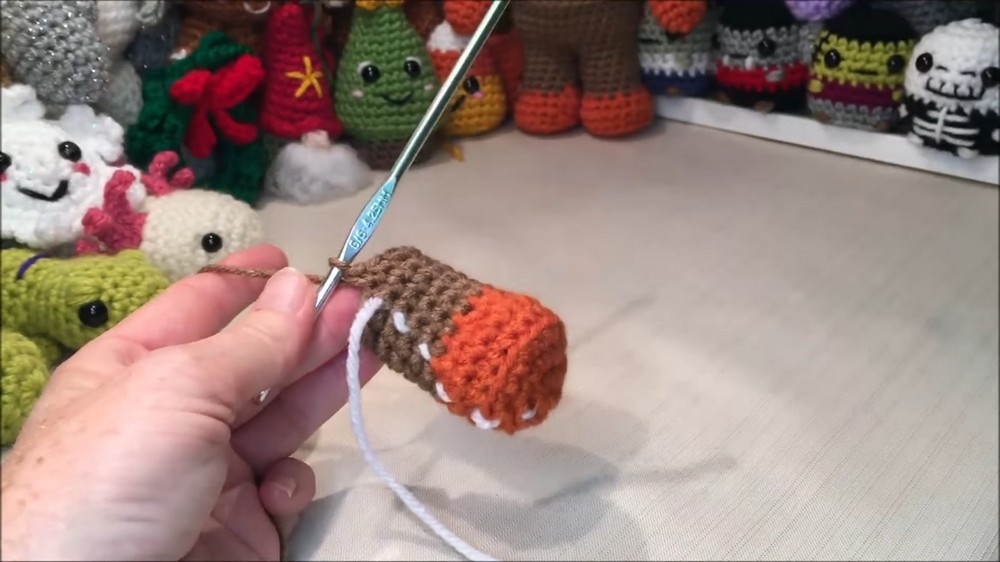
- Color change: As with the arms, switch to the “pants” color on finishing row 6 and move forward.
- Stuffing the legs and feet: Use firm stuffing in the feet and a slightly less firm amount for the legs to ensure they maintain shape without stretching.
- Creating the Connection: Finish two legs, but leave the yarn uncut on the second leg. Join the finished legs by crocheting through the stitches of both, leaving no gap where they meet.
Part 3: Building the Body
- Rows 13–15:
- Begin by joining the two legs and crochet 12 single crochets around each leg (total 24 stitches per round).
- Row 16:
- Work 3 single crochets followed by 1 increase for a total of 30 stitches.
- Follow the pattern, gradually increasing and creating rows of single crochets to shape the body. Stuff carefully, leaving the arms unstuffed except for the palms.
- Row 28: Attach the arms directly by crocheting through the arm and body stitches simultaneously (no need to sew!). Follow this for both arms. Be sure to align the arms correctly so they face forward.
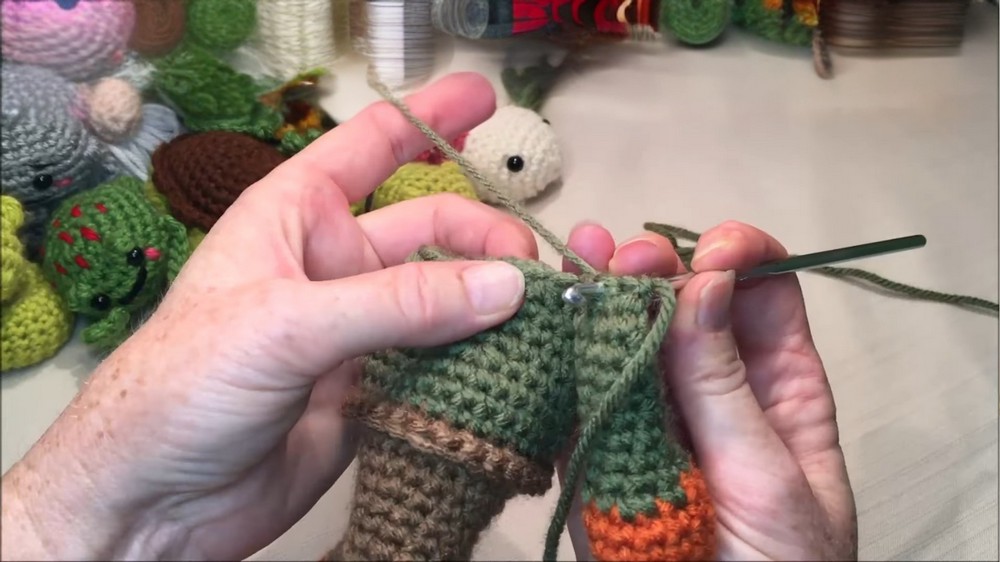
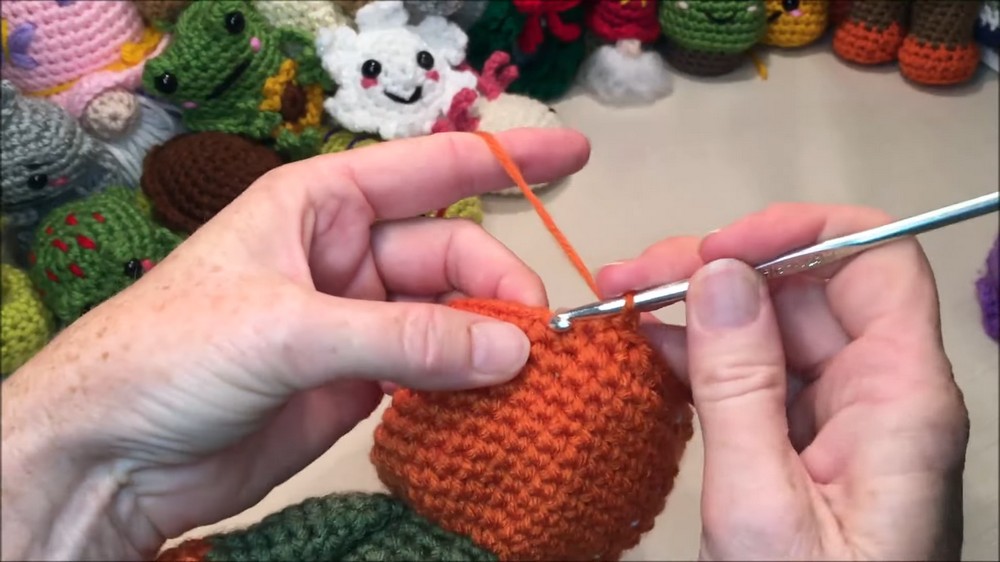
Part 4: Crocheting the Pumpkin Head
- Begin the head portion after attaching the arms by changing to the pumpkin color.
- Increase rows gradually to form the spherical shape of the head.
- For example, Row 29 consists of 18 increases (2 single crochets in one stitch) and results in 36 stitches total. Continue increasing following the pattern.
- For example, Row 29 consists of 18 increases (2 single crochets in one stitch) and results in 36 stitches total. Continue increasing following the pattern.
- Work rows of single crochets and stuff the head as you go. Be careful to shape the stuffing uniformly around the edges to maintain the flat, pumpkin-like shape.
- Add safety eyes between Row 37 and Row 38, ensuring they are centered on the face. Push through the fabric into the stuffing and attach the backing firmly.
Part 5: Creating the Mouth Embroidery
- Use black scrap yarn for the mouth. Mark the desired mouth’s center with a pin.
- Using a darning needle:
- Begin stitching below the eyes (about 5 rows down) in a smile shape. Wrap the yarn around the rows where necessary to create the desired curved mouth shape.
- Adjust as necessary to make both sides match symmetry. Tie a knot to secure the embroidery and weave in the ends through the back of the pumpkin head.
Part 6: Adding the Stem
- Start the stem by making a slip knot and chain 1 stitch. Then, crochet into the magic ring by creating 4 single crochets.
- Work 3 rows of 4 single crochets to form a small cylindrical shape. You may add more rows if you prefer a longer stem.
- Attach: Sew the stem to the middle top of the pumpkin head using your darning needle and yarn tail. If needed, go over the stitch line twice for stability.
Special Features
- No-Sew Body: The pumpkin man’s arms and legs are seamlessly attached during the crochet process, reducing the need for separate sewing.
- Realistic Filling Tips: The tutorial provides helpful ideas and insights on stuffing materials and techniques—learning to balance firmness for stability.
- Compact Design: The pumpkin man is small but packed with adorable features, including safety eyes and a cute embroidered mouth.
Level of Difficulty
- Intermediate: This project involves color changes, working in back and front loops, forming various body parts, seamless attachment, and a mix of stitches (single crochet, increases/decreases). While beginners can follow along carefully, intermediate crocheters will find the techniques slightly more challenging.
Tutor’s Suggestions
- Use a Stitch Marker: The tutor recommends marking the first stitch in every row to keep track of stitch counts accurately.
- Close Gaps Neatly: Pay attention to small gaps while joining components and use basic stitching techniques to close them at the end.
- Stuff As You Go: Begin stuffing the feet, body, and head gradually as the project progresses for better shaping. Avoid overstuffing parts like the arms to ensure they rest naturally.
- Rewatch Key Steps: The video provides a helpful timestamp feature so you can revisit parts as needed (e.g., making the second arm or leg).
Uses
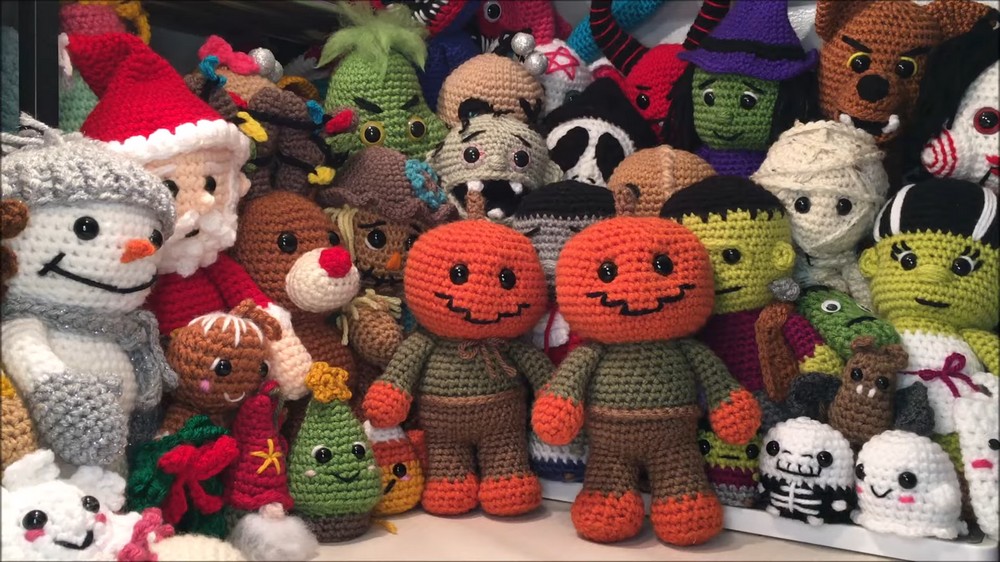
- Festive Decor: Perfect for Halloween and fall decorations—use it as table décor or display it with other festive ornaments.
- Kids’ Toys: The pumpkin man can also double as a handmade toy for children, especially with the cute eyes and colorful design.
- Gift: Make a personalized pumpkin man as a holiday or seasonal gift!
- Party Favors: Miniature versions can serve as adorable party favors or goody bag items for Halloween or other fall celebrations.
Tip
When stuffing the arms and head, avoid overstuffing to prevent stretching or unwanted bulging in the crochet pieces. Instead, focus on shaping and firmly packing fiberfill to maintain the stability and adorable form of the pumpkin man.
Conclusion
The Pumpkin Man Tutorial makes for an enjoyable crochet experience with a focus on seamless design and unique fall elements. This intermediate-level project lets you experiment with creative features such as color changes, detailed embroidery, and assembly directly during the stitching process, reducing the need for sewing.