Step out in style with this Free Crochet Fashionable Bag Pattern, perfect for chic everyday wear and adding a trendy handmade accessory to any outfit.
Modern Crochet Fashionable Bag Pattern That Stands Out
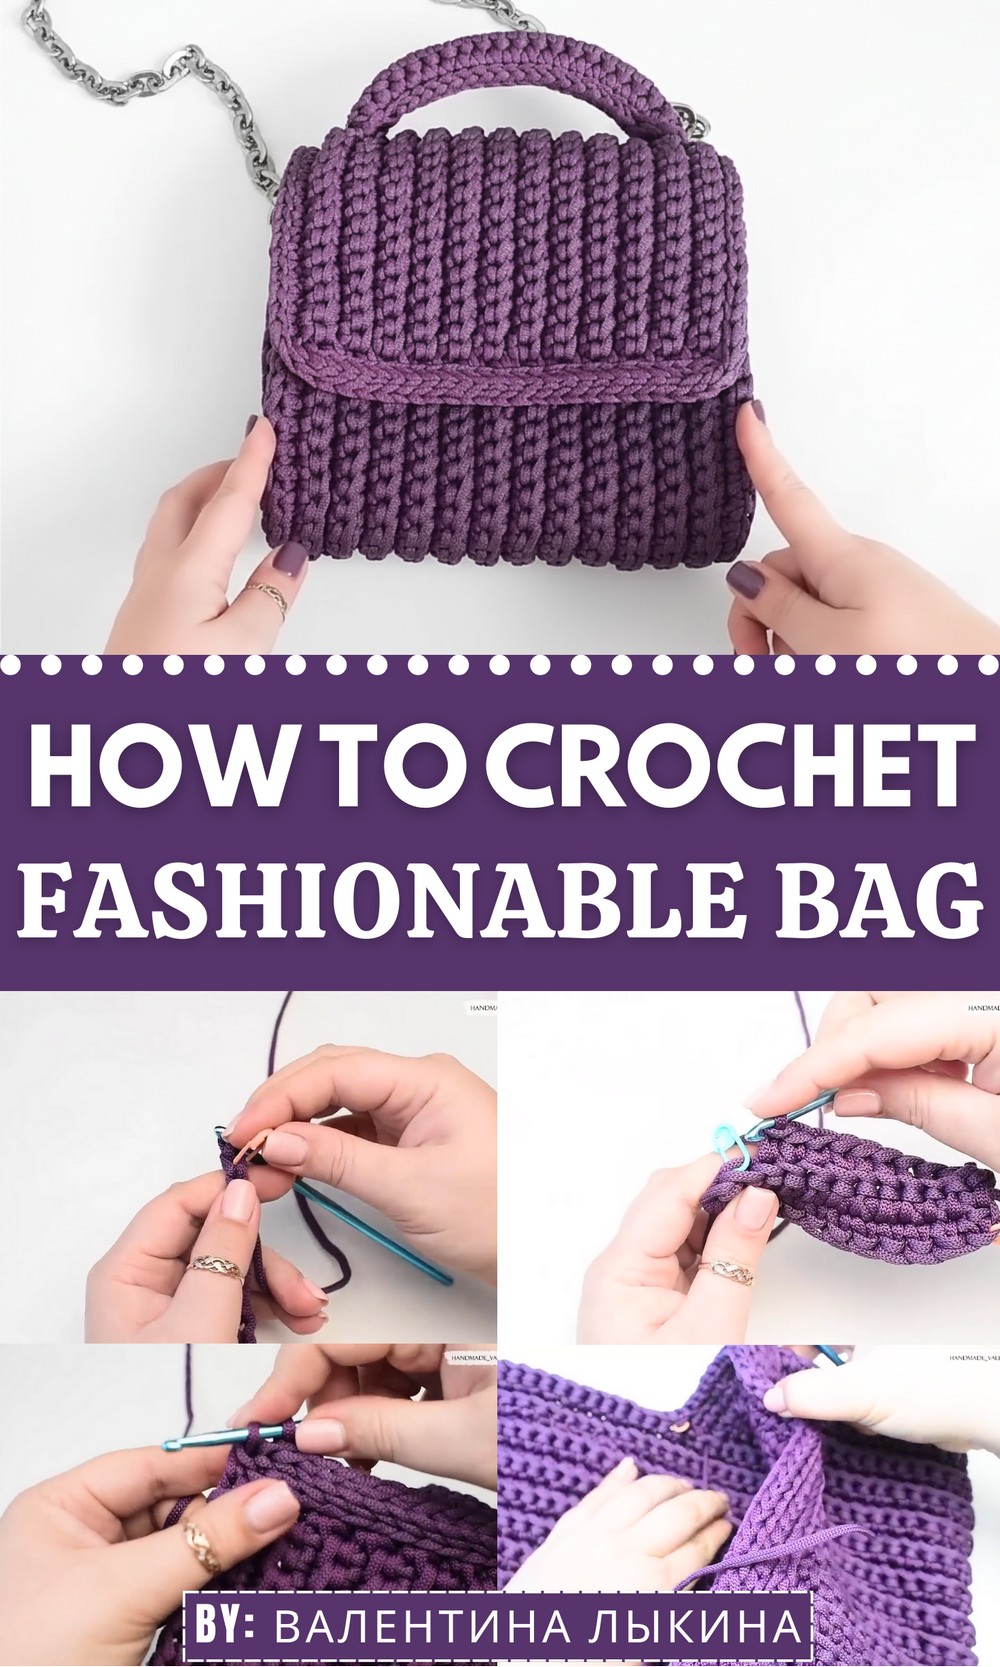
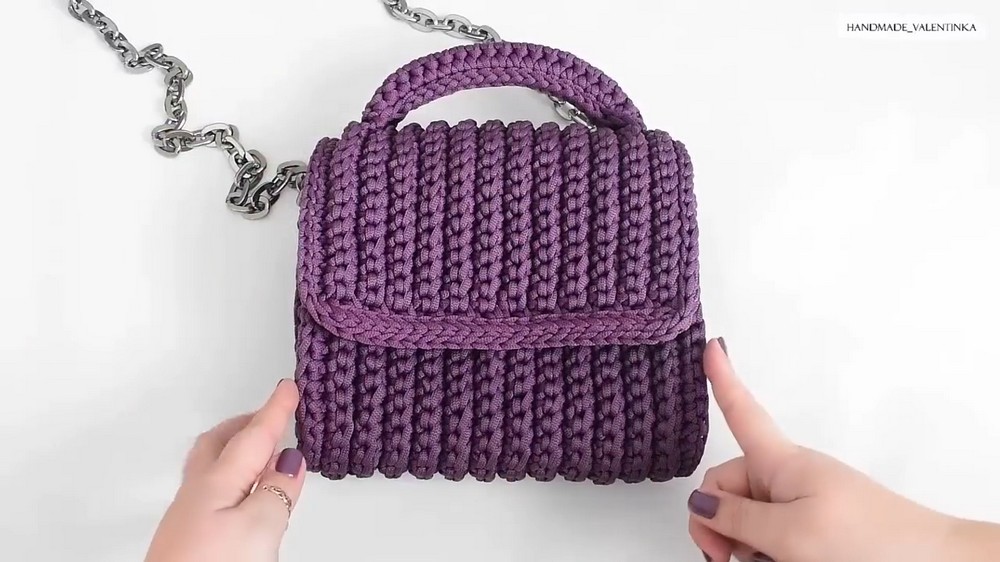
This handmade bag is a perfect blend of style and functionality, turning a simple crochet project into a fashionable accessory. Its carefully crocheted stitches create a sturdy yet elegant structure, making it ideal for carrying everyday essentials like your phone, wallet, keys, or even small notebooks.
Milena Bag Crochet Pattern
Materials List
Required:
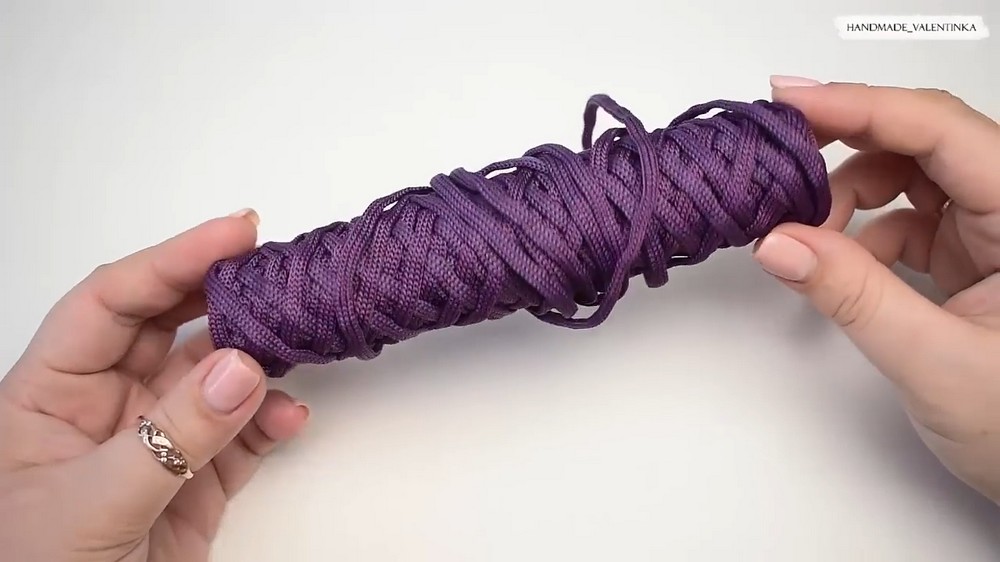
- Yarn: 5 mm caramel cord (200 grams/75 meters per skein). Alternatively, use other similar yarns or cords suitable for sturdy handbags.
- Hook Size: 5 mm crochet hook.
- Markers: Stitch markers to track important points during assembly.
- Scissors: For cutting yarn ends.
- Accessories:
- Metal rings and carabiners with a diameter of 22.5 mm.
- A fastener (e.g., magnetic button, toggle clasp, or key lock).
- Optional: Pom-pom for embellishment.
Optional:
- Yarn Winder (recommended): Ensures even yarn tension for smooth stitching.
- Strap or handle: If desired, you can crochet or purchase a detachable strap.
Skill Level
Intermediate to Advanced
Understanding of single crochet, slip stitch, increases (multiple stitches in one space), decreases, and working in different loop parts is required.
Key Abbreviations
(US Crochet Terminology Used)
- ch: Chain
- sc: Single Crochet
- sl st: Slip Stitch
- yo: Yarn Over
- st(s): Stitch(es)
- BLO: Back Loop Only
- inc: Increase (2 sc in one stitch).
- dec: Decrease (insert hook into 2 stitches, yo, pull yarn through both, yo, pull through all loops on hook).
Special Notes
- The tutorial is in single-panel construction, meaning the entire bag is worked as one fabric piece.
- Markers: Ensure to accurately mark critical points, such as stitch counts for alignment or areas for handle attachment.
- The bag handle is crocheted separately and attached during assembly.
Finished Dimensions
- Width: 23 cm (9 inches).
- Height: 22 cm (8.5 inches).
- Depth: 9.5 cm (3.7 inches).
Pattern Instructions
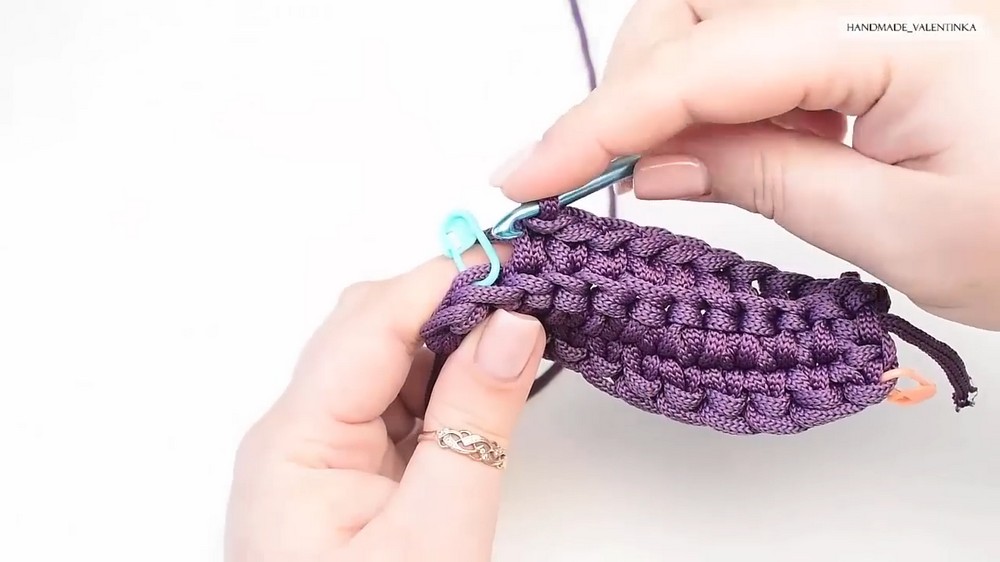
Step 1: Handle Creation
- Foundation Chain: Make a slip knot and ch 22.
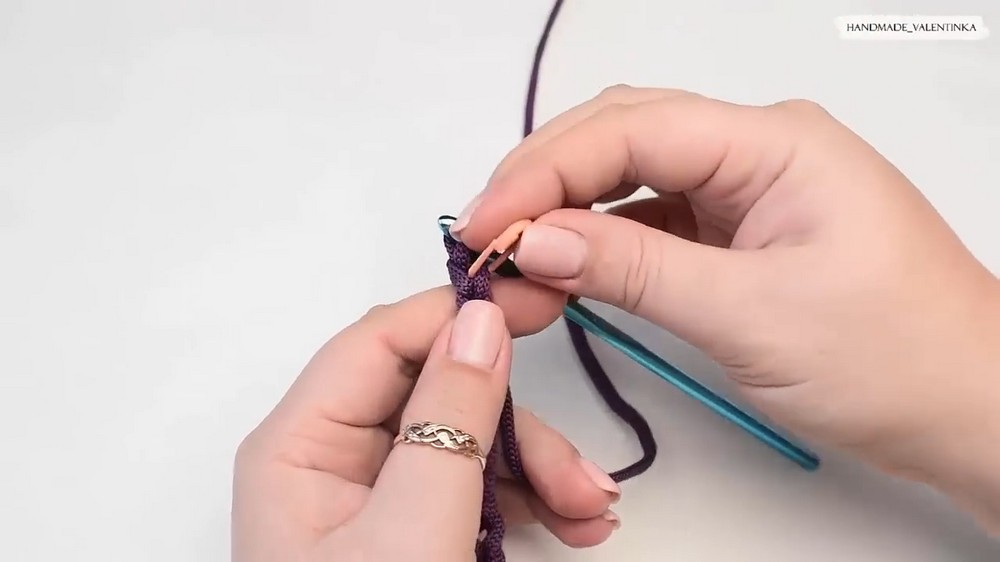
- Rows 1–5:
- Single crochet in each stitch across.
- Ch 1, turn after each row.
- Securing Edges:
- Measure out a 120 cm yarn tail and pull the last loop tight.
- Fold the handle lengthwise, align the edges, and secure the two sides together.
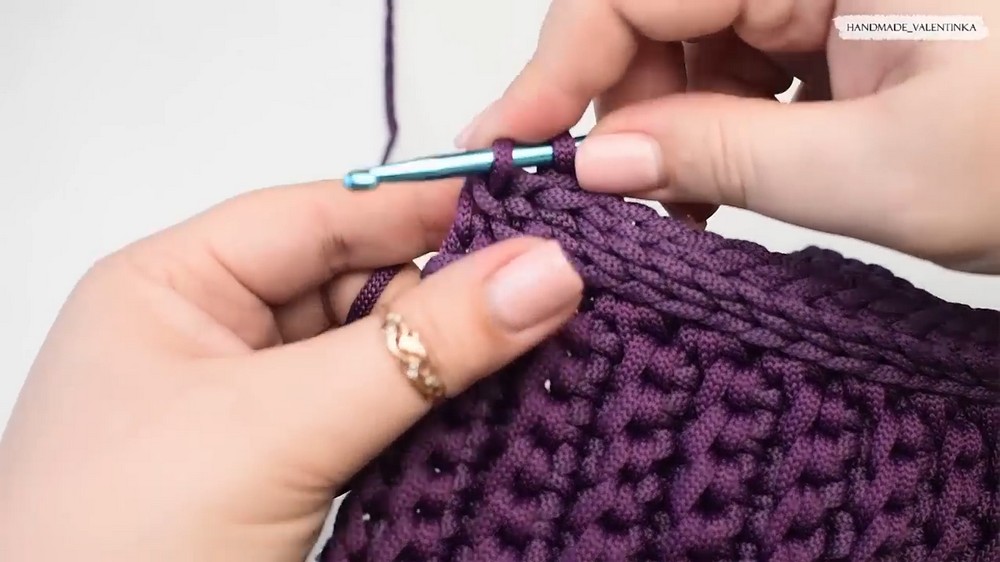
Attach Handle Edges:
- Starting from the third stitch at the handle’s edge, insert the hook through both sides and create a sl st to connect.
- Work about 3 stitches across the edge to secure it. Use markers to align matching points.
Step 2: Main Body of the Bag
Foundation Chain:
- Leave a 5–7 cm yarn tail for weaving in later.
- Ch 11 (the width of the bag bottom).
- Add 1 ch for turning.
Row 1 (Bottom Panel):
- Turn the foundation chain. Work sc in each stitch across (11 sc).
- Second Side of Foundation Chain: Rotate to work on the opposite side of the chain.
- Round the last stitch of the base by working 4 sc into the loop of that stitch.
- Continue by working sc in the stitches on the opposite side of the chain.
Row 2:
- Ch 1, turn. Work sc in BLO across the width (pick only the back loop of each stitch).
- On curve areas:
- Increase by working 2 sc in one stitch.
- Ensure to maintain symmetry by placing increases on corresponding curved points.
Row 3:
- Ch 1, turn. This row includes the first set of increases.
- On curve points: Work 3 increases (each increase is 2 sc in one stitch).
- Elsewhere: Work sc in BLO.
Rows 4–30:
- Ch 1, turn. Alternate rows with sc in BLO and increase rows (only add increases as specified in the tutorial for the curve).
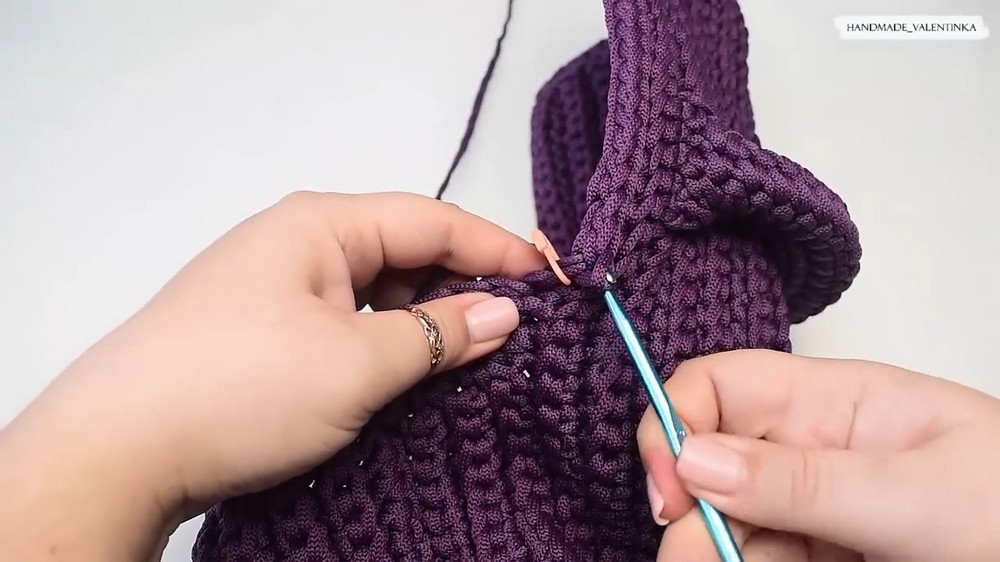
Step 3: Attaching the Handle
- Position the body right side out.
- Count out 16 stitches on the back flap of the bag and place markers for handle loops at these points. Attach markers in increments of 5 rows per side.
Secure Handle Edges:
- Insert the hook in side loops of each handle edge and the marked flap stitches respectively.
- Work tight single crochet stitches across these points, ensuring the handle is firmly fixed.
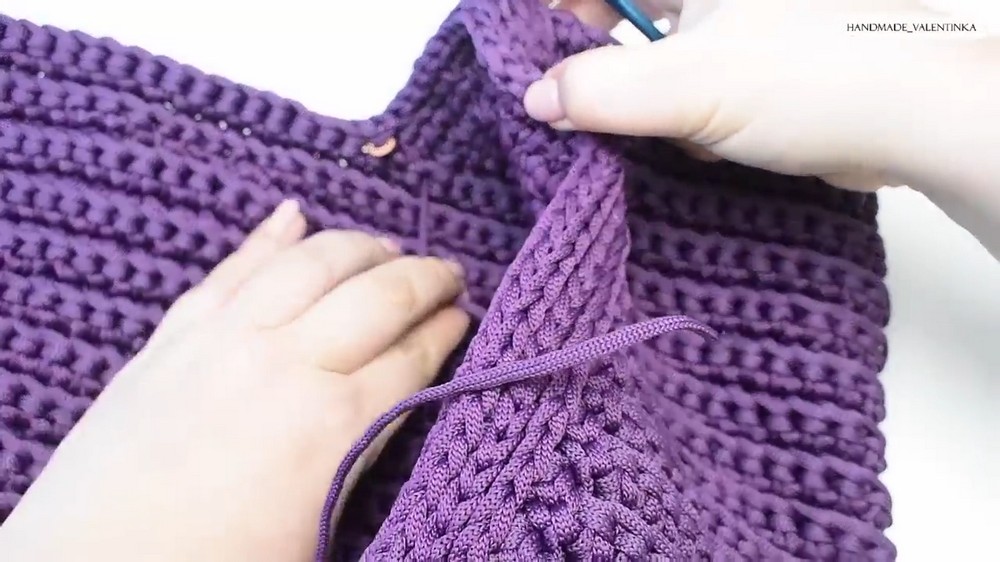
Step 4: Upper Edges and Finishing
Binding the Bag Entrance:
- Work sc along the top edge, ensuring 45 stitches evenly spaced.
- Create 3 rows of sc for a polished finish.
Adding the Strap:
- Crochet or use pre-made strap rings and carabiners. Attach securely to both sides of the bag using metal fittings.
Optional: Adding a Fastener
- Place a magnetic snap, toggle clasp, or key lock fastener depending on preference. Sew it securely to prevent wear.
Conclusion
Your Milena Bag is now complete! This elegant, structured bag is perfect for everyday use or special events. Add embellishments, such as pom-poms or decorative straps, to personalize the look.
Pattern Correction
- Stitch Count: Ensure that stitch counts remain consistent for symmetry and joining edges.
- Focus on marking critical points such as handle fusion areas and increases for precision.
Tips for Success
- Use Tension Consistently: Stitches should be neither too tight nor too loose. Consistency is key for structural integrity.
- Measure Frequently: Periodically measure dimensions during progress to match the finished dimensions.
- Customization: Adjust row count and chain lengths to modify bag size or depth.
- Cord Management: Use a yarn winder or position the skein properly to prevent twisting of the cord.