Stay warm and stylish this fall with a free crochet Pumpkin Beanie Pattern, featuring puff stitches and a cozy, customizable design for all ages.
Step-by-Step Crochet Pumpkin Beanie Pattern for a Cozy Look
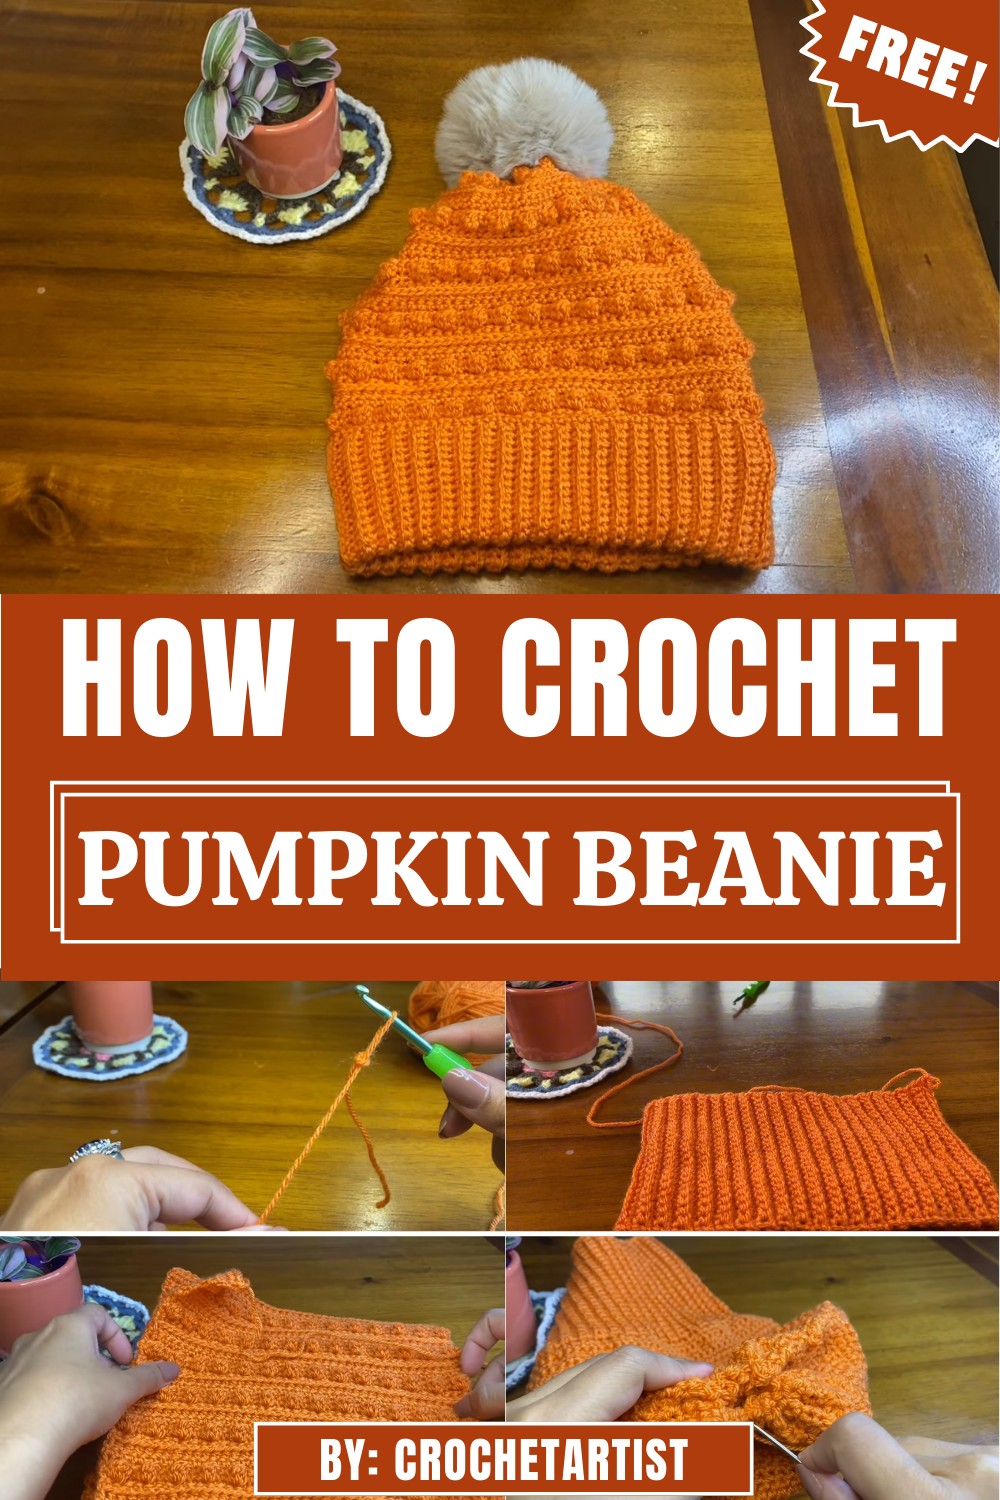
Nobody enjoys plain or uninspired winter accessories, which makes this cozy pumpkin-inspired beanie a standout option for colder days. With its stretchy, textured look and detailed puff stitches, this project isn’t just practical, it’s a heartwarming addition to your wardrobe.
Pumpkin Beanie Crochet Pattern
Materials List
- Yarn: DK (Lightweight/Category 3) yarn in desired color for the beanie. Optional: contrasting color for embellishments.
- Hook Size: 4.5 mm crochet hook.
- Needle: Large-eye tapestry needle for sewing and weaving in ends.
- Scissors: For cutting the yarn.
- Optional Items:
- Stitch marker (to mark beginning of rows or specific stitches).
- Pom-pom maker or pre-made pom-pom to attach to the top of the beanie.
Skill Level
Intermediate
Understanding of foundation chains, single crochet, half-double crochet, puff stitches, and seaming techniques is required.
Key Abbreviations
(All terms are written in US Crochet Terminology)
- ch: Chain
- sc: Single Crochet
- hdc: Half Double Crochet
- st(s): Stitch(es)
- sl st: Slip Stitch
- yo: Yarn Over
- BLO: Back Loop Only (worked into the back loop of the stitch).
Special Notes
- The foundation chain determines the height of the beanie. If you want a taller or shorter beanie, adjust the initial chain counts accordingly.
- Work even rows to ensure the puff stitch pattern aligns correctly with the overall structure of the beanie.
- For a seamless look, tension consistency is crucial throughout all rounds.
Pattern Instructions
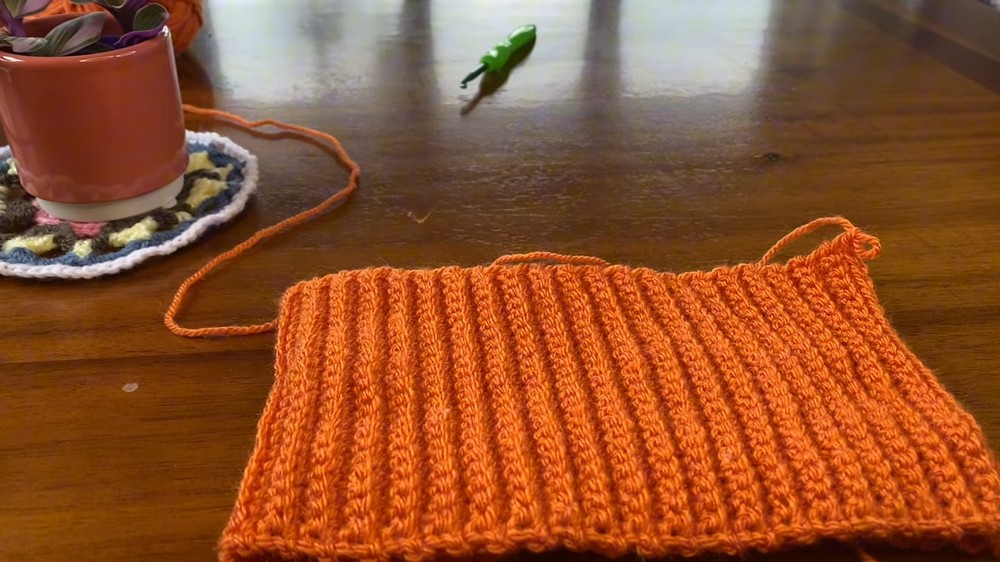
Base Ribbing
- Foundation Chain: Make a slip knot and ch 25. (For a taller beanie, increase the number of chains; for a shorter beanie, decrease the number.)
- Row 1: Starting in the 2nd chain from the hook, sc in each ch across. (24 sts).

- Row 2 – Row 82:
- Ch 1, turn. Work sc in BLO across the row.
- Repeat this row for a total of 82 rows. Ensure you end with an even number of rows (this is essential for the puff stitch design placement).
- Note: You can measure the ribbing around your head to ensure it fits snugly. The ribbing will stretch slightly but should not be too loose.
Assembling the Ribbing
- Once you’ve completed 82 rows, fold the strip lengthwise with the wrong sides together.
- Using your tapestry needle or hook, whip stitch or sl st the short sides together to form a loop.
Body of the Beanie
Round 1:
- Turn the piece right side out. Rotate your ribbing so the seam is at the back.
- Work 1 sc across each row, ensuring you have 82 sc evenly distributed around.
- Place a marker at the beginning of the round.
Round 2:
- Ch 1, turn. Work 1 sc in BLO across all sts. Join with a sl st to the first sc.
Round 3:
- Ch 1, turn. Work 1 sc in every st across.
- Join to the first sc with a sl st.
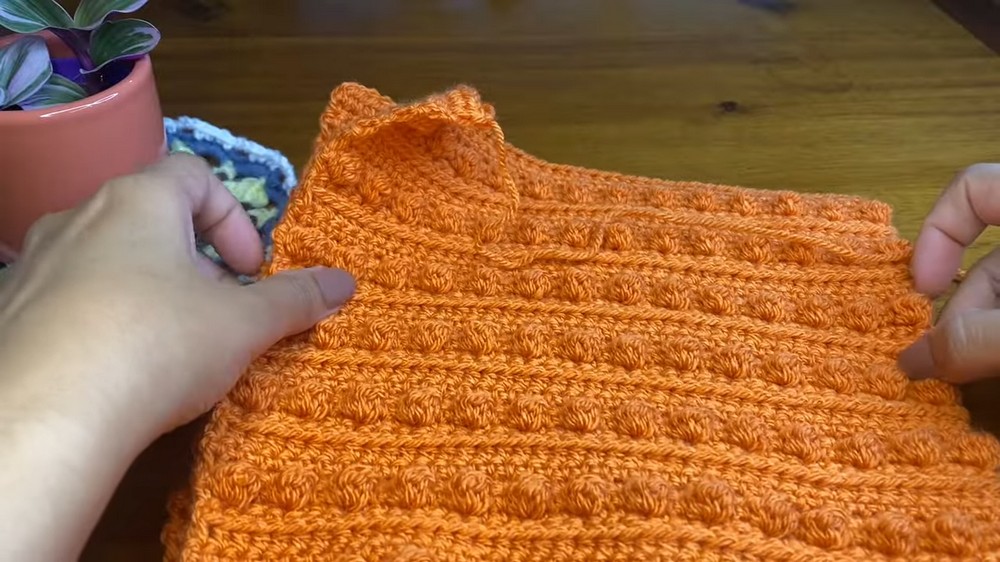
Puff Stitch Pattern
Round 4 (Puff Stitch Row):
- Ch 1, turn.
- Make a puff stitch:
- Yo, insert your hook into the stitch, yo, pull up a loop (3 loops on the hook). Yo, pull through 2 loops.
- Repeat the process two more times until you have 4 loops on the hook.
- Yo and pull through all 4 loops.
- Chain 1 to secure the puff stitch.
- Single Crochet (sc): Work 1 sc in each of the next 2 sts.
- Repeat puff stitch followed by 2 sc around the round. End the round with 1 sc and join with a sl st.
Rounds 5 – 6:
- Work sc in each st across. This creates a plain round to space out the puff stitches.
Round 7:
- Work hdc in each st across.
Round 8:
- Work sc in the front loops only (FLO) to create a chain-like texture at the front.
Repeat Rounds
Repeat Rounds 3 through 8 until your beanie reaches the desired length. For the example in the video, the length was approximately 11–12 inches before finishing.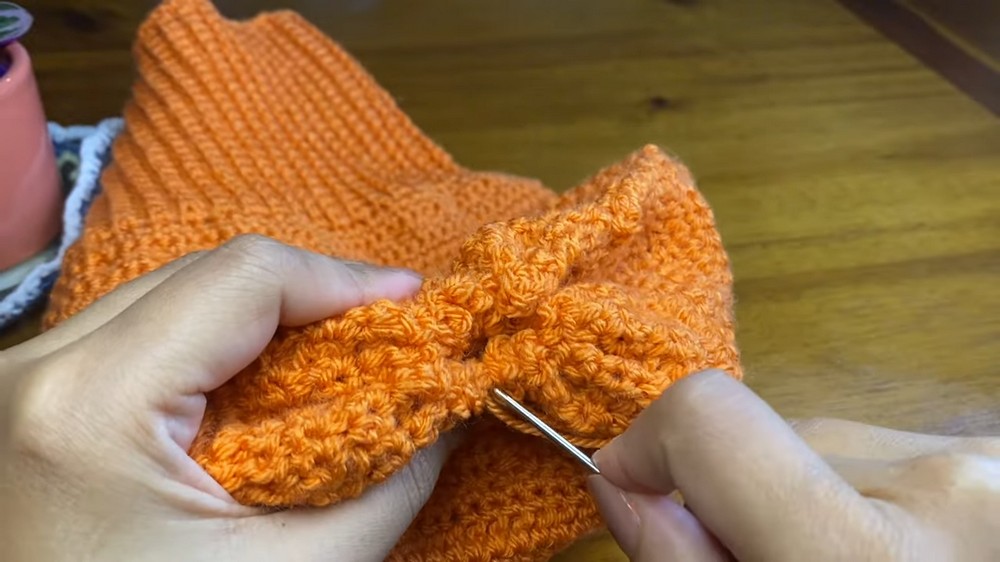
Seam and Crown
- Leave a long tail (approximately 2 times the circumference of the beanie) and cut the yarn.
- Using your tapestry needle, weave the long tail in and out of the stitches along the final row to create a drawstring effect.
- Pull the yarn tail to cinch the crown of the beanie closed. Adjust the gathers evenly for a neat finish.
- Sew back and forth across the crown opening to secure it tightly.
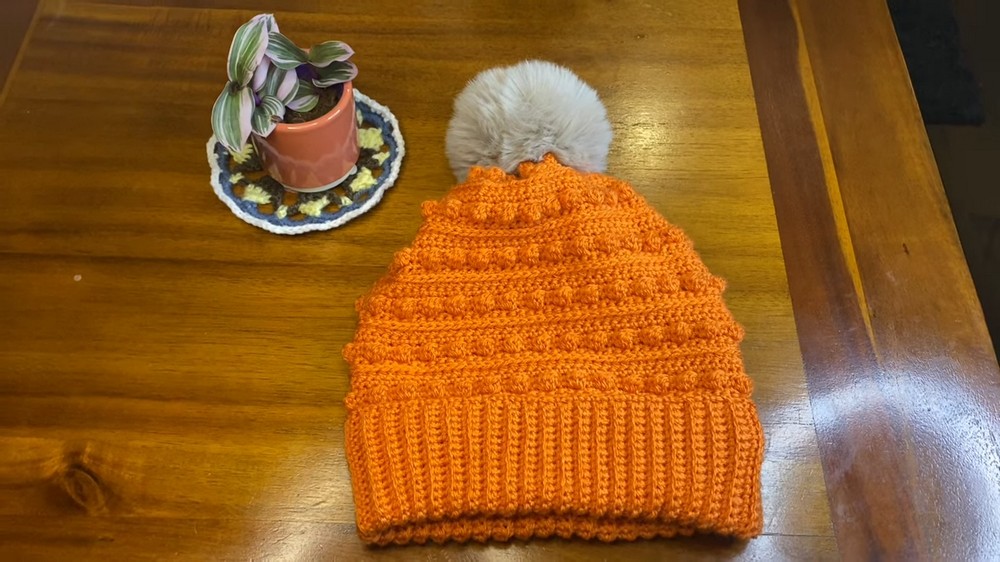
Optional: Add a Pom-Pom
- Attach a yarn pom-pom or faux-fur pom to the crown for a finished look. Use the long tail to secure the pom-pom to the beanie.
Conclusion
Congratulations, your Pumpkin Beanie is complete! This textured, cozy hat is perfect for chilly days and can be personalized for seasonal events with various yarn colors and embellishments.
Pattern Correction
- Ensure the ribbing row count matches the stitch count in the body rows (82 rows = 82 stitches). Adjust counts evenly if needed.
- Maintain tension when working puff stitches to ensure they are consistent in size and shape.
Tips for Success
- Test Fit Frequently: Since this pattern relies on stretch, periodically wrap the ribbing or body of the hat around your head to ensure a good fit.
- Count Stitches: After each increase or pattern row, count your stitches to prevent misaligned textures.
- Customize Easily: Adjust the number of puff stitch rows or plain rows as desired to modify the texture and appearance of the final result.
- Color Changes: Use gradient yarns or alternate colors between rows for a more vibrant or seasonal look.