Sweet summer vibes pop in this Free crochet Strawberry Soup Pattern, adding playful color to kitchen décor, themed displays, and fun photo props.
Delightful Crochet Strawberry Soup Pattern for Cute Decor
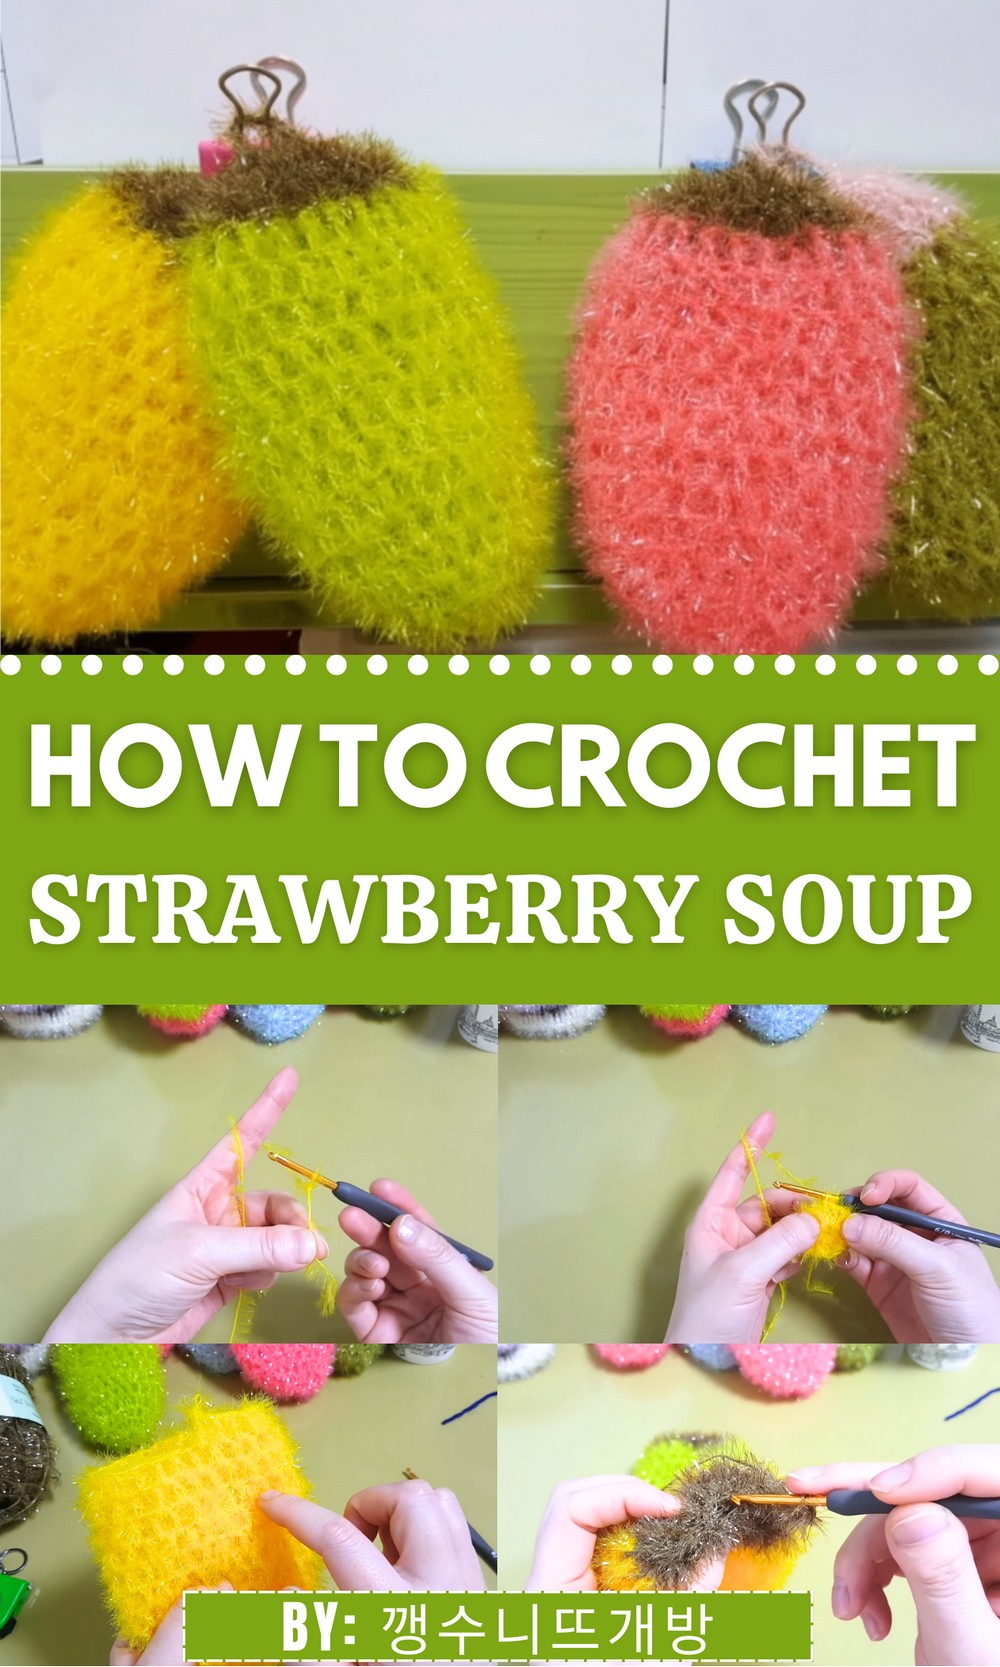
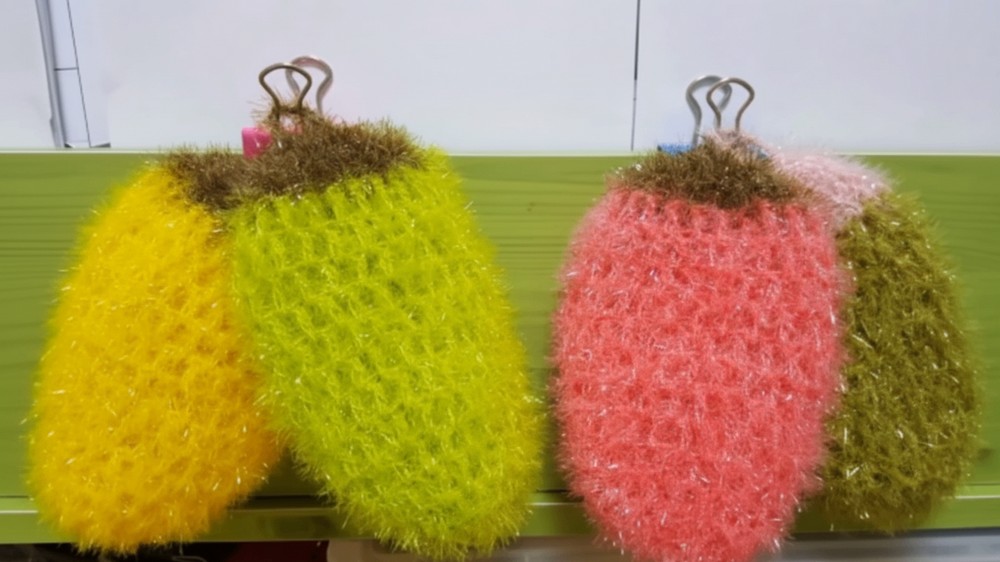
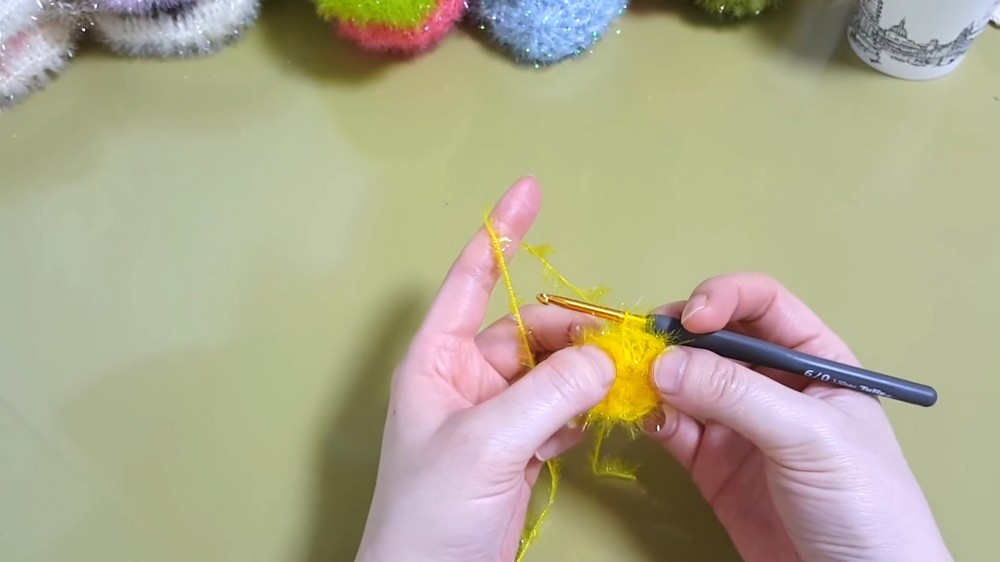
This cheerful crochet project makes a cute and practical handmade scrubby that looks like a strawberry, giving a fun twist to everyday work. The piece stands out because of its bright colors and soft texture, with a rounded berry shape and little green top that feels nice in your hands perfect for both beginners and more experienced makers.
Crochet Strawberry Soup Pattern
Materials List
Required Materials
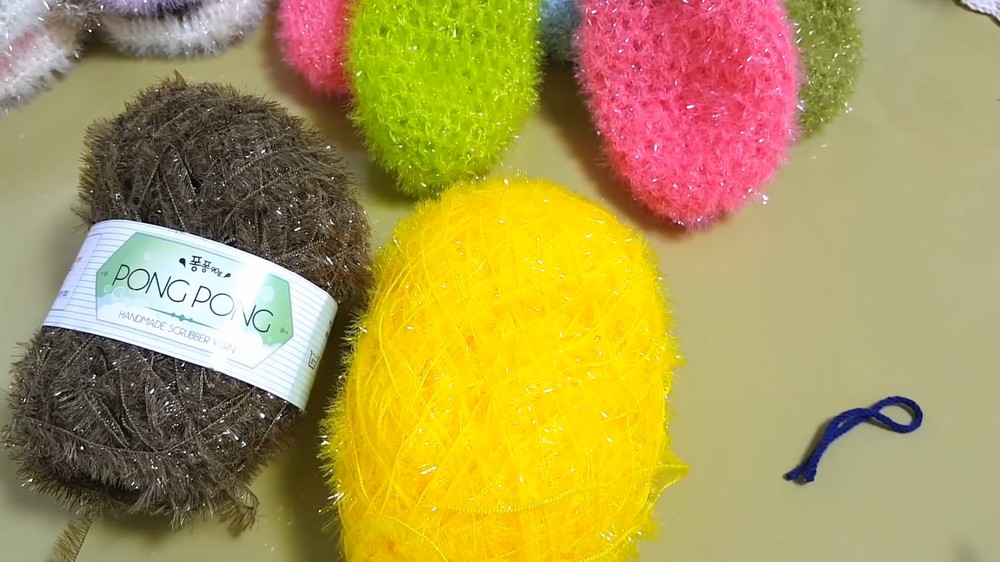
- Yarn: Multi-color yarn for textured layers and contrast (worsted weight/size 4). Suggested: Gradient or two-color threads.
- Amount: Main Color (MC): ~200g. Contrast Color (CC): ~100g.
- Crochet Hook Size: 5 mm hook (or adjust based on yarn weight).
- Needle: Tapestry needle for weaving in ends.
- Scissors: Essential for cutting yarn.
Optional Items:
- Stitch markers for marking specific points in your work.
- Locking carabiners or rings for strap attachment.
Skill Level
Intermediate to Advanced.
The range of techniques required includes creating textured motifs, multi-layer crochet design, and seamless finishes.
Key Abbreviations
(All terms follow US crochet terminology.)
- ch: Chain
- sc: Single Crochet
- sl st: Slip Stitch
- hdc: Half Double Crochet
- dc: Double Crochet
- tr: Treble Crochet (yarn over twice before inserting the hook)
- yo: Yarn Over
- st(s): Stitch(es)
- sp: Space (refers to chain gaps or spaces)
- BLO: Back Loop Only (work in the back loop of the stitch).
- MC: Main Color
- CC: Contrast Color
Special Notes
- Tension: Maintain consistent tension throughout to ensure the bag’s shape remains even. Adjust hook size if necessary.
- Markers: Use markers on key stitches to maintain shape and alignment when creating patterns and constructing sides.
- Repeats: Patterns use a mixture of pattern repeats (clusters, shells, and puff stitches). Follow designated instructions to keep sections even.
Pattern Instructions
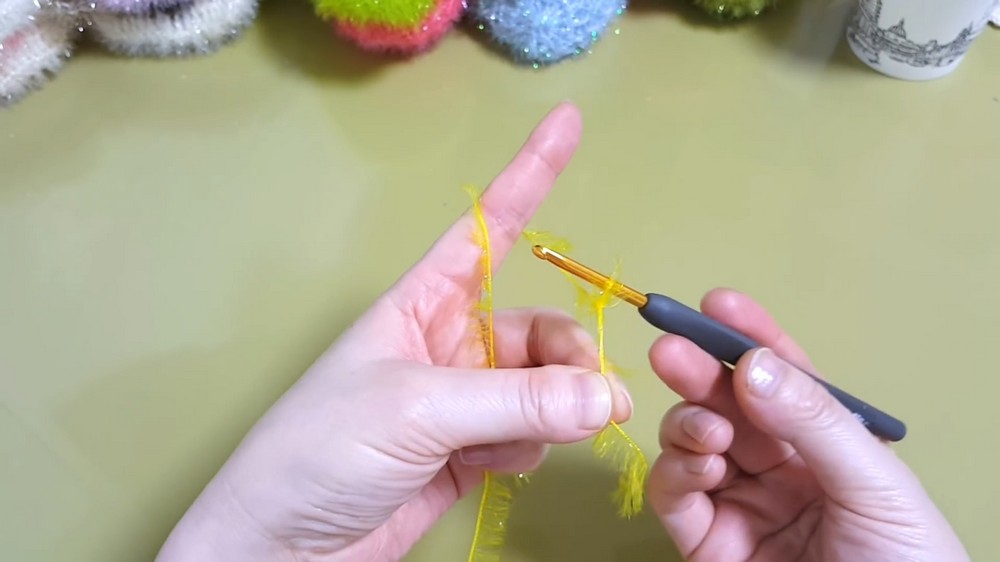
Step 1: Base and Side Foundation
Foundation Base
- Make a slip knot and chain 10 (ch 10) for the bag width. Add 1 ch for turning.
- Row 1: Work 1 sc in the second ch from the hook, and sc in each chain across. Turn your work. (Total: 10 sc).
- Row 2: Work 1 sc into each stitch BLO (back loop only).
Increase Rounds for Width
- At the end of Row 2, make 4 sc in the last st to round the edge. Continue working single crochets along the other side of the foundation chain.
- This is the start of your oval base for the bag.
- Row 3: Work 1 sc in same st, 1 sc in each of the next sts. For every curve (corners of the oval), add 4 sc in a single st to maintain symmetry.
- Repeat rows until the base reaches your desired size.
- Example Size: ~20 cm wide, 10 cm tall.
Step 2: Building Textured Pattern Rows
Foundation Texture Row
- Row 1: Work 1 dc in the first st, and 1 sc in the next. Alternate dc and sc for the entire row.
- Creates a first layer of texture.
- Join the Rounds: Use a sl st into the starting st.
Patterned Rows (Shell Design)
- Once your base is ready, work textured shells:
- Ch 3 (counts as first dc), work 5 dc into the next space, forming a shell.
- Skip 2 sts, and repeat shells around the row.
- End with a sl st to join.
- Next Layer of Shell Pattern:
- Work shells in spaces between shells in the previous row.
- Alternate MC and CC yarn for a two-tone effect. Change yarn color by stopping before completing the last step of your previous dc or shell and pulling the new yarn through to complete the stitch.

Step 3: Top Edge Construction
Single Crochet Edge
- After completing the textured area, work several rows of sc in each st to form a clean edge.
- Example: Work 2 rows in CC, then alternate.
- Optional: Short Crab Stitch Border
- Work reverse sc (crab stitch) around the top edge for additional structure.
Step 4: Handle or Strap Integration
Crocheted Handle:
- Start: Make a foundation chain of 22 ch for handles.
- Work Single Crochets: Row back and forth for 5–6 rows.
- Attachment: Secure handle edges to opposite sides of the bag.
Step 5: Assembly & Details
Seam Construction:
- Fold and align the sides neatly. Use either:
- Slip stitches to join side seams.
- A needle with whipstitching.
- Weave in all ends to secure loose threads.
Final Adjustments:
- Add any preferred accessories or fasteners.
- Attach carabiners or loops for adding straps if desired.
Conclusion
Congratulations! Your Textured Bag is now complete and ready for use. Its intricate design elements, ranging from its textured patterns to its two-color details, make it a stunning piece for personal use or gifting. With its customizable size, strap adjustment, and color options, you can create variations to suit any occasion.
Pattern Corrections
- If any part of the pattern feels uneven (e.g., the shell pattern), adjust spacing or add extra sc for even distribution.
- Count stitches after each round to ensure your pattern retains symmetry.
Tips for Success
- Working with Color: Introduce new colors cleanly by changing yarn at the last yo of your last st in the previous color.
- Blocking Tip: After completing the project, block the bag lightly to give it shape and even out the stitches.
- Customization: Feel free to vary the height of the textured rows or the intensity of color contrast for a different visual effect.
- Finishing Touch: Use small embellishments like buttons or pom-poms to enhance the aesthetic look of your bag.